Table of Contents
There is a certain kind of beauty that doesn’t demand attention. It reveals itself slowly—in the curve of a wooden edge, in the softness of woven fibers, in the quiet stillness of a well-placed object.
This is the spirit of DIY Japandi decor. Not perfection, but intention. Not excess, but presence.
And the most beautiful part? You can create it yourself. With simple materials, thoughtful choices, and a gentle understanding of space, your home can begin to feel lighter, warmer, and deeply personal.
Let’s step into that calm together.
What Is Japandi Style—and How Can You DIY It at Home?
Japandi is where Japanese minimalism meets Scandinavian comfort. It is both restrained and warm, structured yet soft.
When you bring it into DIY, it becomes even more meaningful.
The Essence of DIY Japandi Decor
You are not just decorating—you are shaping an atmosphere.
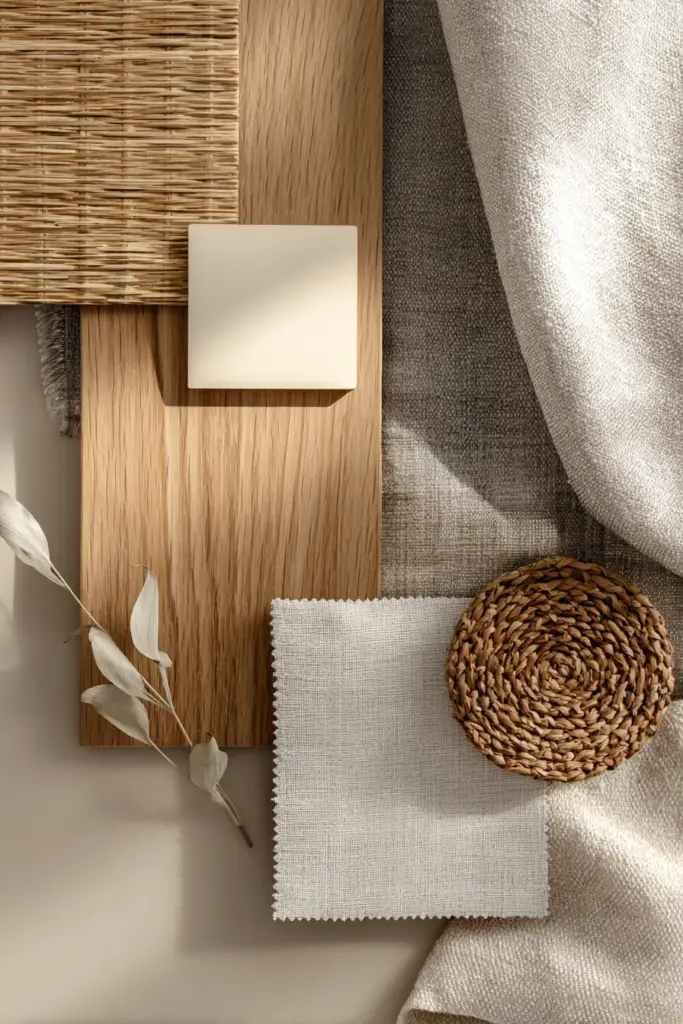
- Natural materials: wood, bamboo, linen, rattan
- Neutral tones: warm beige, taupe, soft grey
- Simple forms: clean lines, subtle curves
- Wabi-sabi charm: embracing small imperfections
- Hygge warmth: layering comfort through texture
Imagine sanding a piece of wood until it feels smooth beneath your fingers. The faint scent of timber rising in the air. Light catching the grain just enough to make it glow.
That is Japandi—crafted, not bought.
Essential Materials for DIY Japandi Projects
Before you begin, gather materials that feel honest and grounding. The beauty of Japandi lies in what things are made of.
Your Core Toolkit
These are affordable, easy to find—especially in local markets like Divisoria or neighborhood hardware stores.
- Pine wood or reclaimed wood — budget-friendly and easy to work with
- Bamboo sticks or panels — lightweight and sustainable
- Rattan sheets or baskets — adds softness and texture
- Linen or cotton fabric — for covers and layering
- Matte paint (beige, cream, taupe) — avoid gloss
- Wood stain (oak or walnut tones) — for warmth
Cost Guide (Per Project)
| Material | Estimated Cost (PHP) | Tip |
|---|---|---|
| Pine wood | ₱200–₱600 | Buy raw and cut locally |
| Bamboo | ₱100–₱300 | Great for small accents |
| Rattan | ₱150–₱400 | Look for woven sheets |
| Paint & stain | ₱200–₱500 | Choose matte finishes |
Keep each project under ₱1,000. That’s where creativity thrives.
Easy DIY Japandi Decor Projects for Beginners
Start small. Let each piece teach you something.
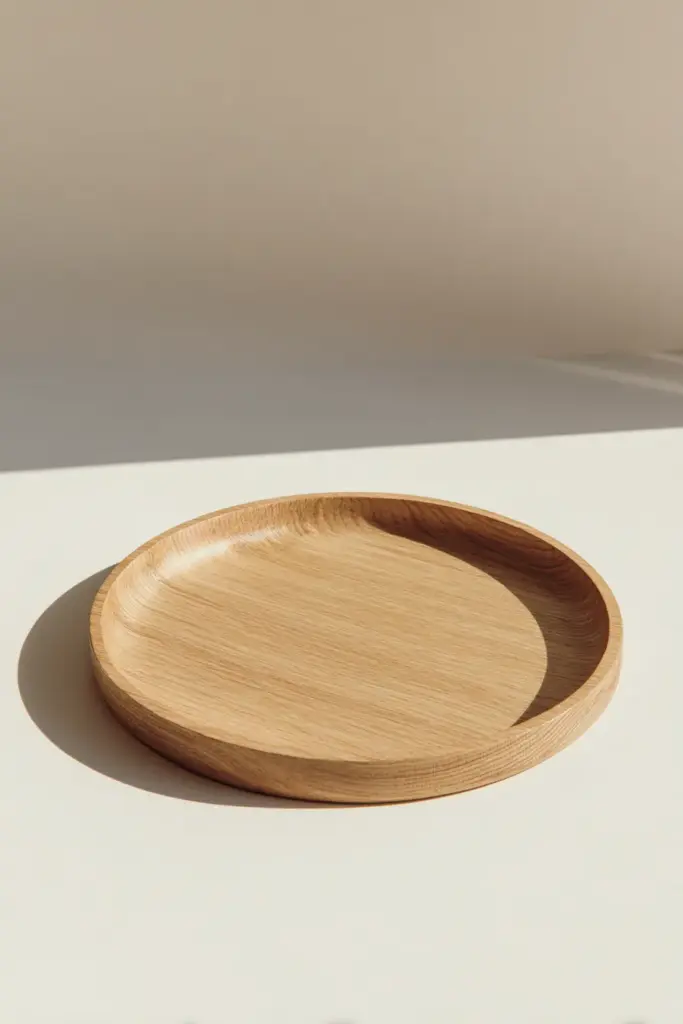
1. Minimalist Wooden Tray
A simple tray can transform a space—holding candles, books, or a quiet morning coffee.
What you need:
- Flat wooden board
- Sandpaper
- Wood stain
Steps:
- Sand the surface until smooth
- Apply a warm oak stain
- Let it dry naturally
Place it on your coffee table. Add a ceramic cup. Let it breathe.
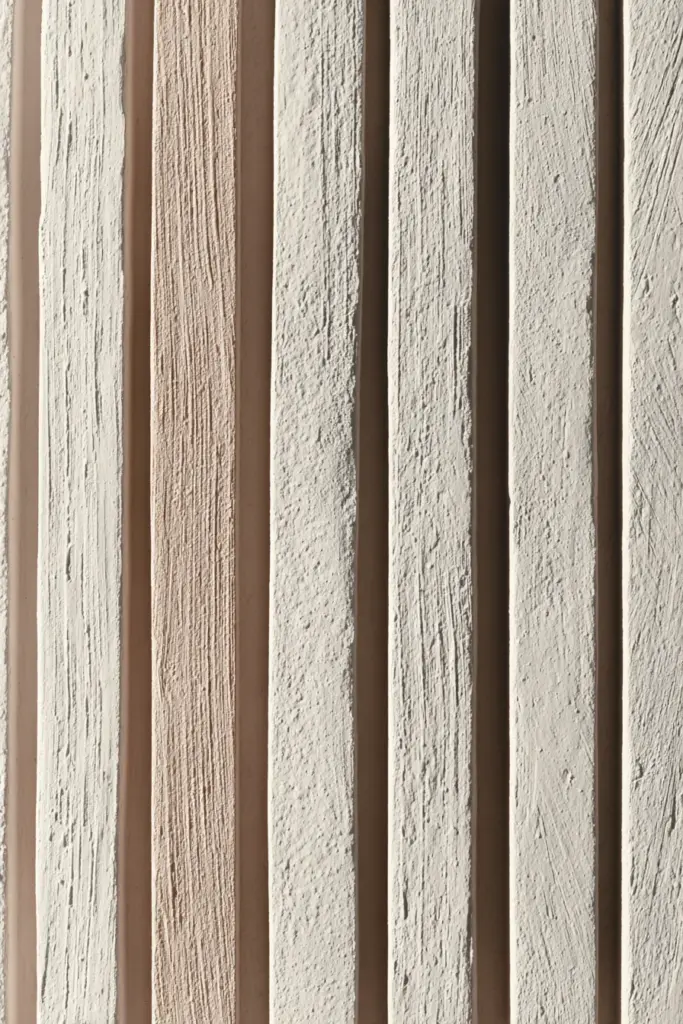
2. Japandi Wall Art (Under ₱500)
Art doesn’t need to be loud to be beautiful.
Idea: Create abstract wall art using wood and neutral paint.
- Cut thin wood strips
- Arrange them in asymmetrical lines
- Paint in soft beige or leave raw
The result feels sculptural, almost meditative.
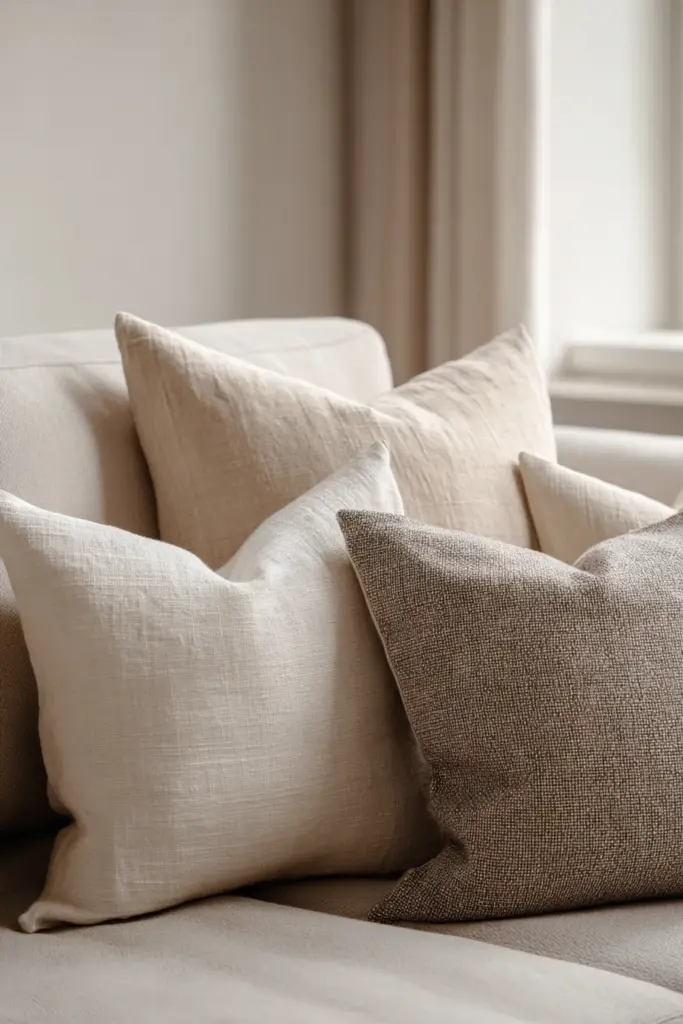
3. Linen Cushion Covers
Textiles soften everything.
Swap bold prints for:
- Cream linen
- Muted taupe
- Subtle woven textures
Even one cushion can shift the mood of a room.
DIY Japandi Decor Projects (Step-by-Step, Elevated)
Once you feel comfortable, you can move into more expressive pieces.
DIY Japandi Wood Wall Panel
A statement piece, yet quiet.
Materials:
- Wooden slats
- Adhesive or nails
- Matte sealant
Steps:
- Measure your wall space
- Arrange slats vertically or in spaced lines
- Secure and seal
The effect is architectural. Soft shadows form between each line.
DIY Rattan Cabinet Upgrade
Transform existing furniture with texture.
You’ll need:
- Rattan sheet
- Staple gun
- Scissors
Steps:
- Remove cabinet inserts
- Cut rattan to size
- Attach from the inside
Suddenly, your cabinet feels lighter. Warmer. More alive.
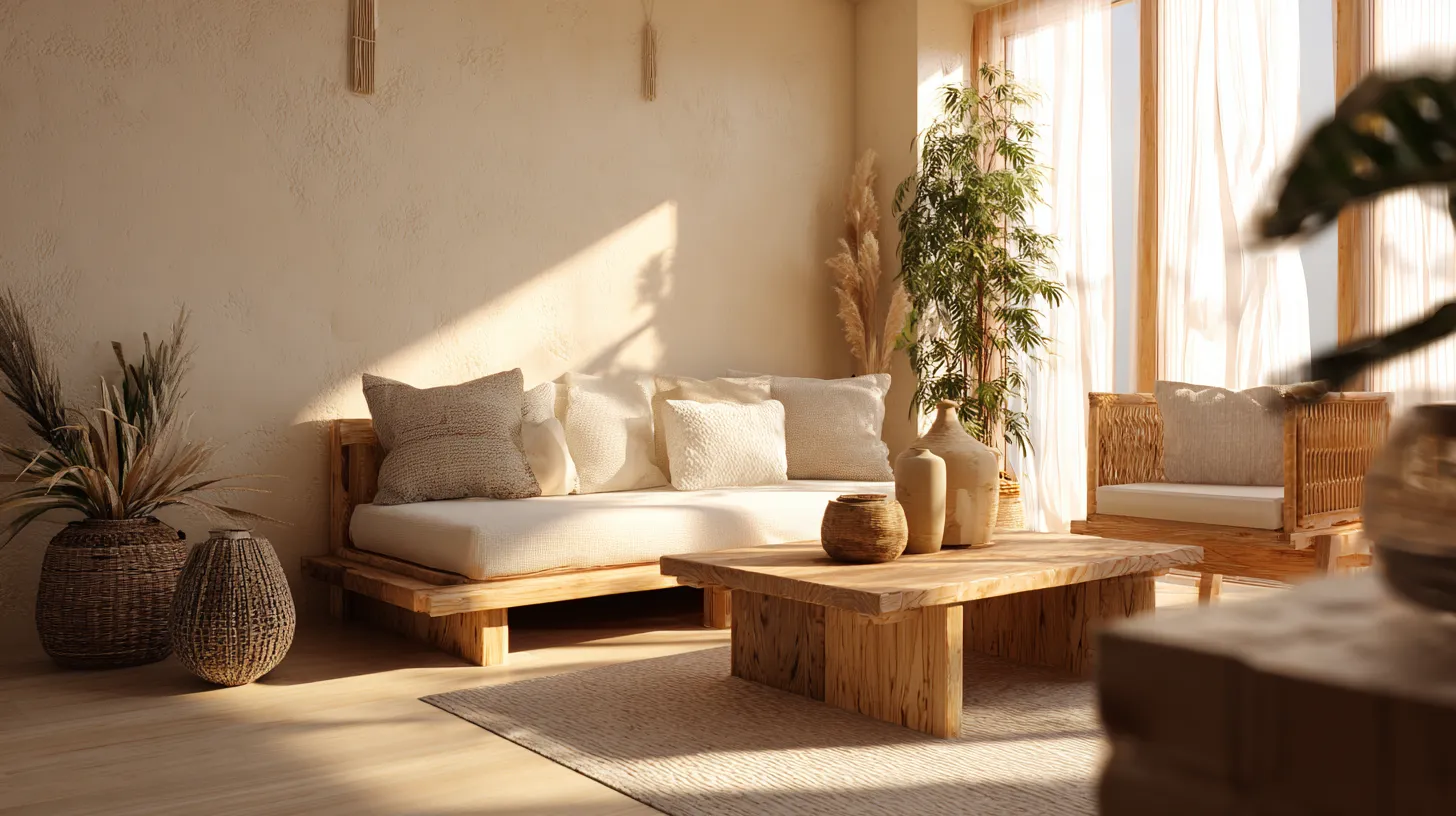
Japandi Living Room DIY on a Budget
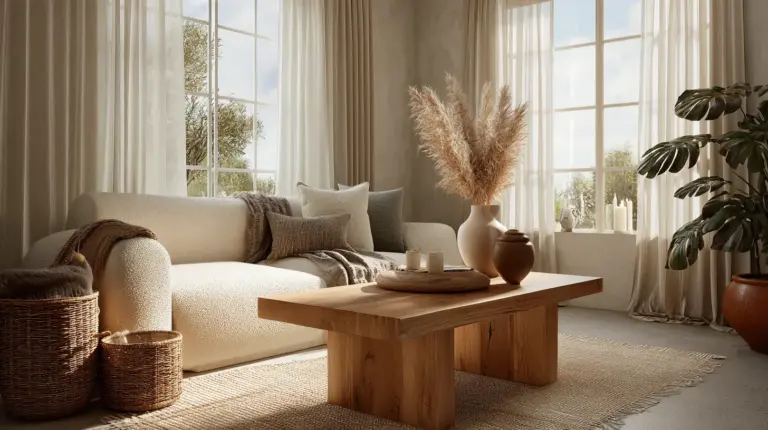
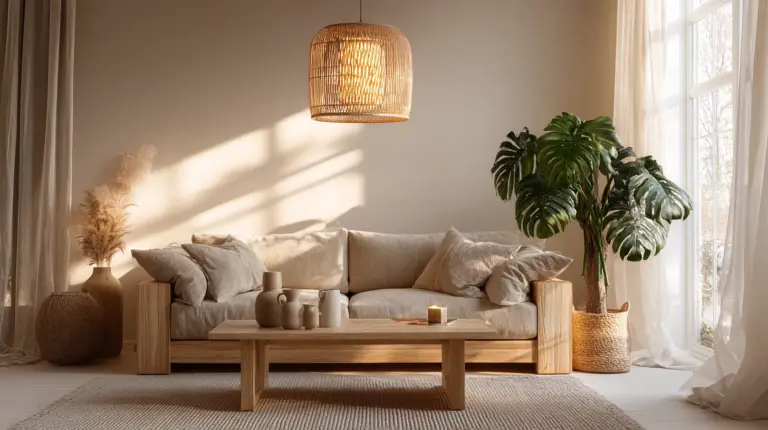
A living room should feel like an exhale.
Simple DIY Upgrades
- Refinish your coffee table with oak stain
- Replace metal handles with wooden ones
- Add a handmade tray or ceramic bowl
Layering the Space
Think in textures, not objects:
- Soft rug underfoot
- Light filtering through curtains
- Wood surfaces catching warmth
You can also explore lighting ideas and pair them with your DIY pieces for a cohesive glow.
Japandi Decor for Small Philippine Spaces
Small spaces invite thoughtful design.
Smart DIY Solutions
- Foldable wooden tray tables
- Wall-mounted shelves from reclaimed wood
- Hidden storage boxes wrapped in linen
Layout Tips
- Keep furniture low
- Leave breathing space between pieces
- Let natural light flow freely
A small room becomes expansive when nothing competes for attention.
Biophilic DIY: Bringing Nature Into Japandi Decor
Japandi is never complete without life.
DIY Plant Holders
Create simple stands using:
- Wooden dowels
- Bamboo frames
- Rattan baskets
Best Plants for Low Light
- Monstera
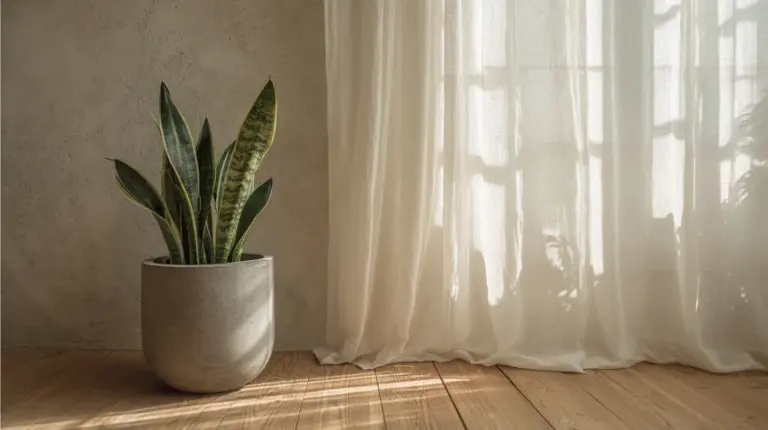
- Snake plant
- Pothos
Place them near light. Let leaves cast soft shadows against neutral walls.
Sustainable DIY Japandi Decor
Sustainability is not a trend here—it is a principle.
Choose Wisely
- Use reclaimed wood whenever possible
- Avoid plastic materials
- Select durable finishes
Simple Sustainability Check
| Material | Eco Value | Why It Works |
|---|---|---|
| Reclaimed wood | High | Reduces waste |
| Bamboo | Very high | Fast-growing and renewable |
| Linen | Medium | Natural and breathable |
Even small choices ripple outward.
Common DIY Mistakes (and Gentle Fixes)
Every creative process has its learning curves.
Mistake: Over-decorating
Fix: Remove one item. Then another. Let space speak.
Mistake: Wrong color tone
Fix: Shift toward warmer beiges instead of cool greys.
Mistake: Glossy finishes
Fix: Sand lightly and apply matte sealant.
Imperfection is part of the beauty. Wabi-sabi welcomes it.
Japandi Decor Trends to Try (2026 Edition)
Japandi continues to evolve—quietly.
What’s Changing
- Warmer neutrals replacing cool greys
- More visible wood grain
- Multifunctional DIY furniture
- Soft sculptural shapes
Think less contrast, more harmony.
Quick Checklist: DIY Japandi Decor Essentials
- Use natural materials whenever possible
- Keep colors soft and neutral
- Focus on function first
- Embrace imperfection and texture
- Add plants for life and softness
- Maintain clean, uncluttered surfaces
- Choose warm lighting over harsh white
Conclusion: A Home You Made With Intention
There is something deeply grounding about creating with your hands.
Each piece you sand, stain, or shape carries a quiet story. A memory of effort. A trace of intention.
And when you step back, when the light settles across your work, when the room feels softer somehow—you’ll notice it.
Not just a styled space.
But a home that reflects you. Calm, thoughtful, and beautifully enough.
FAQs
What is Japandi style and how can I DIY it at home?
Japandi blends Japanese minimalism with Scandinavian warmth. You can DIY it using natural materials, neutral tones, and simple, functional designs.
What are easy DIY Japandi decor projects for beginners?
Start with wooden trays, wall art, or linen cushion covers. These are affordable and easy to create while capturing the Japandi aesthetic.
What materials do I need for DIY Japandi decor?
Use wood, bamboo, rattan, linen, and matte finishes. These materials create texture, warmth, and a natural feel.
How can I create a Japandi living room on a budget?
Refinish furniture, add handmade decor, and keep the palette neutral. Focus on fewer, meaningful pieces.
Can DIY Japandi decor work in small spaces?
Yes. Choose multifunctional pieces, keep layouts open, and use light colors to create a sense of space.