Table of Contents
.There is something quietly powerful about sitting down at a desk that feels like it was made just for you. Not cluttered, not sterile — just calm. Intentional. Alive with texture and soft light.
That is the promise of Japandi design. It blends the warmth of Japanese wabi-sabi — the beauty of imperfection — with Scandinavian hygge’s love of coziness and function. Together, they create spaces that feel like a slow exhale.
A DIY Japandi desk organizer is one of the most rewarding weekend projects you can take on. For under $20, using materials you can find at a hardware store or salvage from reclaimed wood, you can build something that transforms how your mornings feel.
This guide walks you through every step — from choosing your wood to finishing it with a non-toxic oil — so your desk becomes the sanctuary it deserves to be.
What Materials Are Best for a DIY Japandi Desk Organizer?
The soul of Japandi design lives in its materials. You are not reaching for plastic or chrome. You are reaching for things that breathe.
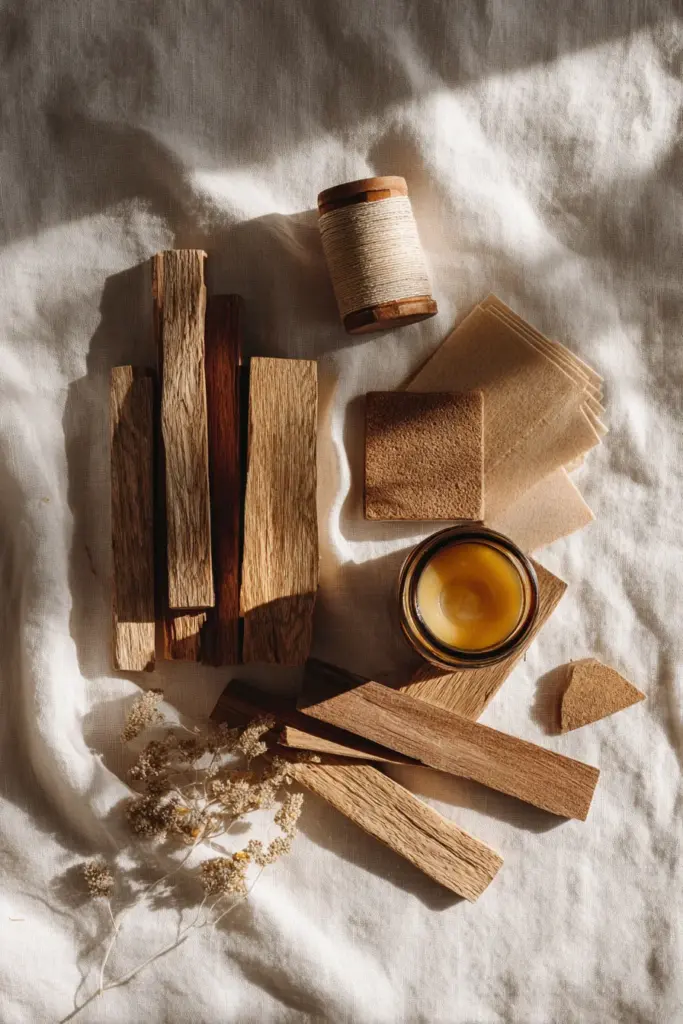
Natural Wood
Oak, ash, and pine are ideal for a Japandi organizer. Oak brings density and a beautiful grain that deepens with age. Pine is lighter, easier to work with, and budget-friendly — a wonderful choice if this is your first build.
Look for reclaimed wood from pallets, old bookshelves, or timber offcuts from local lumber yards. These sustainable upcycling sources reduce waste and give your piece a story.
Bamboo
Bamboo is a gift for the biophilic desk design lover. It grows quickly, requires no pesticides, and its cool, smooth surface is a natural complement to linen or stone accents.
You can find bamboo strips or small bamboo boards at most craft stores. They are perfect for divider walls inside compartments.
Linen Cord and Natural Rope
Linen cord adds tactile warmth and visual softness. Wrap it around a pencil holder, use it to reinforce joints, or let it dangle as a decorative detail. It smells faintly of the earth and lasts beautifully.
Non-Toxic Finishes
Seal your organizer with beeswax, linseed oil, or a water-based matte varnish. These low-maintenance Japandi crafts finishes protect the wood without heavy chemical odor and enhance the grain’s natural warmth.
Full Materials List (Under $20)
| Material | Suggested Source | Estimated Cost |
|---|---|---|
| Oak or pine offcuts (2–3 pieces) | Hardware store / pallet salvage | $0–$6 |
| Bamboo strips or small board | Craft store | $3–$5 |
| Linen cord (1 roll) | Craft or garden store | $2–$3 |
| Wood glue | Hardware store | $2–$4 |
| Sandpaper (120 + 220 grit) | Hardware store | $2–$3 |
| Beeswax or linseed oil finish | Health or craft store | $4–$6 |
| Total | ~$13–$27 |
Tip: If you already have sandpaper and wood glue at home, this entire project can cost under $10.
How to Make a Simple Japandi Desk Organizer Step by Step
Step 1 — Design Your Layout
Before you cut anything, sketch your organizer on paper. Think about what lives on your desk: pens, a phone, small notes, maybe a candle. Japandi values intentionality — every compartment should have a reason.
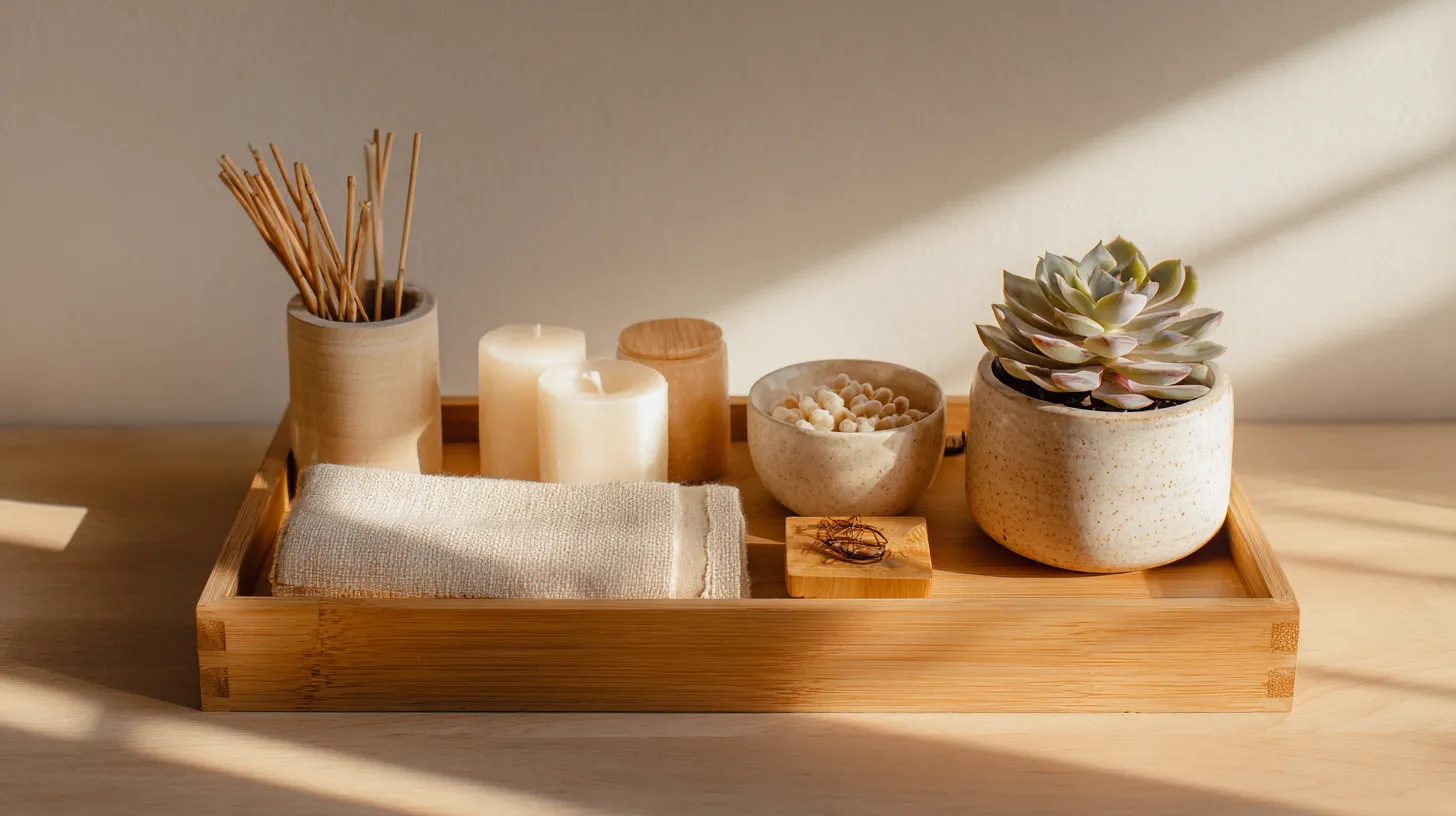
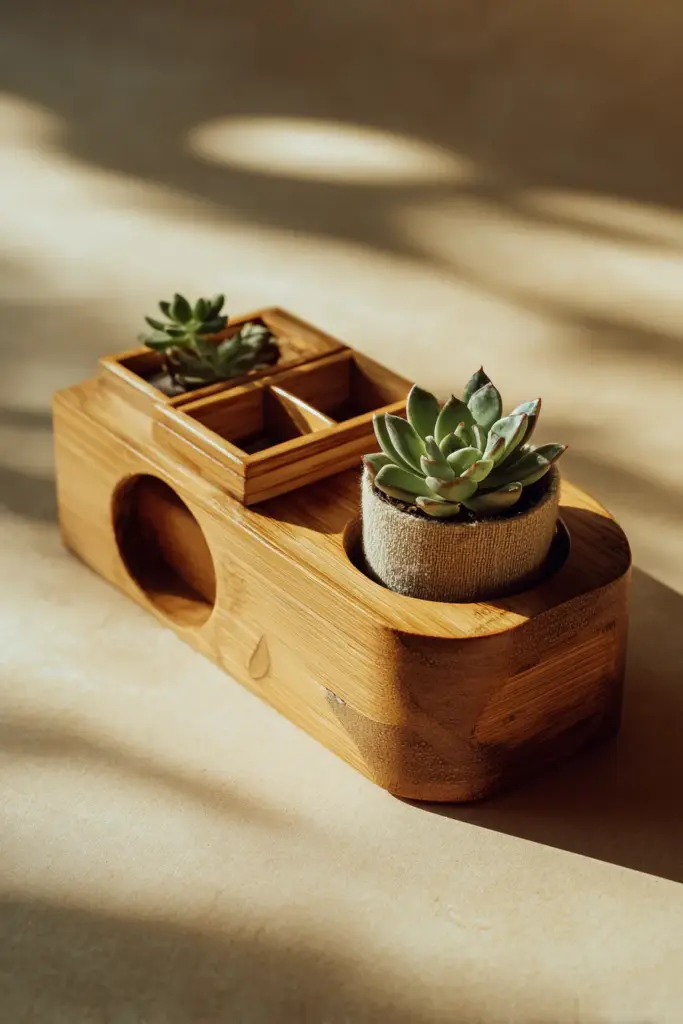
A simple starter layout includes three sections: a tall narrow slot for pens and brushes, a medium tray for your phone or cards, and a shallow wide well for sticky notes or a small succulent pot.
Step 2 — Measure and Cut
Cut your wood pieces with a hand saw or ask your local timber yard to pre-cut them for you. Precision matters here — clean lines are the heart of Japandi’s aesthetic.
Standard dimensions for a compact organizer:
- Base: 25 cm × 12 cm
- Back wall: 25 cm × 10 cm
- Side walls: 12 cm × 10 cm
- Internal dividers: Cut to fit your compartments
Sand all edges lightly with 120-grit paper before assembly.
Step 3 — Assemble With Wood Glue
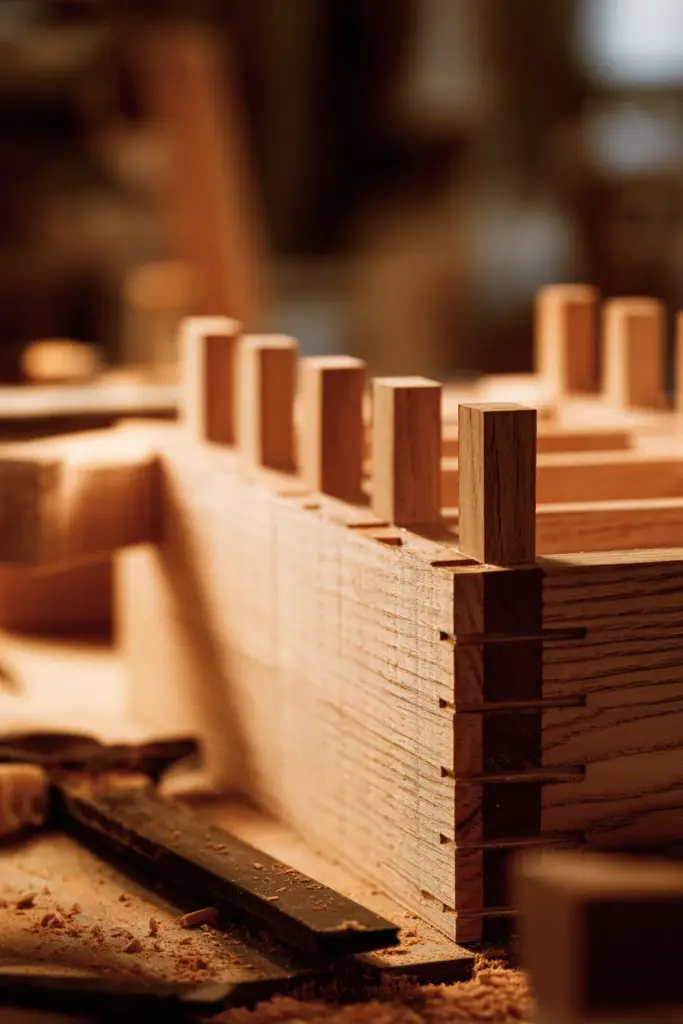
Apply a thin, even line of wood glue along each joint. Press pieces together and let them rest for 30 minutes. For extra strength, add small brad nails along the base seam — but keep them subtle.
Wipe away any excess glue immediately with a damp cloth. Dried glue resists the finish and creates uneven texture.
Step 4 — Add Your Dividers
Slot your bamboo strips or thin wood dividers into position. You can glue them or leave them removable for flexibility — a beautiful modular Japandi craft approach.
If you are adding a plant slot, line the compartment with a small glass jar or cork insert to protect the wood from moisture.
Step 5 — Sand to Silkiness
Once dry, sand the entire organizer with 120-grit paper, then again with 220-grit for a smooth, touchable surface. Pay special attention to corners and edges — a slightly rounded edge feels softer in the hand and reads as more elevated.
This tactile step is one of the most satisfying. Run your fingers along the grain and feel it transform.
Step 6 — Apply Your Finish
Dip a soft cloth into beeswax or linseed oil and work it into the wood in slow, circular motions. Let it absorb for 15 minutes, then buff gently with a clean cloth.
The wood will deepen in tone — warmer, richer, quieter. This is the wabi-sabi moment: the point where a craft project becomes something that feels alive.
Let cure for 24 hours before placing items inside.
What Are Easy Japandi Desk Organization Ideas for Small Spaces?
Small spaces do not need small solutions. They need smarter ones.
Vertical Stack Organizer
Build two small box units and stack them, connected by a bamboo dowel at the back. The lower tray holds paper; the upper holds pens and small tools. This smart storage solution doubles your capacity without expanding your footprint.
Wall-Mounted Floating Shelf Organizer
If your desk surface is limited, move your organizer to the wall. A single floating shelf in oak or ash, mounted at eye level while seated, keeps essentials close without crowding the desk. Add a small hook below for headphones or a bag.
Link internally: explore our floating shelf styling ideas for inspiration.
Monitor Riser with Built-In Storage
Build a simple monitor riser — two side walls and a top panel — with an open compartment underneath. Slide your keyboard in when not in use, or store notebooks flat. Adding bamboo cable guides along the back keeps cords tidy and the aesthetic clean.
This is one of the most overlooked ergonomic small-space hacks in desk design, and it costs almost nothing to build.
Plant Integration for Biophilic Desk Design
Cut a small circular opening (5–6 cm diameter) in one compartment wall. Drop in a glass votive or small pot with a succulent or air plant. Snake plants and ZZ plants also work beautifully — they tolerate low light and need watering only every two weeks.
Biophilic desk elements like living plants reduce cortisol, improve focus, and anchor the Japandi philosophy of bringing nature indoors. Your desk becomes not just organized, but breathing.
How to Style a Minimalist Japandi Workspace With Organizers
Keep the Palette Neutral
Japandi workspaces breathe in warm whites, soft greiges, muted sage, and the natural brown of wood. Your organizer should feel like it grew from the desk itself — not placed on top of it.
Avoid black or bright accents. If you want contrast, use a single piece of dark-stained wood or a charcoal linen desk pad.

Layer Textures, Not Colors
Place your wood organizer on a woven jute mat. Add a small ceramic bowl nearby for loose change or clips. Stack two or three books horizontally — spines facing inward for visual calm.
Link internally: explore our cozy desk furniture ideas for texture pairings.
Light Matters
Position your desk near natural light if possible. A small warm-bulb lamp in the 2700K range adds the kind of golden glow that makes an evening work session feel like a ritual rather than a chore.
Avoid cool-toned overhead lighting. Japandi spaces live in warmth.
Wabi-Sabi Imperfections
Do not stress over small knots in the wood or a slightly uneven join. These are not flaws — they are the fingerprints of the maker. Wabi-sabi teaches us that imperfection is where character lives.
Let your desk organizer show its handmade origins. That is precisely what makes it beautiful.
Sustainability and Eco-Impact
Building your own organizer from reclaimed wood or responsibly sourced offcuts is one of the most meaningful design choices you can make. A single pallet can yield enough wood for two full organizers, generating zero-waste cuts when planned carefully.
Non-toxic beeswax and oil finishes biodegrade harmlessly. Compare that to mass-produced plastic organizers, which often contain PVC or formaldehyde-based glues that off-gas into your workspace.
Choosing to build is choosing to care — for your space, and for the planet.
Troubleshooting: Common Issues and Fixes
| Problem | Likely Cause | Fix |
|---|---|---|
| Wood warping after finishing | Moisture absorbed unevenly | Apply finish to all sides, not just the visible face |
| Glue joints separating | Not enough clamping time | Re-glue and clamp for minimum 60 minutes |
| Surface feels rough after oiling | Grain raised by moisture | Sand lightly with 220-grit after first coat dries |
| Organizer too small for my desk | Scaled from standard dimensions | Add 20% to base dimensions; dividers scale proportionally |
| Bamboo splitting during cutting | Cutting too fast or with wrong blade | Use a fine-tooth saw and score the line first |
Quick Checklist: Your DIY Japandi Desk Organizer at a Glance
- Choose natural materials: oak, pine, bamboo, or reclaimed wood
- Sketch your layout before cutting — plan compartments intentionally
- Sand in two stages: 120-grit, then 220-grit
- Use beeswax or linseed oil for a non-toxic, beautiful finish
- Add a plant slot for biophilic warmth
- Consider a monitor riser for ergonomic small-space efficiency
- Wrap a compartment in linen cord for tactile texture
- Keep the color palette neutral — let the wood speak
- Embrace wabi-sabi imperfections as part of the piece’s character
- Allow 24 hours curing time before use
A Soft Closing
Your desk is where ideas begin. Where mornings start. Where the work that matters to you finds its shape.
A Japandi desk organizer will not just hold your pens. It will hold the intention you brought to building it — the quiet Saturday afternoon, the smell of beeswax warming in your hands, the satisfaction of something made rather than bought.
That is the ERYLIN way. Not perfection, but presence. Not trends, but things that last.
Set it on your desk. Light your lamp. Begin.
Frequently Asked Questions
What is the easiest DIY Japandi desk organizer for beginners?
Start with a simple three-compartment box using pine offcuts and wood glue — no power tools required. Sand, oil with beeswax, and wrap one section in linen cord for warmth. The whole project takes about two hours and costs under $15.
Can I make a Japandi desk organizer without woodworking tools?
Yes. A hand saw, sandpaper, and wood glue are all you need. Many hardware stores will also pre-cut wood to your dimensions for a small fee, making this accessible even for complete beginners.
What plants work best in a desk organizer with a built-in plant slot?
Succulents, air plants (tillandsia), and small ZZ plants are ideal. They need minimal water, tolerate indoor light, and grow slowly enough to stay compact. A snake plant in a small pot also works beautifully and is nearly impossible to kill.
Where can I find affordable wood for a Japandi desk organizer?
Check local timber yards for offcuts, browse Facebook Marketplace for reclaimed wood, or disassemble a wooden pallet. Thrift stores sometimes carry small wooden crates or boxes that can be repurposed with minimal modification.
How do I prevent my wood organizer from warping over time?
Always apply your finish — beeswax, linseed oil, or matte varnish — to all surfaces of every piece, including the underside. Sealing all sides prevents uneven moisture absorption, which is the primary cause of warping. Store away from direct heat sources or air conditioning vents.