Table of Contents
There is something quietly powerful about a well-placed tray. It holds your morning ritual — a candle, a small vase, a cup of something warm — and turns a surface into a story. That is the essence of Japandi: beauty through intention, not accumulation.
Japandi trays sit at the crossroads of two beloved design philosophies. Japanese wabi-sabi welcomes imperfection and natural materials, while Scandinavian hygge wraps everything in warmth and ease. Together, they create objects that feel both grounded and light.
The best part? You do not need a full workshop or a designer budget to make one. With a few natural materials, a bit of patience, and a slow afternoon, you can craft a DIY Japandi tray that feels like it belongs in a curated home — because it does. Yours.
Whether you live in a Quezon City apartment or a house with open shelving and afternoon light, this guide will walk you through everything — from materials and tools to styling, troubleshooting, and budget-friendly swaps available locally.
What Is Japandi Style in Trays?
Japandi is not just a visual trend — it is a way of relating to your space. In tray form, it means organic shapes, muted tones, natural wood finishes, and a deliberate absence of clutter.
A Japandi tray does not shout for attention. It holds a few chosen objects — a single stem, a smooth stone, a diffuser — and lets the quiet do the work. It is functional minimalism at its most tactile and personal.
Best Materials for DIY Japandi Trays
Natural Wood — The Heart of the Aesthetic
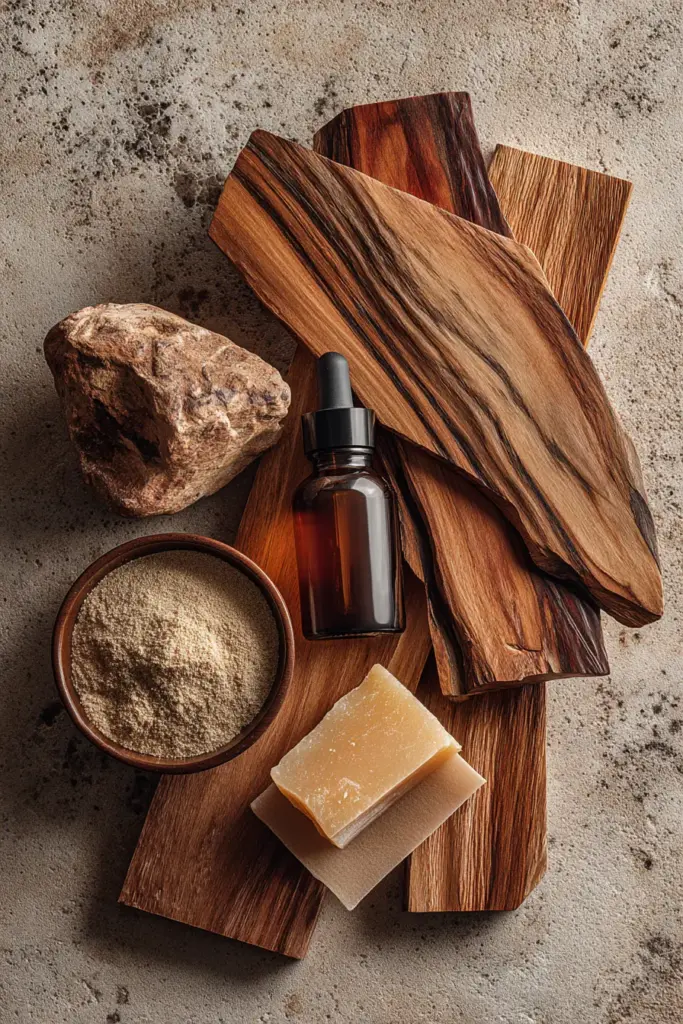
Wood is the soul of a Japandi tray. Its grain tells a story; its warmth invites touch. Look for ash, walnut, narra, or acacia — all of which carry that honest, organic quality central to wabi-sabi.
- Narra scraps (locally available in the Philippines) add a warm golden hue and are often free or very affordable from furniture workshops.
- Acacia wood slabs from Lazada or local hardware stores are budget-friendly and surprisingly beautiful when sanded smooth.
- Thrifted wooden trays from ukay-ukay or bazaars are perfect upcycle candidates — often already shaped, just needing a refresh.
Cardboard — The Zero-Waste Option
Inspired by Japanese Hako-Zen box-making traditions dating back to the Edo period, cardboard trays are a surprisingly elegant alternative. Use corrugated cardboard layered for structure, sealed with burnishing cream or chalk paint for a matte, tactile finish.
This is ideal for renters, beginners, or anyone working toward a zero-waste home. It costs almost nothing and takes an afternoon.
Other Material Options
| Material | Vibe | Best For | Approx. PH Cost |
|---|---|---|---|
| Narra wood scraps | Warm, golden, artisan | Statement trays | PHP 50–150 |
| Acacia slab | Rustic, rich grain | Everyday use | PHP 150–300 |
| Thrifted wood tray | Imperfect, storied | Upcycling project | PHP 50–100 |
| Corrugated cardboard | Minimal, matte | Zero-waste DIY | PHP 0–30 |
| MDF board | Smooth, paintable | Geometric designs | PHP 80–200 |
DIY Wooden Japandi Serving Tray: Step-by-Step
What You Will Need
- A raw wooden tray or wood slab (approx. 30cm x 20cm)
- Sandpaper (80-grit and 220-grit)
- Natural wood stain or food-safe oil (tung oil, linseed oil, or beeswax)
- Two wooden dowels or driftwood pieces for handles (optional)
- Wood glue or small screws
- A lint-free cloth
- Fine steel wool (0000 grade) for finishing
Step 1 — Sand With Intention
Begin with 80-grit sandpaper to remove rough patches and old finishes. Move in the direction of the grain — always with the grain, never against it. Feel the wood warm slightly under your hand.
Switch to 220-grit for a silky, almost polished surface. This is the step most people rush, and the one that makes all the difference. Take your time here.
Step 2 — Add Handles (Optional but Beautiful)
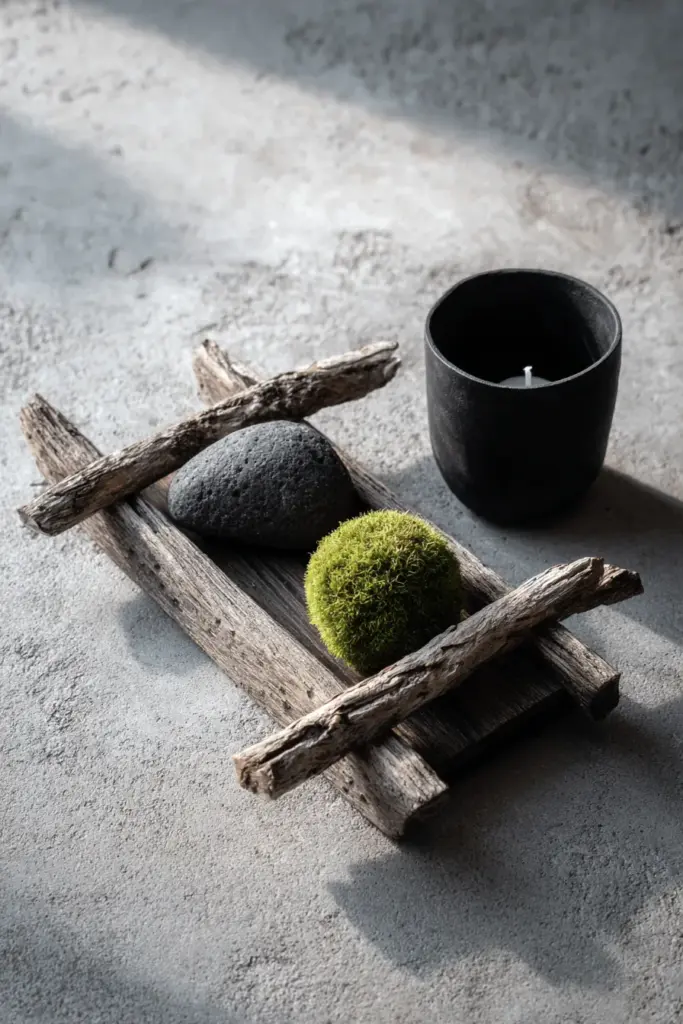
The signature of many Japandi trays is the crossed handle design — two dowels or driftwood pieces laid diagonally across the short ends. Drill small pilot holes and secure with wood glue or short screws for a clean look.
You can also skip handles entirely for a flatter, more versatile tray that doubles as a decorative board or plant stand.
Step 3 — Apply a Natural Finish
This is where the tray truly comes alive. Using a lint-free cloth, apply tung oil or beeswax in long, even strokes. Both are non-toxic, food-safe, and bring out the natural warmth of the grain without a plastic-looking gloss.
Let the first coat absorb for 20–30 minutes, then buff gently with fine steel wool. Apply a second coat for deeper protection. Allow to cure for 24 hours before use.
Step 4 — Seal for Humidity (Important in the Philippines)
Humidity causes wood to warp — a real concern in Philippine climate. After the oil coat has cured, apply a thin layer of water-based polyurethane on the underside and edges. This prevents moisture absorption from below and extends the life of your tray significantly.
For a more natural approach, beeswax re-applied every few months offers good protection and smells lovely when warmed by afternoon light.
DIY Japandi Tray from Thrift or Cardboard
Upcycling a Thrifted Tray
A thrifted tray is often already the right shape — just with old paint, a dated finish, or minor damage. Sand it down to bare wood, wipe with a damp cloth, let dry fully, then treat it like a new tray from Step 3 onward.
Embrace any small dents or grain irregularities. In wabi-sabi philosophy, these are not flaws — they are proof of life and history. They make your tray yours.
No-Tool Cardboard Japandi Tray
Cut two equal rectangles from thick corrugated cardboard (approx. 30cm x 20cm). Stack and glue them together for rigidity. Cut two smaller strips for the raised edges and glue along the long sides.
Once dry, apply two coats of chalk paint in warm white, ash grey, or soft clay. Burnish with a wax-based cream for a smooth, matte finish that mimics fired clay or plaster. Add a thin strip of twine or jute rope along the edges for texture.
The result is a surprisingly refined tray for under PHP 50.
How to Style Your Japandi Tray
For the Coffee Table
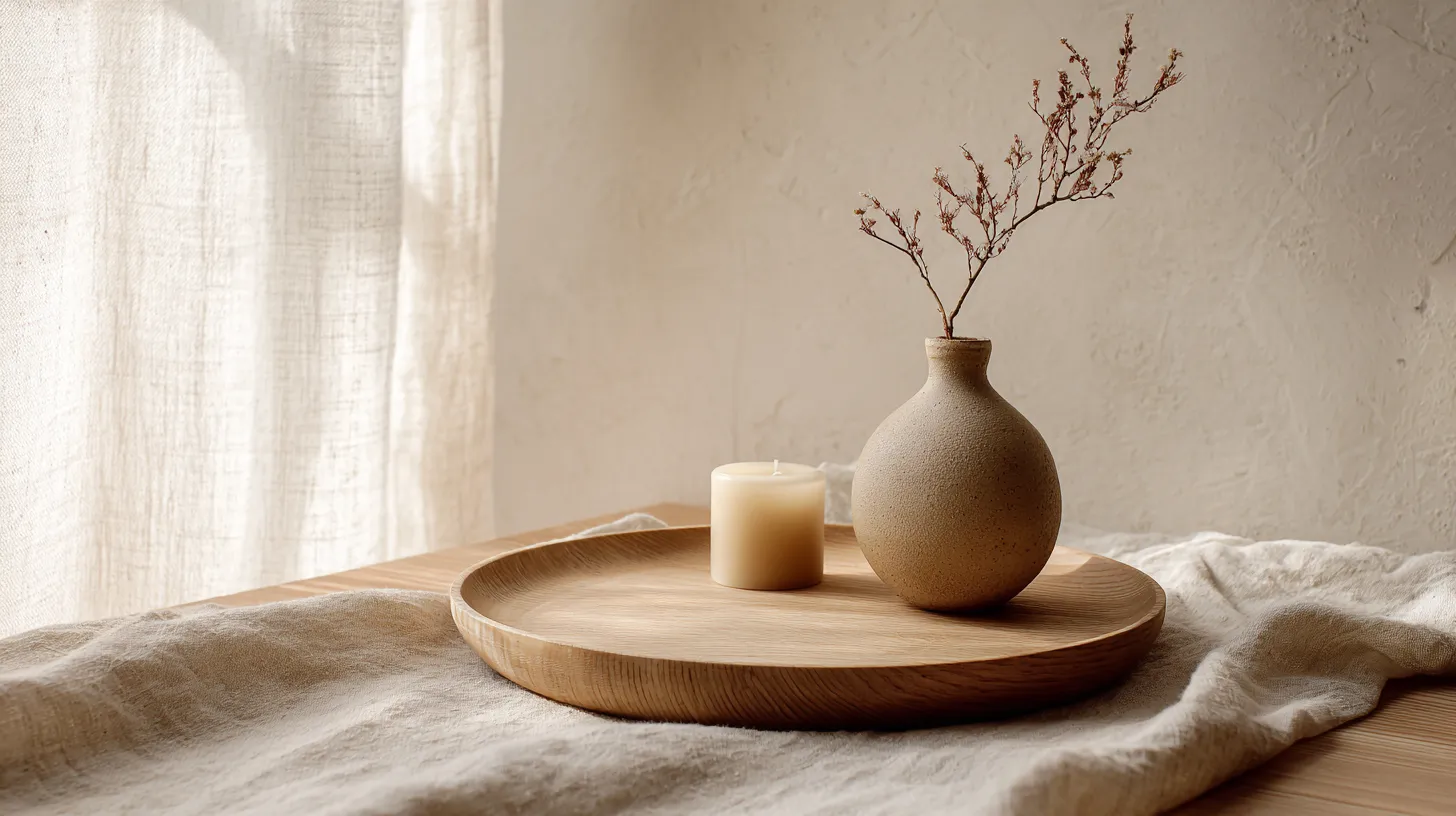
Place your tray on a low, organic-shaped coffee table and arrange three objects at different heights: a small bud vase with a single stem, a smooth river stone or quartz crystal, and a low candle in a ceramic holder. Odd numbers feel more natural than even groupings.
Keep the palette in warm neutrals — ash wood, undyed linen, matte black, and soft white. Avoid bright colors or synthetic textures.
As a Plant Stand for Biophilic Japandi
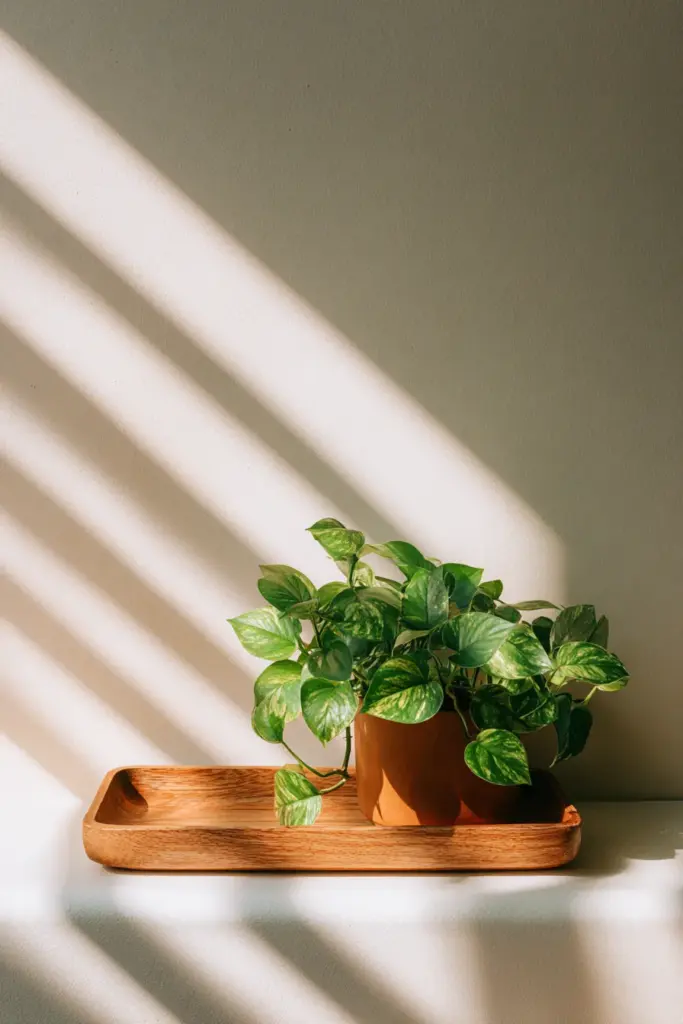
A flat Japandi tray makes a beautiful riser for small potted plants. Place a single Kokedama moss ball or a trailing pothos on your tray to create a small, living moment on a shelf or windowsill.
Trays protect surfaces from water marks and add visual framing — turning even a single plant into an intentional vignette.
For Small-Space and Rental Styling
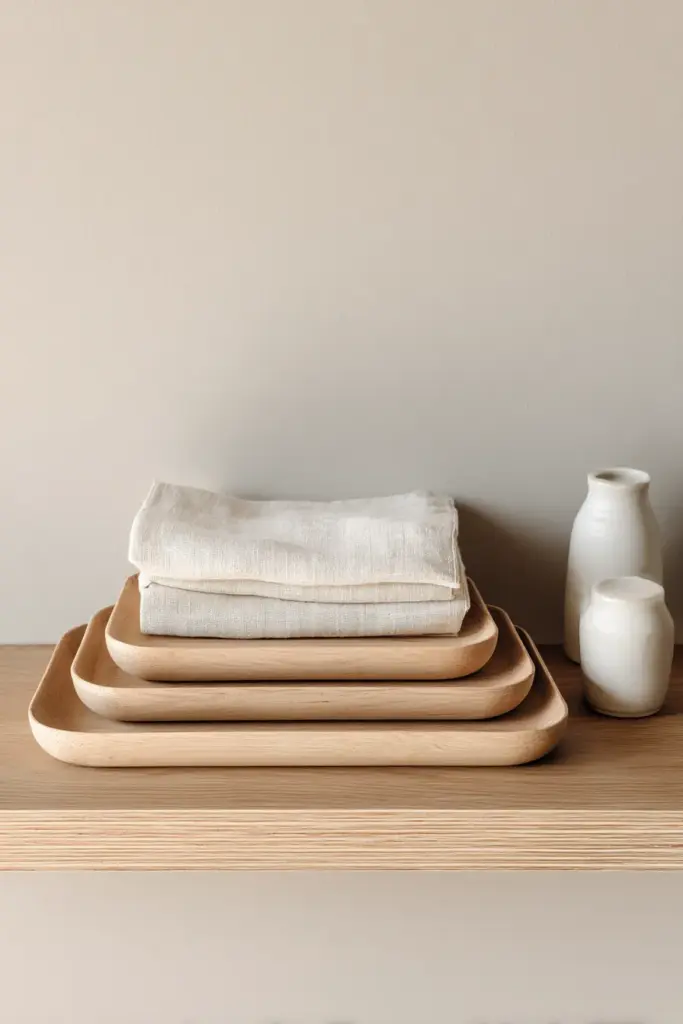
In smaller apartments, stackable trays solve clutter beautifully. Use two or three trays in descending sizes to organize keys, mail, or desk essentials vertically rather than sprawling horizontally.
For Quezon City rental walls where hooks are limited, a shallow Japandi tray mounted with adhesive strips becomes a wall-mounted display shelf for a small plant, a card, or a folded cloth — no damage, full style.
Quick Checklist: Japandi Tray Essentials
- Wood choice: Ash, narra, acacia, or walnut for authentic grain and warmth
- Finish: Natural oil (tung/linseed/beeswax) for a matte, non-toxic surface
- Humidity seal: Water-based polyurethane on underside for Philippine climates
- Handle style: Crossed dowels, driftwood, or handle-free for versatility
- Styling rule of three: Candle + vessel + natural object at varying heights
- Budget option: Thrifted tray + sand + oil costs under PHP 250 total
- Zero-waste option: Layered cardboard + chalk paint + wax under PHP 50
- Plant integration: Use tray as a base for kokedama, succulents, or trailing plants
- Small-space hack: Stack trays vertically or wall-mount with adhesive strips
Troubleshooting Common DIY Tray Issues
Warping in Humid Climates
Wood warps when moisture enters unevenly — usually from the bottom while the top stays sealed. Always finish all six sides of your tray, including the base and edges. Store your tray away from air-conditioning vents and direct sunlight, which cause rapid moisture fluctuation.
Finish Looks Streaky or Uneven
This usually happens when oil is applied too thickly or on dusty wood. Sand lightly between coats with 0000 steel wool and wipe away all dust before the next application. Thin, even coats always outperform heavy ones.
Handle Feels Loose
If your dowel handles shift, reinforce them with a small amount of two-part epoxy on the joint. For a more rustic solution, wrap the joint with natural jute twine — it adds grip and texture, and looks entirely intentional.
ERYLIN’s Closing Thoughts
A Japandi tray is not just décor. It is a boundary you draw around beauty — a small, deliberate space in your home that says: this is intentional, this is cared for, this is enough.
Making one yourself deepens that meaning. Your hands shaped it. Your choices — the wood, the oil, the finish — made it specific to your home, your light, your life.
We believe that the most beautiful spaces are not the most expensive ones. They are the ones where every object has been thought about, placed with care, and allowed to age gently.
Start with one tray. See how it changes the feeling of a surface. Then see how it changes the feeling of a room.
That is the ERYLIN way — calm, considered, and completely yours.
Frequently Asked Questions
What materials are best for DIY Japandi trays?
Natural wood is the ideal material — particularly ash, walnut, narra, or acacia for their warm grain and organic character. Finish with food-safe tung oil or beeswax for a matte, non-toxic surface that highlights the wood’s natural beauty. For a zero-waste alternative, layered corrugated cardboard sealed with chalk paint and wax cream creates a surprisingly refined result.
How do I make a wooden Japandi serving tray step by step?
Sand your wood slab from 80-grit to 220-grit for a silky surface, optionally attach crossed dowel handles, apply natural oil in two thin coats buffed between with steel wool, then seal the underside with water-based polyurethane for humidity protection. The entire process takes one afternoon and costs under PHP 300 with locally sourced materials.
Can I DIY a Japandi tray from a thrift find or cardboard?
Absolutely. Thrifted wooden trays are ideal — sand them back to bare wood, re-oil, and they look entirely new while carrying beautiful character. Cardboard trays built from corrugated layers, sealed with chalk paint and wax, cost almost nothing and are a beautiful zero-waste project for beginners.
How long does a Japandi tray finish last?
A tung oil or beeswax finish, properly applied and reapplied every three to six months, can last for years. In humid Philippine climates, re-waxing more frequently (every two to three months) keeps the wood nourished and warp-resistant. A water-based polyurethane undercoat extends longevity significantly.
How do I style a Japandi tray for a small space?
Use the rule of three: one tall element (a slim vase or candle), one mid-height piece (a small plant or ceramic), and one low, flat object (a stone, a folded cloth). Stack multiple trays vertically to organize without spreading out, or mount a shallow tray on a wall with adhesive strips as a minimalist display shelf — perfect for rentals where wall damage is a concern.