Table of Contents
There is something quietly powerful about a single vase on a bare shelf. No clutter, no noise — just shape, texture, and the soft suggestion of nature brought indoors. At ERYLIN, we believe that the objects we place in our homes carry energy, and few things carry that calm as beautifully as a Japandi vase.
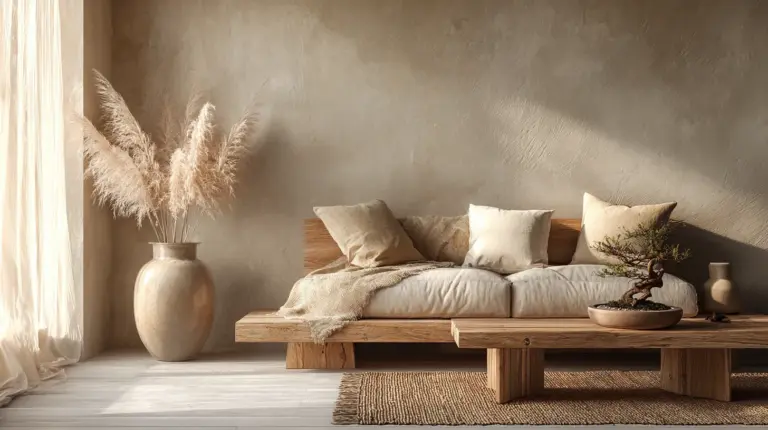
Japandi is more than a design trend. It is a philosophy — a blending of Japanese wabi-sabi (the beauty of imperfection) and Scandinavian hygge (the warmth of simple living). Together, they create spaces that feel both curated and deeply human. And the vase, humble as it is, becomes a vessel for that feeling.
The good news? You do not need a ceramics studio or an expensive boutique to bring this into your home. With a little patience, some accessible materials, and an eye for organic form, you can create DIY Japandi vases that feel as intentional as anything you would find in a design shop.
This guide will walk you through everything — from materials and techniques to plant pairings and small-space styling — so you can fill your home with beauty that is both handmade and deeply personal.
What Makes a Vase “Japandi”?
Before you pick up a brush or roll out clay, it helps to understand the visual language of Japandi design.
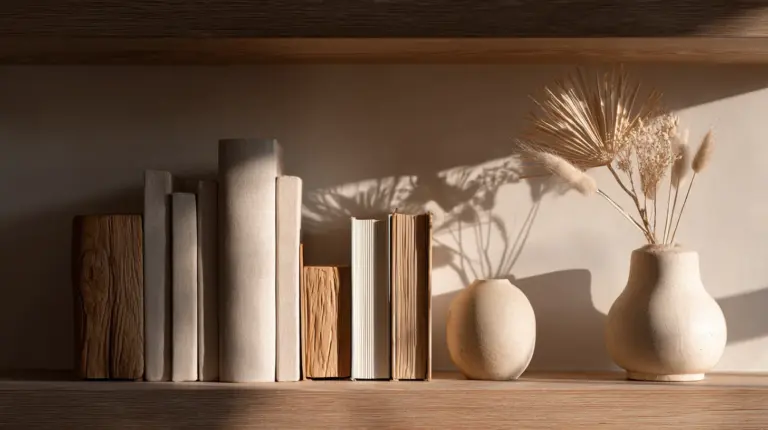
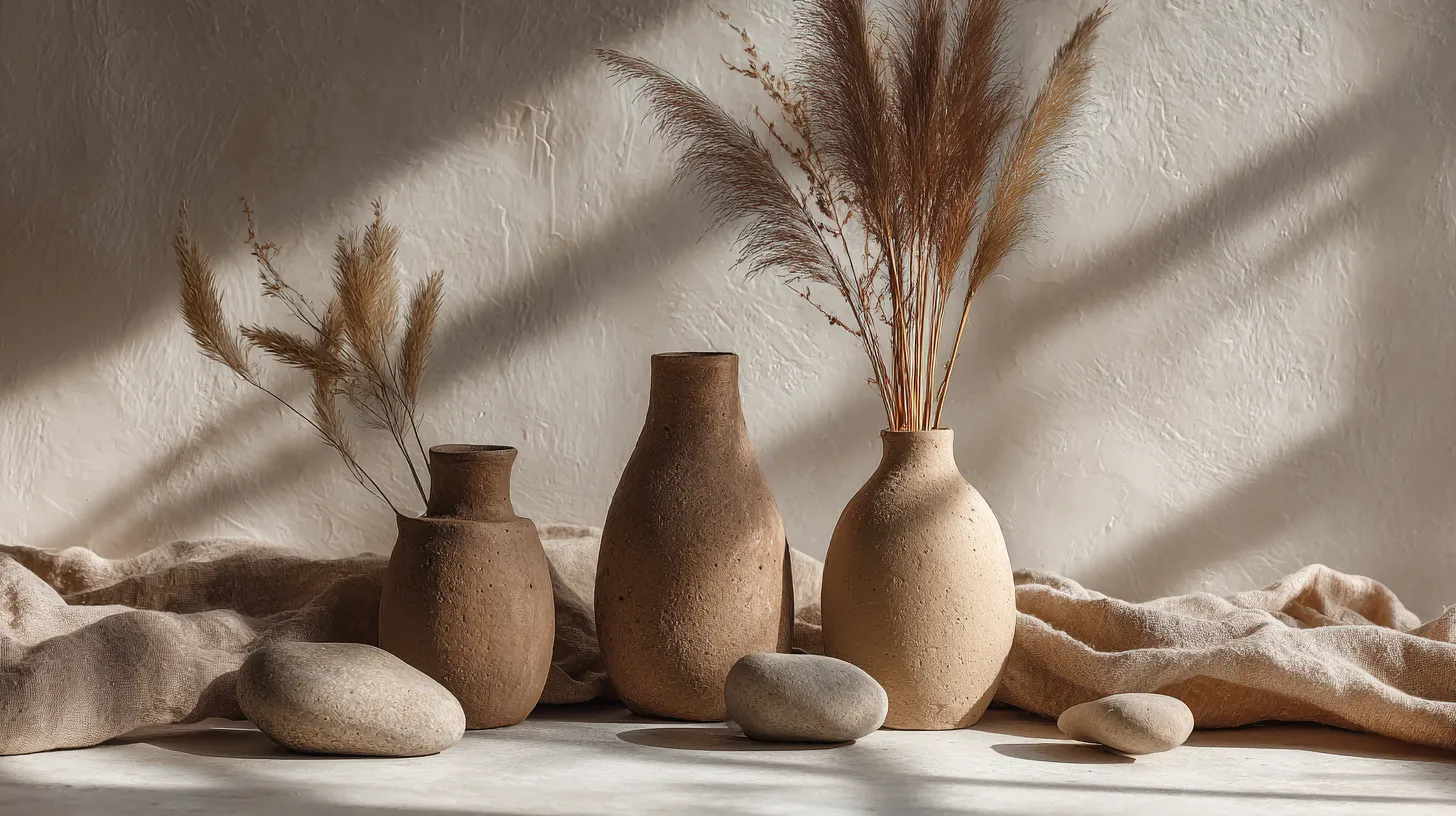
A Japandi vase is never loud. It speaks in muted earth tones — warm beiges, dusty taupes, sage greens, and off-whites. Its surface may be slightly rough, pleasantly uneven, or softly matte. It does not try to impress; it simply is.
Key characteristics of a Japandi vase:
- Organic, asymmetrical forms — no perfect symmetry; slight imperfection is intentional
- Natural materials — clay, glass, ceramic, unfinished wood, recycled vessels
- Neutral color palette — beige, taupe, warm grey, muted sage, charcoal, cream
- Matte or textured finish — avoid high gloss; embrace chalky, earthy surfaces
- Negative space — the vase breathes; it is never overfilled
- Wabi-sabi spirit — a crack, a thumbprint, an uneven rim adds soul, not flaw
Keep these principles in mind as you choose your method. The goal is never precision — it is presence.
Japandi Vase Color Psychology
Color is not just aesthetic in Japandi design. It is emotional.
Beige and warm taupe evoke safety and stillness. They are the colors of undyed linen, of sand at low tide, of morning light on a wooden floor. Sage and muted olive bring the outdoors in without demanding attention. Charcoal and warm black ground a shelf arrangement, adding quiet weight. Cream and off-white open up a space, reflecting soft light without the sharpness of bright white.
When choosing paint or glaze for your DIY vase, resist the pull of pure colors. Go always for the quieter version — the grey that leans warm, the green that leans grey, the white that leans sand.
DIY Method 1: Air Dry Clay Japandi Vases
This is the most hands-on and rewarding method — and it requires no kiln.
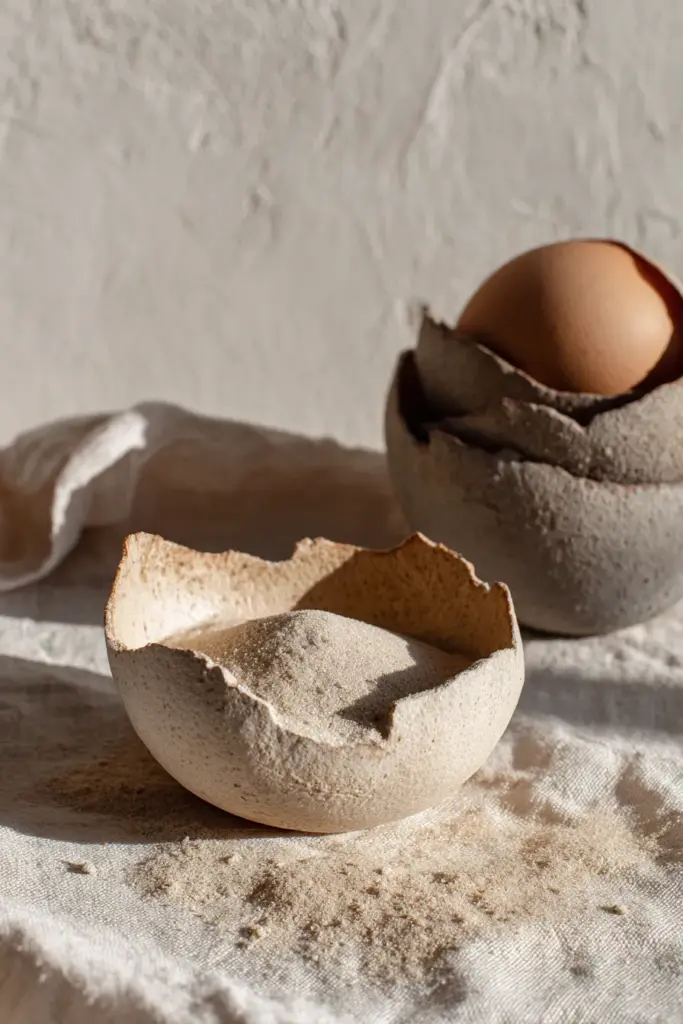
Air dry clay is widely available at craft stores and online marketplaces, including Shopee Philippines where you can find decent-quality packs for under ₱200. It is forgiving, beginner-friendly, and produces beautifully organic results.
What You Will Need
| Material | Approximate Cost (PH) | Notes |
|---|---|---|
| Air dry clay (white or terracotta) | ₱150–₱300 | Available on Shopee or National Bookstore |
| Rolling pin or smooth bottle | ₱0–₱100 | A wine bottle works beautifully |
| Plastic wrap or damp cloth | ₱20–₱50 | Keeps clay from drying too fast |
| Sandpaper (fine grit) | ₱30–₱60 | For smoothing after drying |
| Matte acrylic paint | ₱80–₱200 | Neutral tones only |
| Finishing wax or matte sealer | ₱100–₱250 | Chalk paint wax gives a gorgeous finish |
| Optional: rubber stamps or texture tools | ₱0–₱150 | Leaves, lace, or burlap create organic texture |
Step-by-Step: Hand-Pinched Japandi Vase
Step 1: Condition your clay by kneading it gently for two to three minutes until it is smooth and pliable.
Step 2: Roll a ball roughly the size of your palm. Press your thumb into the center and begin pinching outward, rotating the ball slowly.
Step 3: Work the walls upward gradually, keeping the thickness as even as possible — though slight variation is encouraged. This is wabi-sabi in practice.
Step 4: To create a narrow neck, pinch and coil the top inward. You can leave the rim slightly uneven for an artisan feel.
Step 5: Press a texture tool, leaf, or piece of burlap gently into the surface before the clay firms. The impression will remain after drying.
Step 6: Let the vase dry for 24 to 48 hours away from direct sunlight. In the humid Silang climate, allow an extra 12 hours or place near a gently circulating fan.
Step 7: Once fully dry, sand lightly with fine-grit sandpaper to smooth any rough patches.
Step 8: Apply two thin coats of matte acrylic paint in your chosen neutral tone. Let each coat dry fully before the next.
Step 9: Seal with chalk paint finishing wax or a matte spray sealer for durability.
Troubleshooting: Clay Cracking Fixes
Cracking is the most common challenge, especially in warm or humid environments.
- Cracks during drying: Dampen a cloth and press it gently over the crack. Smooth fresh clay over the gap and blend with your fingertip.
- Paint bubbling in humid conditions: Always prime with a thin layer of white gesso before painting. Let it cure fully before adding color.
- Walls too thin and collapsing: Work in shorter sessions. Let the base firm slightly before building the walls higher.
DIY Method 2: Upcycled Glass Bottle Vases
Sometimes the most beautiful vase is already in your recycling bin.
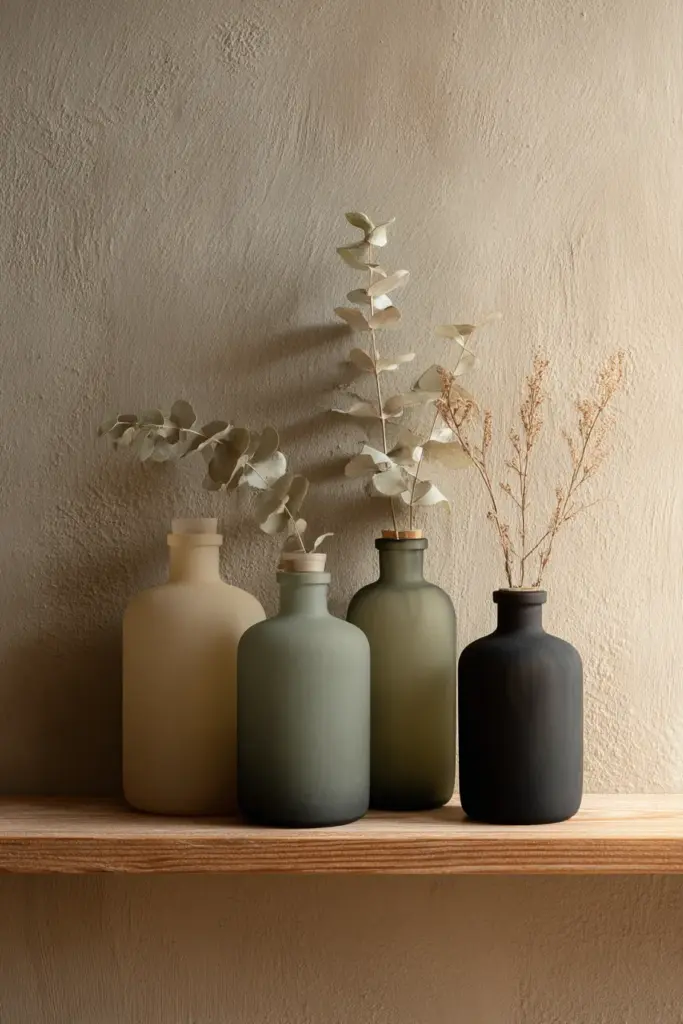
This is the most sustainable DIY — and one of the most satisfying. Olive jars, wine bottles, soy sauce bottles, and even old apothecary bottles become Japandi vessels with a coat of frosted paint and intention.
What You Will Need
- Clean glass bottles or jars (recycled or thrifted)
- Frosted spray paint or chalk paint in neutral tones
- Fine sandpaper (for roughing the surface slightly)
- Painter’s tape (for geometric accents if desired)
- Matte sealer
The Process
Clean the bottle thoroughly and remove all labels. Soak in warm soapy water and use a little cooking oil to dissolve stubborn adhesive.
Lightly sand the surface to give the paint something to grip. Wipe clean with a dry cloth.
Apply frosted spray paint in thin, even coats. Two to three light coats produce a more refined finish than one heavy coat. Hold the can 30 cm away and sweep slowly.
For a two-tone look, apply painter’s tape at the midpoint and paint the lower half in a slightly darker tone — warm charcoal over taupe reads beautifully on a console table.
Seal with matte spray once fully dry.
Thrift stores in Divisoria and community ukay-ukay markets often carry interesting glass vessels for ₱10–₱50 each — look for unusual shapes.
DIY Method 3: Painted Thrift Store Ceramic Makeover
A slightly tired secondhand pot can become a quiet statement piece with the right paint and finish.
This method — popularized by creators like Studio Mary — transforms budget ceramics into Japandi-worthy vessels using chalk paint and finishing wax. The process takes less than an afternoon and costs very little.
Choose your vessel: Look for simple, round, or cylindrical shapes. Avoid anything too ornate — Japandi thrives on restraint.
Apply chalk paint directly to the clean ceramic surface. No priming needed for most chalk paints. Use a dry brush technique for a slightly textured, aged look.
Layer two tones if desired — a warm beige base with a thin wash of warm grey on top, lightly sanded once dry, creates beautiful depth.
Seal with finishing wax, buffing gently with a soft cloth to bring out a subtle sheen.
Plant Pairings: What to Place Inside Your Japandi Vase
A Japandi vase without greenery is like a page without a single word — beautiful, but incomplete.
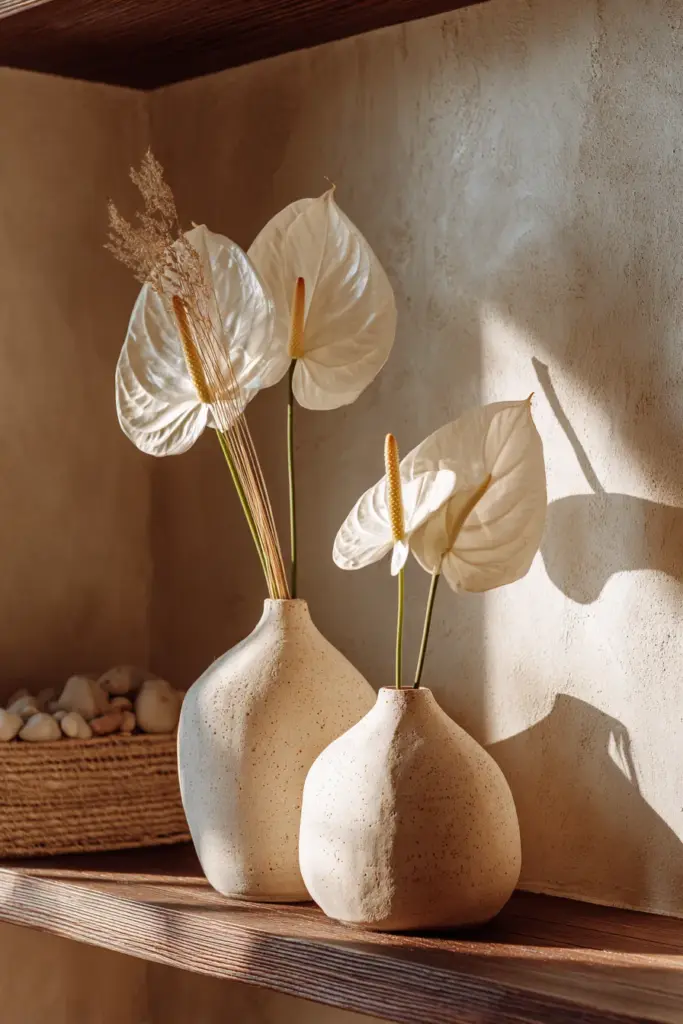
The plants you pair with your vase matter as much as the vase itself. Japandi floral styling — influenced by Japanese ikebana — favors asymmetry, negative space, and single-stem simplicity.
Best Plant Pairings by Vase Type
| Vase Type | Ideal Pairing | Mood It Creates |
|---|---|---|
| Tall narrow bottle | Single eucalyptus stem | Airy, meditative |
| Wide-mouthed clay vase | ZZ plant cutting or monstera leaf | Grounded, natural |
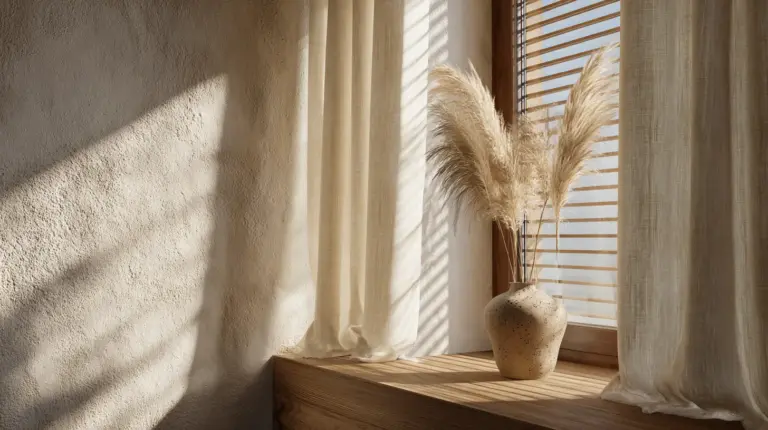
| Small pinched pot | Dried pampas grass or cotton stem | Warm, textural |
| Frosted glass bottle | Single white anthurium or tulip | Clean, poetic |
| Grouped low vessels | Pebbles, water, and fresh herb sprigs | Zen, sensory |
Low-light options for apartments: ZZ plants, pothos cuttings, and monstera leaves thrive even in low light and hold beautifully in water for weeks. They are ideal for Japandi vases placed away from windows.
For the ikebana-inspired arrangement, use a flower frog (kenzan) at the base of a wide-mouthed vase to hold stems at precise, intentional angles.
Styling Your DIY Japandi Vases at Home
Where you place your vase matters as much as how you made it.
Console and Entryway Tables
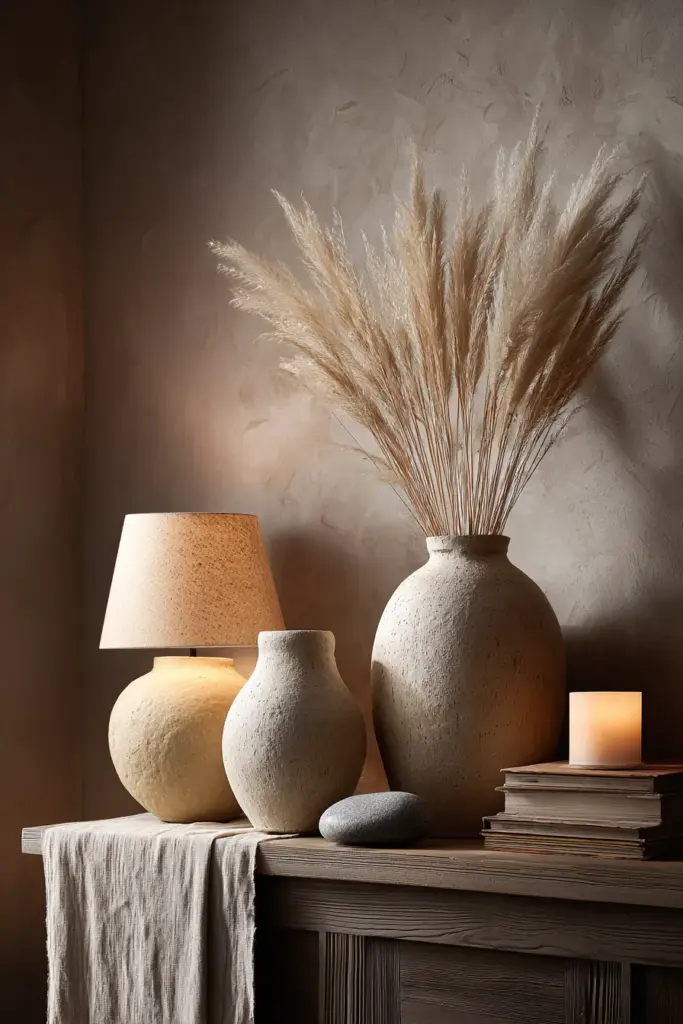
A tall upcycled bottle vase with a single eucalyptus stem creates an immediate sense of calm as you enter a room. Pair it with a flat river stone and a small woven tray to anchor the arrangement.
For vase height on console tables: the vase should be roughly one-third the height of the surface it sits on. A 90 cm console table pairs well with a 28–32 cm vase.
Shelf Arrangements
Group vases in odd numbers — three or five creates visual rhythm without rigidity. Vary heights, but keep all pieces within the same tonal family. A tall frosted bottle beside a small clay pinch pot beside a medium thrift-store ceramic reads as a collection, not a collision.
Small-Space and Apartment Hacks
- Wall-mounted bud vases (small clay pots with a flat back, pressed against a board) work beautifully in narrow hallways
- A single vase on a bathroom ledge transforms a utilitarian space into a sensory retreat
- A cluster of three small frosted bottles on a kitchen windowsill filters light and softens the view
Explore our Japandi living room styling ideas →
Summary Checklist: Your DIY Japandi Vase Essentials
- Choose organic, imperfect forms over geometric perfection
- Work in a neutral color palette — beige, taupe, sage, warm grey, charcoal
- Use matte or chalky finishes; avoid high gloss
- Embrace wabi-sabi: slight cracks, uneven rims, and thumbprints add soul
- Pair vases with single stems, dried grasses, or minimal greenery
- Style in odd numbers; vary heights but unify tones
- In humid climates, allow extra drying time and always seal your work
- Source locally — Shopee, Divisoria, and thrift stores carry beautiful raw materials affordably
- Use a flower frog for ikebana-style arrangements
- Let the vase breathe — never overfill
Conclusion
You have held the clay. You have felt the weight of the bottle, the soft resistance of the brush.
There is something that happens when you make something with your hands — a quieting. A Japandi vase you made yourself carries that quiet into every room it enters. It is not just an object. It is evidence that beauty does not have to be purchased, perfect, or distant.
At ERYLIN, we believe that the most soulful interiors are built slowly, intentionally, and with love for the process. Your DIY Japandi vase — cracked or smooth, painted or raw — belongs exactly where you place it.
Make something imperfect. Make something yours.
Frequently Asked Questions
What materials are best for DIY Japandi vases?
Air dry clay, recycled glass bottles, and secondhand ceramics are the most accessible and authentic options. Each produces a different texture — clay feels handmade and earthy, glass reads as clean and minimal, and repainted ceramics offer depth and warmth. For beginners, air dry clay is the most forgiving and most rewarding.
What is the best Japandi vase height for a console table?
Aim for a vase that is roughly one-third the height of the surface. For a standard 90 cm console table, a 28–32 cm vase creates ideal visual proportion. If grouping multiple vases, let one tall piece anchor and flank it with shorter vessels.
How do I prevent air dry clay from cracking?
Dry your clay slowly, away from direct sunlight or heat sources. In humid climates, place the drying piece near a gentle fan rather than in direct airflow. If cracks appear, smooth damp clay over them while still wet. After drying, fine-grit sandpaper will smooth minor surface imperfections.
What plants work best in Japandi vases?
Single stems are the Japandi way. Eucalyptus, dried pampas grass, monstera leaves, and ZZ plant cuttings all pair beautifully. For low-light apartments, pothos and monstera cuttings can live in water for weeks. Dried arrangements — cotton stems, dried lavender, bleached branches — require no maintenance and hold their beauty for months.
Where can I find affordable materials for DIY Japandi vases in the Philippines?
Shopee carries air dry clay and matte acrylic paint for under ₱200–₱300 total. Divisoria and local tiangge markets offer terracotta pots, glass jars, and secondhand ceramics at very low prices. National Bookstore and art supply shops in Metro Manila stock chalk paint and finishing wax. Thrift stores and ukay-ukay are excellent for unique glass vessels with interesting silhouettes.