Table of Contents
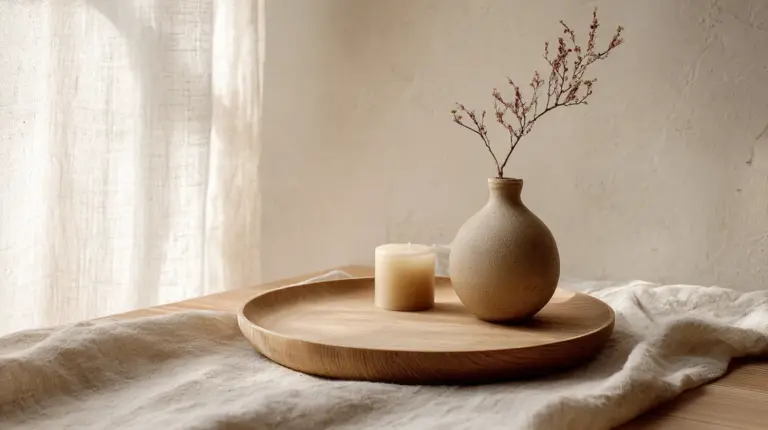
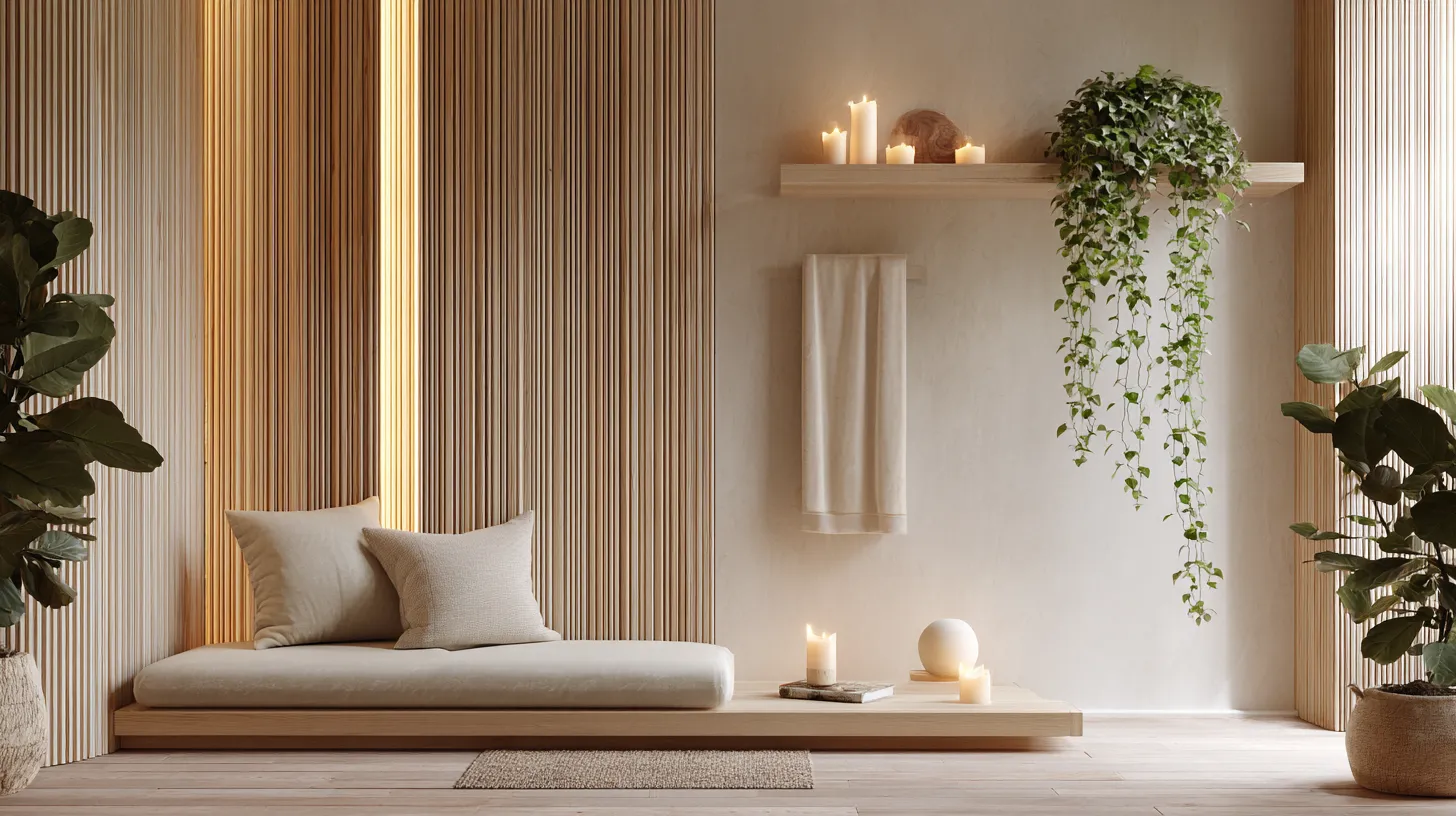
There’s a particular kind of quiet that happens when a room finally feels right. The light lands softly on a wooden panel. A linen textile sways just slightly near an open window. A single trailing plant draws your eye upward, then lets it rest. That feeling — unhurried, grounded, beautiful — is what DIY Japandi wall decor is designed to create.
Japandi is the quiet child of two great design traditions: the warmth of Scandinavian hygge and the refined restraint of Japanese wabi-sabi. Together, they produce a style that is minimal without being cold, and decorative without being loud. Your walls become a canvas for intentional calm.
This guide is not just a list of ideas. It is a repeatable design system built for real homes — small apartments, rented condos, beginners working with modest budgets. Whether you have a weekend and some lumber scraps or just an afternoon and a pack of adhesive strips, there is a version of this for you.
Let’s build something beautiful, slowly and on purpose.
What Is Japandi Wall Decor?
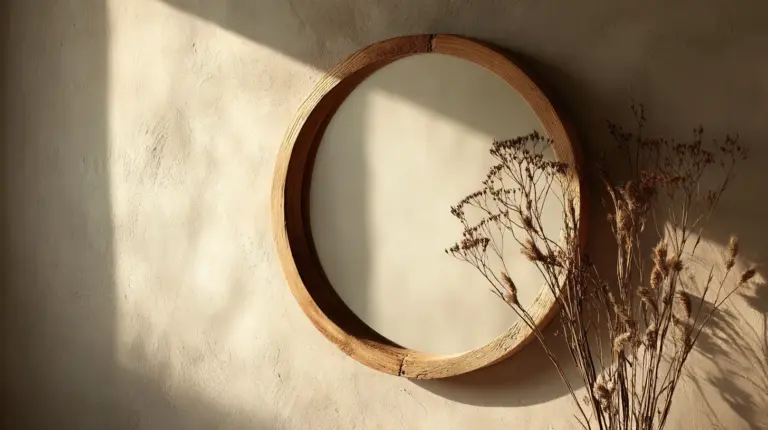
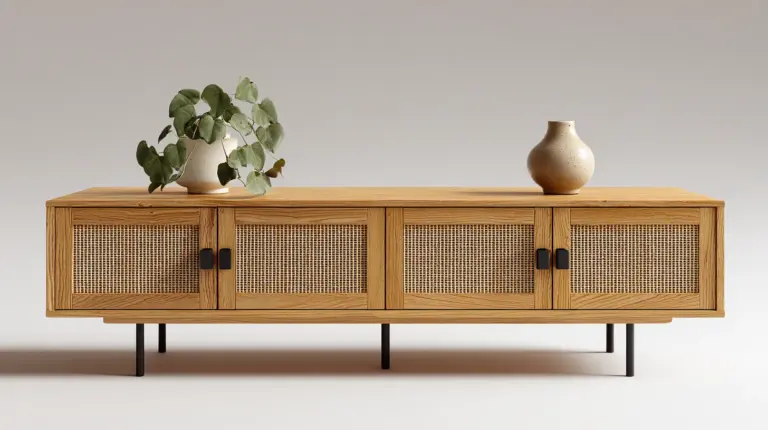
Japandi wall decor blends natural materials, neutral tones, and deliberate negative space to create walls that feel both serene and artful. Think raw wood planks in warm ivory, a woven rattan panel beside a ceramic piece, or a wall-mounted plant shelf with a single trailing pothos.
The philosophy behind it is functional beauty. Nothing on the wall exists purely for decoration — every element carries weight, texture, or living energy. And crucially, what you leave off the wall matters just as much as what you put on it.
Japandi vs. Minimalism: What’s the Difference?
Pure minimalism often strips the wall down to near-emptiness. Japandi allows more warmth — a textile here, an organic shape there — but maintains the same discipline about what earns its place. Where minimalism can feel clinical, Japandi feels inhabited. It has the texture of lived-in intention.
The Japandi Wall Design Formula
Before you pick up a single plank, commit to a framework. The most beautiful Japandi walls are not accidental — they follow a quiet set of rules.
Step 1 — Choose Your Japandi Wall Zone
Not every wall needs to be a Japandi statement. Pick one: the wall behind your sofa, the surface above your headboard, the space behind your desk, or the TV wall. One focused, well-executed wall beats four scattered, half-finished ones.
Step 2 — Build Your Material Stack
Japandi walls work best with three materials maximum from three distinct categories.
| Material Category | Examples |
|---|---|
| Wood | Sanded pine planks, bamboo strips, repurposed pallet boards |
| Textile | Linen wall hanging, macramé, woven rattan panel, bouclé frame |
| Organic Form | Ceramic disc, dried pampas grass, a single framed botanical print |
Limit your wall to one piece from each category. This prevents visual noise while creating a layered, curated feel.
Step 3 — Protect the Negative Space
This is the rule most people break. In Japandi design, 60 to 70 percent of your wall should remain bare. That empty plaster is not wasted space — it is the silence that makes the rest sing. If you feel like you need to add more, pause. The urge to fill is usually the wrong instinct.
Step 4 — Add the Biophilic Layer
Bring in something living. A small floating shelf with a trailing pothos, a wall-mounted planter with a snake plant, or a single air plant in a ceramic vessel. The green interrupts the stillness just enough to make the whole wall feel alive. Local favorites like monstera deliciosa and pothos work especially well because they trail gracefully and require minimal care.
Step 5 — Integrate Lighting
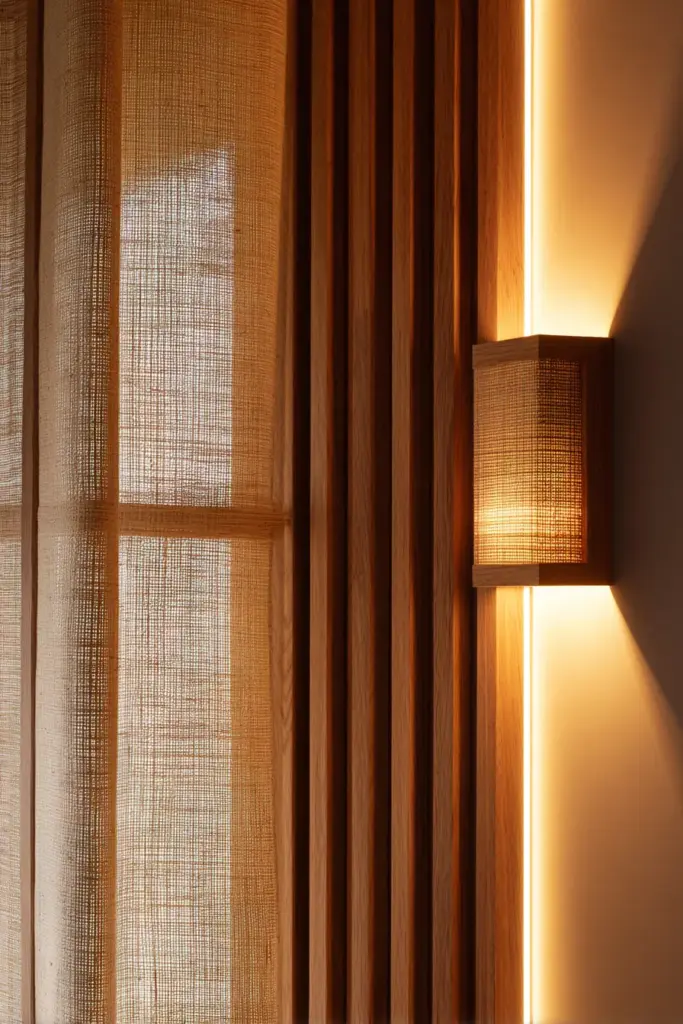
This step is the most overlooked, and it is transformative. A warm-white LED strip tucked behind a wood panel board creates a soft backlit glow at dusk. A small plug-in wall sconce positioned beside your textile art throws the texture into sharp, beautiful relief. Even a simple paper lantern hung nearby shifts the mood entirely. Warm, diffused lighting does more for a Japandi wall than any additional decor piece.
DIY Japandi Wall Decor Ideas by Material
Wood Panel Walls
Wood is the heart of Japandi wall decor. The look you’re after is raw, warm, and slightly imperfect — none of the glossy lacquered finishes of traditional cabinetry.
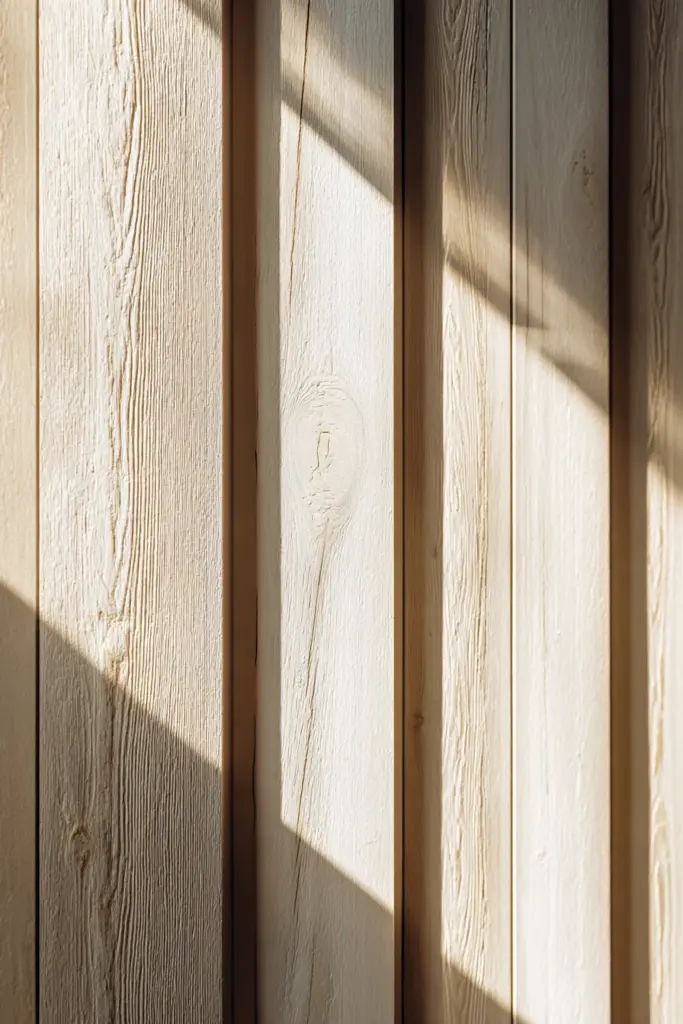
For a simple plank wall, cut sisa lumber or pine boards into uniform strips — try 30 cm × 90 cm panels spaced 10 cm apart for a proportionate, airy arrangement on a standard 2.4-meter wall. Sand each piece lightly, apply a matte water-based paint in warm white, oat, or warm taupe, then seal with a matte topcoat.
The spacing between planks matters. Those gaps let the wall breathe and give the installation that signature Japandi lightness. Don’t fill them in.
No-Drill Japandi Wood Panels for Renters
If you’re in a rented condo or apartment, you can still achieve this look. Use heavy-duty adhesive strips (rated for the panel weight) and attach lightweight plywood panels directly to the wall. For heavier wood, try a floating wall rail system that hooks over a picture rail or tension rod mounted in a doorframe adjacent to the wall. The key is choosing thinner, lighter wood — 6 mm plywood painted and sealed holds up beautifully and weighs almost nothing.
Woven Textile Wall Hangings
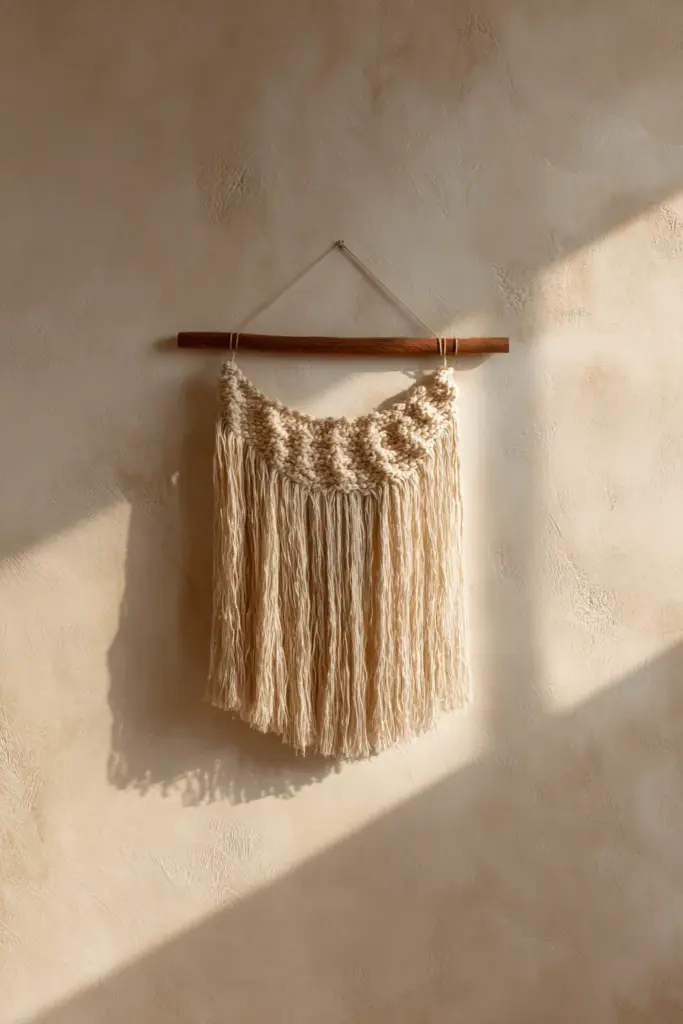
A woven linen or cotton wall hanging introduces warmth and organic texture without adding visual weight. Hang it slightly off-center — Japandi favors asymmetry over symmetry, particularly in vertical arrangements.
Look for textiles in undyed natural linen, warm cream, soft sage, or charcoal. Avoid prints and patterns. The texture of the weave itself is the artwork.
DIY Woven Wall Hanging
To make your own, purchase a small wooden dowel and a bundle of natural cotton rope or jute. Simple straight-cut fringe with a few knotted accents is enough. The beauty of this piece is in its imperfection — slight variations in spacing and knot tightness make it feel handmade and human.
Bamboo and Rattan Wall Panels
Bamboo strips and rattan mats are among the most budget-friendly and locally available Japandi wall materials. A woven rattan mat from a local hardware or craft store, cut to size and mounted flush against the wall, creates an instant textural backdrop that photographs beautifully and costs a fraction of imported wall art.
Bamboo strips can be arranged in a ladder pattern, a simple stacked grid, or a loose vertical arrangement. Secure them with adhesive foam tape or thin wire loops for a no-nail installation.
Ceramic and Clay Wall Accents
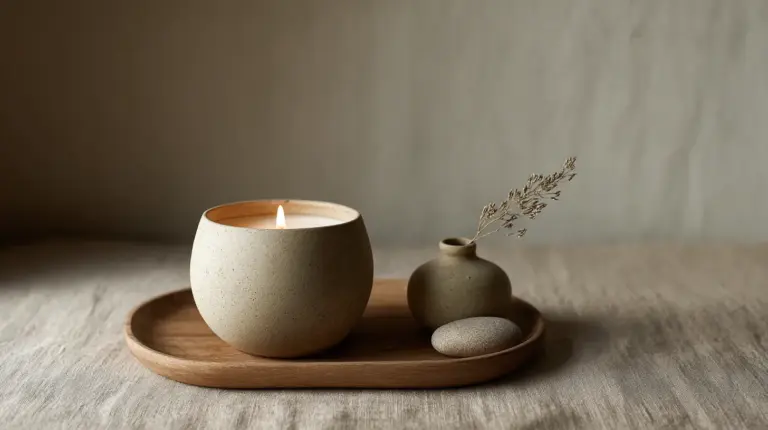
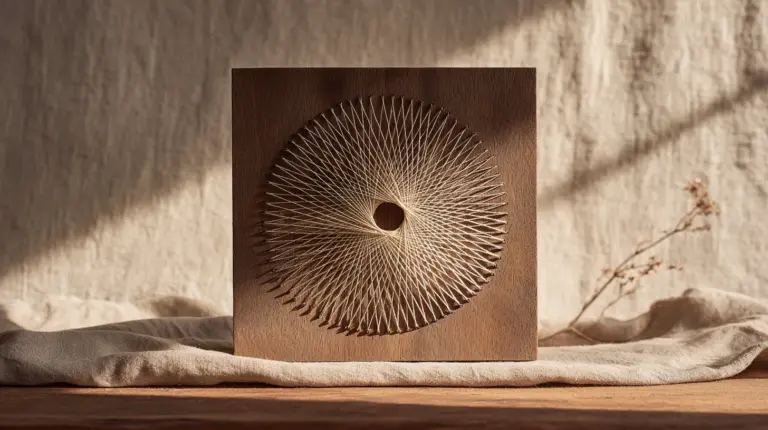
A single ceramic disc, handmade clay piece, or stoneware wall hook adds a quiet organic form that neither wood nor textile can replicate. You don’t need a set of these — one is enough.
If you make your own using air-dry clay, press it gently with a linen cloth before it sets to transfer the textile grain into the surface. That subtlety, the impression of fabric on clay, is pure Japandi spirit.
Biophilic Japandi Wall Decor: Layering Plants and Art
The concept of biophilic design — incorporating living elements into interior spaces — fits Japandi philosophy naturally. Plants are not accessories here; they are structural elements.
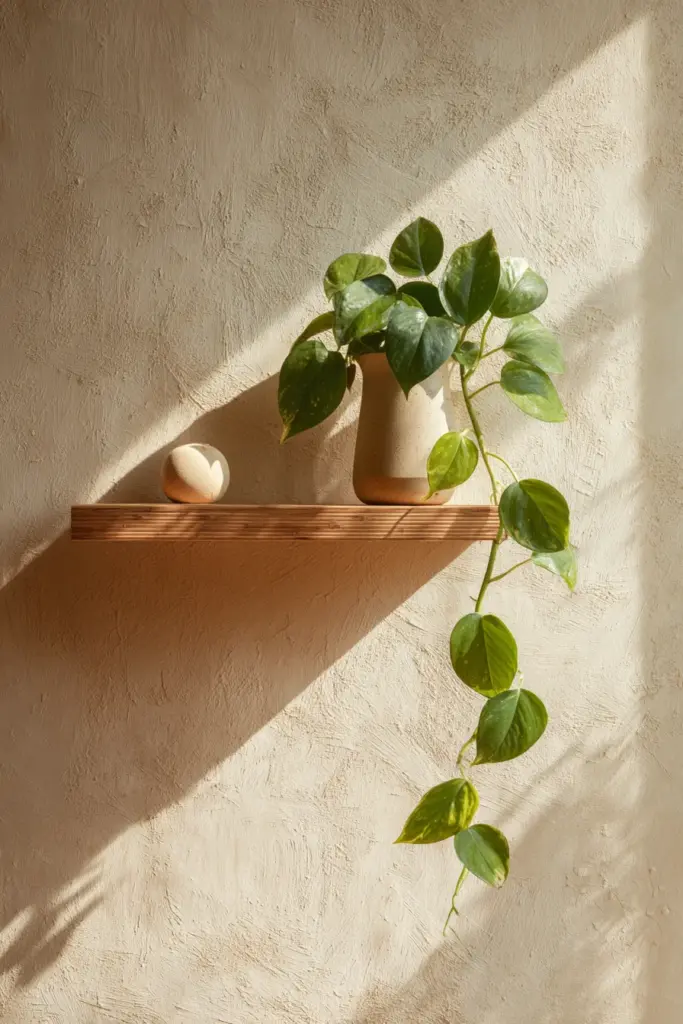
Wall-mounted planters in matte ceramic or woven hanging baskets keep the floor clear while drawing the eye upward. A small floating shelf (10 to 15 cm deep) positioned at eye level, holding a single trailing plant and a ceramic piece, creates a micro-vignette that grounds the whole wall without dominating it.
The key is restraint. One plant, well-placed, does more than five scattered around the frame.
| Plant | Why It Works |
|---|---|
| Pothos | Trails gracefully, thrives in low light |
| Snake plant | Upright form, architectural silhouette |
| Monstera | Bold leaf shape, feels organic and tropical |
| Air plant | No soil, fits into ceramic vessels and driftwood |
What Colors Go with Japandi Wall Decor?
Japandi’s color palette is intentionally narrow. Stick to warm neutrals and muted earth tones — this is where the magic lives.
- Warm whites and off-whites — bone, oat, linen, warm ivory
- Warm mid-tones — caramel, raw sienna, warm sand, dusty terracotta
- Deep anchor tones — charcoal, warm black, slate, deep olive
Avoid cool-based grays and stark whites. These pull the palette toward Scandinavian modernism and lose the warmth that makes Japandi feel human. A single warm-white wall paired with natural wood tones and one dark accent piece is the most reliable Japandi color foundation.
Japandi Wall Decor Rules to Keep
These are the invisible rules that separate a Japandi wall from a cluttered DIY wall.
- No more than two materials on one wall section (e.g., wood and textile — not wood, textile, and a framed print all stacked together)
- Maximum three colors total, including the wall paint
- 60 to 70 percent negative space — the wall should breathe
- One lighting source integrated into or beside the wall for evening ambiance
- Odd-number groupings if using multiples — one, three, or five pieces, never two or four
Japandi Wall Decor Mistakes to Avoid
Even the most thoughtful rooms can slip. Watch for these common missteps.
- Over-cluttering with frames — a Japandi gallery wall is not the same as a maximalist gallery wall. Space each piece so it can be seen individually.
- Mixing warm and cool light — a warm-toned wall lit by a cool-white bulb will look wrong without knowing why. Stick to 2700K–3000K warm bulbs near your wall decor.
- Wrong frame sizes — mismatched frame widths create visual fragmentation. If you use frames, choose one consistent width or ditch them entirely for frameless prints.
- Adding too many plants — one trailing plant graces the wall. Four competing plants overwhelm it.
- Forgetting the floor anchor — a wall installation without a piece of cozy, grounded furniture below it floats. Your sofa, a low bench, or a single floor cushion below the art completes the composition.
How to Refresh Your Japandi Wall Seasonally
One of the quiet joys of Japandi is how easily it transitions across seasons.
In cooler months, swap your linen hanging for something with more texture — a chunky wool weave or a darker natural fiber. Shift your plant to a deeper green variety, like a dark-leafed pothos or a ZZ plant. Move the light source closer.
In warmer months, lean into the lightness. Return to undyed linen, bring in a trailing monstera with fresh growth, and let more wall show. The bones of your design stay the same — you’re just changing what grows within them.
Summary: Your Japandi Wall Decor Checklist
- Choose one wall zone and commit to it
- Build your material stack: one wood, one textile, one organic form
- Keep 60–70% of the wall intentionally bare
- Add one living element — a wall-mounted plant or trailing shelf
- Integrate warm lighting (LED strip, plug-in sconce, or paper lantern)
- Stick to warm neutrals and earth tones only
- Follow the rules: two materials per section, three colors max, odd-number groupings
- For renters: use adhesive strips, tension rods, or floating rail systems
- Refresh seasonally by swapping textiles and rotating plants
- Anchor the wall with a grounded furniture piece below
Conclusion
A well-made Japandi wall does not announce itself. It simply makes the room feel better — more still, more breathable, more like the version of home you’ve always been reaching for.
You don’t need a renovation or a large budget. You need a clear wall, honest materials, and the discipline to leave most of it alone. Start with one panel. One hanging. One plant. Let the quiet build from there.
At ERYLIN, we believe the most beautiful spaces are the ones made with intention. Take your time. Make something that lasts.
Frequently Asked Questions
What is Japandi wall decor?
Japandi wall decor blends Japanese wabi-sabi philosophy with Scandinavian hygge warmth to create walls that feel minimal, natural, and deeply intentional. It typically features natural wood, woven textiles, ceramic accents, and living plants — all arranged with generous negative space and warm, neutral tones.
How do I make DIY Japandi wall decor on a budget?
Start with locally available materials: sisa lumber or pine strips from your nearest hardware store, a rattan mat, and some natural cotton rope. Paint with a matte water-based paint in warm white or oat. Total cost for a basic wood panel wall can be kept well under ₱1,500 if you source materials locally and cut the panels yourself.
How do I hang Japandi wall decor without drilling?
Use heavy-duty adhesive strips rated to the weight of your panels. For lightweight plywood or bamboo strips, foam tape works beautifully. A floating wall rail system hung over a picture rail or tension rod is another reliable option for renters who need a completely damage-free setup.
Can I mix Japandi wall decor with plants?
Absolutely — and you should. Plants are a core part of biophilic Japandi design. A single wall-mounted planter with a trailing pothos or a small floating shelf with a snake plant adds the living layer that makes a Japandi wall feel complete. Keep it to one or two plants per wall to maintain the sense of calm.
What is the difference between Japandi and minimalist wall decor?
Minimalism strips a wall down to near-nothing. Japandi brings in warmth through carefully chosen natural textures — wood grain, woven fiber, ceramic form — without losing the discipline of restraint. Japandi walls feel warm. Minimalist walls feel empty. The distinction is subtle but unmistakable once you see it.