Table of Contents
There is something quietly powerful about a rug that you made yourself. It holds the weight of your hands, the warmth of chosen textures, and the intention behind every woven strip. In a Japandi home, where beauty lives in restraint and purpose, a handcrafted floor mat is not just décor — it is a small act of devotion to the space you inhabit.
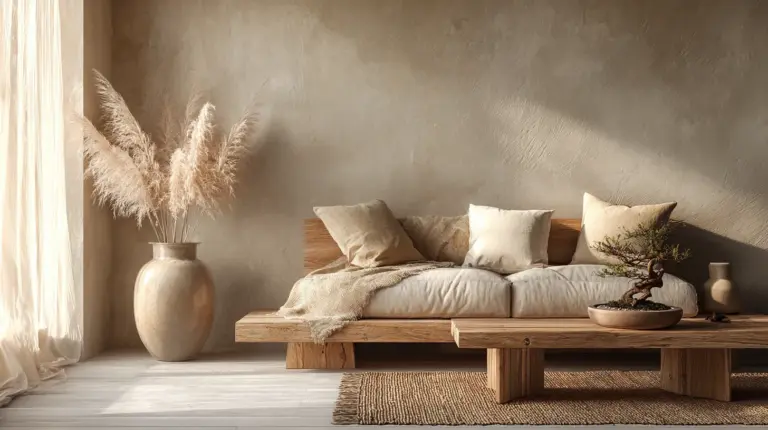
Japandi style draws from two quiet philosophies: the Scandinavian love of hygge, of warmth and simplicity, and the Japanese practice of wabi-sabi, of finding grace in imperfection. Together, they create interiors that feel both serene and deeply human. A handmade rug fits perfectly into this world — imperfectly shaped, naturally textured, and wholly yours.
The best part? You do not need a large budget or a professional loom. With ukay-ukay t-shirts from Divisoria, jute cord from your local palengke, and an afternoon of calm focus, you can create a floor piece that looks curated and feels like a story. Most materials cost well under ₱500.
This guide from ERYLIN walks you through five achievable techniques, each tailored to Japandi’s muted palette and tactile soul. Whether you are a first-time crafter or a seasoned DIY hand, there is a method here that will speak to you.
What Is a Japandi Rug, and Why Make One?
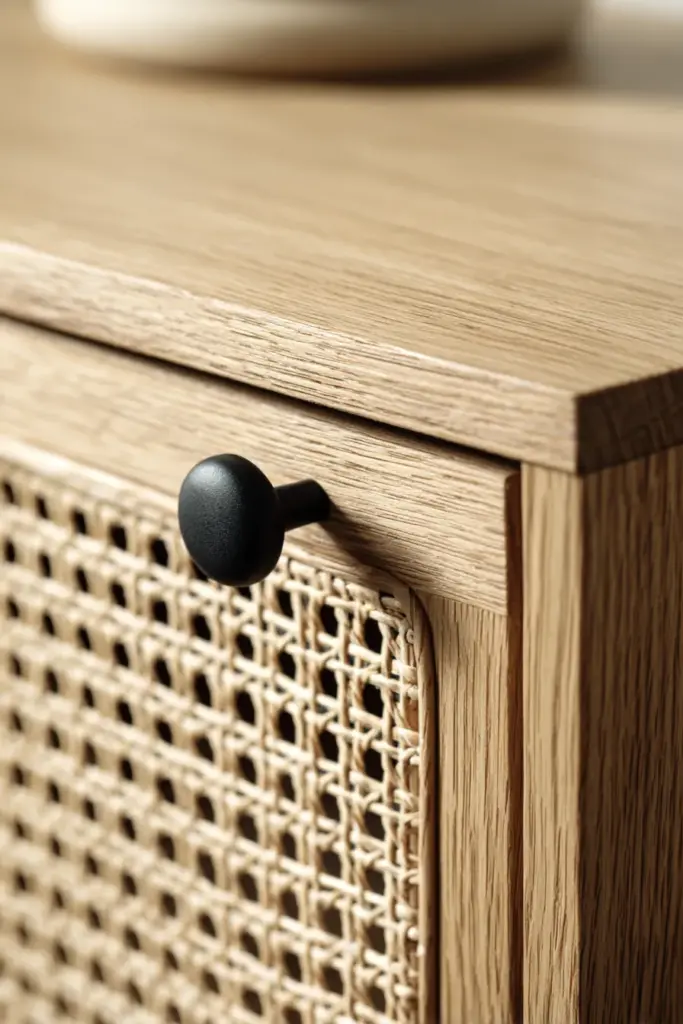
A Japandi rug is not defined by a single pattern or fiber. It is defined by feeling — the kind that grounds a room without overpowering it. Think low-pile textures, earthy neutrals like warm sand, fog grey, and unbleached linen, and materials that carry a sense of age or craft.
Store-bought options can cost ₱2,000 or more for even a modest-sized piece. A DIY version made with reclaimed fabric and natural fiber can achieve the same aesthetic for a fraction of the cost, while adding the irreplaceable quality of handmade character.
The Japandi Rug Aesthetic at a Glance
| Quality | What It Looks Like |
|---|---|
| Color Palette | Warm beige, muted grey, off-white, charcoal, moss |
| Texture | Coarse weave, low pile, visible knots, natural grain |
| Shape | Rectangular, oval, or gently irregular |
| Materials | Jute, cotton, linen, recycled t-shirts, banana fiber |
| Vibe | Calm, grounded, artisanal, intentionally imperfect |
Gathering Your Materials: Local and Budget-Friendly
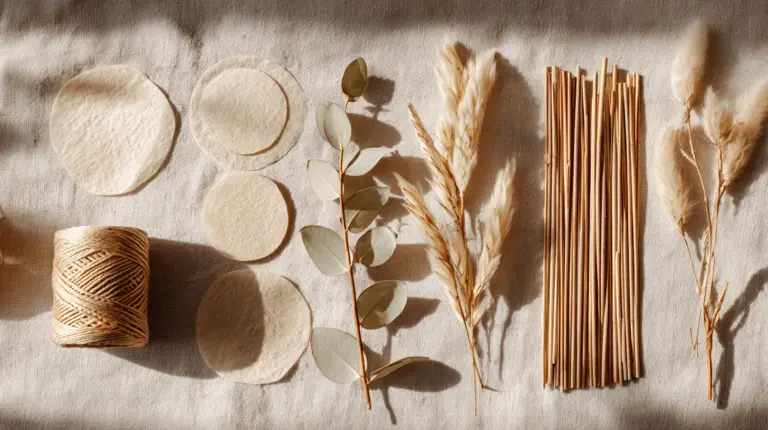
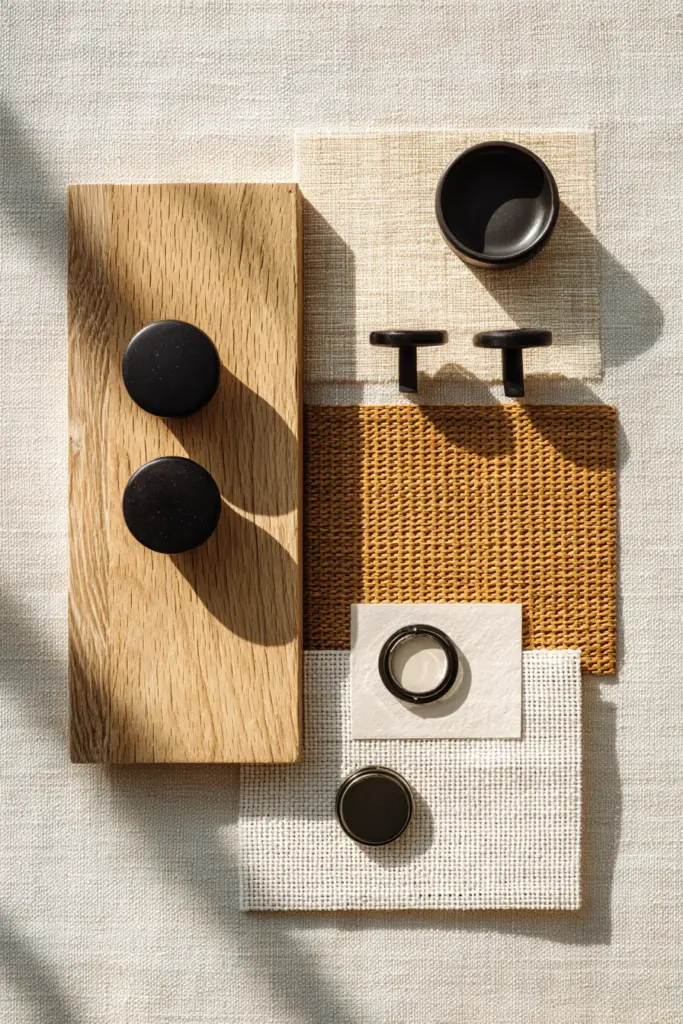
Before you begin, take a slow walk through your home. Old cotton bedsheets, faded linen scarves, worn-out t-shirts in neutral tones — these are your raw materials. Japandi does not ask for newness; it asks for authenticity.
For those sourcing fresh supplies, here is a guide to local Philippine markets that carry everything you need at approachable prices.
Suggested Materials and Local Sources
- Ukay-ukay t-shirts (white, beige, grey, black) — Divisoria or Baclaran, approximately ₱20–₱50 per piece
- Jute twine or cord — wet markets or hardware stores in Calabarzon, approximately ₱80–₱120 per roll
- Cotton fabric strips — leftover from old bedsheets or bought by the meter at Divisoria
- Non-slip latex rug backing — available at fabric stores, approximately ₱80–₱150 per sheet
- Natural dye materials (turmeric for warm beige, used tea bags for aged ivory) — your kitchen pantry
- Cardboard or foam board (for loom-style weaving) — recycled packaging works beautifully
- Crochet hook (size 10–12mm) or blunt weaving needle
A full starter kit using local resources should fall comfortably under ₱500. This is the Japandi way — intentional, resourceful, and sustainable.
How to Cut and Prepare Your Fabric Strips
The quality of your strips determines the feel of your finished rug. Take your time here; it is a meditative step that sets the tone for everything that follows.
Lay your t-shirt or fabric flat on a clean surface. Cut horizontally across the body in strips approximately 2–3 cm wide. When you stretch each strip gently, it will curl into a soft, rounded cord — this is the natural behavior of jersey knit, and it is exactly what gives handmade rugs their cozy, organic texture.
Strip Preparation Tips
- For a muted Japandi palette, stick to undyed or lightly faded fabrics. Cream, heather grey, dusty beige, and faded olive all work beautifully together.
- Mix fiber types — some cotton strips alongside a strand of jute creates an interesting textural contrast that reads as intentionally crafted rather than accidentally mismatched.
- Consistency matters — try to keep your strip width even. Slight variation is fine and adds wabi-sabi charm; dramatic unevenness can make weaving difficult.
- Pre-wash your materials before cutting to remove sizing or residue, especially if using ukay-ukay finds.
5 DIY Japandi Rug Techniques
Each method below produces a different texture and visual result. Choose based on your skill level, available time, and the specific feeling you want underfoot.
Technique 1: Cardboard Loom Weaving (Beginner-Friendly)
This is the most accessible starting point, requiring no special tools — just a piece of cardboard and your fabric strips. The result is a flat-woven rug with a clean, structured look that suits Japandi’s Scandinavian side beautifully.
Steps:
- Cut a rectangular piece of cardboard to your desired rug size (a 30x50cm piece is a good starting point).
- Cut notches every 1cm along the top and bottom edges. Thread your warp strips (the vertical base) through these notches, pulling taut.
- Weave your weft strips (the horizontal fill) over and under the warp, alternating with each row.
- Pack each row down firmly with your fingers or a comb.
- When complete, tie off the ends at the back and trim neatly.
Tip: Use a neutral warp thread — natural jute works perfectly — and weave your fabric strips as the weft. This creates a beautiful contrast between the rough jute grid and the soft fabric fill.
Technique 2: No-Sew Braided Rug (Zero Equipment)
Braided rugs carry a quiet, ancestral warmth. Coiled into an oval and secured with a few stitches or fabric glue, they become one of the most organic shapes in a Japandi room — imperfect, soft, and deeply tactile.
Steps:
- Cut or tear three long strips of equal width from your fabric.
- Braid them together firmly, keeping tension consistent.
- Coil the braid from the center outward in a flat spiral.
- Secure the coil using a blunt needle and matching thread, or a fabric-safe adhesive.
- Continue adding braid length and coiling until your desired size is reached. Tuck and stitch the final end.
For a Japandi twist, braid together one strip of natural jute cord with two strips of cotton. The texture combination is grounding and distinctly crafted.
Technique 3: Coiled Crochet Rug (Meditative and Tactile)
If you know a basic crochet stitch, this technique is deeply satisfying. The spiral grows slowly, round by round, and the finished rug has a coiled, sculptural quality that sits beautifully in a Japandi entryway or meditation corner.
Steps:
- Create a magic ring or chain 4 and join to form a circle.
- Single crochet around your fabric strip (used as the working “yarn”), increasing every few stitches to keep the piece flat.
- Continue in rounds, following a standard flat circle or oval crochet increase pattern.
- Finish by slip-stitching the last round and tucking in the end.
The asymmetry that naturally develops in handmade crochet rugs is not a flaw — it is wabi-sabi made textile.
Technique 4: Latch Hook with Banana Fiber (Sustainable and Textural)
Latch hook creates a shaggy, low-pile surface that feels luxurious underfoot while remaining visually minimalist — a Japandi paradox in the best way. Using banana fiber (readily available in the Philippines as a byproduct of abaca production) gives this rug a uniquely local and sustainable character.
Steps:
- Purchase a latch hook canvas mesh from a craft store (or use open-weave burlap as an alternative).
- Cut your fiber or fabric strips into 7–10cm lengths.
- Fold each strip in half, loop it through the mesh using the latch hook tool, and pull the ends through the loop to knot.
- Fill the canvas row by row, working in a consistent direction.
- Trim the pile to an even height when complete — approximately 1.5–2cm for a Japandi-appropriate low-pile finish.
Use a mix of undyed banana fiber, soft grey cotton, and natural jute for a palette that feels both locally rooted and globally minimal.
Technique 5: Macramé-Edged Woven Rug (Advanced and Architectural)
This technique combines basic flat weaving with a knotted macramé border — the result is a rug that looks gallery-worthy while remaining entirely handmade. The fringe edge softens the geometric body and gives the piece a handcrafted signature that no machine can replicate.
Steps:
- Create a simple flat-woven center panel using Techniques 1 or the cardboard loom method.
- Leave 10–15cm of warp thread extending beyond the woven body on both short ends.
- Use these warp ends to tie square knots or spiral half-hitch knots along the fringe.
- Trim the fringe to an even, clean length.
For Japandi restraint, keep the macramé fringe short — 5–8cm — rather than the long bohemian cascades of other styles. The difference reads immediately as intentional.
Rug Size Guide: How Many Strips Do You Need?
Use this simple reference to estimate material quantities before you begin.
| Rug Size | T-Shirts Needed | Jute Cord (meters) |
|---|---|---|
| 30 x 50 cm (bedside) | 3–4 pieces | 5m |
| 60 x 90 cm (entryway) | 8–10 pieces | 12m |
| 90 x 120 cm (living room) | 14–18 pieces | 20m |
| 120 x 180 cm (statement rug) | 24–30 pieces | 35m |
Dyeing Your Rug Naturally for a Japandi Palette
Japandi color lives in the quiet space between white and earth. If your fabric is already neutral, you may not need to dye it at all. But if you are working with brighter thrifted pieces, a simple natural dye bath can bring them into the palette.
Natural Dye Options
- Turmeric — yields a warm, golden beige; simmer fabric strips in a turmeric-water solution for 30–45 minutes
- Black tea or coffee — produces a soft ivory or warm tan; steep fabric overnight in strong brewed liquid
- Avocado pits and skins — a surprisingly beautiful dusty rose or warm blush; simmer for 1 hour
- Onion skins (yellow) — a rich amber-gold that reads warmly in natural light
Always rinse dyed strips in cold water and air-dry in shade to preserve color. Test a small piece first, especially for humidity resistance in Calabarzon’s climate.
Adding a Non-Slip Backing
A rug without a backing is a slip hazard, and in a Japandi home where clean floors and calm movement matter, safety is part of the aesthetic practice. Cut a sheet of non-slip latex or rubberized fabric mesh to the size of your finished rug and glue or stitch it to the underside.
This step also adds structure, preventing the rug from buckling or shifting over time — particularly important for braided and coiled styles.
Caring for Your Handmade Japandi Rug
A handmade rug will last beautifully with gentle care. Shake it out weekly. For light cleaning, spot-treat with a damp cloth and mild soap. For a deeper wash, machine-wash on cold, gentle cycle — then always air-dry flat in a shaded, well-ventilated space. Never wring or tumble dry natural fiber rugs; they will lose their shape.
With consistent care, a well-made DIY Japandi rug should remain beautiful for 6 months to several years, depending on foot traffic and fiber type.
Quick Checklist: Before You Begin
- Fabric strips cut to even widths (2–3cm for most techniques)
- Colors limited to 2–3 tones within the Japandi neutral palette
- Natural fiber (jute, cotton, linen, banana) as at least one material
- Non-slip backing material on hand
- Chosen technique matched to your skill level and available time
- Workspace cleared and surface protected
- Optional: natural dye prepared and tested
The Cost Comparison: DIY vs. Store-Bought
| Option | Estimated Cost | Customization | Environmental Impact |
|---|---|---|---|
| Store-bought Japandi rug | ₱1,500–₱4,000+ | Low | Moderate–High |
| DIY from new materials | ₱300–₱600 | High | Low–Moderate |
| DIY from upcycled materials | ₱50–₱200 | High | Very Low |
The numbers speak clearly, but the real value is something money cannot measure — the specific warmth of a thing you made yourself.
Closing Thoughts: The Rug Beneath Your Feet
A Japandi home is not built in a day, and it is not built from a catalog. It is assembled slowly, piece by piece, from objects chosen with care and made with intention. Your handmade rug is one such piece — quietly imperfect, naturally textured, and entirely yours.
Lay it down in your entryway. Stand on it in the morning with bare feet. Notice how it feels different from any rug you have ever bought — slightly uneven in the best way, soft where your hands worked hardest, grounded in the story of where the fabric came from.
That is the Japandi spirit. Not the pursuit of perfection, but the practice of presence. ERYLIN believes that the most beautiful homes are lived in, made by, and shaped around the people who love them.
Begin with what you have. Let the rug become something more.
Frequently Asked Questions
What is the easiest DIY Japandi rug method for beginners?
The no-sew braided rug is the most beginner-friendly option — it requires only fabric strips and a needle or fabric glue, no weaving or crochet skills needed. The coiled oval shape is also very forgiving of uneven tension, making it ideal for first-time crafters.
What fabrics work best for a DIY Japandi rug?
Cotton jersey (old t-shirts), linen scraps, and natural jute cord are the most Japandi-appropriate materials. Stick to undyed, naturally colored, or subtly dyed fabrics in beige, grey, white, and muted olive for an authentic aesthetic. Avoid synthetic fabrics, which lack the warmth and breathability of natural fibers.
Can I make a Japandi rug without any tools or sewing?
Yes — the no-sew braided technique requires no tools at all beyond your hands and a small amount of fabric glue or a blunt needle for finishing. The cardboard loom technique requires only a piece of recycled cardboard and fabric strips.
How do I keep my handmade rug from slipping on the floor?
Attach a non-slip latex or rubberized mesh backing to the underside of your finished rug using fabric-safe adhesive. This is especially important for smooth tile or wood floors common in Philippine homes and prevents both slipping and bunching.
Where can I find affordable materials for a DIY Japandi rug in the Philippines?
Divisoria and Baclaran markets carry ukay-ukay t-shirts for ₱20–₱50 each — an excellent source of neutral cotton fabric. Wet markets and hardware stores in Calabarzon typically stock jute twine at ₱80–₱120 per roll. Most full DIY rug projects can be completed for well under ₱500 using these local sources.