Table of Contents
There is something deeply grounding about making something with your hands. Pulling fiber through paper, knotting twine, pressing a dried sprig flat — these small, slow gestures belong to a long tradition of intentional living. A DIY Japandi garland captures that spirit beautifully.
Japandi is the design philosophy born where Japanese minimalism meets Scandinavian hygge. It is warm without being loud, natural without being rustic, and always deeply calm. A garland made in this spirit does not shout for attention. It simply rests in a space and makes everything around it feel quieter.
If you have been searching for a handmade decor piece that genuinely fits a Japandi interior — not a paper chain, not a tinsel strand — this guide is made for you. We will walk through materials, steps, styling rules, and seasonal variations so your garland feels truly at home in every corner of your space.
What Is a Japandi Garland?
A Japandi garland is a minimalist, nature-inspired decorative strand made from organic and neutral materials. Think undyed cotton rope, dried eucalyptus, pale kraft paper blooms, and a single bamboo accent — nothing more.
Unlike a conventional party garland, a Japandi-style garland follows the wabi-sabi principle: beauty found in simplicity, imperfection, and quiet restraint. It is not about abundance. It is about one element, beautifully placed.
Why Make a Japandi Garland?
- It brings biophilic warmth into neutral, minimal interiors without disrupting the calm.
- It is endlessly customizable to your season, your space, and your budget.
- The act of making it is meditative — slow, tactile, and restorative.
- It lasts far longer than a floral arrangement and costs a fraction of a styled shelf.
Materials for Your DIY Japandi Garland
Must-Have Base Materials
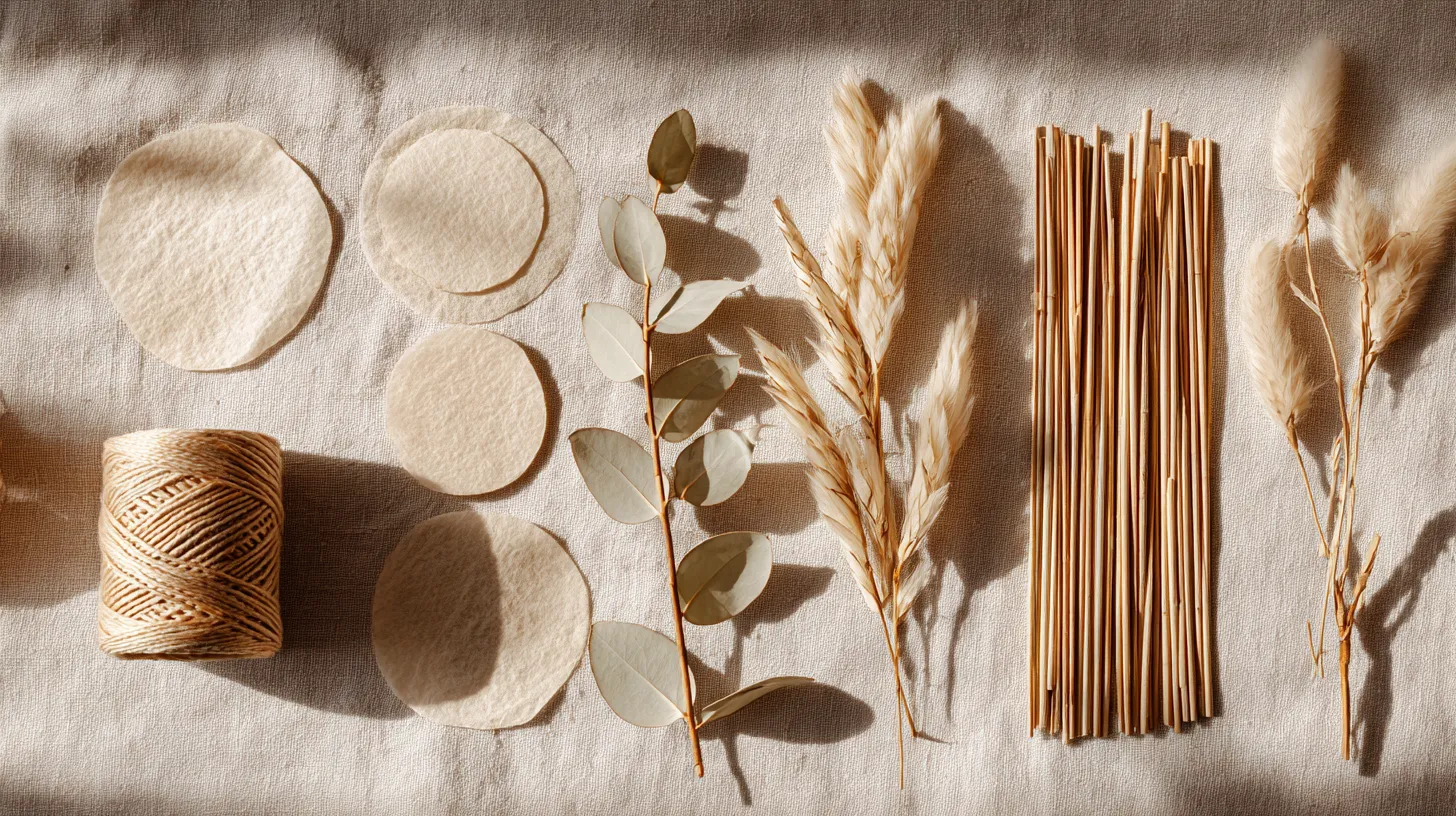
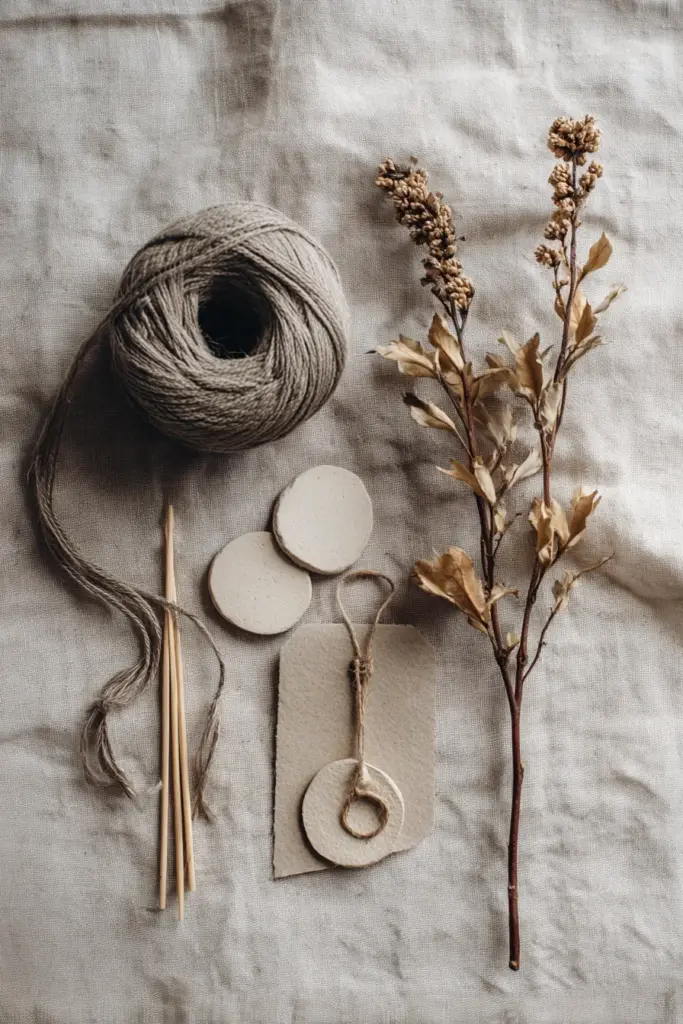
- Natural cotton twine or linen rope — the spine of your garland; choose undyed or oat-colored
- Neutral kraft or recycled paper — for hand-cut blooms or geometric shapes
- Dried botanicals — eucalyptus, dried pampas grass clippings, or pressed cotton stems
- Small bamboo skewers or thin twig sections — one or two as spacers or anchors
Optional Texture Accents
- Raw linen ribbon strips tied at intervals
- Ceramic disc beads in matte white or clay tones
- Dried citrus slices (orange or lemon) for a subtle, warm scent
- Small paper tags hand-stamped in ink
Budget-Friendly Local Swaps
| Budget Tier | String | Shapes | Accents |
|---|---|---|---|
| Super Cheap | Recycled cotton yarn | Torn newspaper, recycled paper | Dried leaves from garden |
| Mid-Budget | Hem-tape linen, neutral twine | Kraft cardstock circles | Dried herb bundles, jute |
| Premium | Organic cotton rope | Handmade paper, rice paper | Ceramic beads, dried botanicals |
You do not need to spend much. A single roll of kraft paper and a ball of cotton twine are enough to begin.
Step-by-Step: How to Make a Japandi Garland
Step 1: Cut Your Shapes
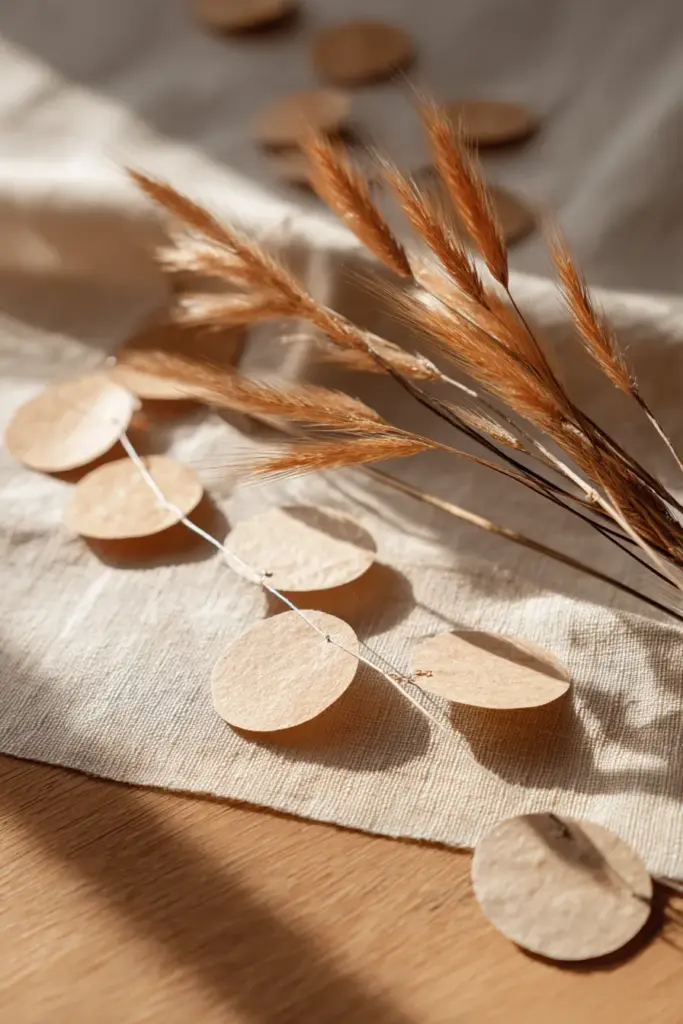
Choose one to three shapes only. Japandi garlands work best with simple forms — circles, soft ovals, or narrow leaf silhouettes. Cut 12 to 18 pieces in two coordinating sizes for quiet visual rhythm.
Use beige, warm white, oat, soft grey, muted olive, or soft charcoal paper. Avoid bright white (too stark) and avoid any saturated color. The palette should feel like a morning fog.
Step 2: Prepare Your Cord
Cut your cotton twine or linen rope to your desired length — typically 80 to 120 cm for a shelf, or up to 200 cm for a wall drop. Leave 15 cm of extra cord at each end for hanging.
Lay it flat on a clean surface and place your botanicals, shapes, and accents loosely along it before attaching anything. This lets you adjust spacing with your eyes before committing.
Step 3: Attach Your Elements
Use a small loop of clear tape, a half-hitch knot, or a single bead of hot glue — whatever keeps things secure without bulking the strand. Space each element with negative space in mind: the gaps between pieces matter as much as the pieces themselves.
Alternate textures gently: paper shape, dried stem, paper shape, linen ribbon tie, paper shape. Never cluster two decorative elements side by side without a pause.
Step 4: Finish the Ends
Tie a clean overhand knot at each end or loop the cord through a small bamboo ring. Keep endings simple — no bows, no tassels unless they are made from undyed linen.
Japandi Styling Rules: Less Is Always More
Color Palette
Stick to the Japandi neutral family: beige, warm white, oat, clay, soft grey, muted olive, and soft black or charcoal. No more than two to three colors in a single garland.
Shape Restraint
Use one to three shapes total. Mixing four or more shapes creates visual noise that disrupts the calm a Japandi interior works hard to maintain.
Negative Space
Leave breathing room between each element. A garland that looks “sparse” is almost always the right call. Resist the urge to fill every inch.
The Minimalist Rule Before Hanging
Before you hang your garland, remove something from the wall or shelf. A Japandi room is edited, not decorated. Clear away a framed print, a secondary vase, or a stack of books from the surface nearby. Your garland should be the only new detail the eye finds.
Where to Hang Your Japandi Garland
Living Room
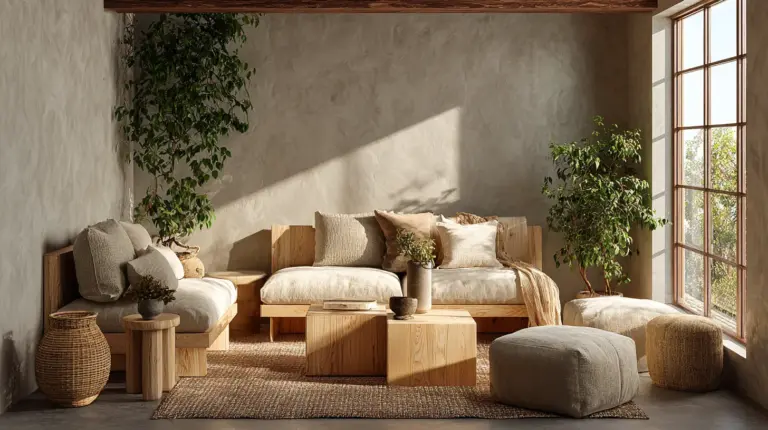
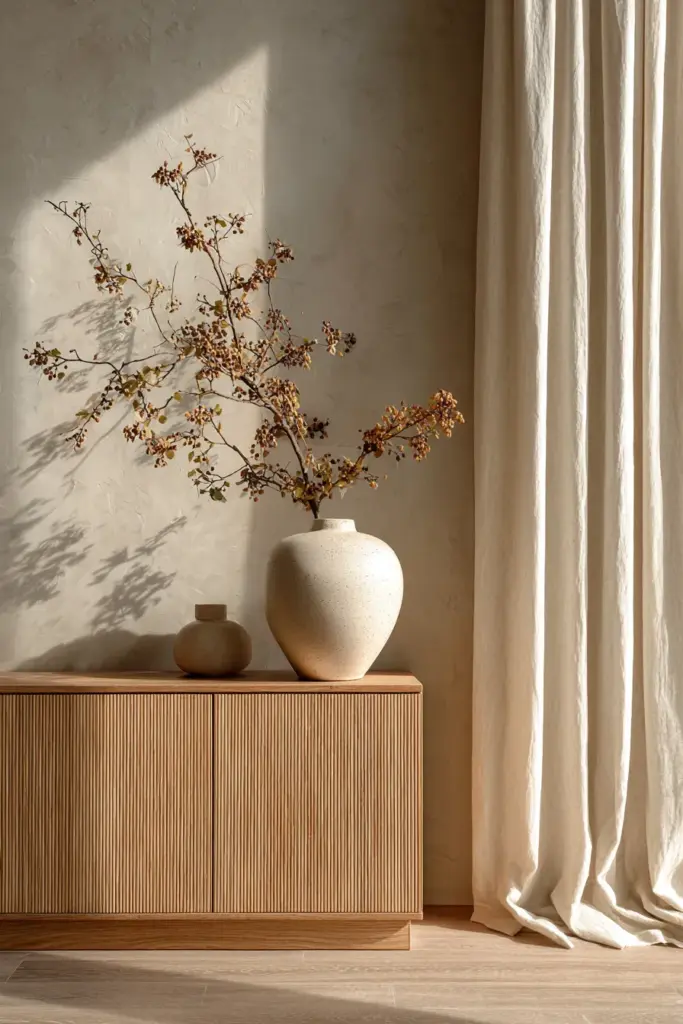
Drape across the front edge of a low credenza or media console. Let it fall just slightly — a soft arc, not a tight horizontal line. Pair it with a single ceramic vase and a potted plant with architectural leaves.
Bedroom
Hang behind the headboard as a soft, textural backdrop. Use linen ribbon loops to attach it to two small nails so it hangs gently behind the pillows. The garland should whisper, not declare.
Nursery
A Japandi garland in soft oat and pale grey reads as both soothing and beautiful in a nursery. Hang above a low shelf or bookcase. Choose shapes with rounded edges — no sharp corners — and skip the botanicals for a baby’s space.
Hallway or Entryway
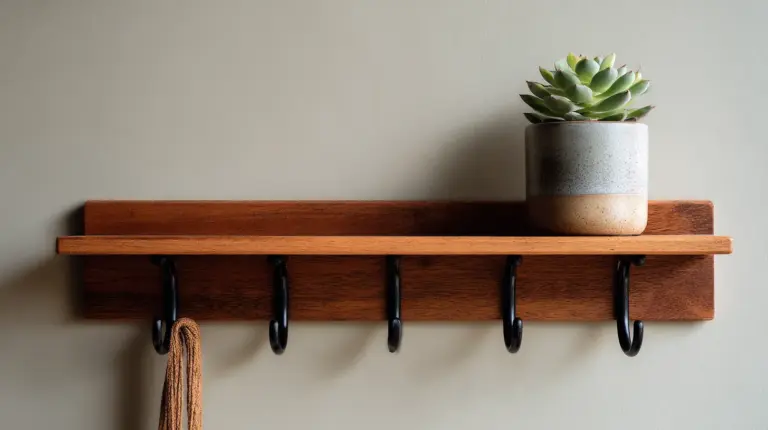
Run a short garland (60–80 cm) along a floating shelf or above a coat hook rail. This is the first impression of your home, so keep it spare: two shapes, one botanical cluster, clean rope.
Small Apartments and Low Ceilings
Hang horizontally rather than in a drape — a flat, straight strand reads more spacious than a curved one. Keep the length shorter than the width of the surface it accompanies, and position it at eye level, not above the door frame.
How to Combine Your Garland with Other Japandi Decor
A Japandi garland looks most intentional when it responds to the other elements in the room. Pair it with:
- Linen textiles — a linen curtain, a cotton throw, or a woven cushion in the same neutral family
- Raw wood surfaces — a walnut console, a rattan side table, or a light oak shelf
- A single ceramic piece — one handmade bowl or a minimal vase in a matte earthy glaze
- One living plant — a fiddle-leaf fig, a monstera cutting, or a single stem of dried pampas
The garland should feel like it belongs to the room — not an addition, but a quiet extension of what was already there.
Seasonal Variations: One Garland, Three Seasons
Evergreen (Year-Round)
Use undyed cotton rope, neutral kraft paper circles, and a single dried botanical. This version never feels out of place and works across all seasons.
Spring
Swap dried stems for pale dried grasses or pressed fern fronds. Use soft sage green paper alongside warm white. The mood lifts gently without shouting.
Winter
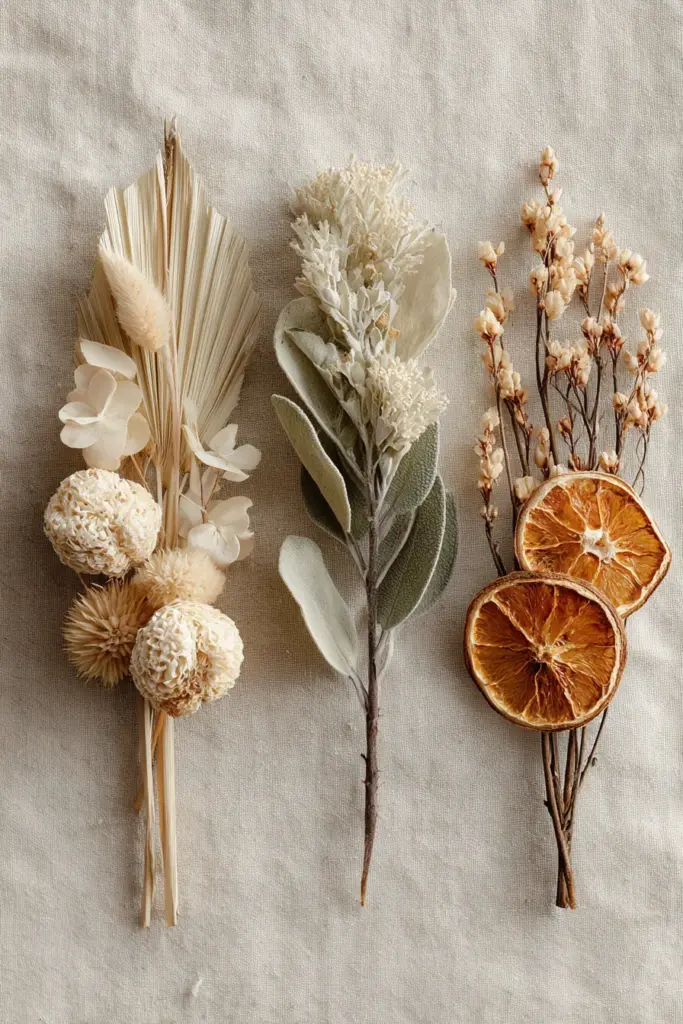
Replace botanicals with dried branch segments or small pinecone clusters in natural tones. Add one or two dried orange slices for warmth and scent. This is a Japandi Christmas garland — restrained, fragrant, and still.
Quick Summary: DIY Japandi Garland Checklist
- Choose undyed, natural cord — cotton twine or linen rope
- Stick to one to three shapes, two to three neutral colors
- Use paper, dried botanicals, and one wood or ceramic accent
- Space elements with intentional negative space between them
- Clear existing decor from the surface before hanging
- Hang at eye level, horizontal for small rooms, gently draped for larger walls
- Pair with linen, raw wood, ceramics, and one living plant
A Soft Closing Thought
A DIY Japandi garland is not a statement. It is a presence — gentle, grounded, and made with your own hands. It holds the feeling of a slow morning, of clean air, of a home that knows exactly what it needs and nothing more.
Make yours in an afternoon. Hang it in a quiet corner. Then step back and notice how the room exhales.
That is the ERYLIN way — beauty that breathes.
Frequently Asked Questions
What materials do I need for a DIY Japandi garland?
The essentials are natural cotton twine or linen rope, neutral kraft or recycled paper for shapes, and one or two dried botanical accents like eucalyptus or pampas grass. Keep it to three to five materials for a true Japandi look.
What colors should a Japandi garland be?
Stay within the Japandi neutral palette: beige, warm white, oat, soft grey, muted olive, and charcoal. Avoid bright whites, saturated hues, or metallic finishes — these break the calm, earthy aesthetic.
Where is the best place to hang a Japandi garland?
Great placement options include above a low credenza, behind a headboard, along a hallway shelf, or across the front of a bookcase. In small apartments, hang horizontally at eye level rather than in a high arc.
How do I make a Japandi garland look minimalist and not cluttered?
Use one to three shapes, leave generous space between elements, and remove one or two existing decor pieces from the nearby wall or shelf before hanging. Negative space is as important as the garland itself.
Can I use a Japandi garland for Christmas?
Yes — a Japandi Christmas garland uses dried branches, eucalyptus, dried citrus slices, and neutral paper in warm whites and soft charcoal. It is a beautiful, restrained alternative to traditional holiday decor.