Table of Contents
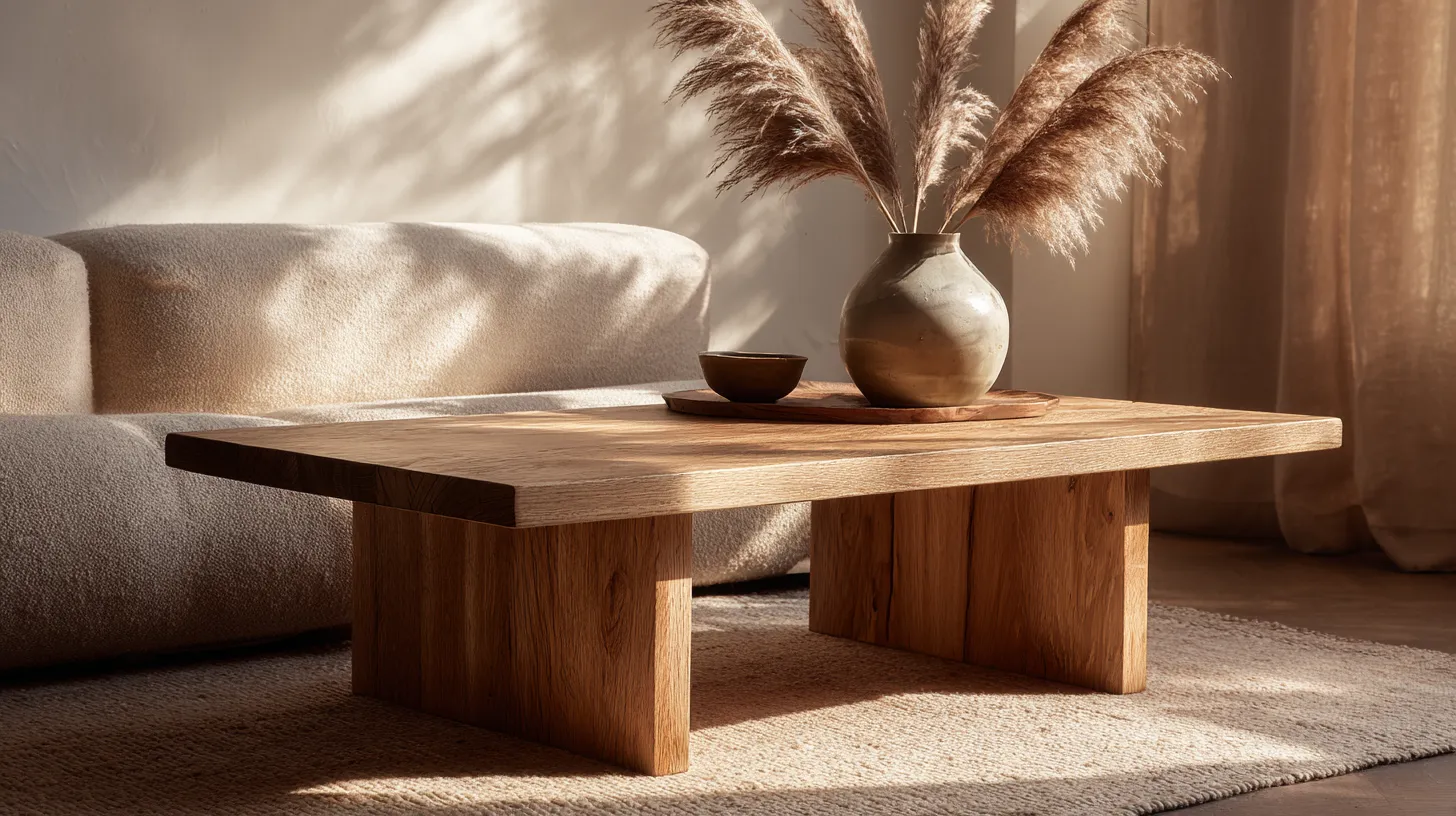
There is something quietly transformative about a coffee table made with your own hands. It holds your morning cup of tea, your stack of half-read books, the small ceramic bowl you found at a weekend market. It becomes the quiet center of your living room — and when it is built in the Japandi spirit, it becomes something more: a meditation on simplicity, warmth, and intentional living.
Japandi is the design language that marries Japanese wabi-sabi — the beauty of imperfection and impermanence — with Scandinavian hygge, the art of cozy, functional living. The result is a style that feels ancient and modern at once. Natural wood, clean lines, negative space, soft textures. Nothing excessive. Everything purposeful.
Building your own DIY Japandi coffee table is one of the most rewarding weekend projects you can take on. It does not require a workshop full of power tools. It does not require a large budget. What it requires is a little patience, an appreciation for natural materials, and a willingness to slow down and make something beautiful.
Whether you are a first-time builder in Quezon City sourcing local timber, or a seasoned DIYer looking for a design-forward project, this guide will walk you through everything — from materials and tools to finishing touches and styling.
What Is Japandi Style for Coffee Tables?
Japandi design is not just an aesthetic. It is a philosophy made physical.
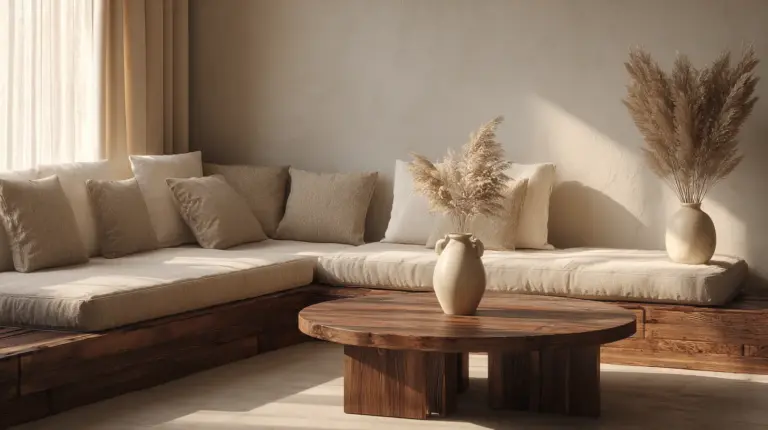
For coffee tables specifically, Japandi means low profiles, organic silhouettes, and materials that carry the honest texture of nature — raw oak, warm walnut, reclaimed wood with a story to tell. The table does not shout. It simply exists, grounding the room with a quiet kind of gravity.
The Wabi-Sabi Principle
Wabi-sabi invites you to embrace the imperfect. A slight asymmetry in the edge, a knot in the wood grain, a surface that shows the passage of time — these are not flaws. They are the soul of the piece.
When you build your own Japandi coffee table, you are practicing wabi-sabi. Your hands leave traces. The wood tells its own story. That is exactly the point.
Negative Space as a Design Element
A Japandi coffee table does not try to fill every inch of the room. Low legs create visual breathing room. Open shelves beneath the surface — if you include them — feel intentional, not crammed. Let the space around the table be as considered as the table itself.
What Materials Do You Need for a DIY Japandi Coffee Table?
The materials are the heartbeat of this project. Choose them carefully and the rest will follow.
Wood Options: From Affordable to Heirloom
| Wood Type | Aesthetic | Approx. Cost (PH) | Best For |
|---|---|---|---|
| Oak | Warm honey tones, visible grain | ₱800–₱1,200/board ft | Classic Japandi look |
| Walnut | Deep, rich chocolate tones | ₱1,500–₱2,000/board ft | Elevated, moody spaces |
| Reclaimed Wood | Aged texture, unique character | ₱400–₱900/board ft | Wabi-sabi authenticity |
| Bamboo | Light, sustainable, fast-growing | ₱200–₱500/panel | Budget-friendly, eco-conscious |
| Pine (local) | Light blonde, soft grain | ₱150–₱350/board ft | Beginner-friendly, budget build |
For those in Quezon City and Metro Manila, local lumber yards along Doña Remedios Trinidad and hardware stores in Cubao and Monumento carry a good selection of pine, mahogany, and engineered wood panels that work beautifully for this project.
Finish Options: Oil vs. Wax
The finish you choose will define how your table ages and how easy it is to maintain.
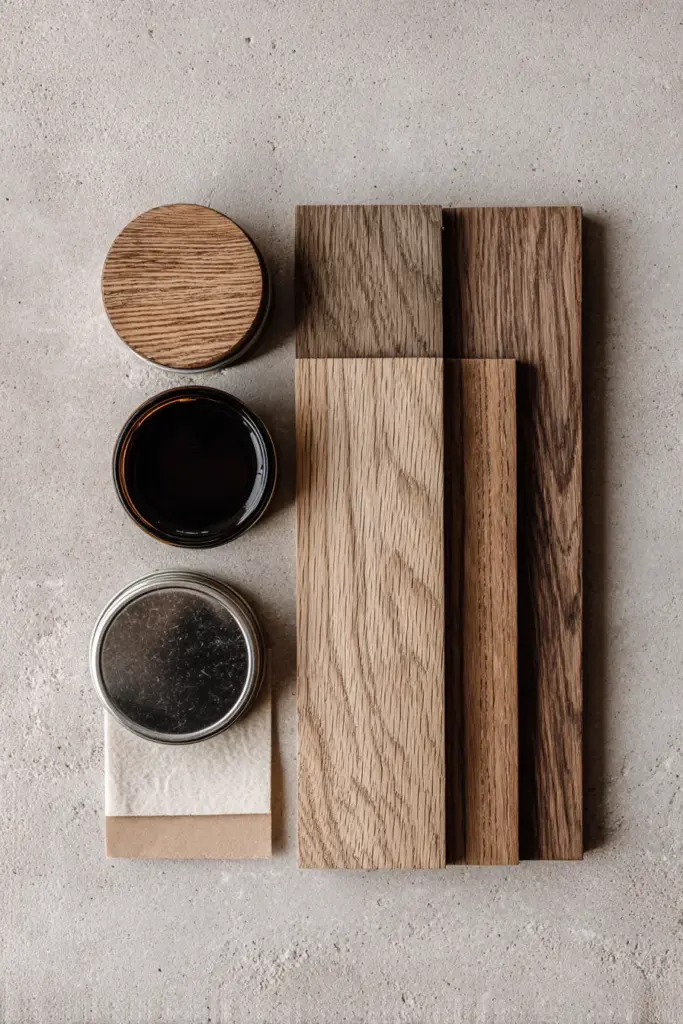
Natural oil finish — tung oil or danish oil — soaks into the wood and enhances the grain without sealing the surface. It gives the table a matte, lived-in warmth. Reapply once or twice a year. Perfect for Japandi’s organic aesthetic.
Beeswax or paste wax — sits on the surface and buffs to a soft sheen. It is protective, easy to apply, and deeply satisfying to work with. The scent alone is worth it.
Water-based matte varnish — if you want more protection with minimal sheen, this is a practical option for families with children or pets.
Avoid high-gloss finishes. They are beautiful in other contexts, but they work against the quiet, grounded energy of Japandi design.
How to Build a Japandi Coffee Table Without Power Tools
You do not need a saw or a drill press to build this table. This beginner-friendly version uses pre-cut lumber, cam locks, and simple hand tools — ideal for renters or those building in small apartments.
What You Will Need
- Pre-cut wood planks (ask your local lumber yard to cut to size)
- Cam lock connectors and dowels (available at hardware stores)
- Sandpaper — 80 grit, 120 grit, 220 grit
- Natural oil or beeswax finish
- Soft cloth or brush for finishing
- Measuring tape and pencil
- Rubber mallet
Step-by-Step Build Guide
Step 1: Plan Your Dimensions
A standard Japandi coffee table sits low — between 30 to 40 cm in height. The tabletop is typically rectangular, around 120 cm x 60 cm, though asymmetrical or slightly organic shapes add character. Sketch your dimensions before you order wood.
Step 2: Source and Prepare Your Wood
Order or purchase pre-cut planks. If possible, select boards with visible grain and natural knots — these details are not imperfections; they are the beauty of the piece.
Sand all surfaces before assembly. Begin with 80 grit to remove roughness, move to 120 grit to smooth, and finish with 220 grit for a surface that feels like worn driftwood under your fingertips.
Step 3: Chamfer or Round the Edges
One of the defining details of a Japandi piece is its softened edge. Using a sanding block or a simple hand plane, bevel the top edges of your tabletop at a slight angle — this is called a chamfer. It removes the sharp factory edge and gives the table an organic, handcrafted feel.
Step 4: Assemble with Cam Locks
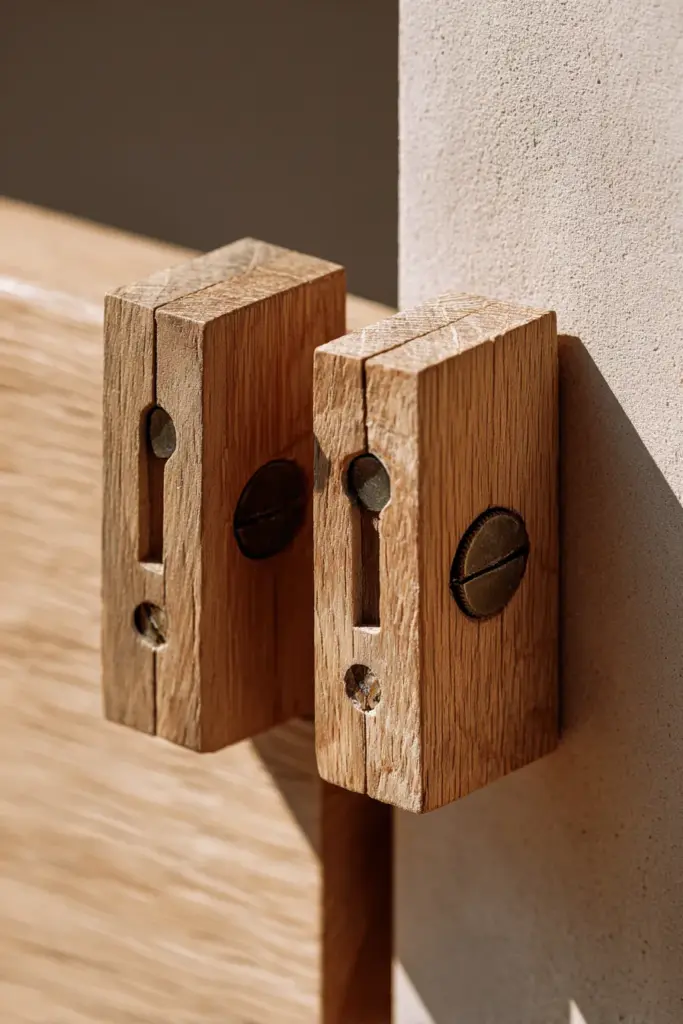
Cam locks are hardware connectors that allow you to join planks and legs firmly without a single nail or screw. Insert the dowels into pre-drilled holes (you can rent a drill or ask your lumber yard to pre-drill), fit the cam connectors, and tighten with a coin or flat-head screwdriver. The result is a clean, seamless joint.
Step 5: Apply Your Finish
Work in a well-ventilated space. Apply oil or wax with a soft cloth in long, even strokes, following the direction of the grain. Let the first coat soak in for 20–30 minutes, then wipe away the excess. Repeat for a second coat. Let cure overnight before placing anything on the surface.
DIY Japandi Coffee Table: IKEA Hack Version
If building from raw lumber feels like too much, the IKEA hack approach is a beautiful and budget-friendly alternative — and it is deeply in the spirit of Japandi resourcefulness.
The Classic Salad Bowl Leg Hack
Purchase the IKEA LACK tabletop or a plain flat panel and replace the standard legs with natural materials — thick rounds of birch, ceramic terracotta legs, or hand-turned wooden legs from a local craftsman.
Sand the tabletop, apply a warm oil finish, and attach your new legs. The result looks nothing like IKEA. It looks like something you found in a design studio in Kyoto.
The Stacked Crate Build
Stack two IKEA KNAGGLIG pine crates on their sides and lay a smooth plank across the top. Sand the plank and finish with Danish oil. Tuck a small woven tray inside one of the open crates to hold remotes, candles, or a small plant. Practical, beautiful, done.
Adding Biophilic Elements: Plant Shelves and Trays
Japandi interiors breathe. Plants are not an afterthought — they are a structural element of the design.
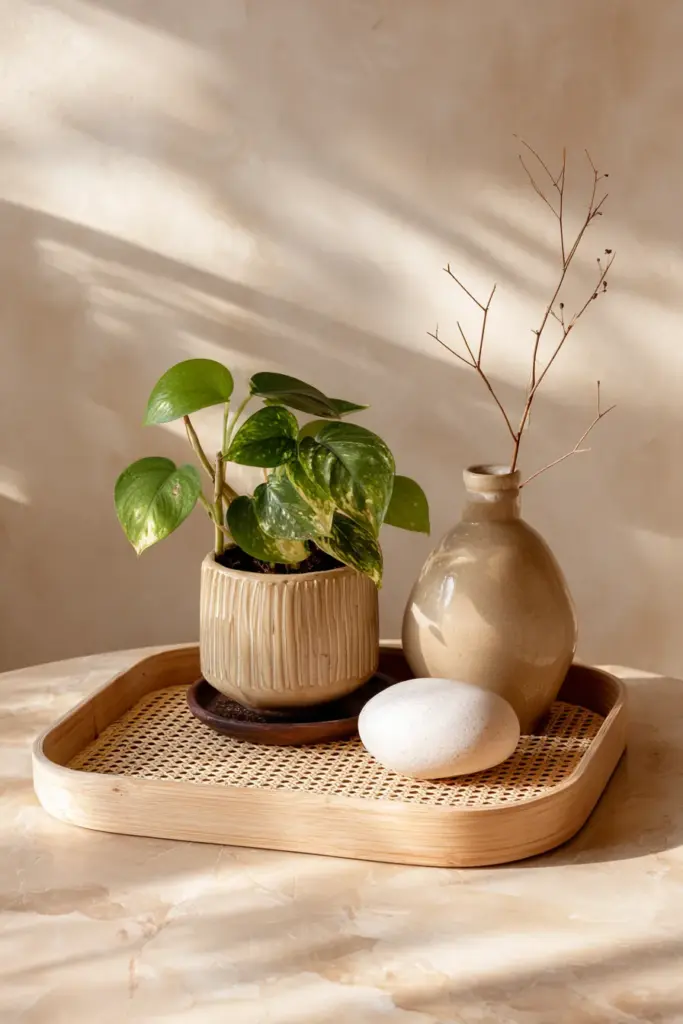
When building your coffee table, consider adding a lower shelf or inset tray specifically for greenery. A low ceramic pot with a trailing pothos, a single stem in a bud vase, or a small arrangement of dried pampas grass all feel at home in a Japandi space.
If your table does not have a shelf, style the surface with a flat tray. Place a small succulent, a candle, and a smooth river stone on it. This tray becomes a still life — simple, intentional, calming.
Small-Space Japandi: Stackable and Foldable Designs
Not every home has space for a full-size coffee table, and Japandi design honors that reality.
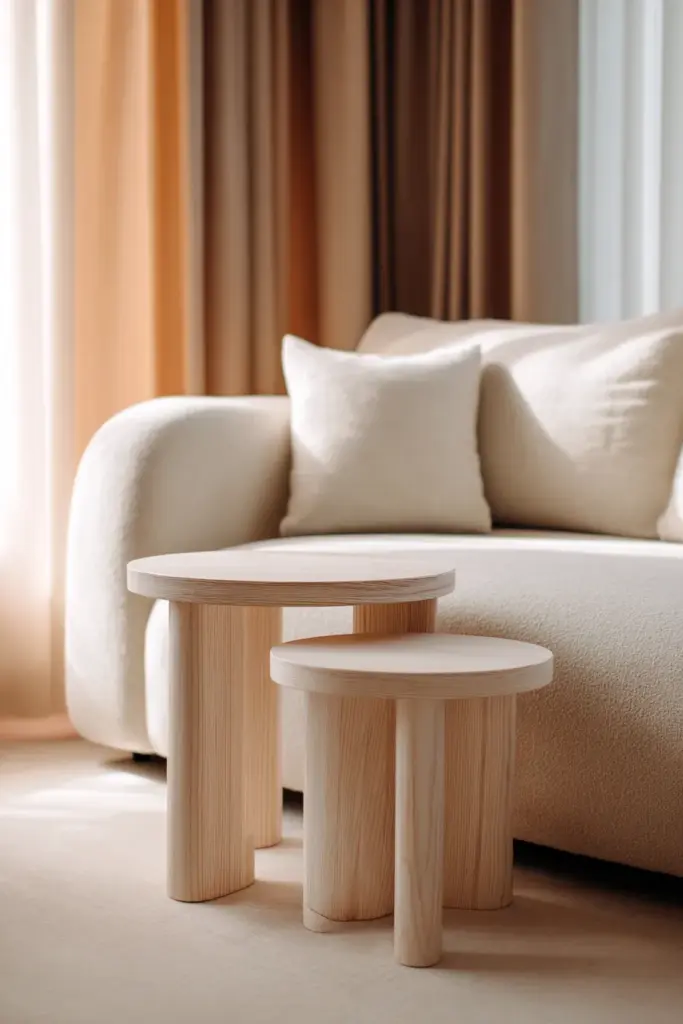
A nesting table set — two or three tables of descending height that slide beneath each other — is deeply functional and visually light. Build them from the same wood, finish them identically, and nest the smaller ones away when not in use.
A foldable low table with hinged legs can be stored flat against a wall or under a bed. In small Quezon City apartments where every square meter matters, this kind of intentional design is not just stylish — it is a relief.
Troubleshooting: Common Problems and Fixes
Even the most careful builds run into challenges. Here is what to watch for.
Wood Warping
If your tabletop begins to warp after assembly, it is usually a moisture issue. Store wood indoors for at least a week before building to allow it to acclimate to your home’s humidity. Once built, avoid placing the table near aircon vents or direct sunlight for extended periods.
If warping occurs after the fact, dampen the concave side with a wet cloth, place the table face down on a flat surface, and weigh it down overnight. Repeat as needed.
Uneven Legs
Test your table on a flat floor before final assembly. If it rocks, a small felt pad under the shorter leg is the simplest fix. For a more refined solution, sand the offending leg slightly and test again.
Finish Not Absorbing Evenly
This usually means the wood still has dust or residue on the surface. Wipe the entire piece down with a tack cloth or a slightly damp rag, let it dry fully, then apply your finish again.
Quick Summary: Key Takeaways
- Japandi design blends Japanese wabi-sabi and Scandinavian minimalism — natural, imperfect, intentional.
- Materials matter most. Oak, walnut, reclaimed wood, and bamboo all work beautifully. Locally sourced pine is an affordable entry point.
- No power tools required. Pre-cut lumber and cam lock connectors make this a beginner-friendly build.
- Chamfer your edges for that signature soft, organic look.
- Finish with oil or wax — never high gloss.
- IKEA hacks are a valid, beautiful option for budget-conscious or renter-friendly builds.
- Add plants. A low shelf or a styled tray with greenery completes the Japandi look.
- Small spaces benefit from nesting or foldable designs.
- Troubleshoot warping with humidity control and flat-surface weighting.
Conclusion
A DIY Japandi coffee table is more than a furniture project. It is a practice in slowing down, in choosing materials with care, in letting the grain of the wood and the weight of the silence in a room guide your decisions.
When you sit beside it in the morning, hands wrapped around a warm cup, light coming in low and golden through your window, you will feel it — that particular calm that comes from living with things made intentionally, made beautifully, made with your own hands.
This is what ERYLIN believes in: spaces that hold you. Objects that ask nothing of you but your presence. A home that feels, above all else, like rest.
Frequently Asked Questions
What materials are best for a DIY Japandi coffee table?
Oak, walnut, and reclaimed wood are the most popular choices for an authentic Japandi look. For budget builds, locally sourced pine or bamboo work beautifully and are easy to finish with natural oil or wax.
How do I build a Japandi coffee table without power tools?
Use pre-cut lumber from your hardware store or lumber yard, and assemble with cam lock connectors and dowels. Sand the edges by hand, chamfer them slightly for an organic feel, and finish with Danish oil or beeswax. No saw or drill required.
What is the Japandi style for coffee tables?
Japandi coffee tables are defined by low profiles, clean lines, natural materials, and an embrace of imperfection — known in Japanese as wabi-sabi. They favor negative space, muted tones, and textures that feel honest and handmade.
Can I make a Japandi coffee table from an IKEA hack?
Absolutely. Swapping out IKEA LACK tabletop legs for natural wood rounds or ceramic legs, finishing the surface with oil, and adding a woven tray transforms a flat-pack piece into something that looks entirely custom — and costs a fraction of a designer piece.
How do I prevent my DIY coffee table wood from warping?
Acclimate your wood indoors for at least a week before building. Avoid placing the finished table near aircon vents or direct sunlight. If warping occurs, dampen the concave side, weight it flat, and allow it to correct overnight. A good oil or wax finish also helps stabilize the wood over time.