Table of Contents
There is something quietly magical about the small objects we place on our tables.
A coaster is not just a protector of surfaces — it is a tiny stage for intention. It holds your morning tea, cradles the warmth of a ceramic mug, and sits in silence between conversations. When crafted with care, it becomes a small act of design that speaks volumes about the space around it.
Japandi — the seamless marriage of Japanese wabi-sabi and Scandinavian hygge — finds its most accessible expression in handmade objects like these. Natural, understated, and quietly beautiful, DIY Japandi coasters are one of the best beginner projects for anyone who wants to bring this aesthetic into their home without a full renovation.
In this guide, we’ll walk you through the philosophy, the materials, the making, and the styling of your own Japandi coasters — step by loving step.
What Is Japandi Style for Coasters?
Japandi design is rooted in less but better. It draws from the Japanese concept of ma — meaningful empty space — and the Nordic love of functional objects that are also beautiful. When applied to coasters, this means clean shapes, natural materials, muted tones, and a gentle imperfection that feels intentional rather than sloppy.
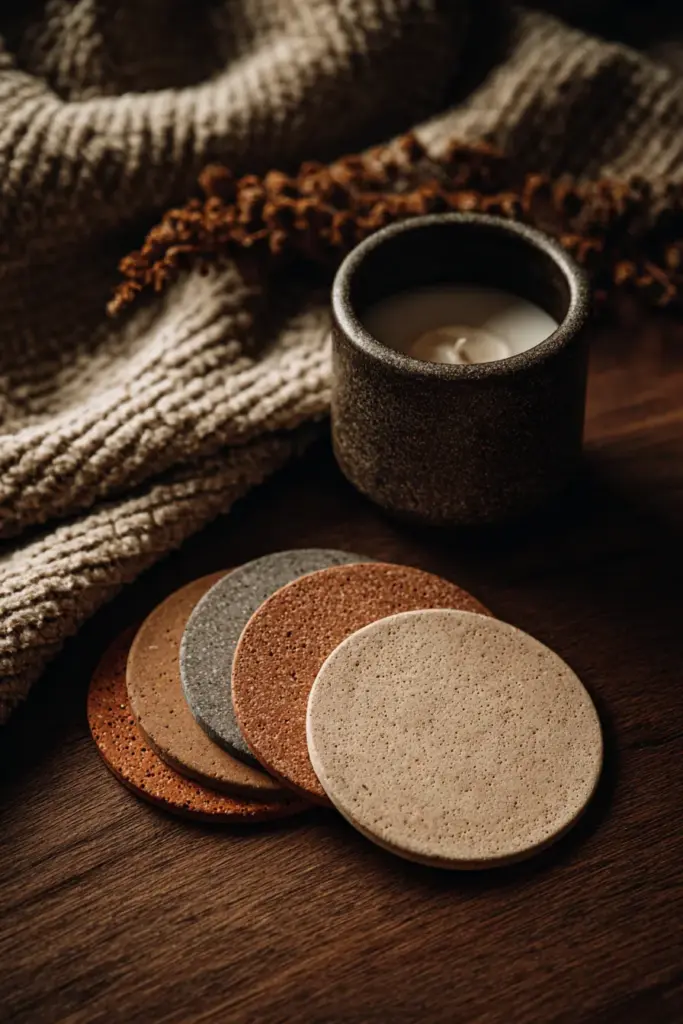
A Japandi coaster is not stark. It breathes. It carries the warmth of wood grain, the softness of linen, or the quiet cool of unsealed concrete. It does not shout with pattern or compete with the objects placed upon it.
Think of your coaster as a whisper on the table — present, purposeful, and perfectly still.
Japandi Design Principles to Apply to Your Coasters
Before you gather materials, it helps to understand the visual rules that make a coaster feel Japandi rather than simply minimal or rustic.
Color
Stay within a narrow palette of warm neutrals: warm white, oatmeal, taupe, sand, charcoal, and soft black. One or two tones per coaster set is ideal. If you want an accent, reach for a single brushstroke of charcoal, a thin gold line inspired by kintsugi, or a muted olive.
Texture Over Pattern
Japandi favors texture above decoration. The grain of cork, the rough edge of a stone tile, the weave of linen — these are your “patterns.” If you add painted detail, keep it geometric and sparse: a single line, a half-circle, a hand-drawn grid.
Symmetry in the Set, Variation in the Detail
Four coasters should feel like a family, not a military unit. Same shape, same general tone — but each with slightly different grain lines, brushwork, or wear. This is the wabi-sabi heart of Japandi: beauty in the imperfect and the incomplete.
Organic Shape and Clean Edge
Slightly rounded square or circle shapes work best. Avoid overly decorative edges or fussy laser-cut motifs. The simpler the silhouette, the more the material gets to speak.
Best Materials for DIY Japandi Coasters
Choosing the right material is half the design decision. Each option carries a different sensory quality — the weight of stone, the give of cork, the softness of fabric.
| Material | Japandi Feel | Difficulty | Best Finish |
|---|---|---|---|
| Cork sheets | Warm, earthy, light | Beginner | Matte sealant |
| Unglazed ceramic tile | Cool, minimal, grounded | Beginner | Spray varnish |
| Birch wood slices | Natural, textural, rich | Beginner–Intermediate | Beeswax or matte lacquer |
| Concrete | Modern, cool, sculptural | Intermediate | Resin or matte sealant |
| Linen fabric + felt | Soft, handmade, tactile | Beginner | None needed |
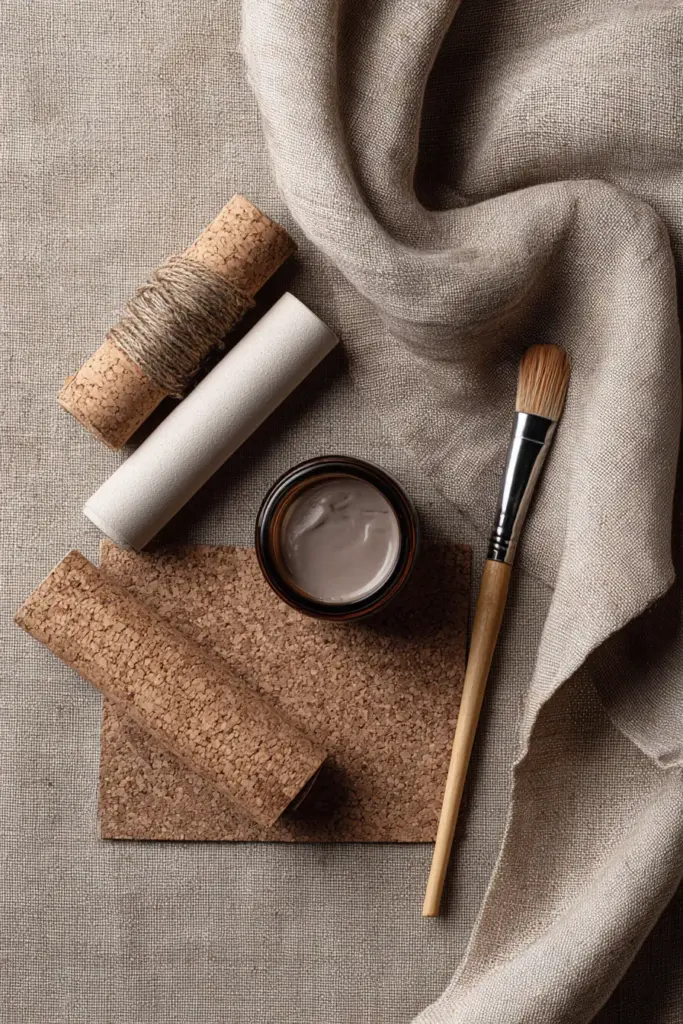
For beginners, cork + washi paper is our favourite combination. Cork is warm and forgiving. Washi paper — the delicate Japanese tissue used in traditional crafts — adds texture and a gentle pattern without overwhelming the surface. Together, they feel effortlessly Japandi.
Step-by-Step: DIY Japandi Cork and Washi Paper Coasters
What You’ll Need
- Natural cork sheet or pre-cut cork coaster blanks (10 cm round or square)
- Washi paper in natural or geometric patterns (neutral tones: ivory, stone, charcoal)
- Mod Podge or a matte decoupage medium
- A small foam brush or flat paintbrush
- Sharp scissors or a craft knife and cutting mat
- Matte sealant spray (water-resistant)
- Optional: charcoal or black acrylic paint for a thin accent line
Step 1: Prepare Your Cork Surface
Lightly sand the surface of your cork coaster with fine-grit sandpaper to remove any dust or texture inconsistencies. Wipe clean with a dry cloth. This creates a smoother base for your decoupage and helps adhesion.
Step 2: Cut Your Washi Paper
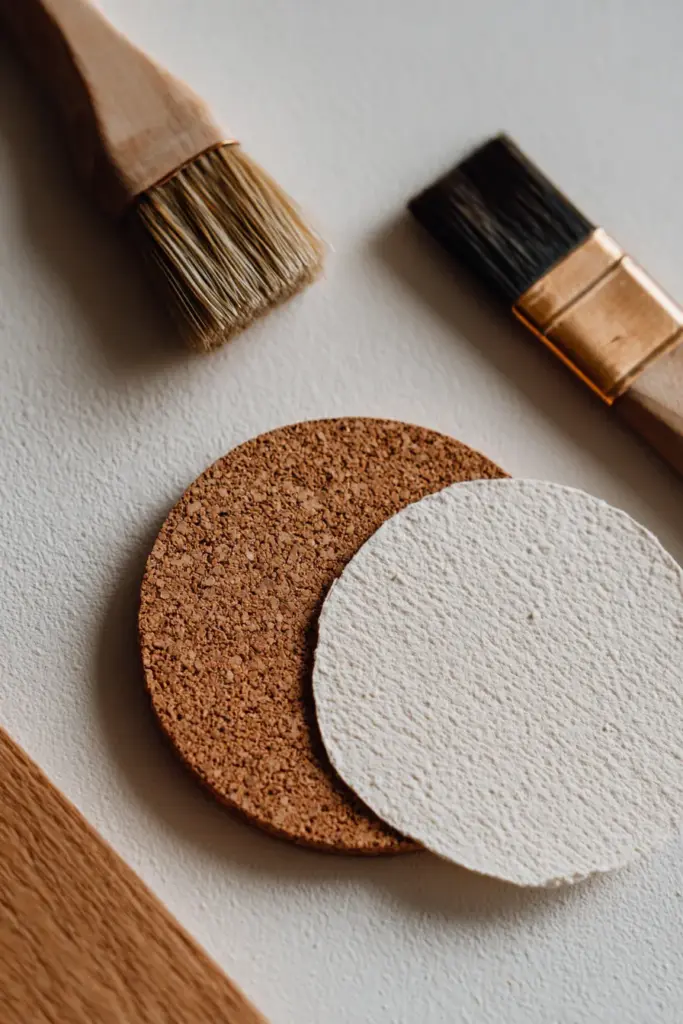
Tear or cut your washi paper slightly larger than your coaster. Tearing creates an organic, feathered edge that feels very Japandi — the imperfect edge becomes a design element. If you prefer a cleaner look, cut precisely to match the coaster shape.
For a layered effect, you can cut two pieces: one larger neutral piece as a base and one smaller piece with a subtle geometric pattern placed off-centre.
Step 3: Apply the Decoupage
Brush a thin, even layer of Mod Podge onto the top of the cork coaster. Lay your washi paper gently on top, smoothing from the centre outward with your fingertips to remove air bubbles. Fold or trim any overhang around the edges.
Apply another thin layer of Mod Podge over the top of the paper. Let dry for 15–20 minutes. Apply a second coat for a more durable surface.
Step 4: Add an Optional Accent
Once dry, use a fine brush and charcoal or black acrylic paint to draw a single thin line along one edge, or a small abstract geometric shape in one corner. Less is always more here — resist the urge to add more.
This is where wabi-sabi thinking helps: a slight wobble in the line is not a mistake. It is a signature.
Step 5: Seal and Protect
Once fully dry (at least one hour), take your coasters outside or to a well-ventilated space and apply two thin coats of matte sealant spray, allowing drying time between coats. This step is essential for durability — it creates a water-resistant surface that protects the cork and paper from condensation.
For a food-safe finish, choose a sealant specifically labelled non-toxic and food-safe once cured.
Sealing and Protecting Your Japandi Coasters
This is the step most DIY guides rush past — and it is one of the most important for longevity.
Is It Waterproof?
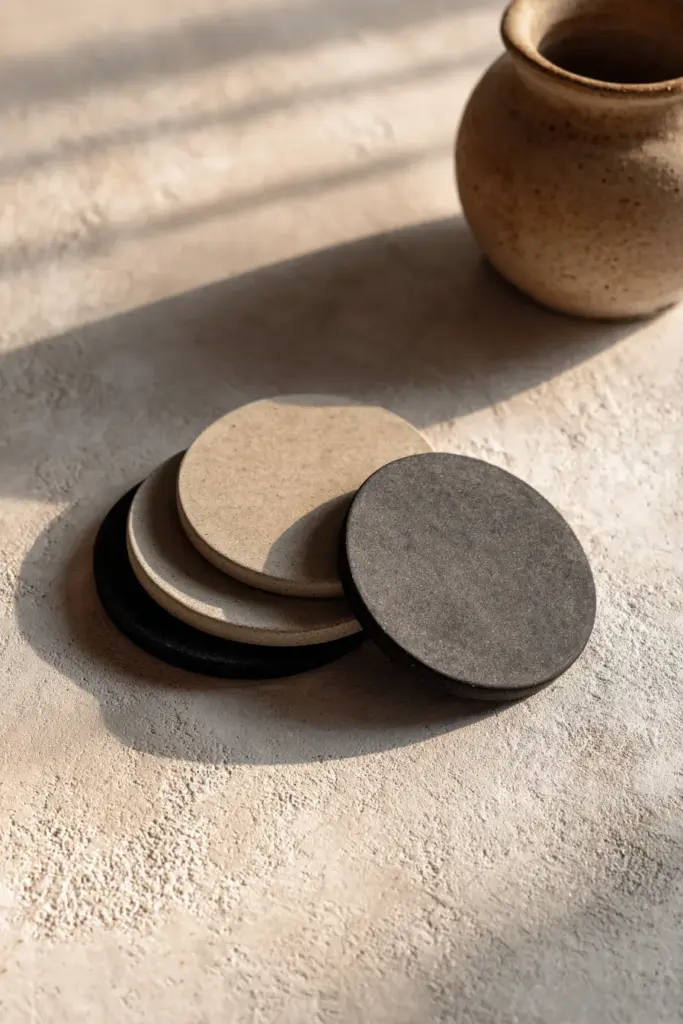
Cork and washi paper on their own are not waterproof. Sealing is essential. A matte varnish or sealant spray (two to three coats) provides good moisture resistance for everyday use — light condensation, a dripping cup, a damp cloth.
If you want maximum protection, especially for frequently used coasters or those near a sink, consider a UV-resistant resin pour over the top surface. This creates a glossy, very durable layer. Note: resin will change the aesthetic from matte-earthy to slightly more polished — keep this in mind for a strictly Japandi look.
Key Durability Tips
- Always apply at least two coats of sealant, allowing full drying between coats
- Avoid soaking or submerging your coasters in water
- Wipe spills immediately rather than letting liquid sit
- Re-seal annually if coasters are used daily
- For fabric coasters: use a fabric waterproofer spray and sew on a felt backing to prevent slipping
How to Style Japandi Coasters on Your Table
The beauty of Japandi coasters deepens when they are placed thoughtfully within a larger table or living room composition.
On a Coffee Table
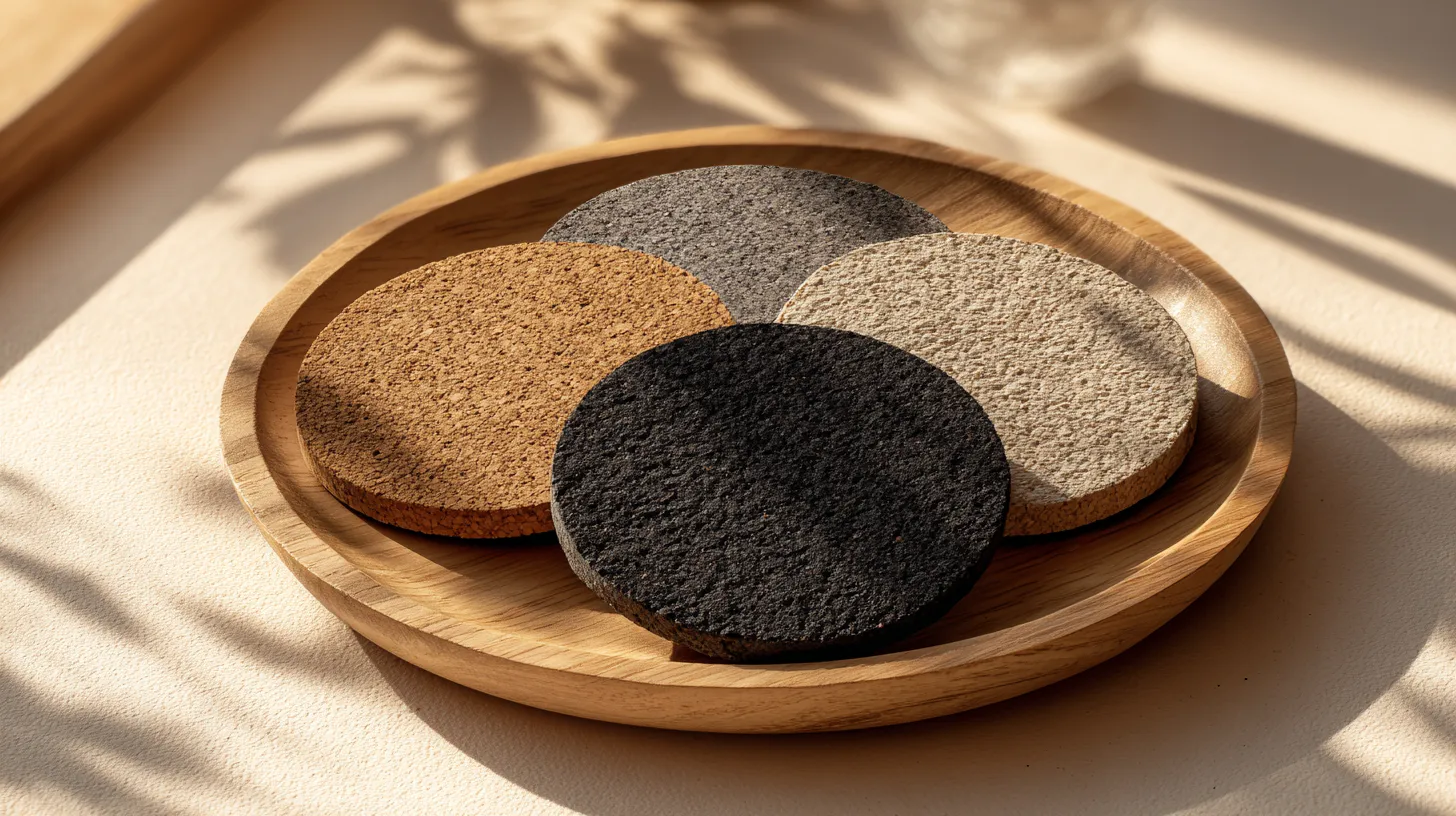
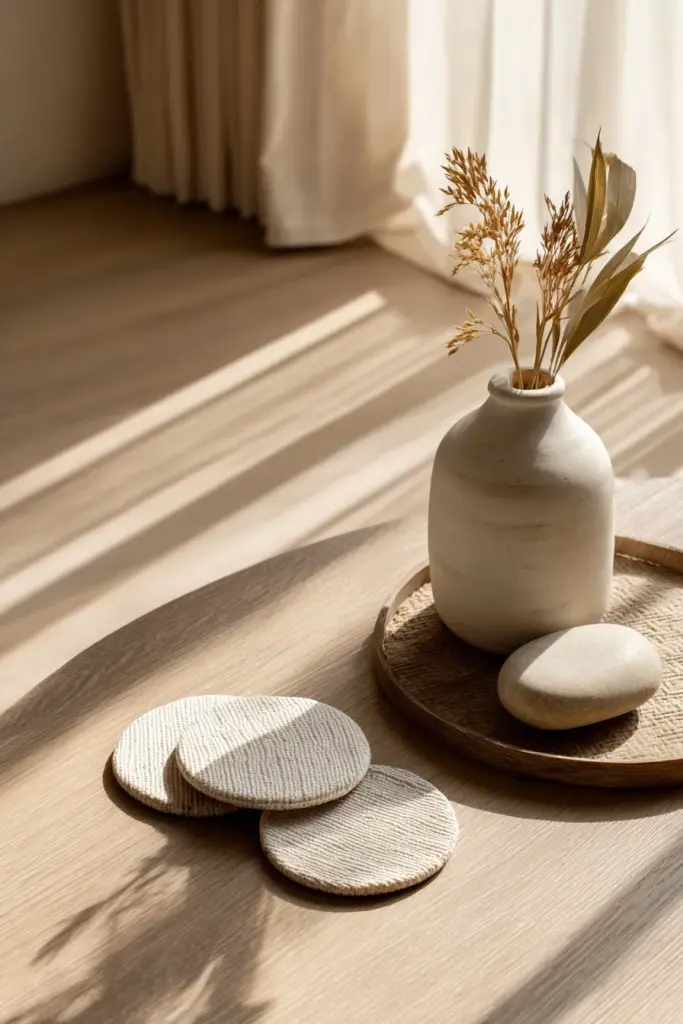
Arrange four coasters in a loose cluster — not perfectly aligned, but gently gathered. Place a low ceramic vase with a single stem, a small river stone, or a linen-covered book nearby. Allow breathing room. In Japandi styling, empty space is not wasted space — it is part of the design.
On a Dining Table
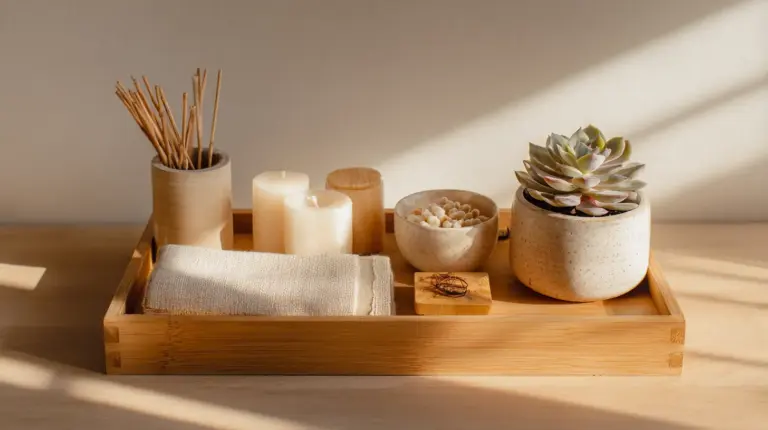
Use coasters as part of a simple table setting. Pair them with handmade stoneware mugs, a wooden tray in a similar tone, and a small potted plant like a moss ball or dwarf bamboo. The coasters tie the organic elements together and prevent the setting from feeling too sparse.
How Many Coasters to Make
- Coffee table: A set of four is ideal — one for each seat, or grouped as a visual cluster even when not all in use.
- Dining table: Six works well for a standard dining table for four to six people, allowing extras for serving.
- Gift set: Four coasters wrapped in natural twine with a small card is a perfectly proportioned handmade gift.
Matching Your Coasters to Your Japandi Space
If your room features [warm Japandi lighting](lighting ideas) from paper lanterns or rattan pendants, opt for warmer cork or wood coasters in oat and sand tones. If your space leans cooler — concrete floors, white plaster walls, black steel frames — reach for tile or concrete coasters in stone, grey, and soft off-white.
Your coasters should feel like they grew from the room, not arrived from somewhere else.
Beginner Mistakes to Avoid
Even the simplest project has its pitfalls. Here are the most common ones — and how the Japandi mindset helps you let them go.
- Over-decorating: If you’ve added three colours, two patterns, and a stamped motif, you’ve left Japandi territory. Step back and remove one element. Then another.
- Using too many materials at once: Pick one hero material per set. Mixing cork, tile, and wood in one four-coaster set creates visual noise.
- Being too precious about perfection: An uneven edge or slightly off-centre washi paper tear is not a flaw in Japandi — it is wabi-sabi at work. Embrace it.
- Skipping the sealant: This is the difference between a coaster that lasts one season and one that lasts years.
- Choosing bold or busy washi paper patterns: Florals and bright colours will look lovely on their own, but out of place in a Japandi setting. Reach for organic textures, soft geometrics, and muted tones.
Seasonal Japandi Coaster Variations
One of the quiet joys of DIY coasters is that you can make a new set for each season without breaking the budget.
- Autumn: Warm terracotta cork coasters with a single brushed charcoal line. Pair with spiced tea and a chunky wool throw nearby.
- Winter: Concrete coasters sealed in matte white, placed on a dark oak tray beside a candle. Cold material, warm glow.
- Spring: Linen-wrapped coasters with a pale green or sage edge stitch, sitting beside a glass vase with fresh stems.
- Summer: Natural wood slices sealed with beeswax, fragrant and warm-toned, on a rattan tray with iced lemon water.
Each variation stays within the Japandi palette — only the warmth shifts with the season.
Quick Checklist: Your DIY Japandi Coasters
- Choose one hero material: cork, tile, wood, concrete, or fabric
- Stay within a two-tone neutral palette with one optional accent
- Tear rather than cut for organic edges where appropriate
- Apply two coats of decoupage medium and two coats of matte sealant
- Allow full drying time between every coat
- Add only one decorative detail — a line, a shape, a texture — and stop there
- Embrace slight imperfection as part of the design
- Style in sets of four or six, grouped with ceramics, plants, and natural trays
Conclusion
Making your own Japandi coasters is not just a craft project — it is a small practice of presence. In a world that often asks us to do more, add more, and fill every surface, these little circles and squares ask you to pause, simplify, and pay attention to the quiet beauty of a natural material in your hands.
Place them on your table. Set down your morning cup. Notice how something so small can hold so much warmth.
That is the heart of Japandi — and now, it is yours to make.
Frequently Asked Questions
How do you make Japandi-style coasters at home?
Choose a natural material like cork, unglazed tile, or birch wood. Decorate with washi paper, subtle paint, or wood burning in neutral tones. Seal with a matte varnish for durability. Keep patterns minimal and colours within a warm neutral palette.
What materials are best for Japandi coasters?
Cork, natural stone tile, birch wood slices, concrete, and linen fabric are all excellent choices. The key is selecting materials that feel organic, unfinished, and grounded — avoid glossy or highly processed surfaces.
Are Japandi coasters easy for beginners?
Yes. Cork and washi paper coasters are one of the most beginner-friendly DIY projects available — they require no special tools, dry quickly, and are very forgiving of small imperfections. The Japandi philosophy of wabi-sabi actually makes beginner results look intentional.
How do you seal or protect DIY Japandi coasters?
Use a matte sealant spray applied in two to three thin coats over a fully dry surface. For heavy use, a resin pour offers maximum water resistance. Always choose a non-toxic, food-safe sealant if the coasters will be near food or drink.
How many coasters should you make for a Japandi set?
Four is the ideal set size for a coffee table; six works well for a dining table. An odd number like three or five can also feel beautifully Japandi — slightly asymmetrical, as if they were gathered rather than manufactured.