Table of Contents
There is something quietly magical about a handmade basket sitting in the corner of a sunlit room. It holds your things — your throws, your books, your trailing plant — but it also holds a feeling. A sense that beauty and purpose can live together without competing.
That feeling is at the heart of the Japandi aesthetic. Born from the marriage of Japanese wabi-sabi philosophy and Scandinavian hygge warmth, Japandi design finds joy in simplicity, in natural textures, in objects made with intention. And nothing embodies that spirit more perfectly than a DIY storage basket woven from the earth’s own fibers.
At ERYLIN, we believe your home should feel like a slow exhale. These baskets are exactly that — humble, handmade, and deeply calming to look at. Whether you live in a compact Mandaluyong apartment or a sun-drenched studio, there is a Japandi basket project here for you.
Let’s craft something beautiful together.
What Makes a Storage Basket Truly Japandi?
Before you reach for the rope, it helps to understand what separates a Japandi basket from a generic woven bin.
Japandi style is defined by restraint. Nothing is decorative just for decoration’s sake. Every texture, every neutral tone, every rough edge serves a purpose — to ground the room, to invite calm, to bring nature indoors.
The Core Principles to Keep in Mind
A true Japandi basket carries these qualities:
- Natural fibers only — rattan, seagrass, jute, abaca, or linen. Synthetics break the spell.
- Neutral tones — undyed rope, warm sand, clay, muted sage, or deep charcoal for contrast.
- Wabi-sabi imperfection — slight irregularities in the weave are not mistakes. They are the soul of the piece.
- Functional form — the basket earns its place by holding something, organizing something, hiding something.
- Minimal embellishment — if you do add detail, make it subtle: a single leather tag, a raw linen bow, nothing more.
Think of your basket not as a craft project, but as a small act of slow living.
Materials You’ll Need (With Local PH Alternatives)
One of the joys of DIY Japandi baskets is how accessible the materials are — especially here in the Philippines, where natural fibers are part of our craft heritage.
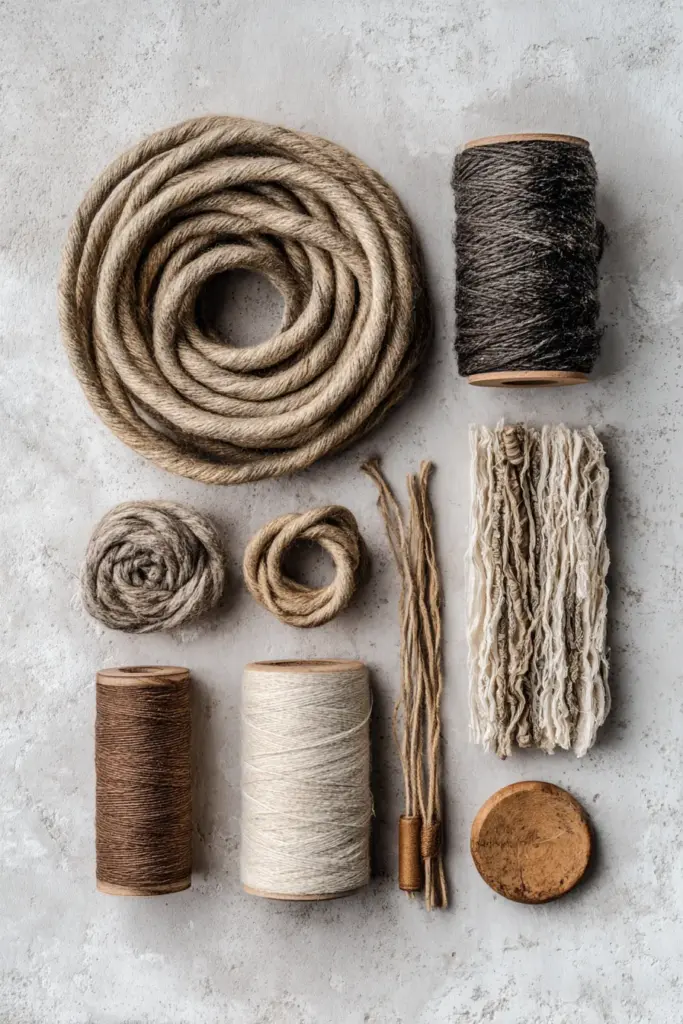
Recommended Natural Fibers
| Material | Best For | Where to Source (PH) | Est. Cost |
|---|---|---|---|
| Abaca rope (3–5mm) | Sturdy baskets, floor bins | Divisoria, local craft stores | ₱80–₱150/roll |
| Jute twine | Lightweight holders, liners | Handyman, online craft shops | ₱60–₱120/roll |
| Seagrass cord | Woven texture, boho Japandi | Specialty craft stores | ₱100–₱180/roll |
| Recycled sari-sari fabric strips | Soft fabric baskets | Upcycled from home | ₱0–₱50 |
| Rattan strips | Statement baskets | Divisoria, Laguna suppliers | ₱150–₱250/bundle |
Supporting Supplies
- Hot glue gun and sticks — for securing coils and base layers
- Sturdy base — a recycled shoebox, cardboard circle, or wooden disc
- Linen fabric scraps — for lining the inside and adding softness
- Leather cord or cotton ribbon — for handles or tags
- Beeswax or mold-resistant sealant — essential for Manila’s humid climate
A quick note on humidity: if your basket will live in a bathroom, near a plant, or in any damp corner, treat your finished piece with a light coat of beeswax polish or a diluted white vinegar spray to prevent mold growth. This is a step many tutorials skip — but in a tropical climate, it makes all the difference.
How to Make a Simple Japandi Storage Basket at Home
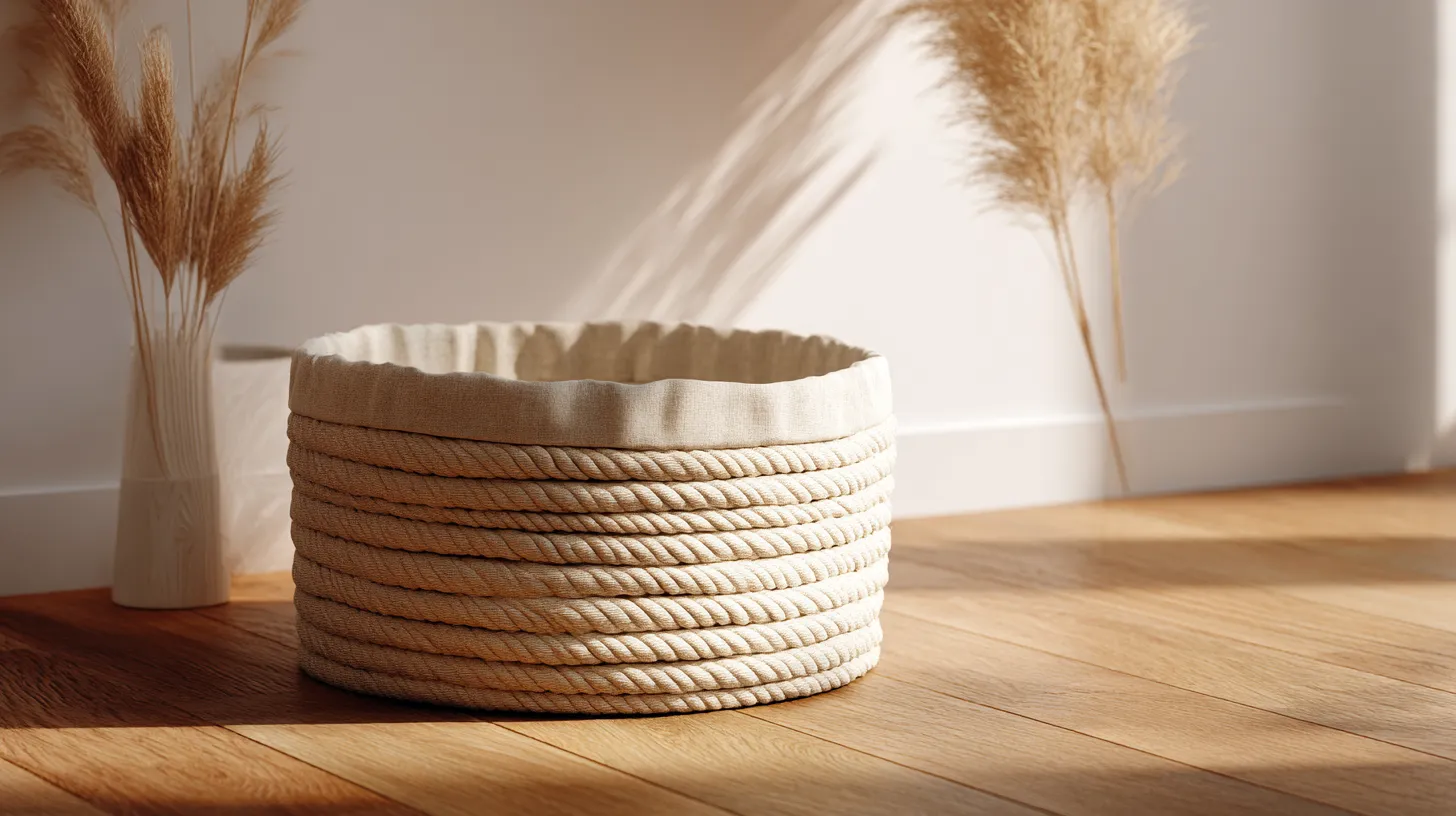
This foundational coiled rope technique is beginner-friendly, meditative to do, and produces a basket with beautiful, natural texture. Allow yourself an afternoon. Put on ambient music. Enjoy the process.
Step 1: Prepare Your Base
Cut a cardboard circle or use the bottom of a clean shoebox as your starting form. If you want a more structured basket, use a thin wooden disc (available at most craft stores). This gives your basket a firm, flat foundation.
Apply a thin bead of hot glue to the center of your base and press the end of your abaca or jute rope firmly into it. Hold for ten seconds. This anchor point is everything.
Step 2: Begin Coiling
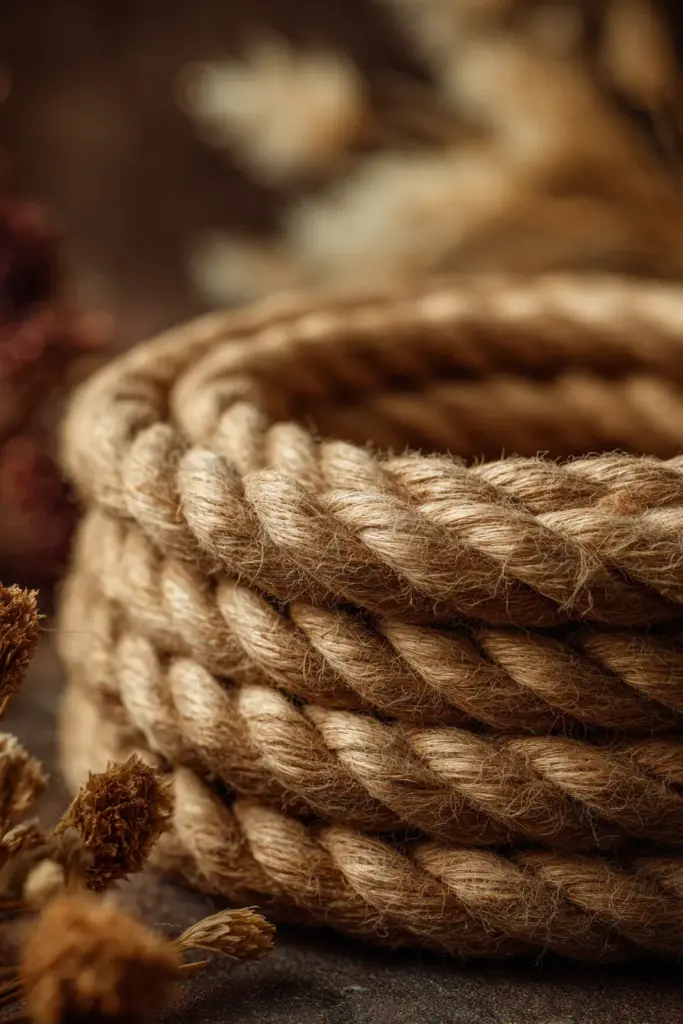
Working outward in a spiral, coil your rope tightly against itself, applying small dots of hot glue every few centimeters to bind each layer to the last. Keep your tension consistent — not too tight, not too loose. The rhythm of coiling is genuinely soothing once you find it.
When you reach the edge of your base circle, begin building upward. This is where the basket walls begin to grow. Angle your rope slightly inward as you glue to create a natural bowl shape, or keep it straight for a cylinder silhouette.
Step 3: Build the Walls
Continue coiling and gluing, pressing each new row firmly against the one below. For a basket approximately 20cm tall, you will need roughly 15–20 rows depending on your rope thickness. Check your work every few rows — run your hand along the inside to ensure the walls feel even and solid.
This is the meditative heart of the process. Your hands are moving, your mind is quiet, and something beautiful is slowly taking shape.
Step 4: Finish the Rim
When you reach your desired height, cut the rope at a slight angle and tuck the end neatly against the inner wall, securing it with a generous dot of glue. Press and hold until it cools. Sand any rough glue spots gently with fine-grit sandpaper for a clean finish.
Step 5: Add the Linen Liner (Optional but Lovely)
Cut a circle of linen fabric slightly larger than your basket’s interior base, plus a strip to line the walls. Hot glue it into place, smoothing out any wrinkles as you go. The contrast of rough rope exterior and soft linen interior is quintessentially Japandi — two textures in quiet conversation.
Customizing for Small Spaces: Stackable and Wall-Hanging Variants
For those of us living in smaller apartments — the kind where every shelf and corner must earn its keep — Japandi baskets can be designed to work harder.
Stackable Baskets
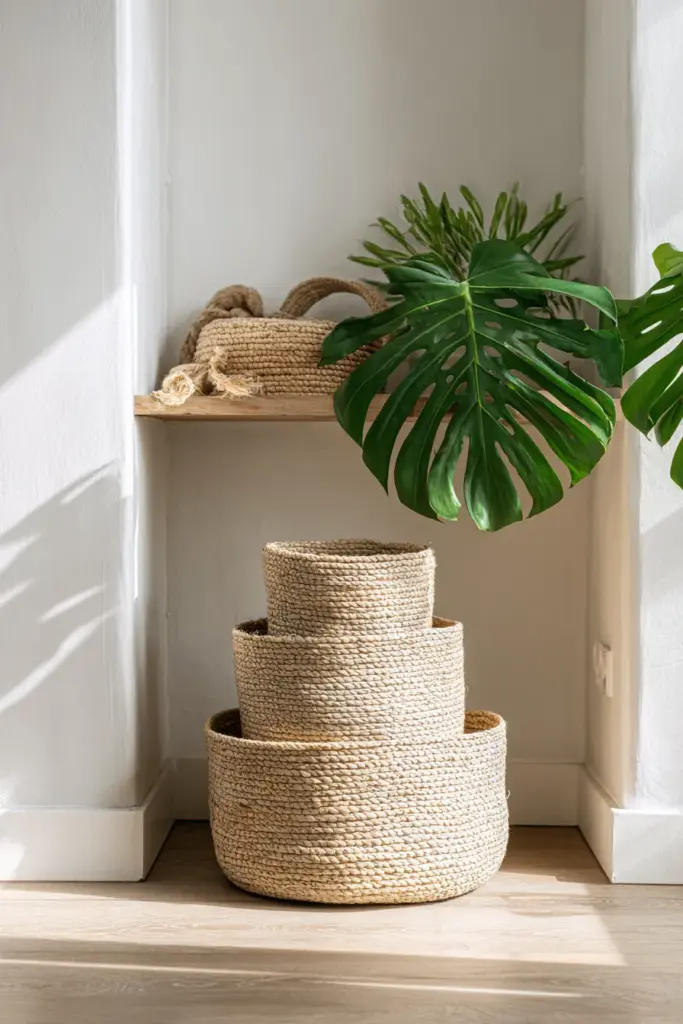
Make three baskets of varying heights using the same base diameter (aim for 15cm, 20cm, and 25cm tall). Stack them in descending order for an organized tower that takes up minimal floor space. Use these for rolled towels in the bathroom, pantry extras in the kitchen, or folded scarves in the bedroom.
The visual effect of stacked natural-fiber baskets is deeply satisfying — it creates a sense of order without rigidity.
Wall-Hanging Basket Holders
To create a wall-hanging version, reinforce your basket’s rim by wrapping a second layer of rope around the top edge. Then, thread a looped leather cord through the weave at the back — two attachment points for stability. Hang from a simple matte black or brass hook.
These work beautifully beside an entryway for keys and small items, in a bathroom for rolled washcloths, or in a bedroom for charging cables and bedtime reads.
Biophilic Baskets for Indoor Plants
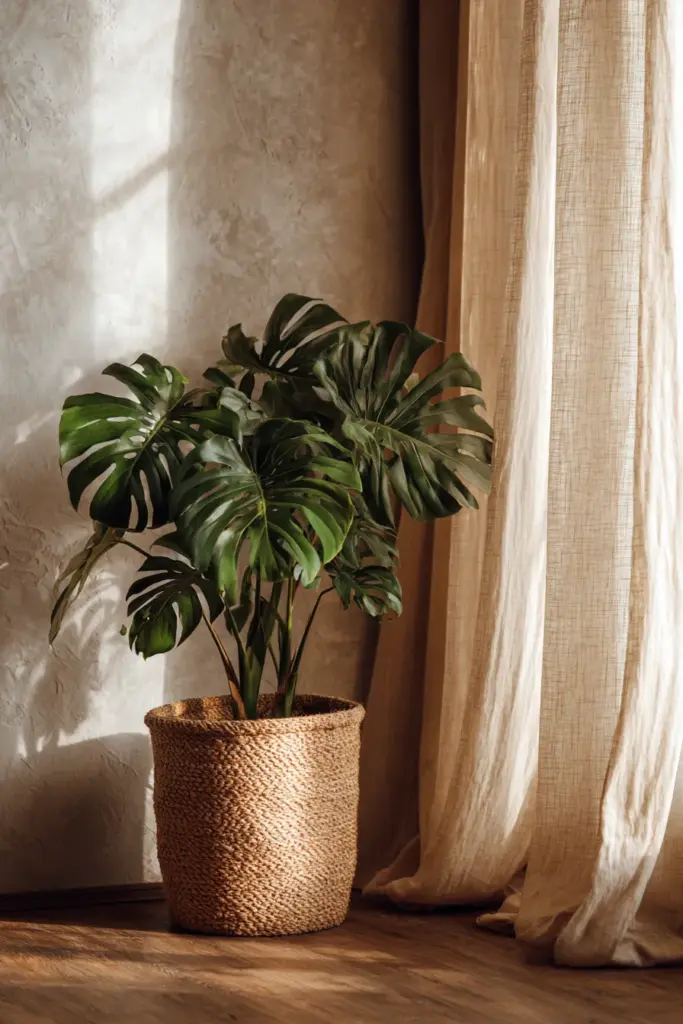
One gap in most Japandi basket tutorials is plant integration. Here’s how to do it well: line your finished basket with a thick plastic bag or a rubber drainage liner before potting. This protects the rope from moisture and root damage.
Use your plant basket for a trailing pothos, a compact monstera, or a tabletop fiddle leaf — and watch how the textured weave complements dark, waxy leaves in the most beautiful way. This is biophilic design at its most accessible.
A Quick Checklist: Your Japandi Basket Essentials
Before you begin, run through this list:
- Natural fiber rope in a neutral tone (abaca is our PH favorite)
- Sturdy base — cardboard, wood disc, or repurposed shoebox bottom
- Hot glue gun with plenty of sticks
- Linen or cotton fabric for lining
- Scissors and optional fine-grit sandpaper
- Beeswax or mold-resistant finish (non-negotiable in humid climates)
- Leather cord or cotton ribbon for handles or tags
- A calm afternoon and patient hands
Caring for Your Japandi Baskets
Natural fiber baskets are durable, but they appreciate a little care — especially in the Philippines where humidity is a constant companion.
- Dust weekly with a dry cloth or soft brush
- Avoid prolonged moisture — don’t place directly on wet floors
- Re-treat annually with beeswax polish to maintain flexibility and resist mold
- Spot clean with a barely damp cloth and mild soap; never submerge
- Rotate placement seasonally to prevent uneven fading from sunlight
With the right care, a well-made abaca basket can last for years — developing a gorgeous patina that only deepens its wabi-sabi beauty.
A Closing Thought
The most beautiful thing about making your own Japandi storage basket isn’t the finished object. It’s the hour you spent making it. Hands busy, mind quiet, rope warm from your palms.
In a world that moves fast, there is something profoundly grounding about slowing down to coil and press and create. Your basket will hold your things. But the act of making it holds something richer — a reminder that beauty doesn’t have to be bought. Sometimes, it just has to be woven.
Place your basket somewhere it will catch the morning light. Let it breathe. Let it belong.
With warmth, ERYLIN.
Frequently Asked Questions
What materials are best for DIY Japandi storage baskets?
Natural fibers are essential to the Japandi aesthetic. Rattan, seagrass, jute, and abaca rope are top choices — all celebrated for their organic texture and neutral warmth. In the Philippines, abaca rope from Divisoria is an affordable, locally-sourced option that performs beautifully and honors our own craft heritage. Avoid synthetics; they break the calm, grounded feeling that Japandi design depends on.
How do you make a simple Japandi storage basket at home?
The coiled rope method is the most beginner-friendly technique and requires minimal tools — just rope, hot glue, a base form, and patience. Start by anchoring your rope to a cardboard or wooden base, then coil outward and upward, gluing each row as you go. The whole process can be completed in an afternoon, and no weaving experience is required.
Can I customize Japandi baskets for small spaces?
Absolutely. Stackable baskets in varying heights are ideal for compact apartments — they organize vertically without claiming floor space. Wall-hanging versions with leather cord loops are another smart solution for entryways, bathrooms, and bedrooms. The Japandi philosophy of functional minimalism makes it perfectly suited to small-space living.
How do I mold-proof my baskets for Manila’s humid climate?
This is a crucial step that most tutorials overlook. Once your basket is complete, apply a thin coat of beeswax polish or a diluted white vinegar spray to all surfaces. Allow it to dry completely before use. For baskets near plants or in bathrooms, place a waterproof liner inside. Treat again annually to maintain durability.
What makes a storage basket truly Japandi in style?
A Japandi basket is defined by its restraint and honesty. It uses only natural materials, speaks in neutral tones, and finds beauty in slight imperfection. It serves a clear function — storage, organization, plant housing — without trying to do more than that. If your basket feels calm and purposeful the moment you set it down, it’s Japandi.