Table of Contents
There is something quietly radical about choosing to build something with your hands. Not because you have to, but because you want to feel the grain of wood beneath your fingertips, to let a piece of furniture carry your intention.
A Japandi media console is one of those rare pieces that does exactly that. It holds your screens and cables and remotes — and somehow still manages to look like a breath of fresh air.
This is the guide we wish existed when we first fell in love with Japandi design. Part build guide, part sensory invitation — because beauty and function were never meant to live apart.
Whether you are working with a compact apartment in Mandaluyong or a bright living room in the suburbs, this piece scales with you. Let us build something worth keeping.
What Is Japandi Style — And Why Does It Work So Well for Media Consoles?
Japandi is the quiet marriage of Japanese minimalism and Scandinavian warmth. It strips away the unnecessary and replaces clutter with intention — clean profiles, natural materials, and a stillness that makes a room feel like it can finally exhale.
A media console sits at the visual center of most living rooms. It bears the weight of screens, speakers, and all the tangled chaos of modern life. Japandi tames that chaos without making the room feel cold or clinical.
The result is a piece that whispers rather than shouts — low to the ground, warm in tone, honest in its materials.
The Core Principles Behind Japandi Design
- Ma (negative space): Let the piece breathe. Avoid overcrowding surfaces or shelves.
- Wabi-sabi: Embrace the natural imperfections in wood grain and texture — they are features, not flaws.
- Hygge warmth: Soft textiles, warm light, and organic forms invite people to linger and slow down.
- Function as beauty: Every joint, every shelf, every cable channel should serve a purpose.
Materials: What to Choose for an Authentic Japandi Feel
The right materials carry the whole mood. Choose well, and your console will feel grounded and alive.
Best Woods for a DIY Japandi Media Console
| Wood | Character | Best For | Notes |
|---|---|---|---|
| White oak | Light, open grain | Tabletop, cabinet faces | Ages beautifully; pairs well with matte black |
| Walnut | Rich, dark warmth | Accents, legs | Adds drama without heaviness |
| Ash | Pale, fine grain | Panels, shelving | Budget-friendly; takes stain well |
| Pine (local) | Soft, knotty | Budget builds | Sand well; seal to prevent warping in humidity |
| Narra (PH alternative) | Warm amber tones | Full console builds | Locally sourced; comparable feel to oak |
In the Philippines, narra and locally sourced mahogany from lumber yards in Fairview or Cubao offer a beautiful, budget-conscious alternative to imported hardwoods. A pine-based build with narra accents can come in well under ₱5,000.
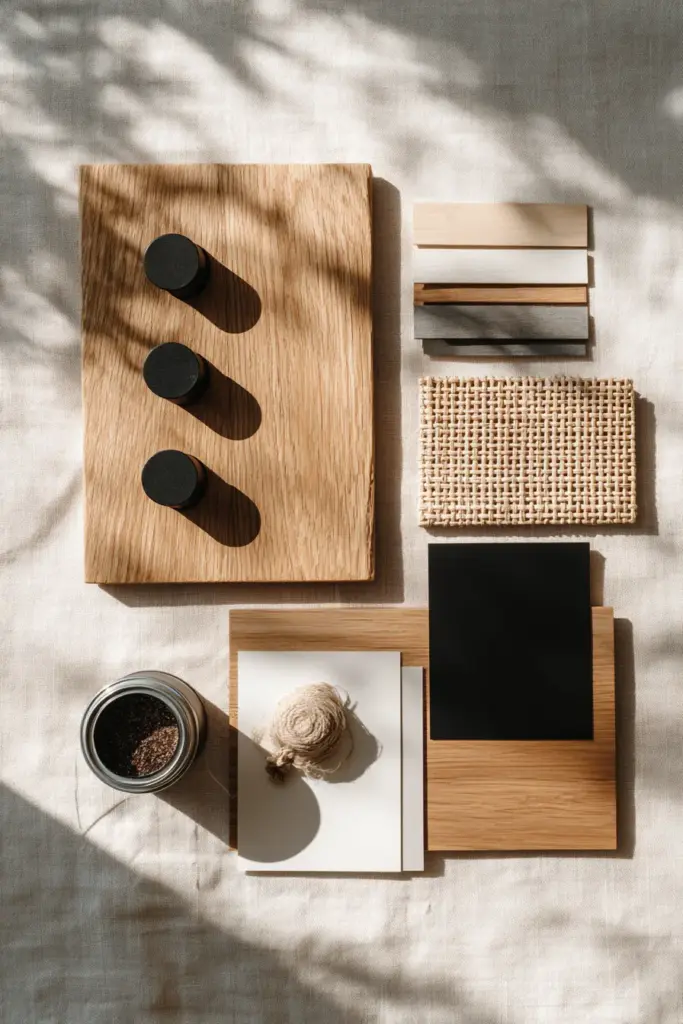
Accents and Hardware
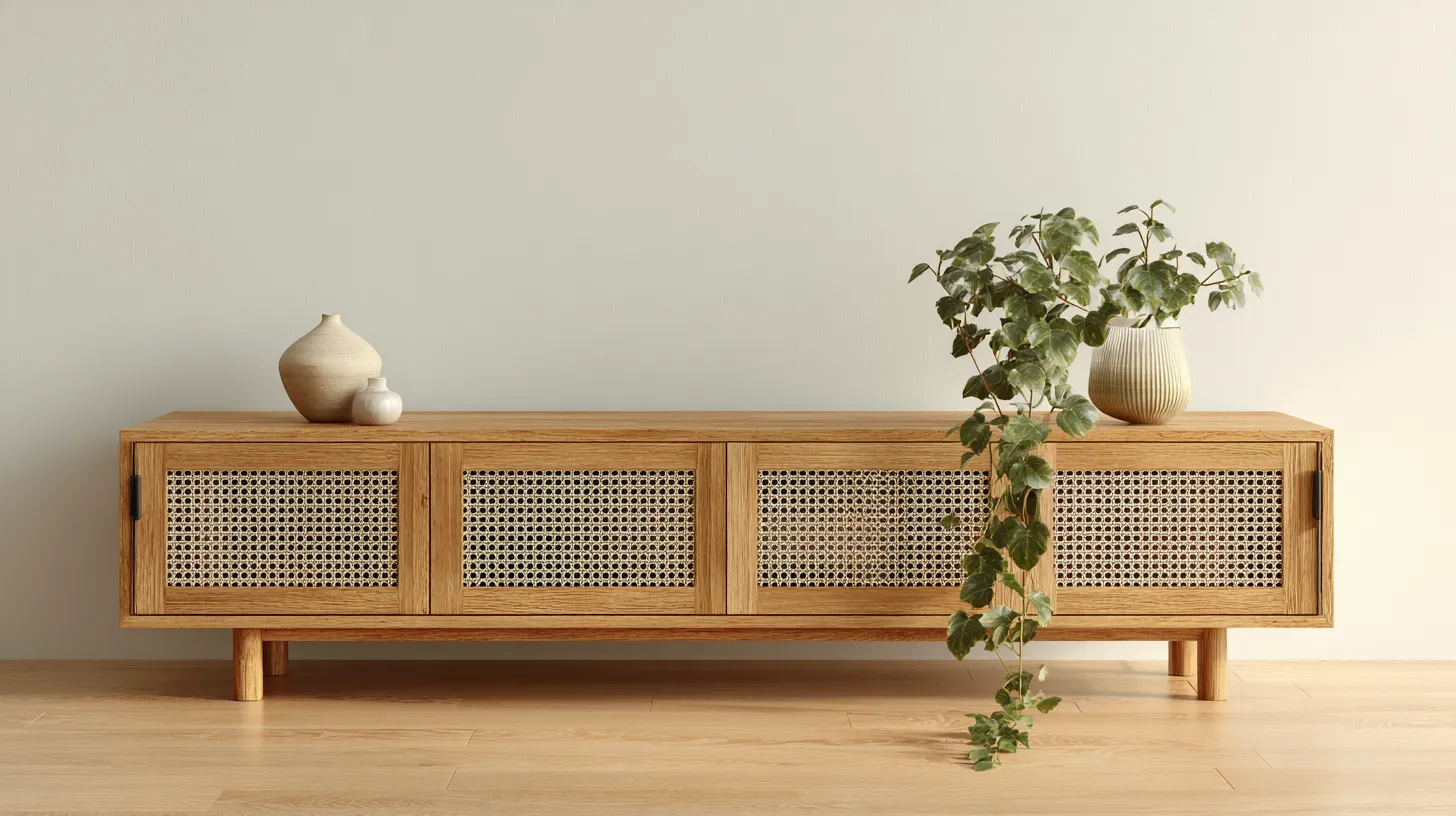
- Rattan panels: Woven rattan cabinet inserts hide electronics while letting air circulate — essential in tropical climates.
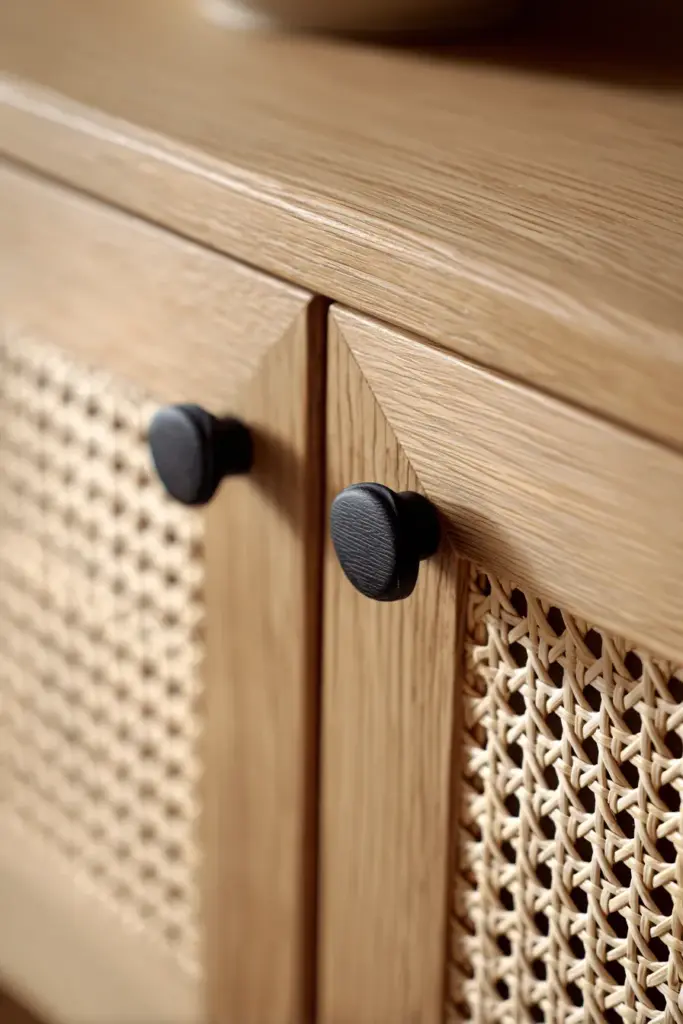
- Matte black hardware: Pulls, hinges, and shelf pins in matte black anchor the palette without adding visual weight.
- Woven baskets: Tuck inside open shelves for texture-rich, practical storage.
- Beeswax or tung oil finish: Non-toxic, low-sheen, and gorgeous on natural wood — safe for homes with children and pets.
Tools and Materials List
Before you begin, gather everything. A calm build starts with an organized workspace.
Tools you will need:
- Circular saw or miter saw
- Power drill and drill bits
- Pocket hole jig (Kreg or similar) or dowel joinery kit
- Sander (80, 120, and 220 grit)
- Clamps (at least four)
- Tape measure and carpenter’s square
- Level
Materials for a standard 1.2m console:
| Item | Quantity | Approximate Cost (PH) |
|---|---|---|
| 18mm plywood (pine or narra-faced) | 1 sheet | ₱900–₱1,400 |
| 1×2 pine strips (legs or frame) | 8 pcs | ₱400–₱600 |
| Rattan webbing or cane panel | 0.5 sqm | ₱300–₱600 |
| Matte black cabinet pulls | 4–6 pcs | ₱200–₱400 |
| Wood glue | 1 bottle | ₱80–₱120 |
| Pocket screws | 1 box | ₱150–₱200 |
| Sandpaper (assorted) | 1 set | ₱80–₱100 |
| Tung oil or beeswax finish | 1 tin | ₱300–₱500 |
| Total | ₱2,410–₱3,920 |
How to Build a DIY Japandi Media Console: Step-by-Step
Take your time with each step. This is not a race — it is a practice in slow making.
Step 1: Plan Your Dimensions
Measure your TV first. The console should be at least 15–20cm wider than your screen on each side. Standard Japandi consoles sit low — between 35–45cm in height — to keep the visual line calm and horizontal.
For small apartments, aim for a width of 100–120cm and a depth of 35–40cm. Wall-mounted versions can go as narrow as 80cm and still feel complete.
Step 2: Cut Your Panels
Cut the following from your 18mm plywood sheet:
- Top panel: Full width × 38cm depth
- Bottom panel: Same as top
- Two side panels: 38cm depth × 40cm height
- Back panel: Full width × 38cm height (use 6mm plywood or skip entirely for open-back ventilation)
- Middle shelf (optional): Full width × 36cm depth
Label each piece lightly in pencil. Sand all edges to 120 grit before assembly.
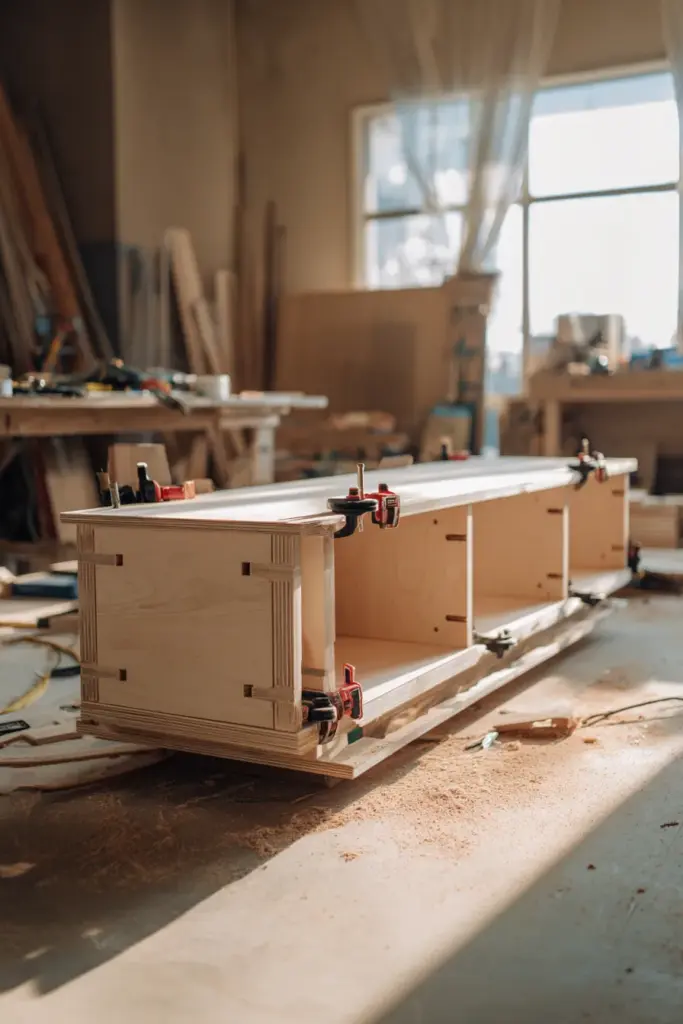
Step 3: Build the Carcass
Use pocket hole joinery to connect the top, bottom, and side panels. Drill pocket holes on the inside faces of the side panels — two per connection point.
Apply wood glue to each joint, clamp firmly, and drive the pocket screws. Check for square at every corner before the glue sets. A slightly out-of-square carcass will haunt you forever — take the extra two minutes here.
Step 4: Attach the Legs
Japandi legs are typically tapered, angled slightly outward, or simple cylinder blocks. You can purchase pre-turned legs online or at hardware stores like Handyman or True Value PH.
For a DIY option, cut 4×4cm square pine into 12–15cm lengths, sand to 220 grit, and attach with a hanger bolt and barrel nut. Position legs 5cm in from each corner on the underside of the bottom panel.
Step 5: Add the Rattan Panel Doors or Open Shelf Inserts
This step transforms the console from a cabinet into a statement. Cut a frame from 1×2 pine strips to fit each door opening. Stretch rattan webbing across the frame and staple at the back, pulling taut as you go.
Attach the finished frame with piano hinge or push-to-open magnetic latches. The woven texture catches the light softly and gives the piece its soul.
Step 6: Cable Management — The Japandi Non-Negotiable
Visible cables are the fastest way to break the spell of a calm interior. Route cables through the back panel before attaching it. Drill a 3–4cm hole at the back corner of each shelf for cable pass-through.
In tropical climates, leave the back panel partially open or use a vented panel. Electronics need airflow, and sealed cabinets in humid Philippine summers can trap heat and moisture.
A strip of rattan cut to size and hot-glued inside the cable opening keeps the look clean and the airflow open.
Step 7: Sand, Finish, and Breathe
Sand the entire piece to 220 grit. Run your hand across every surface — it should feel like still water.
Apply tung oil with a lint-free cloth in long, even strokes with the grain. Let it penetrate for 15–20 minutes, then wipe away the excess. Two to three coats, with light sanding between each, will give you a finish that feels alive and smells faintly of the forest.
Allow 24 hours to cure fully before placing anything on the surface.
Styling Your Japandi Media Console
The build is only half the story. How you style the console determines whether it feels designed or merely assembled.
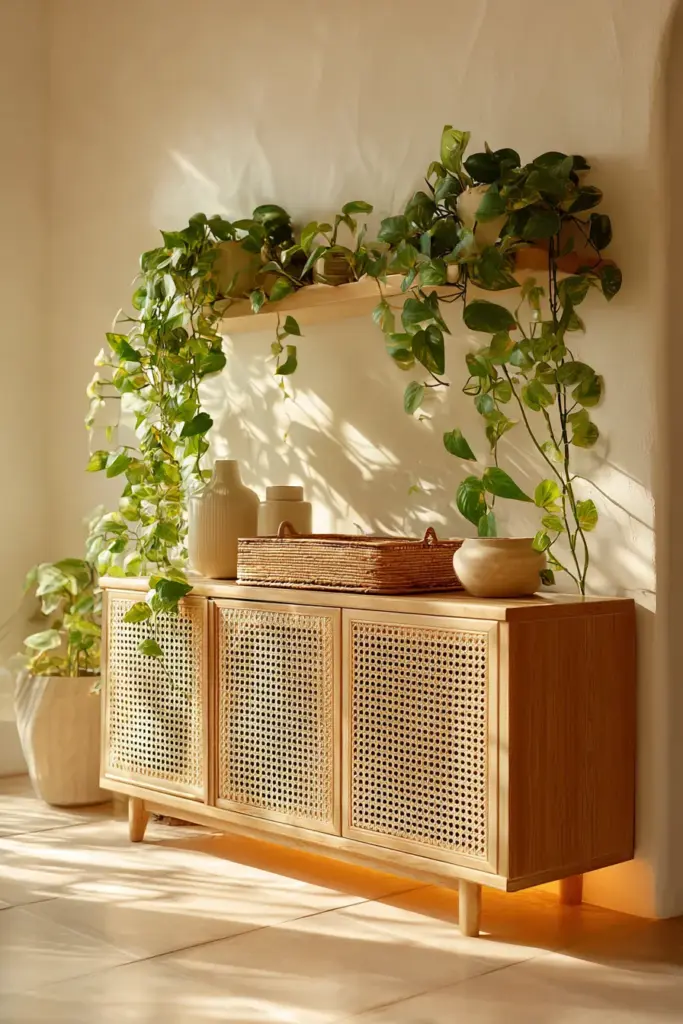
Plant Integration: The Biophilic Layer
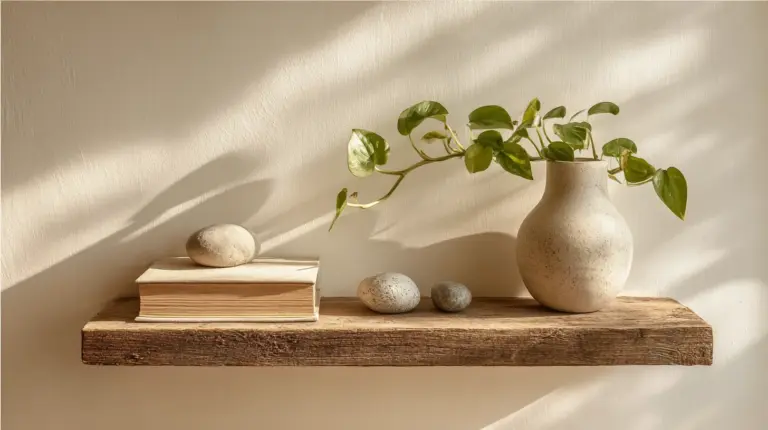
A low-light plant changes everything. Pothos cascading from the top shelf, a small snake plant anchored beside the console, or a trailing string of pearls draped over a lower shelf — these bring air quality benefits and the grounding energy of living things.
For Philippine apartments, pothos (Epipremnum aureum) is practically indestructible and thrives in indirect light. Heartleaf philodendron is equally forgiving and equally beautiful.
Leave a deliberate slot or tray on the top surface for a small planter. Let the leaves spill over naturally — do not tuck them back.
The Styling Formula
- One statement object: A ceramic vessel, a candle, a sculptural stone
- One organic texture: Rattan tray, woven basket, linen runner
- One living element: A plant, a branch, a bowl of pebbles
- Negative space: Leave at least one-third of the surface completely bare
Resist the urge to fill every inch. The empty space is not wasted — it is the breath the room needs.
Lighting Ideas for the Console
Warm, low lighting transforms a media console from functional furniture into a mood anchor. A small LED strip beneath the console casts a soft glow on the floor. A paper pendant or washi lamp nearby wraps the corner in warmth.
Avoid cool white or blue-toned bulbs. Aim for 2700–3000K — the color of candlelight and late afternoon sun.
Adapting the Build for Small Spaces
Not every home has a wide living room wall to spare. These modifications make the design work in compact spaces.
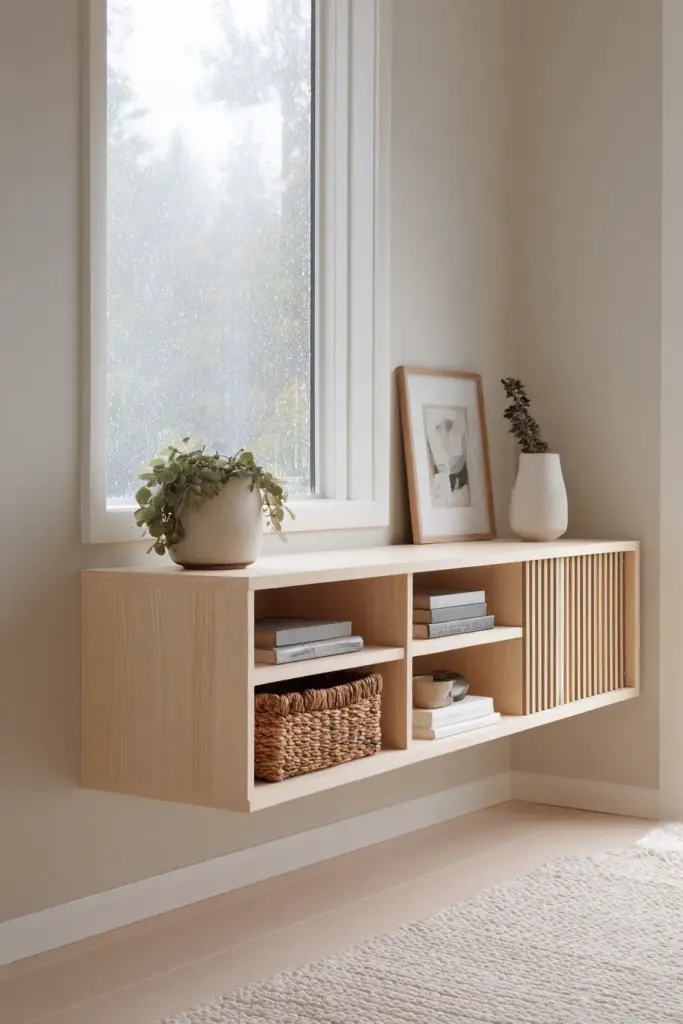
Wall-mounted version: Use heavy-duty floating shelf brackets rated for 30–50kg. Hide the brackets behind a slim fascia board for a clean, integrated look. This version keeps the floor visible and the room feeling larger.
Narrow profile (under 100cm): Reduce to two bays instead of three. Use the full depth for one larger media bay and a narrower open shelf for books or plants.
Corner adaptation: L-shaped consoles work beautifully in Japandi style. Keep both arms at the same height and use continuous wood grain across the top for visual continuity.
Troubleshooting: Common Issues in Humid Climates
Wood and humidity have a complicated relationship. In the Philippines, solid wood can warp, swell, or crack if not properly treated.
Warping prevention:
- Seal all six faces of every panel before assembly — not just the visible surfaces
- Use plywood over solid wood for large panels; it is more dimensionally stable
- Store finished pieces away from direct airflow from air conditioning units and away from windows
If warping occurs after assembly:
- Lightly mist the concave face and weigh the piece flat overnight
- Apply a second coat of finish to the exposed face to equalize moisture absorption
Stability check:
Before finalizing your build, place the console on a flat floor and test for rocking. Sand the bottom of any leg that sits high until all four contact points are even.
Quick-Reference Checklist
- Choose wood appropriate for your climate — sealed plywood for humid environments
- Keep console height between 35–45cm for a true Japandi low-profile look
- Use rattan or cane inserts instead of solid doors for airflow and texture
- Route cables before closing the back panel
- Finish with tung oil or beeswax — avoid high-gloss polyurethane
- Add at least one living plant element to the console styling
- Leave negative space on the surface — resist the urge to fill every shelf
- Test for stability and squareness before the glue fully cures
- Sand to 220 grit minimum before finishing
Conclusion
There is a particular kind of satisfaction that comes from sitting across from something you made. Not the loud pride of showing off — something quieter. The console holds your screen, your remotes, your small collection of beautiful things. It holds a little of your patience and care, too.
That is what Japandi design has always understood: that objects made with intention carry a different energy into a room. They slow things down. They make you want to stay.
Build this piece slowly. Let the oil dry completely before the next coat. Place your plant. Step back.
This is what calm looks like when it has somewhere to live.
Frequently Asked Questions
What materials are best for a DIY Japandi media console?
White oak, walnut, and ash are the classic choices for their warm grain and durability. In the Philippines, narra and locally sourced hardwoods offer a beautiful and budget-friendly alternative. Pair any solid wood top with 18mm plywood panels for structural stability, and finish with tung oil or beeswax for a non-toxic, natural sheen.
How do I build a floating Japandi TV stand?
A floating console requires heavy-duty wall brackets rated for the combined weight of the console and equipment. Mount two or three French cleat brackets into wall studs, then build a slim cabinet carcass that slides over and locks onto the cleats. Hide the brackets with a back fascia panel and route cables through a hole drilled at the rear corner of each shelf bay.
Can I make a Japandi media console for a small apartment?
Absolutely. A 100cm wall-mounted console with two bays fits most compact spaces beautifully. Keep the depth to 35cm, choose light-toned wood like pine or ash, and leave the top surface deliberately sparse. The low profile and wall mounting keep the floor visible, which visually expands the room.
How much does a DIY Japandi media console cost in the Philippines?
A basic build using locally sourced pine and plywood, rattan inserts, and matte black hardware can come in between ₱2,500 and ₱4,000 depending on your wood choice and finish. Narra accents or solid wood tops will add to the cost but significantly elevate the look and longevity.
How do I style a Japandi media console with plants?
Choose low-light, low-maintenance plants like pothos, heartleaf philodendron, or snake plants. Place a small planter on the top surface or hang a trailing variety from a wall-mounted bracket beside the console. Keep the pot in a simple ceramic or woven basket to stay within the Japandi palette — no bright plastic, no busy patterns.