Table of Contents
There is something quietly powerful about a wall that breathes. Not a wall crowded with frames and color, but one that holds a single piece of art — something textured, natural, and deeply still. That is the heart of Japandi wall art, and it is more achievable than you might think.
Japandi is the design language that emerges when Japanese wabi-sabi meets Scandinavian hygge. It is the philosophy that beauty lives in imperfection, that simplicity is its own form of abundance, and that a home should feel like a deep exhale. Nowhere is this more tangible than on your walls.
When you create DIY Japandi wall art, you are not just decorating. You are curating a feeling. You are choosing calm over clutter, texture over trend, and intention over impulse. And the best part? You can do it beautifully on a budget.
This guide will walk you through everything — from understanding the Japandi aesthetic to sourcing materials, building your first piece, and styling it in ways that feel genuinely elevated. Whether you have a sprawling living room or a compact apartment corner, there is a Japandi wall art idea waiting for you.
What Is Japandi Wall Art?
Japandi wall art is the visual expression of a philosophy. It draws from two traditions that, at first glance, seem worlds apart — but share a profound common language.
Japanese aesthetics bring wabi-sabi: the reverence for imperfection, age, and organic form. Scandinavian design contributes its signature clean lines, functional beauty, and love of natural light. Together, they create something that feels both ancient and effortlessly modern.
In practice, Japandi wall art looks like raw wood slats hung in careful rhythm. It looks like a single ink brushstroke on linen. It looks like a dried pampas grass arrangement framed in matte black, or a moss panel softening the edge of a concrete wall.
The defining qualities of Japandi wall art are:
- Neutral, earthy tones — warm whites, soft beiges, deep charcoals, muted sage
- Natural materials — wood, linen, jute, stone, dried botanicals
- Negative space used as a design element, not an afterthought
- Organic, asymmetric shapes that feel found rather than forced
- A quiet visual weight — pieces that anchor a room without overwhelming it
Why DIY Japandi Wall Art Works So Well
It Honors Imperfection
Store-bought art is perfect. Hand-crafted art is yours. When you sand a piece of reclaimed wood and let its grain tell the story, you are practicing wabi-sabi in the most literal sense. The slight unevenness in your brushstroke, the irregular edge of your linen — these are not flaws. They are what make the piece alive.
It Connects You to Your Space
There is a different kind of satisfaction in sitting beneath something you made. It roots you. It makes the room feel like an extension of your own hands and sensibility, not a showroom someone else designed for someone else’s life.
It Is Surprisingly Affordable
Many of the most beautiful Japandi pieces cost under ₱500 to make. Reclaimed wood from hardware stores or Divisoria, tester-sized paint pots in neutral tones, a piece of natural linen from a fabric market — these are humble materials that, in the right hands, become something quietly extraordinary.
Materials for DIY Japandi Wall Art
The materials you choose set the entire mood of the piece.
Japandi art lives and dies by its materials. Synthetic finishes, overly bright colors, and plastic elements will immediately break the spell. The goal is to bring the outside in — to let the room feel like it grew there.
| Material | Where to Find It | Best Used For |
|---|---|---|
| Reclaimed or pine wood | Hardware stores, Divisoria, secondhand shops | Wood slat panels, floating frames |
| Natural linen canvas | Fabric markets, craft stores | Painted or printed abstract art |
| Jute rope or twine | Home depots, online | Woven wall hangings |
| Dried pampas grass or reeds | Florists, gardens, online | Organic botanical displays |
| Tester paint pots (neutrals) | Hardware stores | Abstract canvas painting |
| Sheet moss or preserved moss | Garden centers, Shopee | Living or preserved moss frames |
| Washi tape (neutral tones) | Craft stores | Geometric paper compositions |
| Flex glue or wood adhesive | Hardware stores | Wood slat and mixed media projects |
A Note on Sourcing in the Philippines
If you are creating in the Philippines, you have access to beautiful local materials that align perfectly with Japandi values. Bamboo is an exceptional alternative to Nordic pine — it is sustainable, affordable, and carries its own quiet elegance. Narra wood offcuts, available at many lumber yards in Quezon City and Marikina, bring warmth and grain that no imported material can replicate. For dried botanicals, local markets often carry cogon grass, dried leaves, and seed pods that are deeply textured and completely free.
DIY Japandi Wall Art Ideas
1. Wood Slat Wall Panel
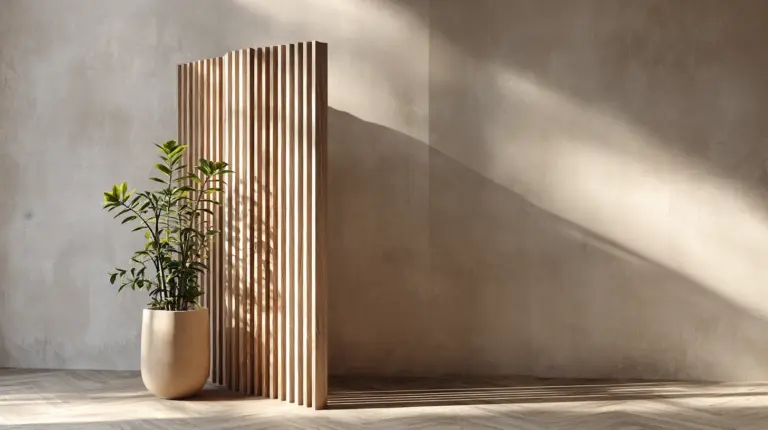
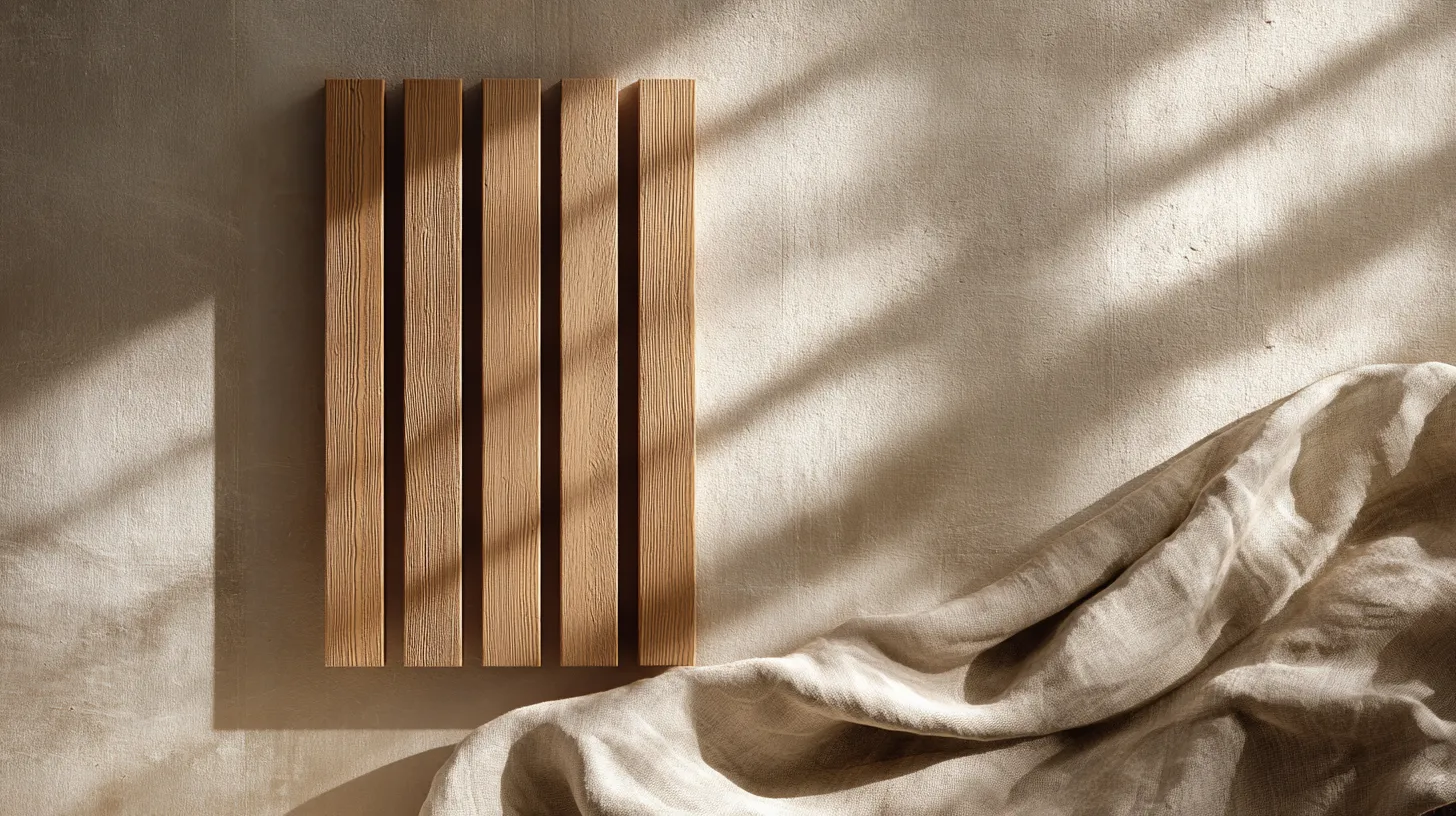
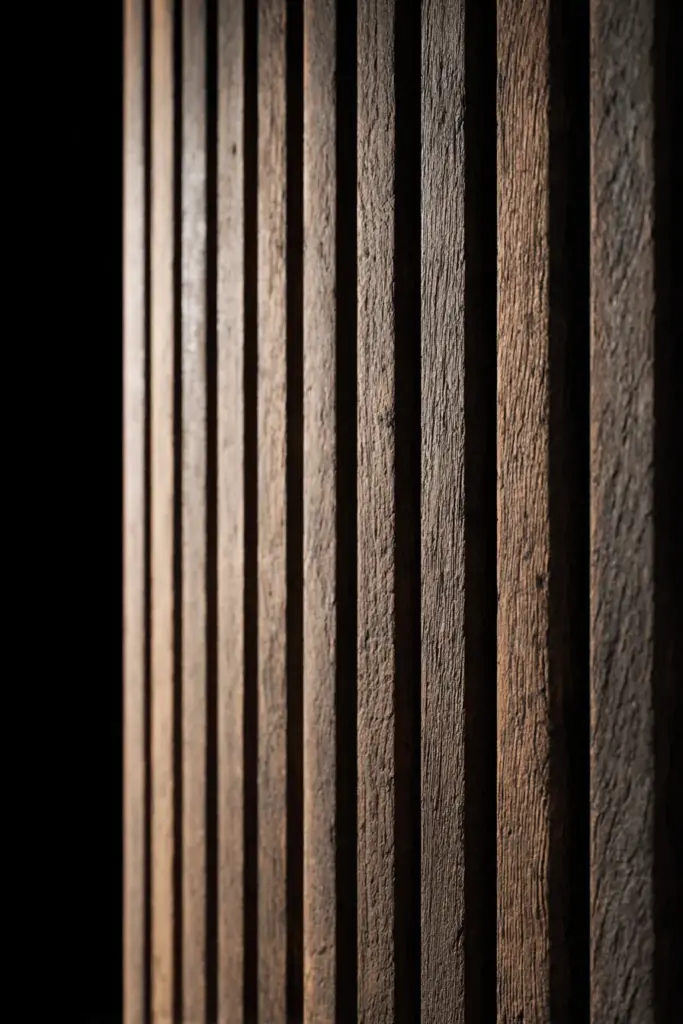
This is perhaps the most iconic Japandi DIY project, and for good reason. The finished piece has the visual impact of something gallery-worthy, but the process is meditative and beginner-friendly.
What you need:
- Thin pine or bamboo slats, cut to equal lengths
- Wood stain in walnut, ebony, or natural oak
- A backing board or piece of plywood
- Wood adhesive or small finishing nails
- Sandpaper (120 and 220 grit)
How to make it:
- Sand all slats lightly until smooth to the touch.
- Apply wood stain evenly with a cloth, wiping away excess immediately. Let dry fully.
- Arrange slats on the backing board with even or intentionally varied spacing.
- Adhere each slat using wood glue, pressing firmly and allowing to cure overnight.
- Sand the final surface lightly for a unified finish.
- Hang using a French cleat or picture wire for a floating effect.
Tip: Try alternating the stain direction on every third slat — light over dark, dark over light — for subtle visual rhythm.
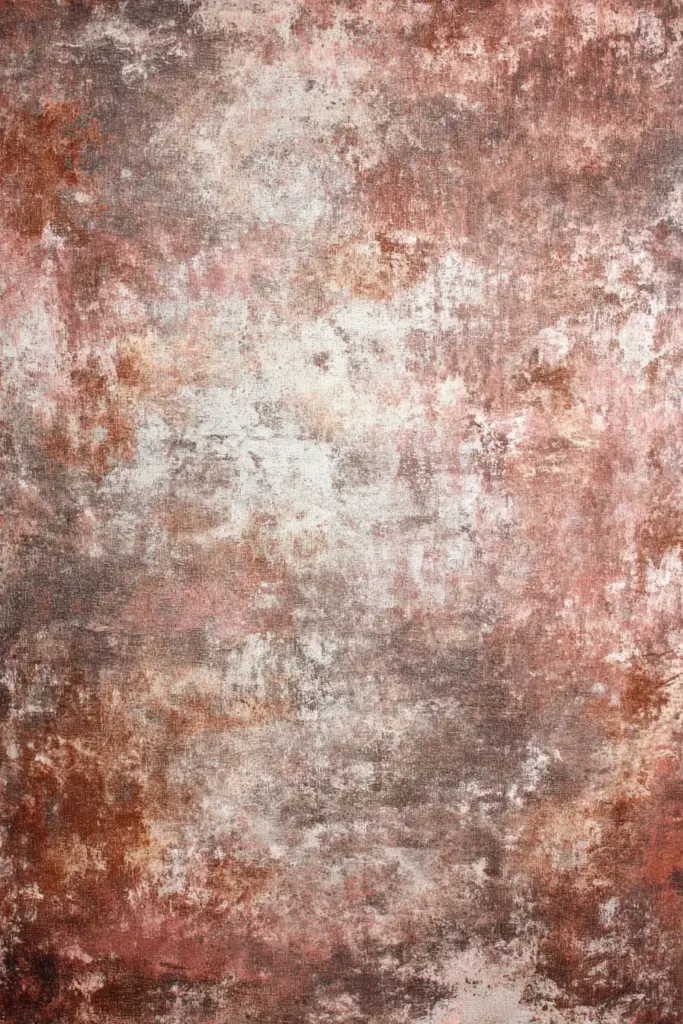
2. Abstract Linen Canvas in Earthy Tones
You do not need to be a painter to create something beautiful on canvas. Japandi abstract art embraces gesture over precision — broad strokes, blended edges, and organic forms that feel like landscapes or breath rather than objects.
What you need:
- Natural linen canvas or stretched canvas
- Tester pots in warm white, terracotta, deep taupe, and charcoal
- A wide, flat brush and a palette knife
- A spray bottle with water
How to make it:
- Begin with a warm white base coat. Let it dry completely.
- Load your brush with terracotta and drag it diagonally across the canvas, leaving visible texture.
- Blend the edges with a damp brush while the paint is still wet.
- Add a second tone — taupe or charcoal — in a separate sweep. Let colors blend at the edges but not fully mix.
- Use a palette knife to add subtle texture. Let dry and assess. Add depth with a final light wash.
The finished piece should feel like a foggy morning hillside — layered, soft, and alive.
3. Dried Botanical Frame
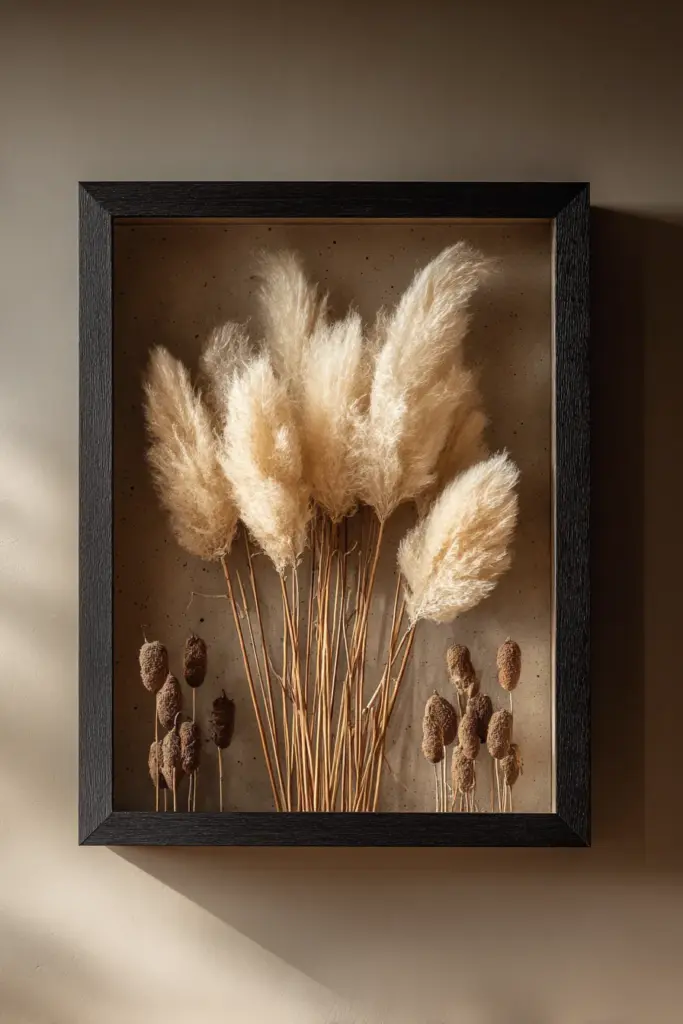
This is one of the most sensory Japandi projects you can make. Gathering the materials alone — touching dried grasses, arranging by hand — is a kind of slow, grounding ritual.
What you need:
- A deep shadow box frame in matte black or natural wood
- Dried pampas grass, cogon grass, dried leaves, or seed pods
- Florist wire or clear adhesive
- Kraft paper or linen as a backing
How to make it:
- Line the shadow box with kraft paper or linen, securing at the edges.
- Arrange botanicals loosely — resist the urge to be too symmetrical.
- Secure stems with florist wire or small dots of clear adhesive.
- Layer textures: something feathery at the back, something graphic and structural at the front.
- Hang slightly off-center on your wall for that signature Japandi asymmetry.
4. Moss Frame (Biophilic Japandi)
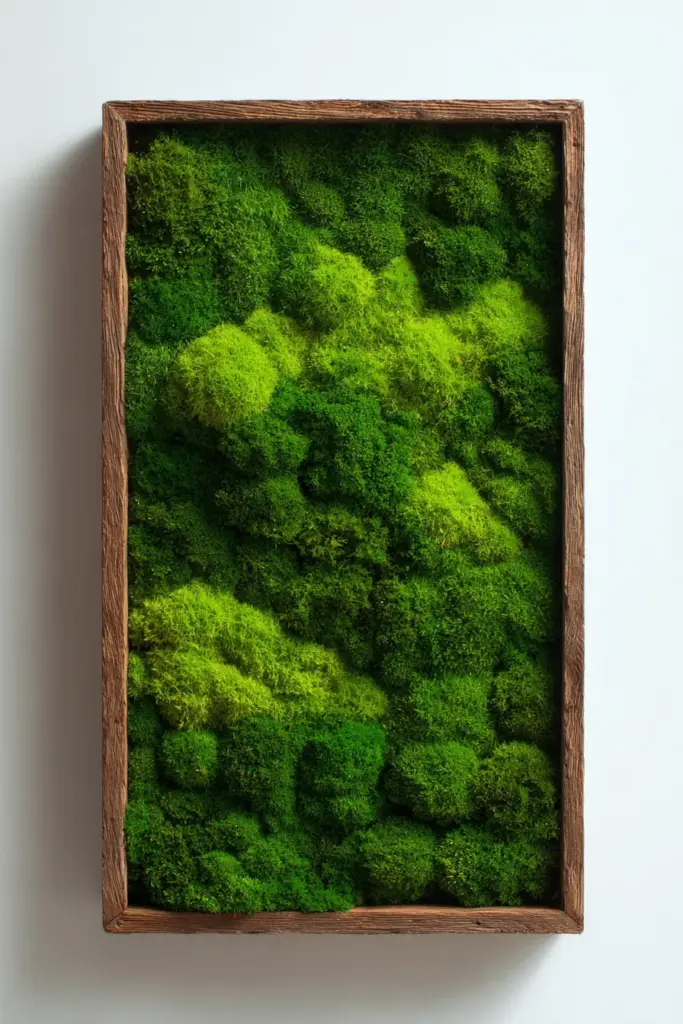
Moss frames are one of the most quietly stunning pieces you can hang in a home. They bring the forest indoors — the scent, the texture, the living green that makes a space feel genuinely inhabited.
What you need:
- Preserved sheet moss or forest moss (available online or at garden centers)
- A deep frame or shadow box
- Hot glue or floral adhesive
- Optional: air plants or small dried branches for layering
How to make it:
- Apply a thin layer of adhesive to the backing of your frame.
- Press moss sections firmly, working from edges inward.
- Fill gaps with smaller moss pieces for a full, lush effect.
- Tuck in air plants or dried branches if desired — keep it sparse.
- Mist lightly with water once installed to revive texture.
Note: Preserved moss requires no water or maintenance. Fresh moss will need occasional misting.
5. Minimalist Ink or Charcoal on Paper
Sometimes the most powerful Japandi piece is the simplest: a single brushstroke. This project channels Japanese calligraphy and Scandinavian graphic design simultaneously.
What you need:
- A large sheet of thick watercolor paper or rice paper
- Sumi ink or black watercolor
- A wide calligraphy or watercolor brush
- A simple matte frame
How to make it:
- Mix ink to a medium consistency — not too thick, not too watery.
- Load your brush and practice a single gesture on scrap paper first.
- On your final sheet, make one deliberate, unhurried stroke — a curve, a horizon line, a simple organic form.
- Let dry flat. Frame without glass for texture, or with glass for preservation.
The imperfection is the art. Resist the urge to redo it.
Styling DIY Japandi Wall Art in Your Home
For Small Apartments
In a compact space, one oversized piece always outperforms a gallery wall. A large linen canvas or full-width wood slat panel creates the illusion of height and depth without adding visual clutter. Hang slightly lower than convention suggests — it brings the eye down and makes ceilings feel higher.
Modular pieces work beautifully too. Three small moss frames arranged vertically, or a set of identical ink prints in slightly different scales, create quiet rhythm without demanding too much wall space.
For Living Rooms
In a Japandi living room, the wall art should feel like a resting point — somewhere the eye can land and soften. Pair your wall art with warm lighting — a wall sconce positioned to graze the texture of a wood slat panel, or a floor lamp casting soft shadow behind a botanical frame, transforms the piece entirely at night.
For Bedrooms
The bedroom wall art should be the quietest piece in your collection. A single brushstroke print above the bed. A small moss frame on a bedside wall. Something that does not demand attention but rewards it.
Key Takeaways
- Japandi wall art combines Japanese wabi-sabi and Scandinavian minimalism — imperfect, natural, calm
- The best DIY projects use reclaimed wood, linen, dried botanicals, and natural pigments
- Budget-friendly options exist under ₱500 — tester paints, bamboo slats, and local dried botanicals all qualify
- Small apartments benefit most from a single oversized piece or a vertical modular arrangement
- Hang art slightly off-center or lower than expected for authentic Japandi asymmetry
- Pair wall art with warm, directional lighting to bring texture to life after dark
- Imperfection is intentional — do not over-refine your work
- Biophilic elements like moss and air plants bridge Japandi art with living, breathing design
Conclusion
A wall can hold so much more than decoration. In the Japandi tradition, it holds intention — the quiet decision to choose beauty that breathes, materials that age gracefully, and space that is allowed to simply be.
When you make your own Japandi wall art, you participate in something old and something very human. You slow down. You touch natural things. You put something of yourself on the wall and let it live there, imperfect and honest and entirely yours.
At ERYLIN, we believe that a home becomes a sanctuary one considered choice at a time. This is one of those choices — and it is a beautiful one.
Frequently Asked Questions
What is Japandi wall art?
Japandi wall art blends Japanese wabi-sabi aesthetics with Scandinavian minimalism. It features natural materials like wood, linen, and dried botanicals, a neutral earthy color palette, and a deliberate use of negative space. The result is art that feels calm, grounded, and quietly beautiful.
How do I make Japandi wall art at home?
You can start with a simple project: wood slats stained in walnut tones and adhered to a backing board, or a single brushstroke painted in sumi ink on thick paper. The key is to use natural materials, embrace imperfection, and resist over-decorating. Most projects take 1–2 hours and cost under ₱500.
What materials are best for DIY Japandi wall art?
The most authentic Japandi materials include reclaimed or pine wood, natural linen canvas, dried pampas or cogon grass, preserved moss, jute rope, and neutral tester paints in beige, taupe, warm white, and charcoal. In the Philippines, bamboo and narra wood offcuts are excellent local alternatives.
How do I create Japandi wall art for a small apartment?
In a small space, choose one oversized piece rather than a gallery wall — it adds depth without clutter. Vertical modular arrangements (such as three small moss frames stacked) also work well. Hang slightly lower than standard to create the illusion of height, and pair with soft, warm lighting to amplify texture.
What colors should Japandi wall art use?
Japandi wall art stays within a palette of warm neutrals: warm white, soft beige, terracotta, muted sage, deep taupe, and charcoal. These tones are not only visually cohesive — research in color psychology suggests that neutral, earthy palettes can reduce stress and promote a sense of calm, which aligns perfectly with the Japandi philosophy of designing for rest and restoration.