Table of Contents
There is something quietly powerful about a room that knows how to breathe. Where light filters softly through wood slats, where open space and private corners coexist without tension — that is the heart of Japandi design. It is Japanese minimalism and Scandinavian warmth folded into one unhurried aesthetic.
A room divider is one of the most beautiful ways to live that philosophy. It defines without closing off. It adds texture without clutter. And when you build it yourself, it carries something no store-bought piece ever will — your own intention.
This guide walks you through everything you need to know about building a DIY Japandi room divider, from materials and methods to small-space stability and budget-friendly sourcing. Whether you are working with a studio apartment in Silang or a sunlit open-plan home, there is a version of this for you.
Let this be the project that changes how your space feels.
What Makes a Room Divider Truly Japandi
Japandi is not a look — it is a feeling. It lives in the grain of unfinished wood, in the hush of natural light, in the careful absence of the unnecessary.
A Japandi room divider carries those qualities into functional form. Think vertical wood slats with deliberate spacing. Think shoji screens with their translucent panels glowing like paper lanterns. Think bamboo, narra, and linen — materials that age with grace rather than resist it.
The Elements That Define the Style
Wood is non-negotiable. Whether you choose local narra, European beech, or sustainable bamboo, the grain itself becomes the decor.
Negative space is just as important as the slats themselves. The gaps between panels invite light and air to pass through, preserving the openness of a room while still offering visual separation.
Neutral finishes tie everything together. A hardwax oil lets the wood breathe and develop character over time — far more Japandi than a thick varnish coat.
Natural accents complete the picture. A trailing pothos on a built-in shelf. A small ZZ plant nestled into the base. Biophilic design is already woven into the Japandi DNA.
Choosing Your DIY Japandi Room Divider Style
Before you reach for a saw, decide what kind of divider your space is asking for. Each style carries a different energy and serves a different function.
Folding Shoji Screen
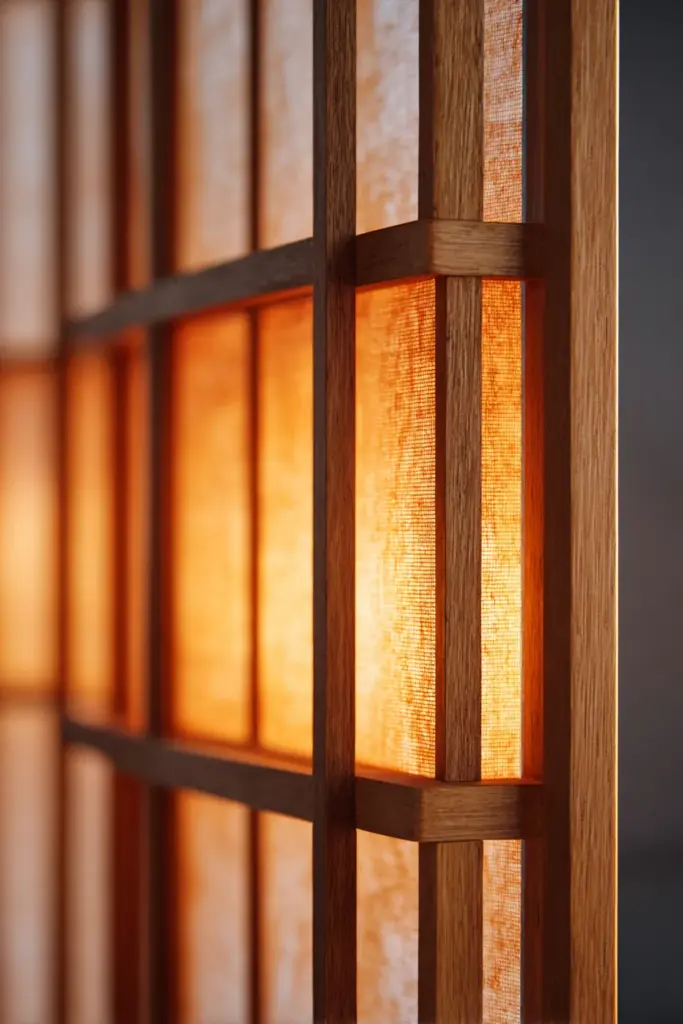
The shoji screen is the most iconic Japandi room divider. Traditionally crafted from a mortise and tenon frame — European beech or narra work beautifully — the panels are filled with shoji paper or translucent rice paper and connected by hinges.
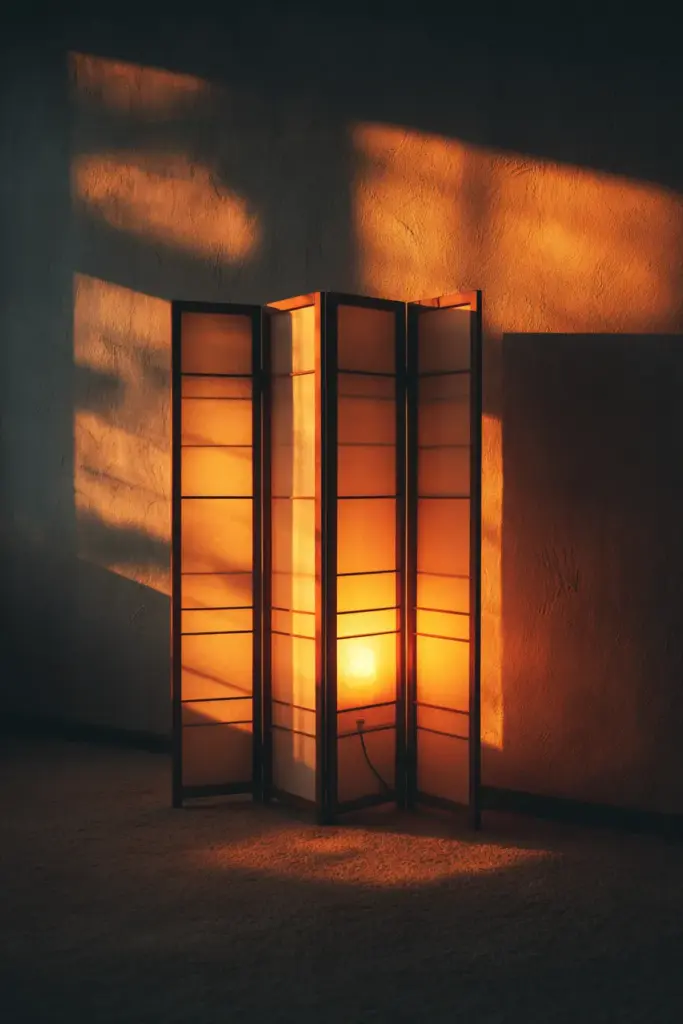
When light hits a shoji screen from behind, the paper glows warm gold. It is the closest thing to bottled sunlight.
Best for: Bedroom alcoves, meditation corners, temporary partitions in open-plan spaces.
Sliding Shoji Screen
A sliding version offers more permanence and polish. The panels move along a floor track, and the kumiko lattice pattern — those precise geometric inlays — elevates a functional object into something you genuinely want to look at.
Halving joints and mortise and tenon frames create the structural rigidity that lets sliding panels move smoothly without wobble.
Best for: Dining-to-living transitions, home office boundaries, spaces where a folding screen would feel intrusive.
Vertical Wood Slat Divider
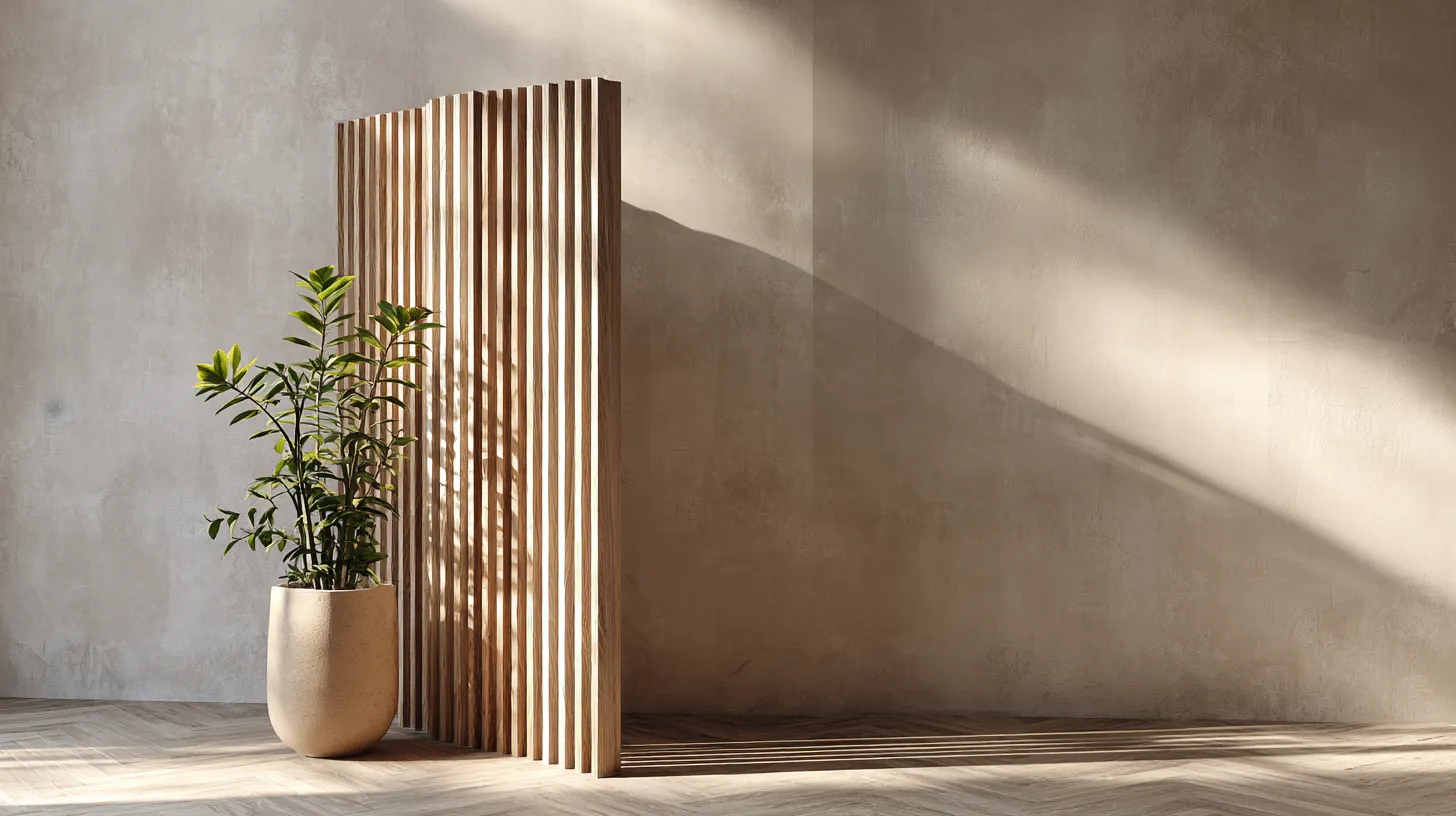
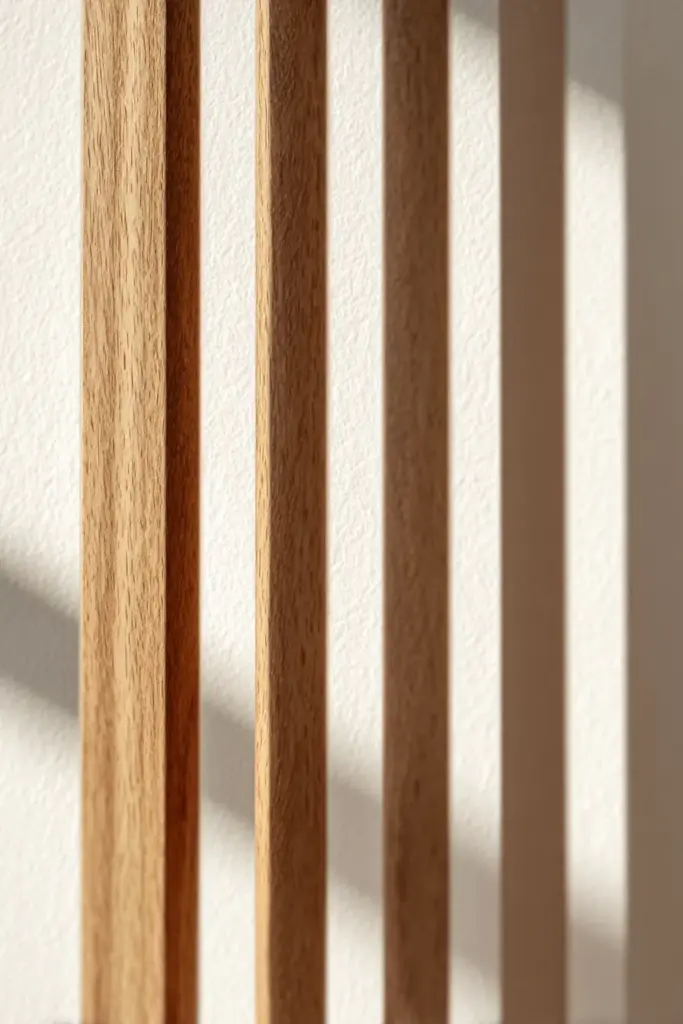
For those who prefer clean, contemporary lines, a slatted wood panel divider is the most versatile option. Vertical slats mounted to a top and bottom rail create a screen that filters light without blocking it entirely.
The finish matters enormously here. A matte hardwax oil in warm chestnut reads as cozy and handmade. A light natural oil lets the pale wood feel Scandinavian and fresh.
Best for: Living rooms, studio apartments, open-concept spaces where you want separation without walls.
No-Build Alternatives
Not every home allows for a full woodworking project — and that is completely fine. A hanging linen curtain weighted at the hem, IKEA RÅSKOG shelves reinterpreted as slat dividers, or even a curated row of tall floor plants can achieve the same visual and spatial effect with no tools required.
These renter-friendly solutions honor the spirit of Japandi while respecting the realities of a lease agreement.
What Materials Do I Need for a DIY Japandi Room Divider?
The shopping list depends on your chosen style, but the core ingredients remain consistent across all Japandi divider builds.
| Material | Purpose | Local PH Option |
|---|---|---|
| Wood slats or boards | Main structural frame | Narra, acacia, bamboo from Divisoria |
| Shoji paper or rice paper | Panel infill for translucency | Specialty paper shops, online |
| Hardwax oil or natural stain | Wood finish | Available at hardware stores |
| Hinges or floor track | For folding or sliding versions | Standard hardware stores |
| Wood glue and sandpaper | Assembly and surface prep | Widely available |
| Anti-tip weights or wall hooks | Stability, especially for renters | IKEA, local hardware |
For budget-conscious builds in the Philippines, bamboo and acacia from Divisoria can bring a complete slat divider under PHP 5,000. Narra is a premium choice — rich in grain, deeply warm in tone — and worth the investment if longevity matters to you.
How to Build a Folding Shoji Screen Room Divider
This is the most searched and most rewarding Japandi DIY. Here is the process distilled into clear, actionable steps.
Step 1: Plan Your Dimensions
A standard shoji panel runs roughly 170–180 cm tall and 45–60 cm wide. For a three-panel folding screen, you will need six upright posts and corresponding horizontal rails.
Sketch your layout first. Decide on the number of panels, the spacing of your lattice or slat inlays, and whether the screen will stand freestanding or lean against a wall.
Step 2: Cut and Joint Your Frame
Cut your uprights and rails to length, then create half-lap joints at each intersection. Mortise and tenon joinery adds strength and a handcrafted finish that will outlast any pocket screw alternative.
Sand each piece progressively — 80 grit, then 120, then 220 — before assembly. The smoother the surface, the better the final finish will absorb oil.
Step 3: Assemble the Frame
Apply wood glue to each joint, clamp, and allow to cure fully — at least 24 hours in Calabarzon’s humid climate. Humidity can slow drying and compromise the bond, so patience here protects your whole build.
Step 4: Add the Shoji Paper
Cut shoji paper slightly larger than each opening. Apply a thin, even coat of rice glue around the frame edges, press the paper down gently, and smooth from the center outward to avoid bubbles.
Once dry, a light misting of water on the back of the paper will cause it to tighten beautifully — a traditional technique that has not been improved upon in centuries.
Step 5: Finish the Wood
Apply your chosen hardwax oil with a lint-free cloth, working in the direction of the grain. Buff lightly after each coat. Two coats is typically enough for interior use, though humid environments like Calabarzon may benefit from a third.
Step 6: Attach the Hinges
Piano hinges along the full height of each panel create the most stable fold. Offset your hinges so alternating panels fold in opposite directions — this allows the screen to stand freely in a zigzag configuration.
Small Space Stability: Making It Safe and Renter-Friendly
A freestanding divider in a small apartment carries one real risk — tipping. A few thoughtful additions eliminate that concern entirely.
Anti-tip weights attached to the base — small sandbags tucked into a fabric hem, or a weighted base rail — lower the centre of gravity significantly.
No-drill wall hooks allow you to tether the top of the screen to the wall without leaving permanent marks. Adhesive strips rated for 5 kg or more work well for lightweight shoji screens.
Floor track systems for sliding panels require a bit more commitment but offer the most stability of any option. Many track systems can be installed with minimal adhesive and removed cleanly.
Biophilic Add-Ons: Plants and the Japandi Divider
No tutorial covers this, but it deserves its own mention. A Japandi room divider becomes something truly special when you integrate living plants.
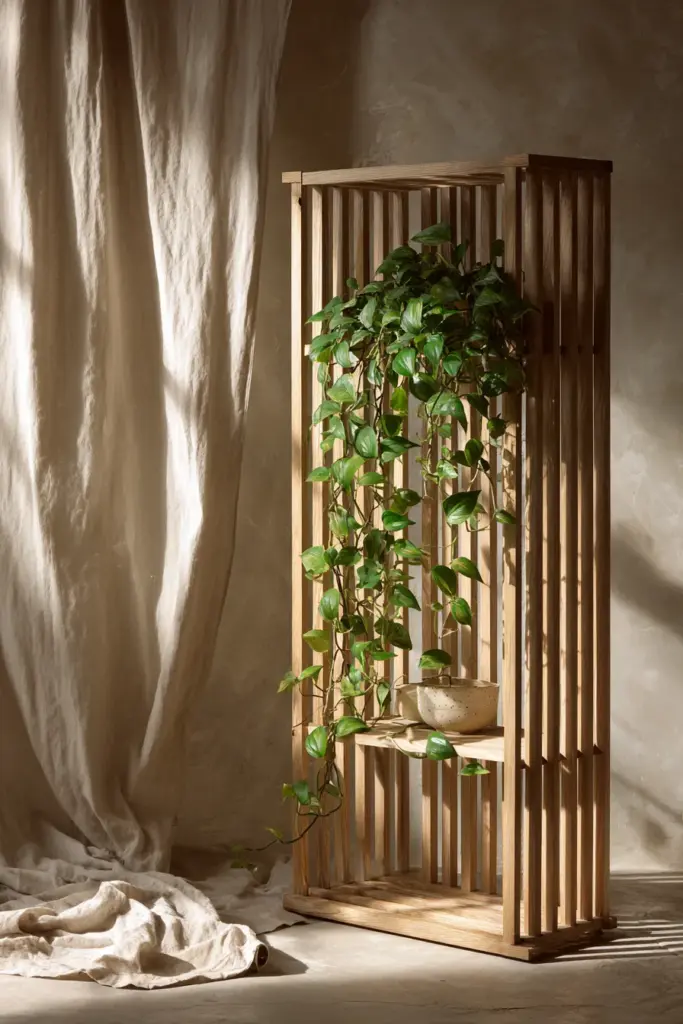
A narrow built-in shelf at mid-height, just wide enough for a small pot, invites a trailing pothos or a ZZ plant into the composition. Low-light plants thrive in the filtered brightness that shoji paper creates — and the green against warm wood is one of the most naturally beautiful pairings in interior design.
Lighting Behind Your Japandi Divider
The way light moves through your divider will define the entire mood of the space. Lean into it deliberately.
A warm Edison bulb positioned behind a shoji screen casts a soft amber glow that feels like candlelight from across the room. A strip of LED lights along the base of a slatted panel creates a floating effect — the panel appears to hover just above the floor.
Layer your lighting ideas thoughtfully: ambient light above, accent light behind or within the divider, and a reading lamp or task light on the functional side of the partition.
Finishes and Maintenance for Humid Climates
Japandi design rewards materials that age honestly, but humid climates like Calabarzon require a little extra attention.
Hardwax oil is the preferred finish for Japandi woodwork. It penetrates the grain rather than sitting on top, allowing the wood to respond naturally to humidity changes without cracking or peeling.
Avoid high-gloss varnishes. They contradict the matte, organic quality that defines the aesthetic — and they tend to yellow in humid heat.
Shoji paper maintenance is simple: dust lightly with a dry cloth. If a panel tears, individual sections can be re-papered without replacing the entire frame. Keep the paper away from direct water — a dehumidifier near the screen during the wet season will extend its life considerably.
Quick Checklist: Everything You Need to Get Started
- Decide on your divider style: folding shoji, sliding screen, or slatted panel
- Measure your space and sketch dimensions before buying materials
- Source local wood: narra, acacia, or bamboo from Divisoria for budget builds
- Gather tools: hand saw or miter saw, chisels, clamps, sandpaper, and wood glue
- Choose your finish: hardwax oil for a natural, Japandi-appropriate result
- Plan for stability: anti-tip weights, wall hooks, or floor track
- Consider lighting: position a warm light source behind or beneath the divider
- Add a plant: one trailing pothos transforms a divider into a living installation
- Allow full curing time before placing in high-humidity areas
Conclusion
A DIY Japandi room divider is more than a home project. It is a practice in slowness — in choosing materials with intention, in letting craft take the time it needs, in creating a space that feels genuinely yours.
When you step back and see the light filtering through slats you cut yourself, or the gentle glow of paper panels at dusk, something settles in the room. That is the real reward of Japandi. Not perfection. Just presence.
At ERYLIN, we believe every home deserves that kind of quiet beauty. Start where you are, use what you have, and let the space become what it needs to be.
Frequently Asked Questions
What materials do I need for a DIY Japandi room divider?
The essentials are wood slats or boards (narra, acacia, or bamboo work beautifully), shoji or rice paper for panel infill, wood glue, sandpaper, hinges or a floor track, and a natural finish like hardwax oil. For builds in the Philippines, Divisoria is an excellent and affordable sourcing point for raw materials.
How do I build a folding shoji screen room divider?
Start by planning your panel dimensions and cutting your frame pieces with half-lap or mortise and tenon joints. Sand, assemble with wood glue, apply shoji paper using rice glue, finish the wood with hardwax oil, and connect the panels with piano hinges offset so they fold in alternating directions.
What is the easiest DIY room divider for small spaces?
A vertical slatted panel leaning against the wall requires no joinery and minimal tools. For renters who prefer a no-build option, a weighted linen curtain or a curated row of tall plants achieves the same Japandi spatial effect without any hardware.
How can I make a Japandi-style wood slat divider on a budget?
Source bamboo or acacia locally and work with simple butt joints or pocket screws rather than traditional mortise and tenon if time is limited. A complete slatted divider can be built for under PHP 5,000 with local materials and basic hand tools.
How much does a DIY Japandi room divider cost?
Costs vary by style and materials. A simple slatted panel using local bamboo can cost as little as PHP 2,500–4,000. A full three-panel folding shoji screen with narra wood and quality paper will typically run PHP 6,000–10,000 depending on size and finish — still a fraction of what a comparable imported piece would cost.