Table of Contents
By ERYLIN — Home Décor & Interior Styling
There is something quietly powerful about making art with your own hands. Not rushed, not overthought — just string, wood, and the gentle rhythm of weaving something meaningful into being.
Japandi string art is exactly that kind of making. It pulls from the Japanese philosophy of wabi-sabi — the beauty of imperfection, the grace of the unfinished — and layers it with Scandinavian hygge, that warm, intentional coziness that turns a room into a retreat.
The result? Minimalist wall art that feels like it grew in the room rather than arrived there. Natural, textured, deeply calm.
Whether you live in a compact Manila apartment or a breezy home in Silang, this craft invites you to slow down, work with your hands, and create something that genuinely belongs on your wall.
What Is Japandi String Art?
Japandi string art is a handmade wall art technique that blends classic nail-and-string weaving with the Japandi aesthetic: clean geometric shapes, organic motifs, and earthy materials.
Where traditional string art might use bright colors and complex portraits, Japandi string art stays restrained. Think Zen circles, asymmetrical mountain silhouettes, and bamboo motifs — all rendered in undyed jute or hemp on raw wood.
It leans into imperfection on purpose. A slightly uneven line, a nail hammered a millimeter off-center — in wabi-sabi thinking, these are not mistakes. They are the signature of human hands.
Why Japandi String Art Works So Well on PH Walls
The Climate Is Actually Your Friend
Philippine homes tend to run warm and humid, which means natural fiber art thrives here. Jute and abaca string — both widely available locally — absorb and release moisture gracefully, unlike synthetic materials that can warp or yellow over time.
Raw narra wood, available from local lumber yards and Divisoria, brings a gentle warmth to the base board. Its grain tells its own quiet story beneath the string.
It Fills a Wall Without Overwhelming It
Japandi interiors are famous for negative space — the deliberate emptiness that makes the art breathe. String art on a natural wood board does exactly this: it adds texture and visual interest without shouting.
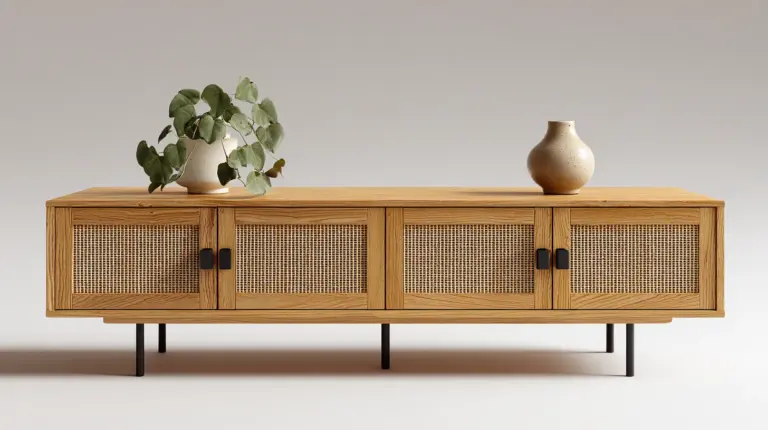
Hang it above a low rattan console, lean it against a whitewashed shelf, or center it above a bed layered with linen. It adapts, always softly.
Materials You’ll Need
Gathering your materials is part of the ritual. Choose slowly, touch things, notice weight and texture.
| Material | Local Source | Estimated Cost |
|---|---|---|
| Raw wood board (narra or pine) | Divisoria, local lumber yard | PHP 80–150 |
| Abaca or jute string | Divisoria, Shopee | PHP 50–80 |
| Small nails (rust-proof) | Hardware stores, AliExpress | PHP 30–50 |
| Hammer | Any hardware | On hand |
| Pencil + ruler | On hand | — |
| Sandpaper (fine grit) | Hardware stores | PHP 20–30 |
| Natural wood stain or beeswax (optional) | Shopee | PHP 60–100 |
Total budget: Under PHP 500. Often closer to PHP 300 if you upcycle an old wood panel.
A Note on String
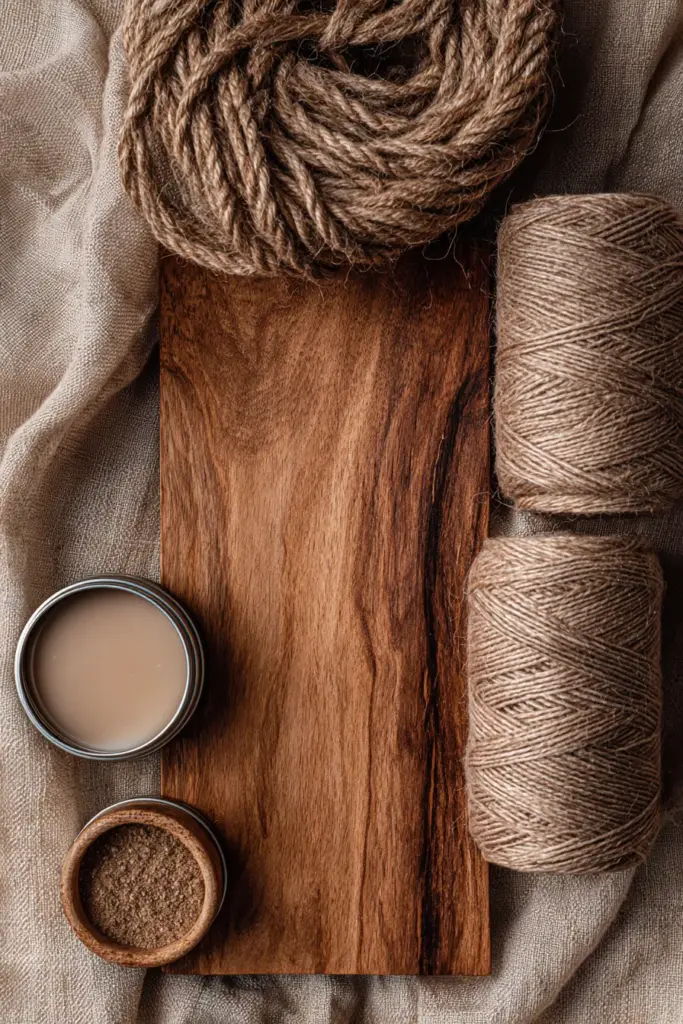
For authentic Japandi feeling, always choose undyed natural fiber. Jute has a slightly coarse, organic texture. Hemp is finer and drapes with more elegance. Abaca — a Filipino natural fiber — is a beautiful local alternative with excellent tensile strength and a warm golden hue.
Avoid synthetic twine. It reflects light differently and pulls the piece away from the grounded, earthy mood you’re building toward.
Japandi String Art Patterns for Beginners
Zen Circle (Enso)
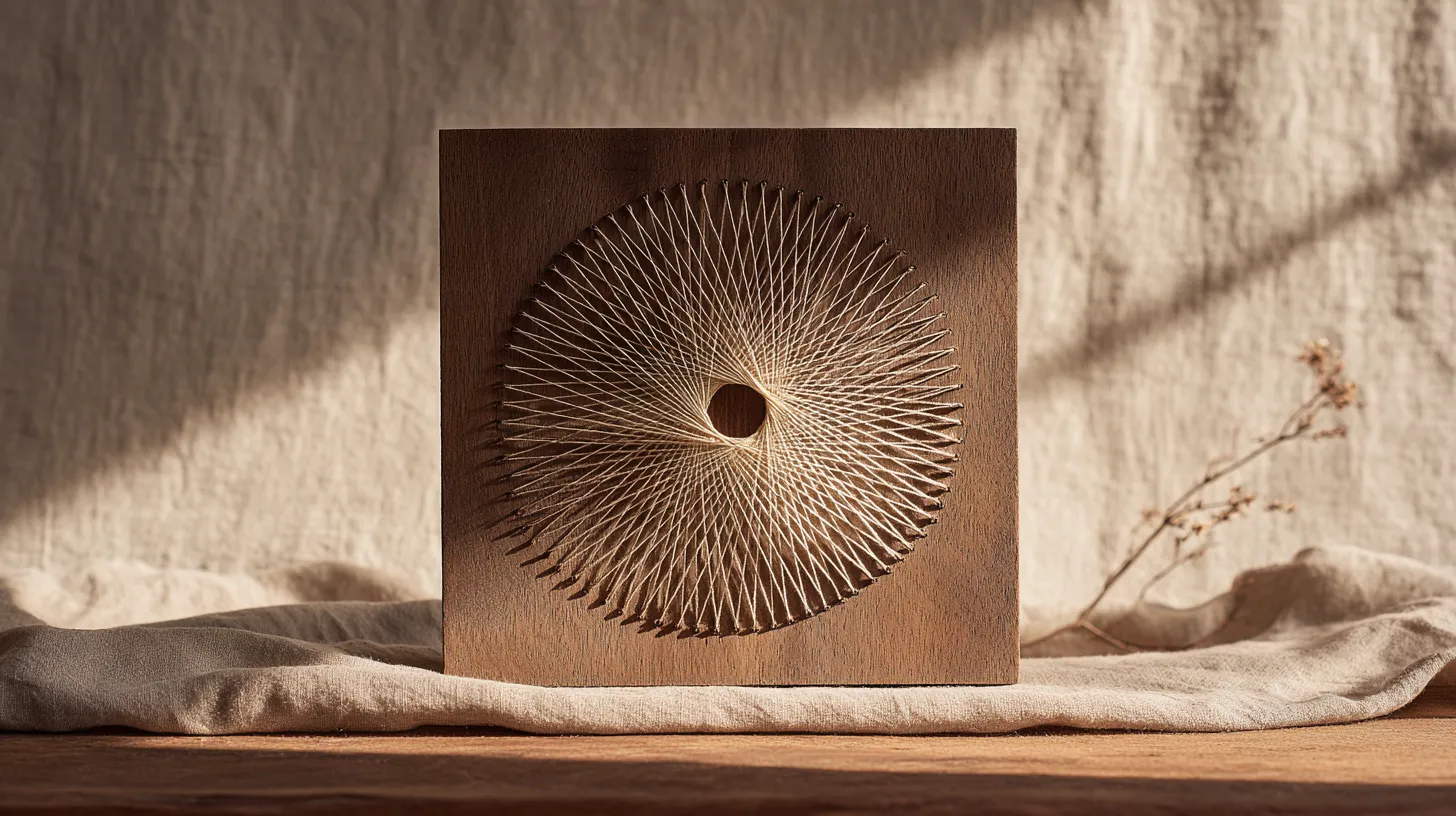
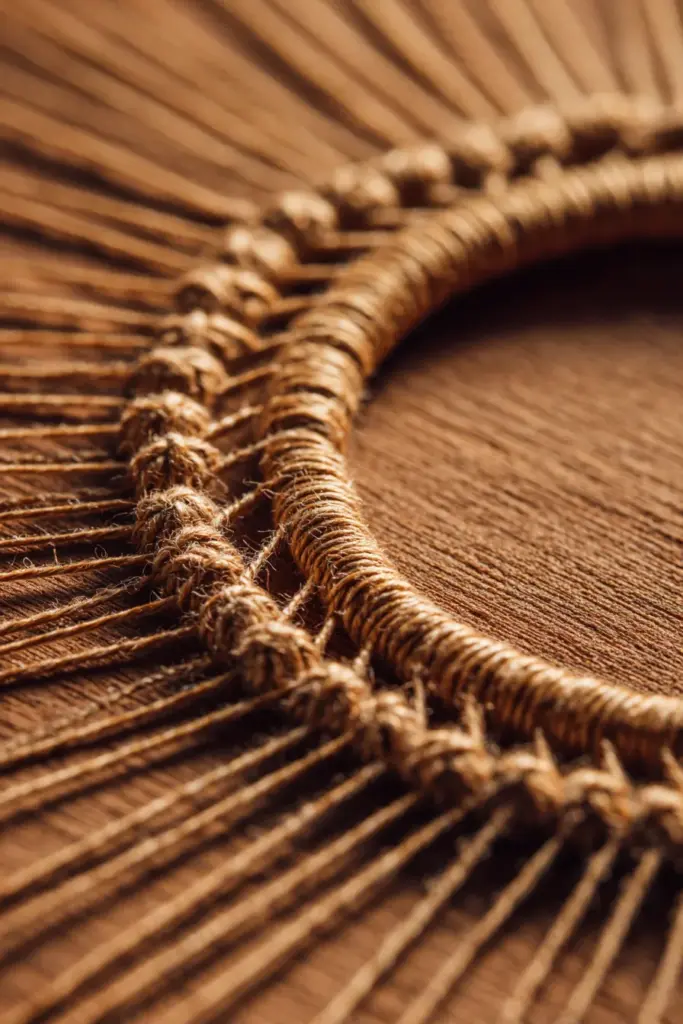
The enso — an open or closed circle drawn in a single brushstroke — is one of Zen Buddhism’s most recognizable symbols. In string art, you trace the circle with nails placed at even intervals, then weave the string in a slow, meditative circuit.
Why it works: The slight imperfections in your circle become the point. No two enso are alike, and that is entirely the intention.
Asymmetrical Mountain Silhouette
Sketch two or three overlapping mountain peaks, slightly off-center on the board. Hammer nails along the outline, then fill inward with diagonal string lines that follow the slope of each peak.
Why it works: Mountains carry a grounding energy in Japanese aesthetics. This pattern reads as landscape without being literal, which is perfectly Japandi.
Bamboo Stalks
Draw three or four vertical lines of varying heights, spaced loosely. Hammer nails along each stalk, then wrap the string vertically to create solid-feeling columns with subtle texture variation.
Why it works: Bamboo is both Japanese and deeply local. It signals nature, resilience, and quiet elegance — core pillars of the Japandi worldview.
Single Wabi-Sabi Branch
Sketch a bare branch — slightly curved, asymmetric, reaching across the upper third of the board. Keep it sparse, perhaps with two or three small offshoots. Nail along the lines and wrap with a single thread.
Why it works: Restraint is the art. Less string, more intention. The empty board beneath the branch becomes as meaningful as the branch itself.
Step-by-Step Tutorial
Step 1: Prepare Your Wood Base
Sand your board smooth with fine-grit sandpaper, moving with the grain. Wipe away dust with a dry cloth.
If you want a slightly aged look, brush on a thin wash of diluted coffee or a light natural wood stain. Let it dry completely — at least an hour in a well-ventilated room.
Step 2: Transfer Your Pattern
Print or sketch your chosen motif on paper and trace it lightly onto the board with pencil. Keep lines minimal — they’ll disappear under the string.
Mark nail points at 1–1.5 cm intervals along your design outline. Closer spacing creates denser, more detailed fills. Wider spacing feels airier and more graphic.
Step 3: Hammer the Nails
Using rust-proof nails, hammer each point to a consistent height — roughly 1 cm above the board surface. Use a small ruler or a scrap of wood as a depth guide to keep them even.
Work slowly. Uneven nail heights are the most common cause of string slipping, so this step is worth your patience.
Step 4: Begin Weaving
Tie your string to a starting nail with a secure double knot. Begin tracing the outline of your design first — this creates a clean border and establishes the shape before you fill.
Once the outline is complete, begin filling inward. Move in a consistent clockwise or counter-clockwise direction to maintain even tension. Cross strings deliberately; the overlapping layers create natural shadow and depth.
Step 5: Tension and Finish
As you weave, keep tension firm but not straining. If the string feels like it might slip, loop twice around individual nails before continuing.
When you reach the end, tie off at a nail close to where you started. Trim the tail close, tuck it under nearby strings with a toothpick, and step back.
The piece is complete. The imperfections are already beautiful.
No-Nail Version: String Art for Renters
If you’re renting and can’t put nails in walls — or want to experiment before committing to wood — you can create Japandi string art on a foam board or corkboard using adhesive-backed pins.
The technique is identical. The result is slightly softer and slightly less permanent, which has its own wabi-sabi charm.
Command strip hooks also work well for hanging finished pieces in humid Philippine climates. Choose the weight-rated variety and press firmly to a clean, dry wall surface.
Styling Your Finished Piece
Light It Softly
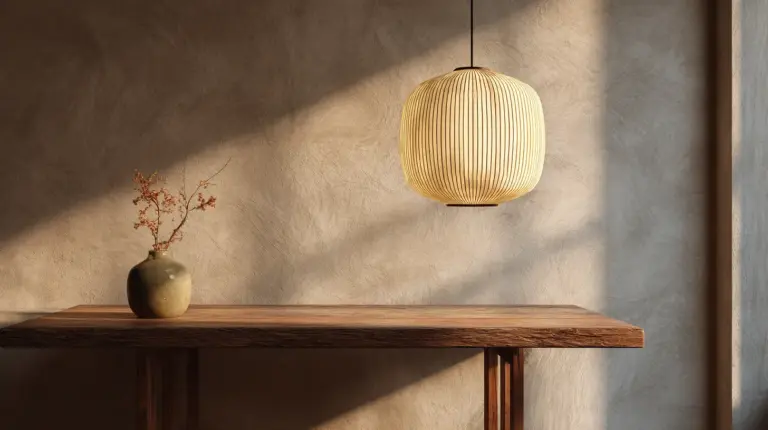
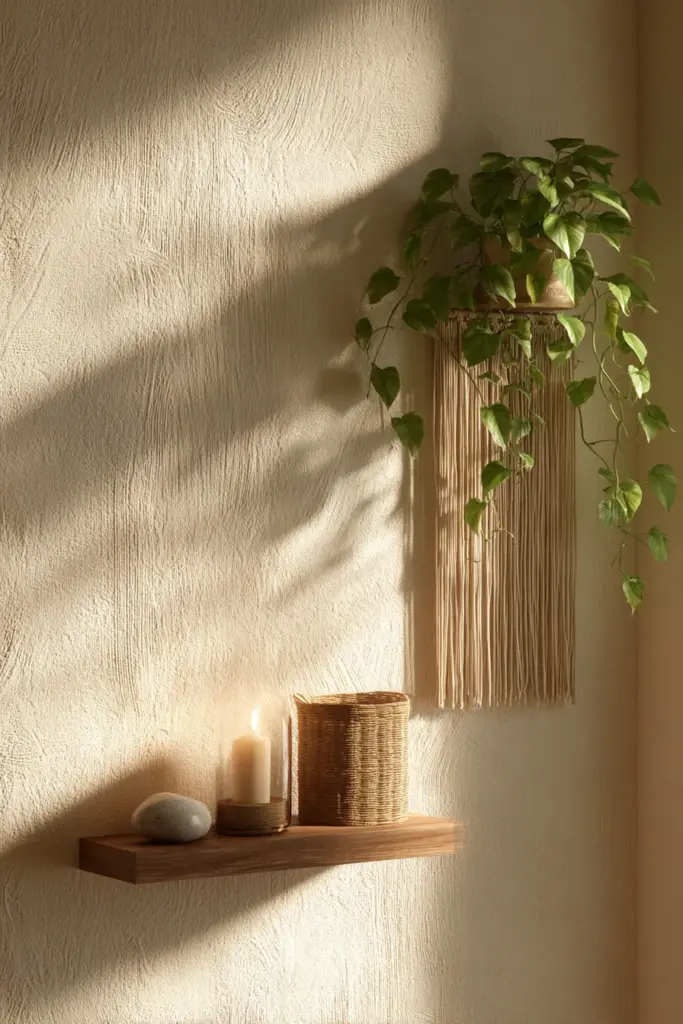
Japandi spaces use warm, indirect light. Position a small rattan pendant lamp or Edison bulb nearby to cast gentle shadows across the string — the texture becomes remarkably alive under warm light.
Avoid harsh overhead fluorescents near your art. They flatten texture and strip the piece of its soul.
Layer It with Nature
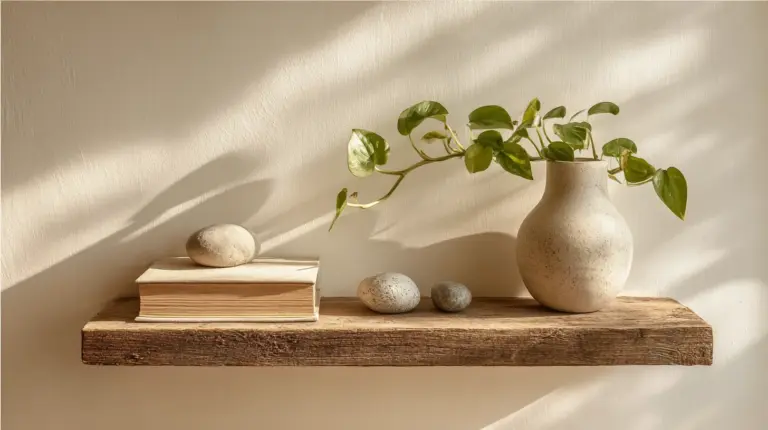
Hang your string art beside a trailing pothos or a small monstera. The living green echoes the organic lines of the string, and together they create a corner that feels genuinely biophilic — alive, breathing, restorative.
A small clay pot, a smooth river stone, or a single dried pampas stem on the shelf below completes the vignette without overcrowding it.
Choose Your Wall Thoughtfully
Japandi string art belongs on walls that give it room. A white or warm greige wall is ideal — let the natural wood and fiber speak without competition.
If your walls are darker, try leaning the piece on a shelf rather than hanging it. The layered depth of shelf styling suits the Japandi aesthetic beautifully.
Common Mistakes and How to Avoid Them
- Loose string: Usually means nails are too far apart or hammered at inconsistent heights. Re-check spacing and depth before weaving.
- String slipping off nails: Loop twice around nails at corners and direction changes.
- Uneven fill: Work in one consistent directional pass — clockwise or counter-clockwise — rather than back-and-forth.
- Design too complex for beginners: Start with a single motif, not a collage. Japandi is always about restraint first.
- Wrong string material: Synthetic twine is slippery and harder to tension. Always choose natural fiber.
Quick-Reference Checklist
- Choose natural fiber string: jute, hemp, or abaca
- Sand and optionally stain your wood base before starting
- Mark nail points at consistent 1–1.5 cm intervals
- Hammer nails to uniform height — use a guide
- Outline the design first, then fill inward
- Maintain consistent tension throughout
- Hang with rust-proof hardware in humid climates
- Style with warm lighting, plants, and natural materials nearby
Conclusion
Making your own Japandi string art is not really about the finished piece — though the finished piece will be beautiful.
It is about the hour you spend in quiet focus, hammer in hand, string pulling taut between your fingers. It is about choosing imperfection and finding it graceful. It is about hanging something on your wall and knowing, with certainty, that it belongs there because you made it belong.
ERYLIN believes that the most meaningful interiors are the ones built slowly, with intention and with love. This is your invitation to begin.
Frequently Asked Questions
What materials do I need for DIY Japandi string art?
You’ll need a raw wood board (narra or pine work beautifully), natural fiber string (jute, hemp, or abaca), small rust-proof nails, a hammer, pencil, ruler, and fine sandpaper. Optional extras include natural wood stain or beeswax finish. Total cost can stay well under PHP 500 using local Philippine sources.
How do I make string art without nails for Japandi style?
Use adhesive-backed pins on a foam board or corkboard — the weaving technique is identical to the nail method. Command strip hooks are also excellent for hanging finished pieces without damaging walls, which is especially useful in rental homes.
What are the easiest Japandi string art patterns for beginners?
Start with a Zen circle (enso), a simple asymmetrical mountain silhouette, or a single bare branch motif. These patterns use minimal nails, embrace natural imperfection, and look intentional even when slightly uneven — which is very much the point in wabi-sabi design.
How long does DIY Japandi string art take to complete?
A small to medium piece — roughly 30 x 40 cm — takes about 1 to 2 hours from prep to finish. Larger or more detailed pieces may take 3 to 4 hours. The process is genuinely meditative, so the time passes pleasantly.
Where can I buy Japandi string art supplies in the Philippines?
Divisoria in Manila is excellent for abaca string, raw nails, and affordable wood boards. Shopee carries jute and hemp string, natural wood stain, and adhesive pins. Local hardware stores and lumber yards are ideal for rust-proof nails and narra or pine wood at budget-friendly prices.