Table of Contents
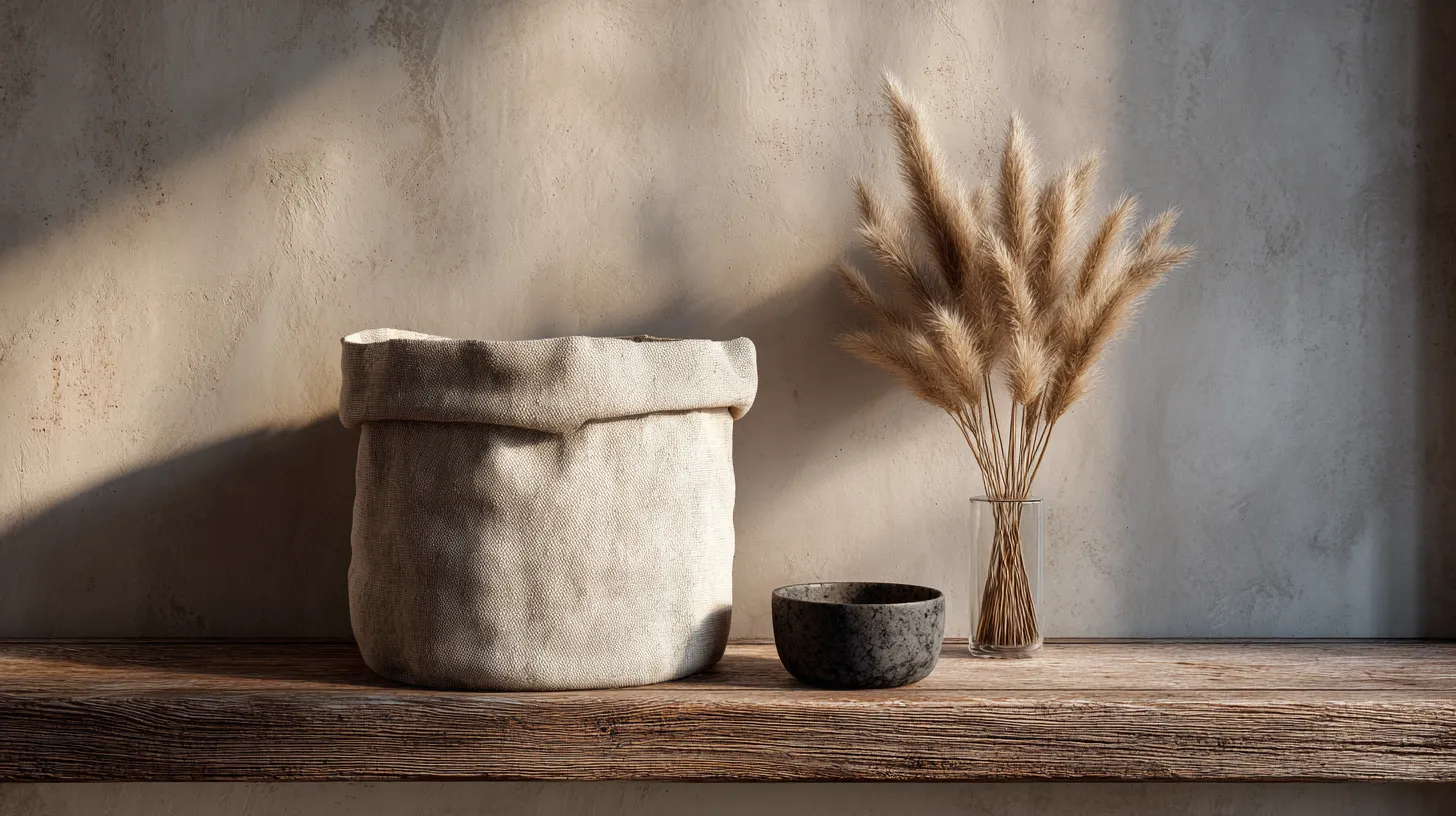
There is something quietly powerful about a well-made basket sitting on a shelf. It doesn’t announce itself. It simply belongs — holding things, softening a corner, making the room feel more like you.
That is the essence of Japandi living. Where Japanese wabi-sabi meets Scandinavian hygge, the result is a home that feels both restrained and deeply warm. And fabric baskets are one of the simplest, most rewarding ways to bring that energy into your space.
Most DIY fabric basket tutorials focus on the sewing alone — the steps, the measurements, the corners. But few explain how to make them truly Japandi in design and spirit. In this guide, you will learn how to choose the right fabrics, cut them to purpose-driven sizes, sew them with confidence, and style them in your home with intention.
Whether you are a seasoned home sewer or picking up a needle for the first time, this project will reward you with something beautiful, functional, and completely your own.
What Makes a Basket Truly “Japandi”?
Before you cut a single piece of fabric, it helps to understand the design language you are working in. Japandi is not just a trend. It is a philosophy — one built on simplicity, natural materials, and the idea that everyday objects deserve to be beautiful.
Color Palette
Japandi favors a narrow, earthy range of tones. Think off-white, warm oat, soft clay, dusty sage, and deep charcoal. You are not reaching for bright or bold. You are choosing colors that feel like they were mixed from sand, stone, and shadow.
Limit yourself to two or three tones per basket. A natural linen base with a charcoal stitched handle, or a warm cotton canvas in oat with a raw-edge trim — these feel considered, not accidental.
Texture and Shape
Japandi textures are tactile but never fussy. Linen has that gentle slub that catches light beautifully. Raw-edge cotton feels earthy and honest. Canvas holds its shape without stiffness. These are your materials.
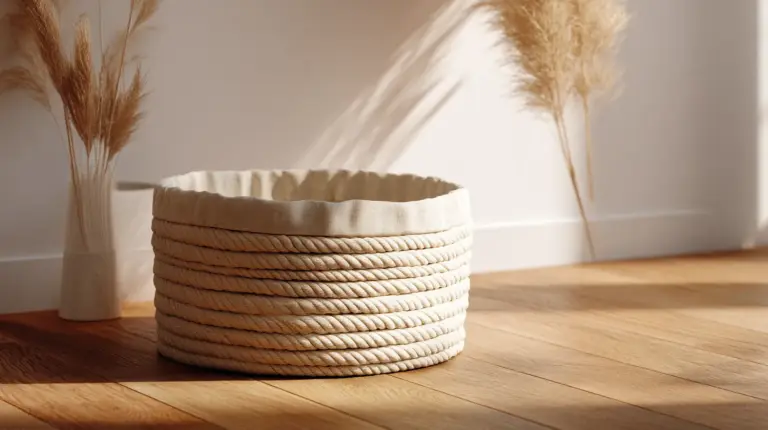
In terms of shape, think boxy and low-profile. No ruffles. No bright piping. No loud prints. The beauty is in the proportion — a quietly upright rectangle or a gently squared tray that sits flush with your shelving.
The Design Rule to Remember
If you find yourself adding something decorative, pause and ask: does this serve the basket, or does it distract from it? Japandi design always answers that question honestly.
Choose Your Fabric Like a Japandi Stylist
The fabric you choose will determine everything — how the basket holds its shape, how it washes, how it ages. Here is a simple comparison to guide your selection.
| Fabric | Durability | Drape | Washability | Japandi Feel |
|---|---|---|---|---|
| Pure linen | High | Soft, natural | Good (pre-wash first) | Excellent — signature texture |
| Linen-cotton blend | Very high | Structured but soft | Very good | Excellent — best of both |
| Mid-weight cotton canvas | High | Stiff, holds shape well | Easy | Good — great for structured baskets |
| Cotton muslin | Medium | Soft, relaxed | Easy | Fair — better as a lining |
| Raw-edge burlap | Medium | Rigid | Limited | Great for outer texture, use with lining |
For most Japandi fabric baskets, a linen-cotton blend is the ideal choice. It is forgiving to sew, holds its shape, and develops a beautiful patina over time. If you want extra structure, pair it with fusible interfacing on the outer shell — no batting needed.
Sourcing tip: Check local fabric stores for deadstock linen or natural cotton ends. These are often more affordable, more sustainable, and come in the most honest, undyed tones.
Room-by-Room Sizing Guide
One of the most overlooked parts of a fabric basket project is size. A basket that is too deep becomes a catch-all. One that is too shallow tips over. Here is a purpose-driven guide to help you cut with intention.
Recommended Basket Dimensions by Room
| Room / Use | Suggested Inner Dimensions (W × D × H) | Purpose |
|---|---|---|
| Bathroom | 20 × 15 × 12 cm | Hand towels, cotton rounds, small toiletries |
| Bedside table | 18 × 12 × 8 cm | A book, a candle, a phone — kept quiet |
| Living room shelf | 30 × 20 × 15 cm | Remote controls, throws, small blankets |
| Entryway tray | 25 × 18 × 6 cm | Keys, sunglasses, small daily items |
| Bedroom dresser | 20 × 12 × 8 cm | Jewelry, hair ties, small accessories |
| Sewing corner | 15 × 10 × 10 cm | Thread tidy, scissors, notions |
| Under-shelf (small space) | 22 × 16 × 10 cm | Books, plant food, folded scarves |
Print or screenshot this table and keep it beside your cutting mat — it will save you from second-guessing mid-project.
Materials You Will Need
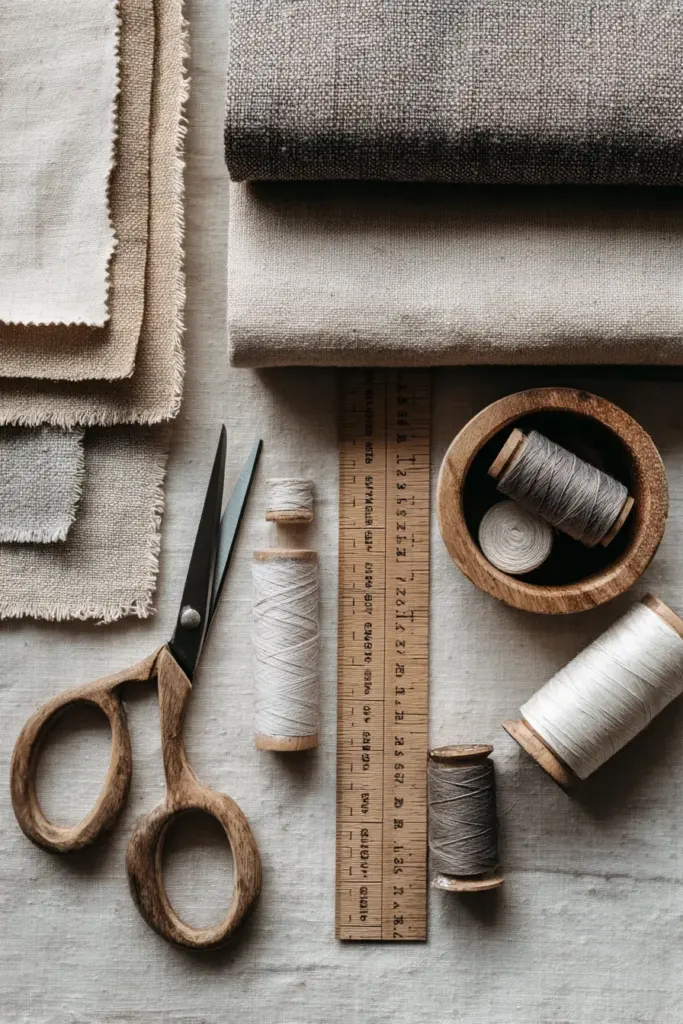
Gathering your materials before you sew makes the whole process feel calmer. Lay everything out on a clean surface in natural light. Even this small act of preparation is a Japandi ritual.
- Outer fabric: 0.5–0.75 m of linen or linen-cotton blend per basket
- Lining fabric: 0.5–0.75 m of coordinating cotton (muslin or thin canvas)
- Fusible interfacing: Medium-weight, same amount as outer fabric
- Thread: 100% cotton, in a tone matching or slightly deeper than your fabric
- Fabric scissors or rotary cutter and mat
- Ruler and fabric marker
- Iron and ironing board — essential for crisp seams
- Sewing machine with a standard needle (size 80/12 for linen)
- Pins or wonder clips
- Optional: Cotton webbing or rope for handles (1.5 cm wide)
Step-by-Step Sewing Guide
Step 1: Cut Your Fabric Pieces
For a basket measuring 20 × 15 × 10 cm (W × D × H), cut:
- Outer and lining fabric: Two rectangles — one for the base (20 × 15 cm) and one long strip for the sides (70 × 12 cm)
- Interfacing: Same dimensions as your outer fabric pieces
Iron the fusible interfacing onto the wrong side of your outer fabric pieces. This is the step that separates a limp basket from one that holds its shape beautifully.
Step 2: Sew the Side Strip into a Loop
Fold your side strip in half lengthwise, right sides facing, and sew the two short ends together to form a loop. Press the seam open. This will become the walls of your basket.
Step 3: Attach the Base
Pin the base piece to the bottom of your side loop, right sides together. Clip the curves or corners to ease the fabric, then sew with a 1 cm seam allowance. Trim and clip, then press upward.
Step 4: Create Boxed Corners
If you prefer a square-bottomed basket, cut a small square from each corner of your base and side pieces before assembly — typically 4 × 4 cm for a firm, flat base. Pinch the corners open, match the seams, and sew straight across. This simple step transforms a floppy shape into a basket with structure.
Step 5: Sew the Lining
Repeat steps 2 and 3 with your lining fabric, but leave a 10 cm gap in the bottom seam. This is your turning gap.
Step 6: Join the Outer and Lining
Place the lining inside the outer basket, right sides together. Align the top edges and sew around the rim. Turn right-side-out through the gap in the lining. Push out the corners gently with a blunt tool, press the top edge flat, and slip-stitch or machine-stitch the lining gap closed.
Topstitch along the top rim if you like — it gives the basket a clean, finished edge and keeps the lining from creeping upward.
Step 7: Add Handles (Optional)
Cut two lengths of cotton webbing at 20–25 cm each. Fold under the raw ends by 1 cm and pin them to the inside of the basket, evenly spaced. Sew a small rectangle through all layers, finishing with an X-stitch for strength. Keep the handles simple, close to the basket’s body — this is Japandi, not farmhouse.
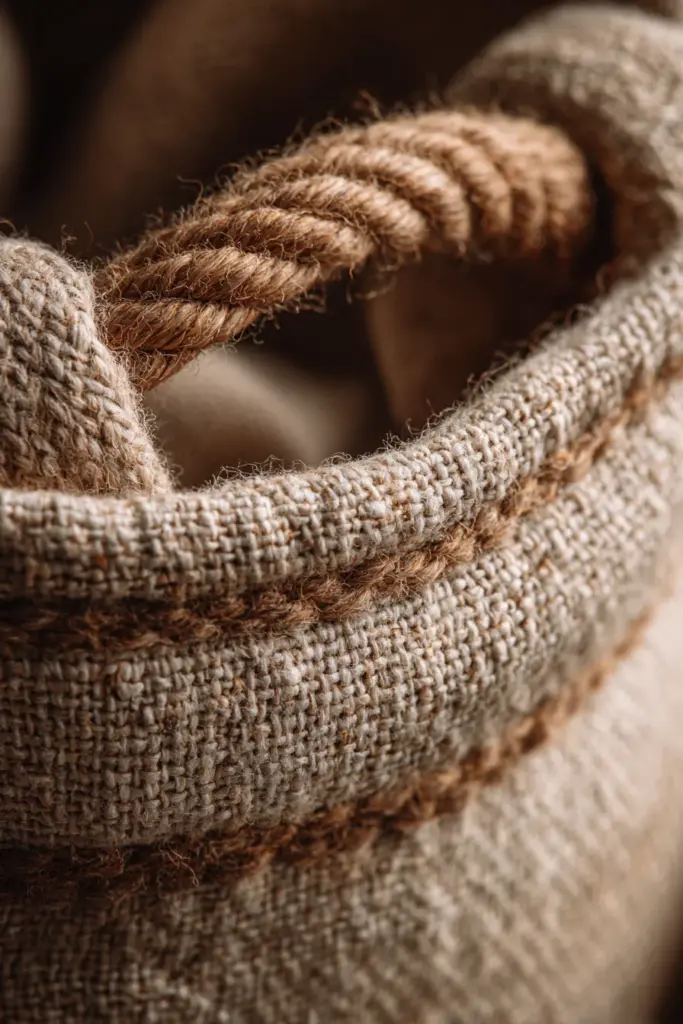
How to Style DIY Japandi Baskets in Your Home
The basket is made. Now comes the part that matters almost as much as the sewing: placing it with intention.
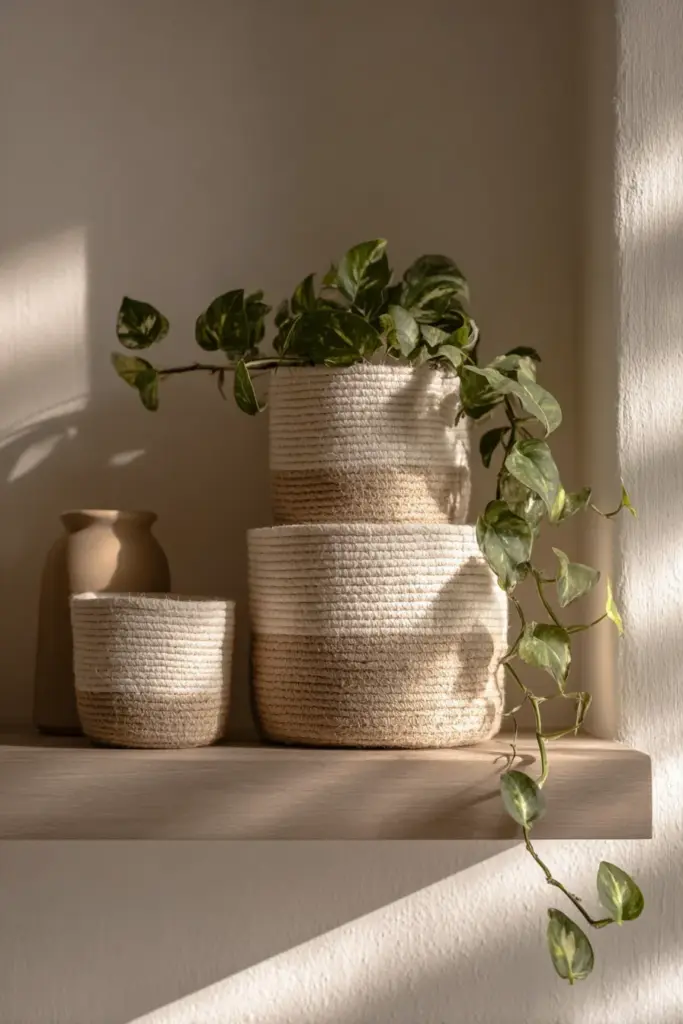
The Rule of Three
Group two or three baskets in a row, same height, different widths. This creates visual rhythm without rigidity. On a lower shelf, place one large basket and two small ones. On an upper shelf, pair one small basket with a ceramic vessel and a trailing plant.
Pairing Suggestions by Room
Entryway: A shallow basket tray + two small baskets + one tall dried-stem arrangement. Keep the palette to oat and charcoal. Let it breathe.
Bedside: One deep basket for books or a blanket, one shallow tray for a candle and small stone. Nothingelse.
Living room shelf: Three baskets in graduated widths, all the same linen tone. A small ceramic bowl beside the largest. A single plant above.
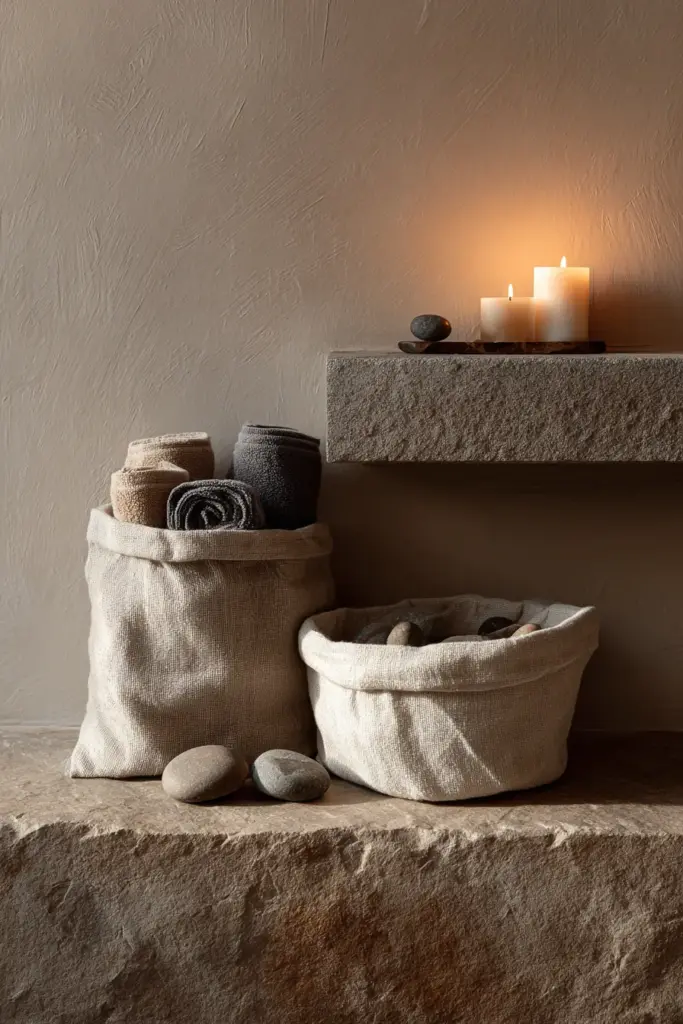
Bathroom: Two baskets — one for rolled towels, one for cotton rounds. A wooden tray underneath to anchor them visually.
Photography Tips for Content Creators
Natural north light is your best friend — it is soft, even, and flattering to linen textures. Place your baskets near a window and avoid direct sun, which flattens texture and bleaches color.
Use a neutral backdrop: raw plaster, pale wood, or undyed linen. Let subtle shadows fall naturally — they are part of the composition. Resist the urge to over-style. In Japandi photography, less is always more.
Key Takeaways
- Choose your fabric intentionally: Linen or linen-cotton blend for Japandi authenticity, fusible interfacing for structure
- Stay within a narrow palette: Off-white, oat, clay, sage, charcoal — two tones per basket maximum
- Size with purpose: Match each basket to its room and function using the dimensions table above
- Embrace boxy shapes: Boxed corners and a flat base define the Japandi silhouette
- Style in threes: Odd numbers, same height, varied widths — a calm visual rhythm
- Pair with natural objects: Plants, ceramics, wooden trays — nothing synthetic, nothing loud
- Leave space: A Japandi shelf is never full. Breathing room is a design choice
Conclusion
There is a particular satisfaction in placing a handmade basket on your shelf and feeling the room settle. It is not magic — it is intention. You chose the fabric carefully. You cut it with purpose. You sewed it slowly, and it shows.
That is what Japandi living invites us toward: a home where every object has been considered, where beauty and function share the same quiet breath. Your fabric baskets are small, but they carry that philosophy in every seam.
Make one. Then another. Line them on your shelf in the morning light and notice how the room changes — not dramatically, but gently. That is exactly how Japandi is supposed to feel.
Frequently Asked Questions
How do you make a simple Japandi fabric basket step by step?
Cut your outer fabric, lining, and interfacing to the same dimensions. Fuse the interfacing to the wrong side of the outer fabric, sew the side strips into a loop, attach the base with boxed corners, repeat for the lining, then join them at the top rim and turn right-side-out. The full process takes one to two hours once your materials are ready.
What fabric and colors are best for a Japandi fabric basket?
Linen, linen-cotton blend, or mid-weight cotton canvas work best — they hold their shape, age beautifully, and have the natural texture Japandi design calls for. Stick to muted earth tones: off-white, oat, warm clay, dusty sage, or soft charcoal. Avoid prints, bright tones, or synthetic fabrics.
What makes a basket Japandi style?
Three things define a Japandi basket: natural fabric, a restrained color palette, and a boxy, low-profile shape. No decorative frills, no bold patterns. The beauty comes from honest materials, clean proportions, and a quietness that lets the basket serve its purpose without drawing attention to itself.
How big should a fabric basket be for bathroom or bedroom storage?
For a bathroom, aim for approximately 20 × 15 × 12 cm — enough for rolled towels or small toiletries without overcrowding the shelf. For a bedside table, a shallower basket around 18 × 12 × 8 cm keeps things accessible without visual clutter. Always measure your shelf space before cutting fabric.
Can you use DIY fabric baskets in a small space?
Absolutely. Fabric baskets are ideal for small spaces because they are lightweight, foldable when not in use, and far less visually heavy than plastic or wire alternatives. Choose under-shelf dimensions — roughly 22 × 16 × 10 cm — to make use of vertical storage without blocking light or flow. Keep the color close to your wall tone so the baskets recede rather than advance.