Table of Contents
There is something quietly powerful about a well-ordered shelf. The way a row of books, anchored at either end by something handmade, turns a cluttered corner into a moment of intention. That is the heart of Japandi — a design philosophy that marries Japanese wabi-sabi warmth with Scandinavian simplicity — and it lives beautifully in something as small as a bookend.
DIY Japandi bookends are not just a weekend craft. They are an act of slow living. You choose the wood, feel the grain, decide how smooth or how raw you want the finish. You press your fingerprint, gently, into how your home feels.
In this guide, we will walk you through everything: what makes a bookend feel Japandi, which materials carry that quiet soul, a step-by-step tutorial with exact dimensions, and how to style your finished pieces like a seasoned interior editor. Whether you live in a compact apartment or a cozy bungalow, these DIY Japandi wooden bookends will earn their place on your shelf.
Let us begin — slowly, intentionally, beautifully.
What Makes a Bookend Feel Japandi?
Not every wooden bookend is a Japandi bookend. The difference lies in restraint, proportion, and material honesty.
Japandi design speaks in neutral tones — cream, warm taupe, ash, charcoal, and the natural blush of unfinished oak. It does not shout. It holds space. A Japandi bookend sits quietly beside your books, grounding them without competing for attention.
The Three Principles to Keep in Mind
Simplicity of form. Japandi pieces carry clean silhouettes: an L-shape, a gentle curve, a slim vertical rise. No ornate carvings, no hardware for its own sake. The shape itself is the beauty.
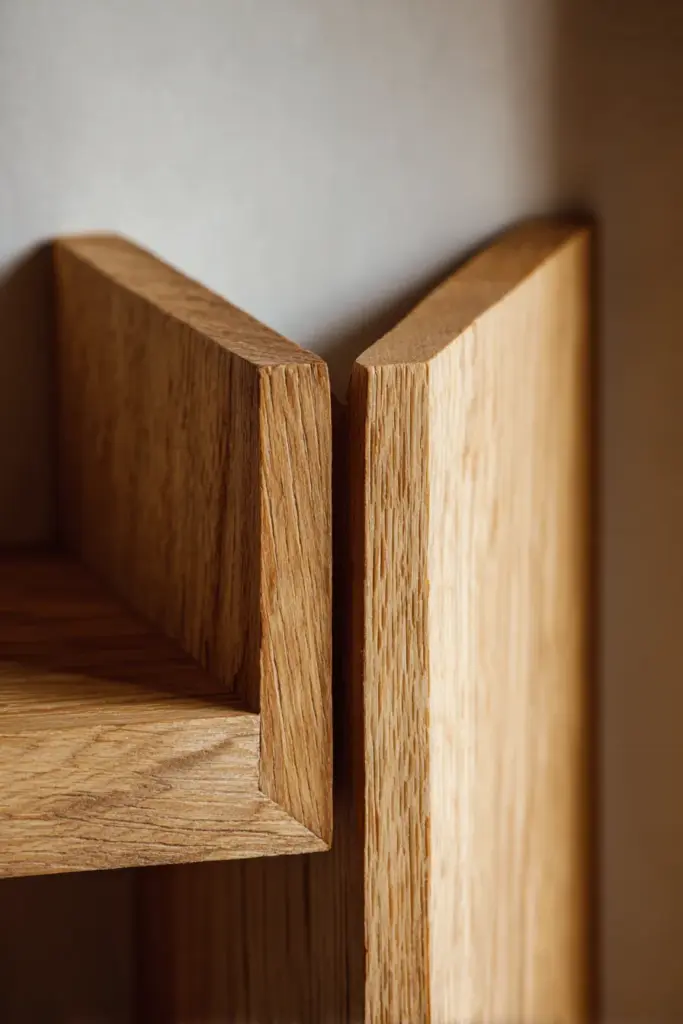
Natural material honesty. Light oak, teak, walnut, reclaimed pine — these woods are not painted over or fussed with. They are sanded smooth, oiled gently, and allowed to be what they are. The grain is part of the design.
Wabi-sabi imperfection. A small knot in the wood is not a flaw. A slightly uneven edge, left intentionally, tells the story of the maker’s hand. Japandi does not chase perfection; it finds beauty in the real.
What Materials Do I Need for Japandi Bookends?
The material list for DIY Japandi bookends is refreshingly short. This is a project that rewards simplicity.
Wood Options
| Wood Type | Japandi Feel | Best For |
|---|---|---|
| Light oak | Warm, golden, Scandi-leaning | Bright, neutral shelves |
| Walnut | Deep, earthy, Japanese-leaning | Moody, layered shelves |
| Pine (reclaimed) | Rustic, raw, budget-friendly | Wabi-sabi setups |
| MDF + linen wrap | Clean, minimal, renter-safe | Lightweight apartment use |
Tools You Will Need
- Miter saw or hand saw
- Sandpaper (80, 120, and 220 grit)
- Wood glue or dowels for joinery
- Danish oil, tung oil, or matte white paint
- Felt pads (for shelf protection)
- Clamps
Optional Japandi Accents
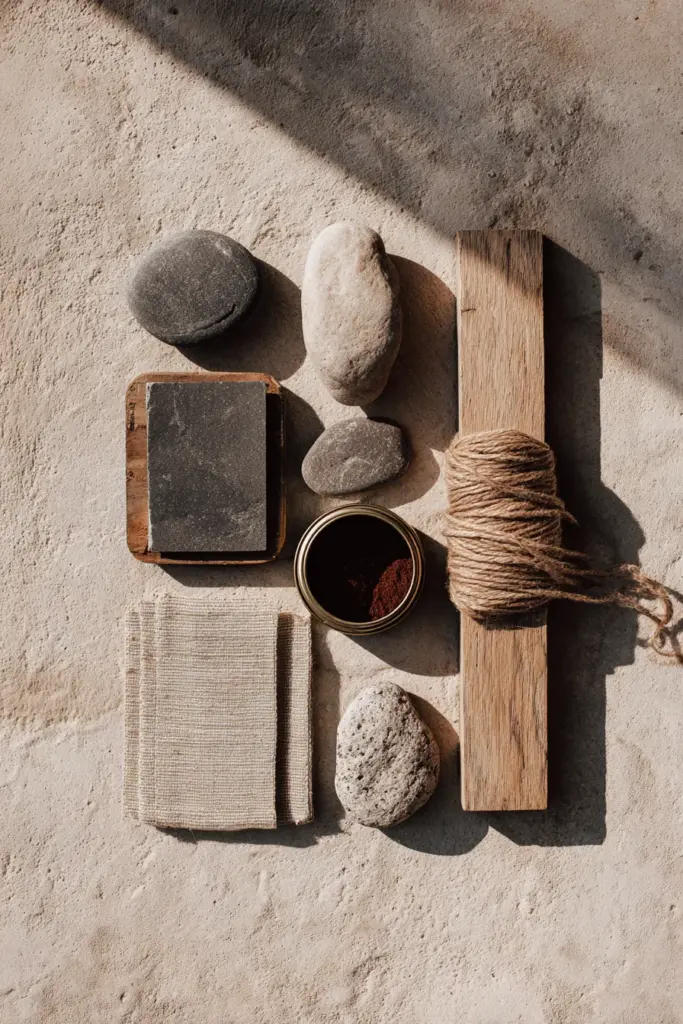
- Small stone slab or travertine slice (glued to the base for a stone-cap effect)
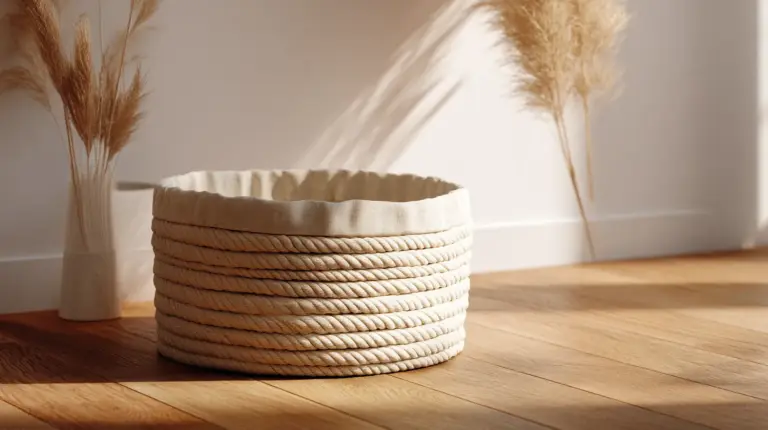
- Hemp rope or linen strip (wrapped around MDF for a texture layer)
- Concrete-toned spray paint (for a faux stone finish on a wooden cap)
You do not need expensive lumber. Off-cuts from a hardware store, reclaimed planks from a local market, or even untreated pine boards work beautifully. The Japandi spirit is generous with humble materials.
How to Make DIY Japandi Wooden Bookends (Step-by-Step)
This tutorial builds a classic L-shaped Japandi bookend — slim, elegant, and beginner-friendly. The proportions are designed to feel Japandi: not too heavy, not too thin.
Cut List
| Piece | Dimensions | Quantity |
|---|---|---|
| Vertical panel | 13 cm (H) × 7 cm (W) × 2 cm (D) | 2 |
| Base panel | 12 cm (L) × 7 cm (W) × 2 cm (D) | 2 |
These dimensions give you a bookend that is tall enough to hold most paperbacks upright, slim enough for small shelves, and proportioned in that signature Japandi way — neither too commanding nor too slight.
Step 1 — Cut Your Wood
Mark and cut your pieces according to the cut list above. If you are using a hand saw, clamp your wood firmly and take slow, deliberate strokes. Japandi is not in a hurry.
Sand the cut edges with 80-grit paper first, then move to 120-grit to smooth the faces. Finish with 220-grit for that silky, refined surface that catches soft light beautifully.
Step 2 — Join the L-Shape
Apply a thin, even line of wood glue along the bottom edge of the vertical panel. Press it firmly onto one end of the base panel, forming an L-shape. Wipe away any excess glue with a damp cloth immediately.
For extra strength — especially if you plan to hold heavy hardcovers — use two wooden dowels drilled into the joint before gluing. This gives you a hidden, seamless join that looks intentional and clean.
Clamp the pieces together and let them cure for at least two hours. Overnight is better.
Step 3 — Final Sanding
Once dry, lightly sand the entire joined piece with 220-grit paper. Pay attention to the outer corner of the L — round it ever so slightly with the paper. This softens the silhouette and gives the piece that handcrafted warmth Japandi is known for.
Step 4 — Finish
Choose your finish based on the mood you want:
- Danish oil — soaks into the grain, deepens the natural color, leaves a matte sheen. Best for oak or walnut.
- Raw linseed oil — very matte, very natural. Perfect for reclaimed or pine wood.
- Matte white paint — for a Scandi-leaning Japandi feel; paint the base only and leave the vertical panel raw for contrast.
- Concrete-toned spray — apply to just the top cap area for a faux travertine look.
Apply with a soft cloth, let it absorb for 20 minutes, and wipe away the excess. Repeat once for depth. Let dry fully before moving on.
Step 5 — Add Felt Pads
Peel and press four small felt pads onto the underside of the base. This protects your shelf and keeps the bookends from sliding — a small act of care that matters more than you might expect.
How to Make Japandi Bookends on a Budget
Japandi design is sometimes sold as a luxury aesthetic — travertine slabs, solid teak, hand-thrown ceramics. But the spirit of Japandi is actually deeply democratic. It asks only for honesty and intention.
Use scrap wood or off-cuts. Most hardware stores have a bin of offcuts sold for nearly nothing. A single short plank of pine can yield two full sets of bookends. Look for pieces with interesting grain, a small knot, or a slight variation in color — these are features, not flaws.
Mimic stone without the price. Glue a thin slice of pebble or small river stone to the top of the vertical panel. Or wrap an MDF base in a strip of natural linen fabric, secured with a dab of craft glue. From a few steps away, it reads as texture-rich and intentional.
Try concrete blocks. Small concrete pavers from a garden center, cut or broken to size, make surprisingly beautiful Japandi bookends. Sand the edges, add felt pads, and done. No joinery, no tools. Pure wabi-sabi.
| Budget Approach | Cost (Approx.) | Japandi Effect |
|---|---|---|
| Pine off-cuts + oil | ₱150–₱300 | Warm, rustic |
| MDF + linen wrap | ₱100–₱200 | Clean, minimal |
| Concrete garden block | ₱80–₱150 | Raw, textural |
| Pebble-capped wood | ₱200–₱350 | Natural, layered |
How to Style Japandi Bookends on a Small Shelf
The bookends are made. Now comes the part that feels like breathing — arranging your shelf.
Japandi shelf styling is not about filling every inch. It is about curating negative space. Let some areas breathe. Resist the urge to add one more thing.
The Japandi Shelf Formula
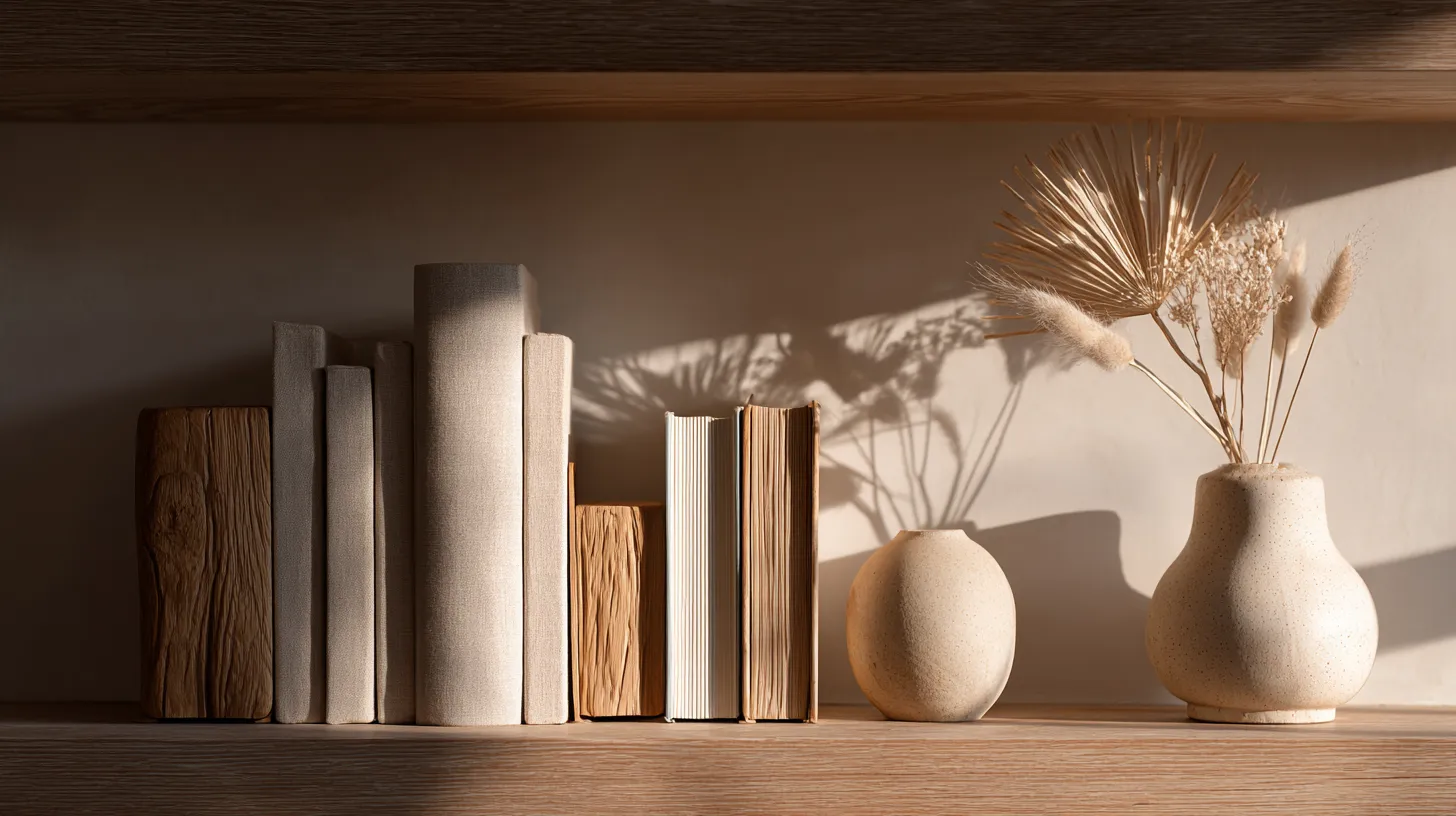
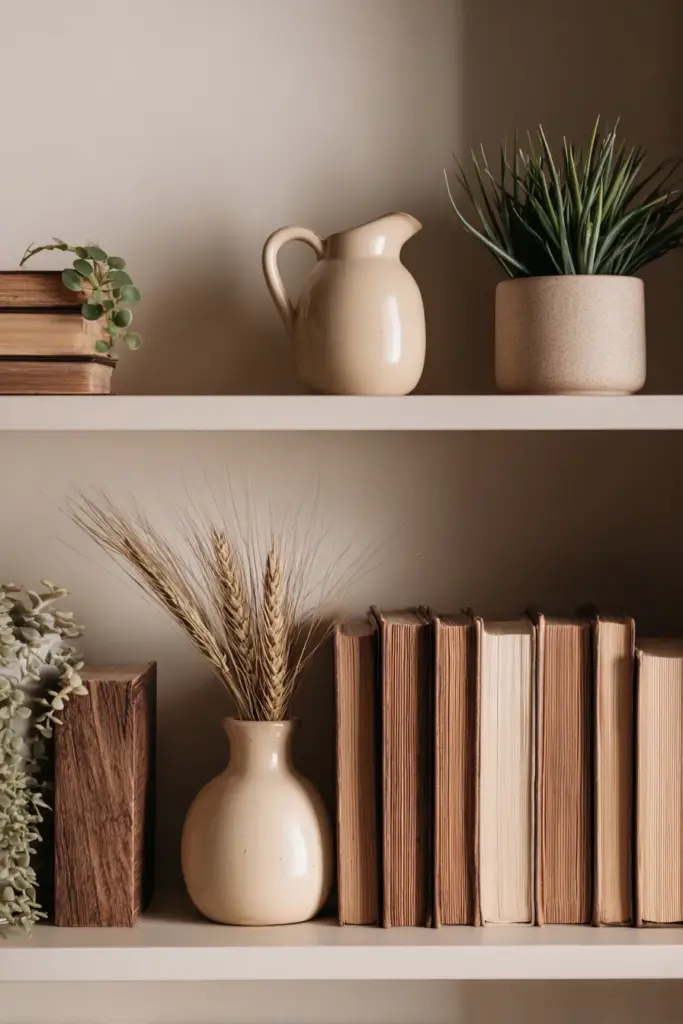
Start with your bookends anchoring the outer edges. Between them, arrange your books in a relaxed cluster — not perfectly alphabetized, but loosely organized by height or tone. Neutral spines forward, colorful ones tucked behind. Let the shelf feel like it happened naturally.
Now add one or two accent objects between the book clusters:
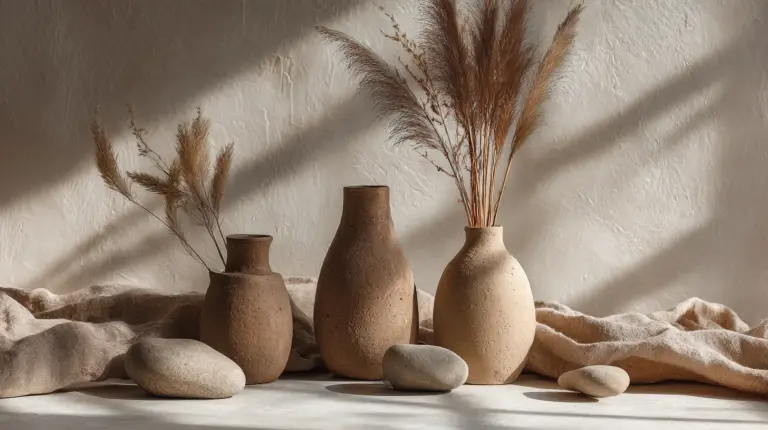
- A small matte ceramic vase (a bud vase with a single dried stem is enough)
- A trailing plant like Pilea peperomioides or a small Peperomia in a clay pot
- A smooth river stone or a piece of driftwood resting horizontally
- A single folded linen cloth tucked beneath a stack of books
Pairing Japandi Bookends with Plants and Ceramics
The most soulful Japandi shelves bring the outside in. A wooden bookend beside a tiny ceramic pot, with a single stem of dried pampas grass leaning against the books — this is the whole mood in one small composition.
Keep the plant small. A Pilea, a trailing string of pearls, or a tiny fern in a matte pot. The bookend grounds the arrangement; the plant softens it. The ceramic connects them both.
Avoid over-styling. Japandi shelves often look best with just two to three focal points per shelf tier. Wabi-sabi asks us to leave room for the imperfect, the unfinished, the real.
Renter-Friendly Japandi Bookshelf Ideas
If you are in an apartment with narrow shelves or rattan bookcases, your DIY Japandi bookends still belong there. Use the lighter versions — thinner wood, no stone caps — to keep the weight manageable on floating or rattan shelves.
Pair your bookends with your existing shelf tone: a light oak bookend on a white IKEA shelf reads as intentional design. A walnut bookend on a dark rattan shelf adds depth and warmth. The key is tonal harmony — bookend, shelf, and books existing in the same gentle conversation.
Key Takeaways
- DIY Japandi bookends bridge two design worlds: the tactile craft of Japanese minimalism and the clean warmth of Scandinavian simplicity.
- The ideal Japandi bookend is slim, natural-material, and quietly proportioned — around 12–14 cm tall, 6–8 cm wide.
- L-shaped wooden bookends from scrap wood or off-cuts are the most beginner-friendly approach.
- Finish options include Danish oil (warm, natural), raw linseed (very matte), or matte white (Scandi-forward).
- You can mimic travertine or stone with hemp wrapping, concrete spray, or glued river stones — no premium materials required.
- Style with restraint: two to three focal points per shelf tier, one plant, one ceramic, generous negative space.
- Felt pads underneath protect your shelf and keep pieces in place — a small detail that matters.
- These bookends suit small apartments, rattan shelves, reading nooks, and bedside stacks just as well as full home libraries.
Conclusion
A handmade object carries something that a purchased one rarely does — the memory of making it. The moment you chose the wood. The quiet of the sanding. The satisfaction of the first oil application, watching the grain deepen and glow.
Your DIY Japandi bookends will hold your books steady. But they will do something else, too. They will remind you, every time you reach for a book, that you made something beautiful with your own hands. That is the slow living invitation at the heart of Japandi.
Place them gently. Style them simply. Let your shelf breathe.
ERYLIN — designed for the way you actually live.
Frequently Asked Questions
What wood is best for DIY Japandi bookends?
Light oak and walnut are the most naturally Japandi-feeling woods — oak for warm, golden tones and walnut for deeper, earthier ones. For budget builds, reclaimed pine or even MDF wrapped in linen fabric works beautifully and still reads as intentional Japandi design.
Can I make Japandi bookends without power tools?
Yes. A simple hand saw and sandpaper are all you truly need. The classic L-shape cut is a single straight cut on each piece, making this one of the most beginner-accessible DIY projects for minimalist home décor. For no-cut alternatives, concrete garden blocks or smooth river stones also make excellent Japandi-inspired bookends.
How do I make bookends heavy enough to hold books without using stone?
Weight can be added by using thicker stock wood (3–4 cm thick instead of 2 cm) or by gluing a second base layer underneath the bottom panel. A wide footprint also helps — a longer base panel distributes weight and keeps the bookend stable even with heavier hardcovers.
How do I style Japandi bookends in a small apartment?
Use lightweight versions (thinner wood, no stone caps) on narrow or floating shelves. Keep the styling restrained: two to three objects per shelf, one small plant, and generous negative space. Choose bookend tones that harmonize with your shelf — light oak on white shelving, walnut on darker or rattan units.
What finish makes a bookend look most Japandi?
Danish oil or raw linseed oil give the most authentically Japandi result — they soak into the grain, enhance the natural color, and leave a matte, non-plastic surface. For a Scandi-leaning Japandi look, try matte white paint on the base while leaving the vertical panel raw. Avoid glossy varnishes or polyurethane, which read as too polished for the wabi-sabi spirit.