Table of Contents
There is something quietly powerful about a well-designed entryway. It is the first breath your home takes — the moment where the outside world releases its grip and something softer begins.
A Japandi coat rack is not just a place to hang your coat. It is a small ritual, a visual exhale, a reminder that beauty and function are never meant to be separate.
At ERYLIN, we believe in designing spaces that feel as good as they look. This guide will walk you through building your own DIY Japandi coat rack — from choosing the right wood to styling the finished piece — so your entryway becomes the calm, grounded welcome your home deserves.
Whether you are a beginner woodworker, a renter with limited tools, or simply someone who craves a little more intention in their space, this is your starting point.
What Is a Japandi Coat Rack?
Japandi is the quiet conversation between Japanese wabi-sabi and Scandinavian hygge. It is a design language built on natural materials, restrained color palettes, and a deep respect for negative space.
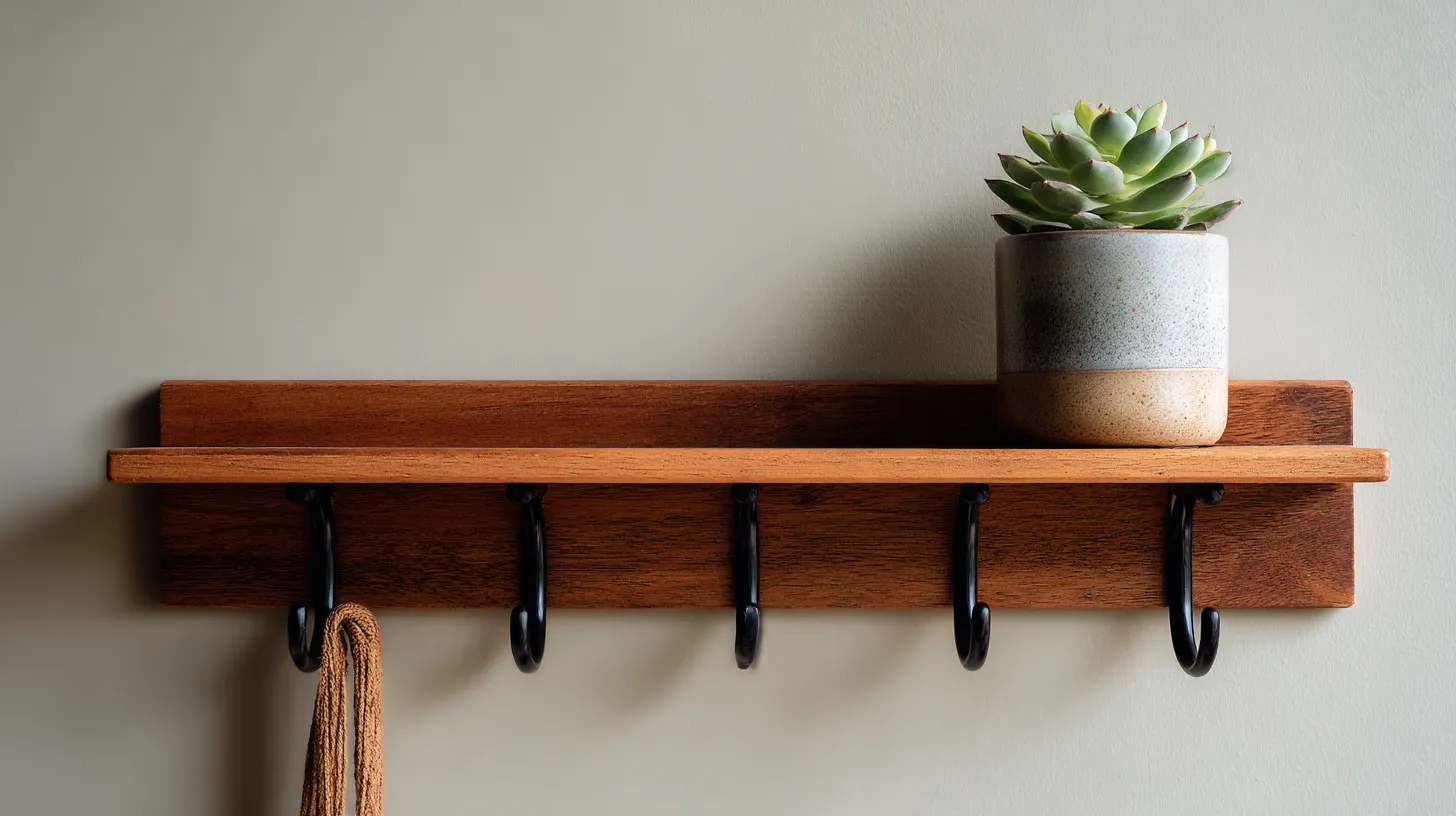
A Japandi coat rack reflects those same values. Think warm wood grain, matte black hooks, and a shelf just wide enough for a small ceramic bowl or a folded hat — nothing more, nothing less.
It is not minimalist in a cold or sterile way. It is purposeful minimalism — warm, organic, and deeply livable.
Japandi Design Principles to Guide Your Build
Before you pick up a saw, it helps to understand the philosophy behind the aesthetic. These principles will shape every decision, from the wood species you choose to how many hooks you hang.
Wabi-sabi: Embrace natural imperfection. A small knot in the wood or an uneven grain is not a flaw — it is character.
Ma (negative space): Leave breathing room. A coat rack with six hooks does not need six coats on it at all times. The empty space is part of the design.
Shizen (naturalness): Choose materials that feel as if they came from the earth — raw-edged wood, linen, jute, clay.
Lagom (just enough): Scandinavian restraint means nothing excessive. One shelf, a handful of hooks, clean lines.
Choosing the Right Wood and Finish
The material you choose will set the entire tone of your Japandi entryway.
Best Wood Species for a Japandi Coat Rack
| Wood | Tone | Best For | Finish |
|---|---|---|---|
| Walnut | Deep, warm brown | Statement racks | Natural oil or matte wax |
| Light oak | Honey, golden | Bright, airy entryways | Light stain or clear coat |
| Ash | Pale, straight grain | Scandinavian lean | Whitewash or bare oil |
| Pine | Budget-friendly, soft | Beginner builds | Light stain or whitewash |
For a budget build under $30, a 1×6 or 1×8 pine board works beautifully with a light whitewash or raw linseed oil finish. It will not look like a compromise — it will look intentional.

Finish Formulas That Feel Japandi
These ready combinations take the guesswork out of pairing:
- Walnut rack + matte black hooks + warm beige wall — rich, grounding, deeply Japanese in tone
- Light oak rack + brushed brass hooks + white wall — clean, Nordic, quietly luxurious
- Untreated pine + linseed oil + jute-wrapped hook wraps — raw, wabi-sabi, beautifully imperfect
A Note on Humidity and Tropical Climates
If you live in a warm, humid climate — like the Philippines or anywhere in Southeast Asia — your finish choice matters beyond aesthetics. Choose an oil-based stain or tung oil over water-based options, as these penetrate the wood and protect it from moisture absorption.
For hooks, avoid bare iron or low-quality chrome. Opt for bronze, brass, or powder-coated matte black metal — these resist rust and hold their finish far longer in humid air. Position your rack away from windows or doorways where rain splash can reach it directly.
Tools and Materials
You do not need a workshop full of equipment for this project. Here is what a standard build requires — along with no-power-tool alternatives for renters or beginners.
Standard Tool List
- Miter saw or circular saw (for clean, straight cuts)
- Cordless drill and drill bits
- Sandpaper (80-grit and 220-grit)
- Stud finder
- Level
- Wood screws and wall anchors
- Paintbrush or lint-free cloth for finishing
No-Power-Tool Alternative
- A hand saw and a miter box (for straight cuts without a power saw)
- A basic hand drill or brace drill
- Pre-sanded boards from your local hardware store
Many hardware stores will also cut boards to your specifications for a small fee — which means you may need nothing more than a drill, sandpaper, and a steady hand.
Materials for a Standard 36-Inch Rack with Shelf
- 1× 1×8 board, 36 inches long (main rack board)
- 1× 1×6 board, 32 inches long (shelf, set slightly inset)
- 2× small corbels or bracket supports (for shelf)
- 4–6 matte black or brass metal hooks
- Wood screws (1.5 inch and 2.5 inch)
- Wood filler (for screw holes)
- Sandpaper (80 and 220 grit)
- Your chosen stain, oil, or whitewash
- Wall anchors and mounting screws
Step-by-Step: How to Build Your DIY Japandi Coat Rack
This build produces a wall-mounted rack approximately 36 inches wide with a shallow shelf above — ideal for most entryways and hallways.
Step 1: Cut and Sand Your Boards
Cut your main board to 36 inches and your shelf board to 32 inches, leaving a small reveal on each side for a layered, architectural look.
Sand both boards starting with 80-grit to remove any rough edges, then finish with 220-grit for a smooth, silky surface. Run your hand along the grain — you want to feel almost nothing. That smoothness is what takes stain beautifully.
Step 2: Apply Your Finish
Apply your chosen stain, oil, or whitewash with a lint-free cloth, working in long strokes with the grain. Let it soak in for 5–10 minutes, then wipe away the excess.
Allow the first coat to dry fully (usually 2–4 hours), then lightly sand with 220-grit and apply a second coat if needed. For a raw, wabi-sabi look, one coat of linseed oil is enough — the wood should still breathe.
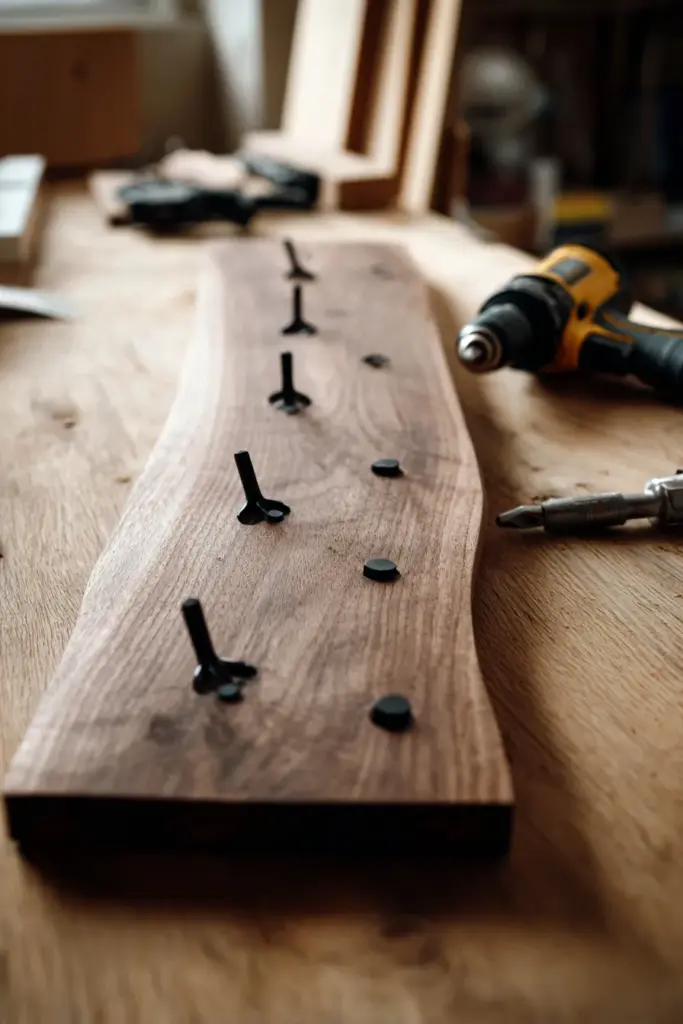
Step 3: Mark and Pre-Drill Hook Positions
Here is where Japandi rack design diverges from a standard coat rack: resist perfectly even spacing.
Instead of lining up four hooks at identical intervals, try a slightly asymmetric arrangement — two hooks spaced a little closer on one side, one wider hook position on the other. This mirrors the natural asymmetry found in Japanese art and feels more like a curated wall piece than a hardware-store fixture.
Pre-drill your hook holes slightly smaller than the screw diameter to prevent wood splitting. Attach hooks firmly, checking that each sits level.
Step 4: Attach the Shelf with Corbels
Position your corbels 4 inches in from each end of the main board. The shelf should sit 8–10 inches above the hook board, giving coats room to hang without brushing the shelf above.
Screw the corbels to the main board first, then lay the shelf board on top and secure from below. Fill any screw holes with wood filler, let dry, and sand flush.
Step 5: Mount to the Wall
Use a stud finder to locate wall studs — this is non-negotiable for a rack that will bear the weight of coats, bags, and umbrellas. If studs are not available where you need them, use heavy-duty wall anchors rated for at least 50 lbs.
For extra security and a beautifully flush wall mount, consider a French cleat system. This allows you to remove and reposition the rack easily — ideal for renters or anyone who likes to rearrange.
Hold the rack at your desired height (usually 60–66 inches from the floor to the top of the board), check level, and drive screws through the back of the main board into the studs.
Dimensions Guide for Small and Narrow Entryways
Not every entryway is generous. If your hallway is under one metre wide, here is how to scale your rack without losing its proportions.
| Hallway Width | Recommended Rack Width | Hook Count | Shelf Depth |
|---|---|---|---|
| Under 80 cm | 50–60 cm | 3 hooks | 10 cm max |
| 80–100 cm | 60–75 cm | 3–4 hooks | 12 cm |
| 100–120 cm | 75–90 cm | 4–5 hooks | 15 cm |
| Over 120 cm | 90–100 cm | 5–6 hooks | 15–20 cm |
Keep the rack’s depth shallow — no more than 20 cm — so coats hang close to the wall rather than protruding into the walkway.
Renter-Friendly Japandi Coat Rack Options
No drill? No problem. A Japandi aesthetic is absolutely achievable without making a single hole in the wall.
Over-the-door version: Find a solid wood dowel or flat board and hang it from heavy-duty over-the-door hooks. Wrap the hooks in natural jute cord or attach a small strip of wood veneer to conceal the hardware. Add two or three matte black hooks to the dowel itself, and you have a rack that looks intentional, not improvised.
Leaning rack: A tall, slender wooden frame that leans against the wall requires no fixings at all. Build two vertical posts connected by a horizontal rail at hook height and a lower rail at base height for stability. Finish in your chosen stain, add hooks along the rail, and lean it gently into the corner of your entryway.
Tension pole system: A floor-to-ceiling tension pole in natural wood tone accepts clip-on hooks and a small shelf bracket. It installs in minutes, leaves no marks, and can be repositioned whenever you move.
Adding a Biophilic Touch: The Plant Ledge
One of the most distinctive qualities of a Japandi entryway is its relationship with nature — and a coat rack is the perfect place to bring that relationship indoors.
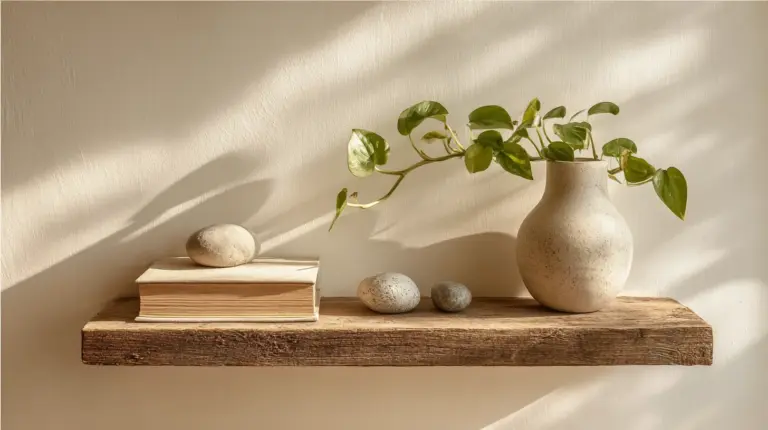
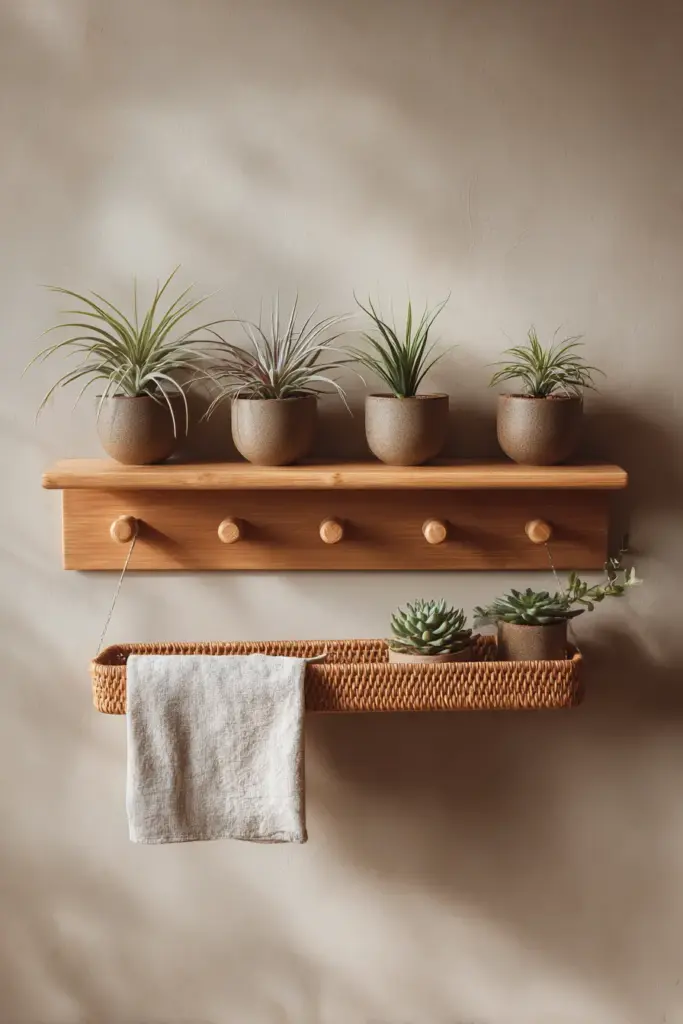
Add a shallow secondary shelf above your coat rack — even just 10 cm deep — for a row of small ceramic planters holding succulents, air plants, or a single trailing pothos. The shelf needs only 6–8 cm of clearance from the ceiling or the next architectural element to feel intentional rather than cramped.
The combination of rough-textured ceramics, living green, and warm wood grain is one of the most quietly beautiful things a small entryway can hold. It also anchors the rack as a complete design element rather than a functional afterthought.
How to Style Your Japandi Coat Rack
A Japandi coat rack looks best when it is styled with the same restraint that built it.
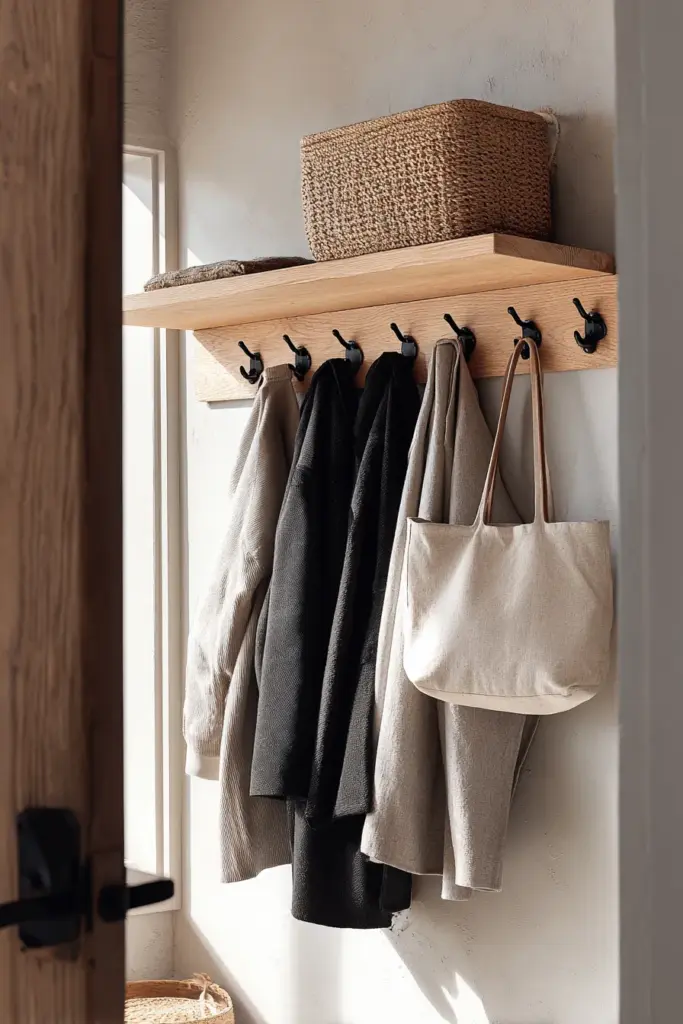
The Japandi discipline rule: Keep no more than 6–8 regularly used items on the rack at any one time. Rotate by season — winter coats come down in warmer months and give way to lighter layers, straw hats, and linen tote bags.
Layering coats with intention:
- 1–2 heavier coats or structured jackets at the bottom hooks (they anchor the visual weight)
- Lighter scarves, hats, or linen tote bags at upper hooks
- One “hero” woven basket or structured bag on the shelf, aligned with your palette
Shelf styling:
- A small rattan or ceramic tray for keys, wallets, and everyday items — keeps the visual surface clean
- One or two tiny ceramic planters (muted green, cream, or terracotta)
- A folded linen cloth or a single candle in a simple holder
Color palette for the rack and its surroundings:
- Warm neutrals: cream, warm white, soft sand
- Muted earthtones: sage, warm taupe, dusty rose
- Accent: one touch of matte black or aged brass — in the hooks, a small bowl, or a picture frame nearby
Avoid bright colors, glossy surfaces, and anything plastic. Every element near a Japandi coat rack should feel as if it was found rather than bought.
Quick Summary: Key Takeaways
- Choose natural wood — walnut, oak, ash, or pine — and finish with oil, stain, or whitewash rather than high-gloss paint
- Use matte black, brass, or bronze hooks; avoid plastic, chrome, or bright metals
- Embrace slight asymmetry in hook placement for an authentic Japandi feel
- Scale the rack to your hallway width; keep shelf depth under 20 cm in narrow spaces
- In humid climates, use oil-based finishes and rust-resistant hooks
- Keep 6–8 items maximum on the rack at any time; rotate by season
- Add a shallow plant shelf for biophilic warmth — succulents, air plants, or a single trailing green
- Renter-friendly options include over-the-door versions, leaning racks, and tension-pole systems
- A rattan tray on the shelf contains small items and keeps the surface visually calm
- A French cleat mount makes hanging and repositioning effortless
Conclusion
A DIY Japandi coat rack is one of the smallest changes that creates one of the largest shifts in how a home feels. It is the difference between walking through a door and arriving — that quiet, tangible sense that your space has been thought about, cared for, shaped with intention.
Wood, hooks, a narrow shelf. A few moments of building, a little patience with the finish, and suddenly your entryway holds the whole philosophy of Japandi in its grain: simplicity is not emptiness; it is space made for what matters.
We hope this guide becomes the beginning of something beautiful in your home. At ERYLIN, that is always the goal — not just design, but the feeling design leaves behind.
FAQs
What wood is best for a DIY Japandi coat rack?
Walnut and light oak are the most authentic choices — their warm, natural tones align perfectly with Japandi’s earthy palette. For a budget-friendly build, pine with a light whitewash or linseed oil finish looks equally intentional and costs a fraction of hardwood.
Can I make a Japandi coat rack without power tools?
Yes. A hand saw and miter box will make clean, straight cuts without a power saw. Many hardware stores also cut boards to size for you, meaning a basic cordless drill and some sandpaper may be all you need for the actual build.
How do I mount a coat rack so it does not fall?
Always locate and use wall studs when possible — drive at least two screws into studs for a secure hold. If studs are not available, use heavy-duty wall anchors rated for the weight you expect the rack to carry. A French cleat system adds extra security and makes the rack easy to remove or reposition.
What size should a Japandi coat rack be for a small entryway?
For hallways under 100 cm wide, aim for a rack between 60–75 cm in width with a shelf no deeper than 12–15 cm. Mount hooks at around 150–160 cm from the floor so coats hang freely without dragging.
What finish is best for a coat rack in a humid climate?
In warm, humid climates, choose an oil-based stain or tung oil over water-based products — these penetrate the wood rather than sitting on the surface, offering better moisture resistance. For hooks, select bronze, brass, or powder-coated matte black metal, as these resist rust far better than bare iron or standard chrome.