Table of Contents
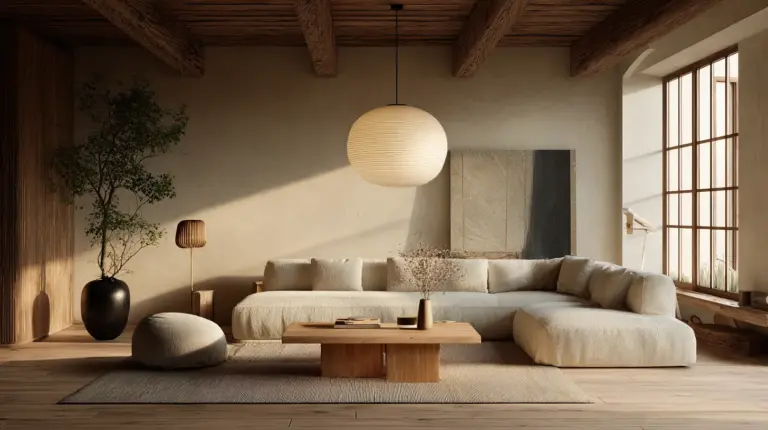
There’s something profoundly soothing about a room that glows rather than glares. A space where light doesn’t announce itself but instead settles softly into corners, wraps around natural textures, and invites you to breathe a little deeper.
This is the essence of Japandi lighting—a beautiful fusion of Japanese minimalism and Scandinavian hygge that transforms your living room into a sanctuary. And the best part? You don’t need a designer’s budget to create it.
With a few thoughtful DIY projects, some natural materials, and an understanding of how light shapes emotion, you can craft a living room that feels like a warm embrace at the end of every day. Let’s explore how to bring this calm, layered luminosity into your home, one mindful project at a time.
Understanding the Soul of Japandi Lighting
Before we pick up our tools, let’s understand what makes Japandi lighting so distinctive. It’s not just about fixtures—it’s about creating a feeling.
Japandi style marries the Japanese wabi-sabi philosophy (finding beauty in imperfection) with Scandinavian coziness. The result is lighting that feels organic, intentional, and deeply calming. Think diffused glows instead of direct beams, natural materials over synthetic finishes, and layers that allow you to adjust the mood throughout the day.
The color temperature matters enormously here. Warm-toned LEDs between 2700K and 3000K create that honey-golden glow that makes everything feel softer. Cooler bulbs—those above 4000K—disrupt the serene atmosphere you’re trying to cultivate, so choose your bulbs as carefully as you’d choose your furniture.
The Art of Layered Lighting: Building Depth and Dimension
Great Japandi lighting isn’t about one stunning chandelier. It’s about creating layers that work together like instruments in a quiet symphony.
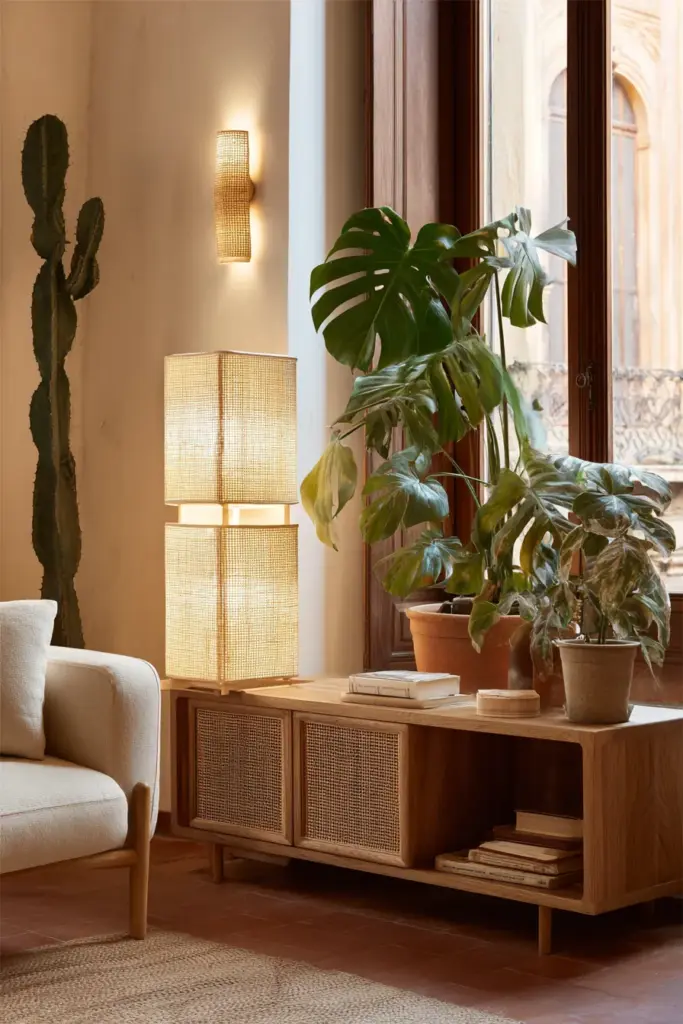
Ambient Lighting: Your Foundation
Start with your base layer—the overall illumination that fills the room. For DIY Japandi projects, consider transforming a simple ceiling fixture with natural materials.
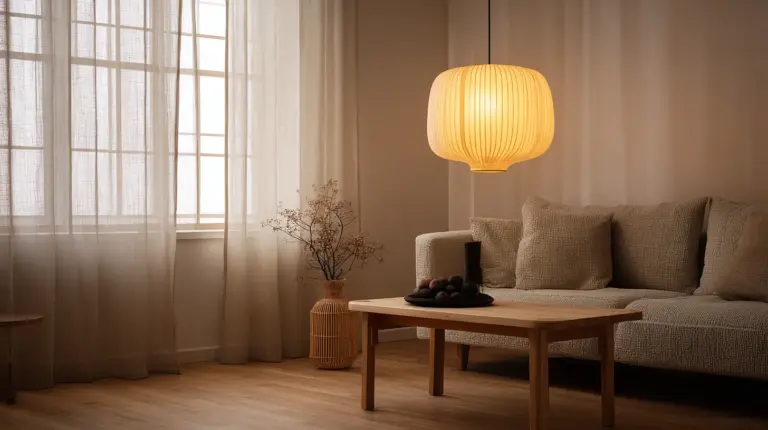
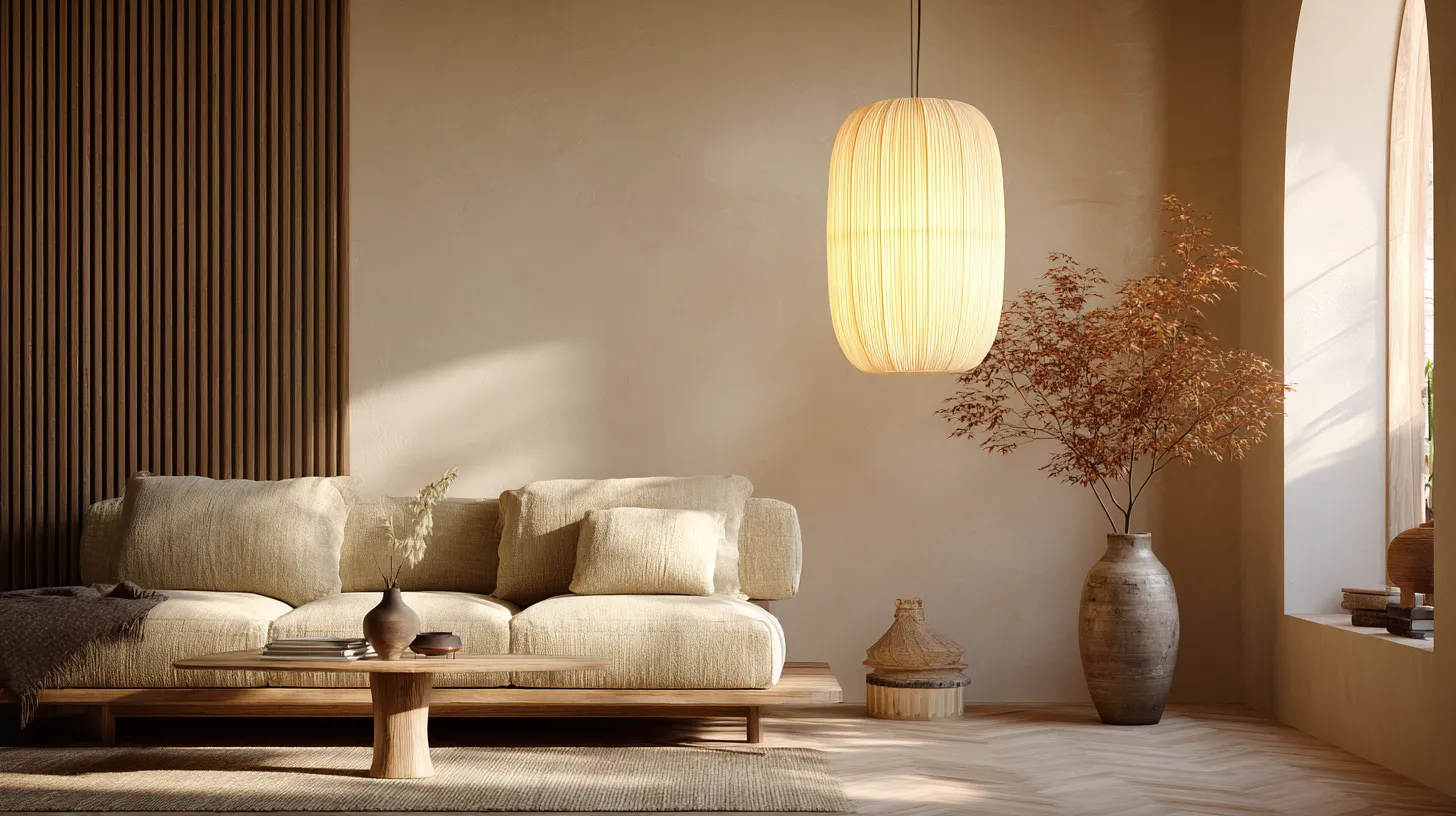
A rice paper lantern is perhaps the most iconic Japandi choice. You can purchase affordable paper lanterns from local craft stores (SM or even Divisoria in Manila carries them) and customize them. Wrap them partially with linen fabric for texture, or paint delicate wabi-sabi-inspired brush strokes along the edges.
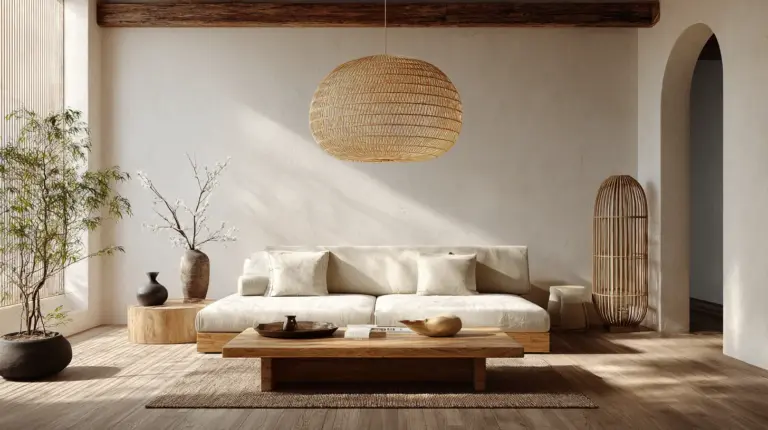
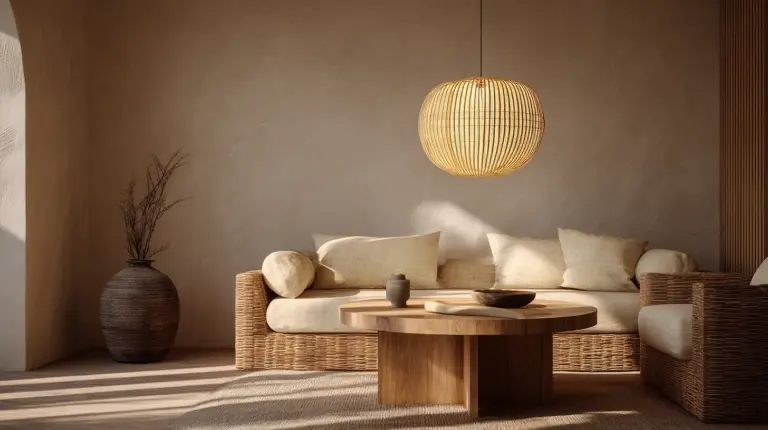
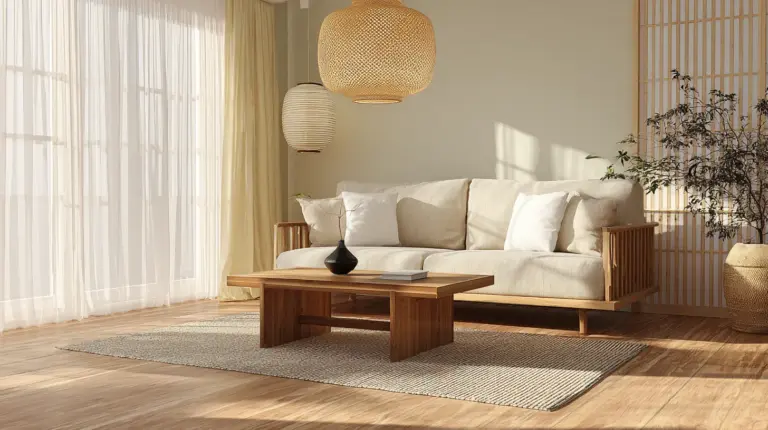
Alternatively, create a pendant using rattan or bamboo strips woven around a simple bulb holder. The woven texture casts beautiful, organic shadows across your ceiling.
Task Lighting: Functional Beauty
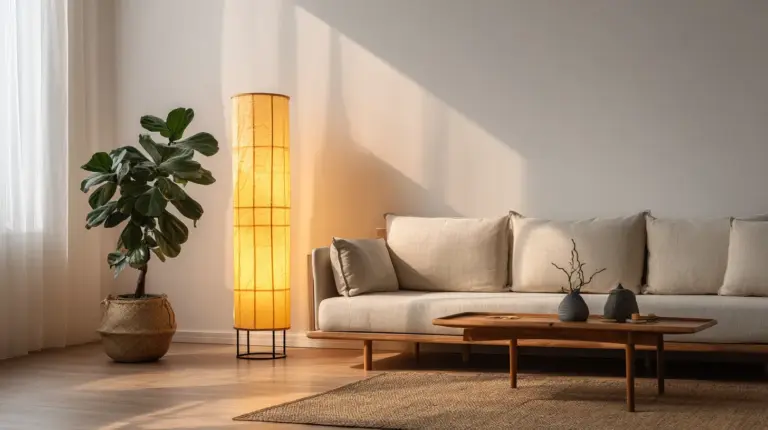
Task lighting serves a purpose—reading, working, creating—but in Japandi style, it should still feel graceful. Floor lamps with natural wood bases and linen shades are perfect here.
DIY your own by upcycling a wooden tripod or branch. Sand it smooth, apply a natural oil finish, and attach a simple lamp kit from your local hardware store. Top it with a drum shade made from natural linen or even handmade washi paper for that authentic Japanese touch.
Position these near your reading nook or beside your sofa, creating pools of focused light that don’t overwhelm the space.
Accent Lighting: The Poetry Layer
This is where magic happens. Accent lights add drama, warmth, and personality without being practical—they’re purely about feeling.
Wall sconces made from bamboo, uplights that graze a textured wall, or small LED strips hidden behind floating shelves all qualify. You can craft simple wall sconces using bamboo placemats rolled into cylinders, secured with natural twine, and fitted with warm LED candles inside.
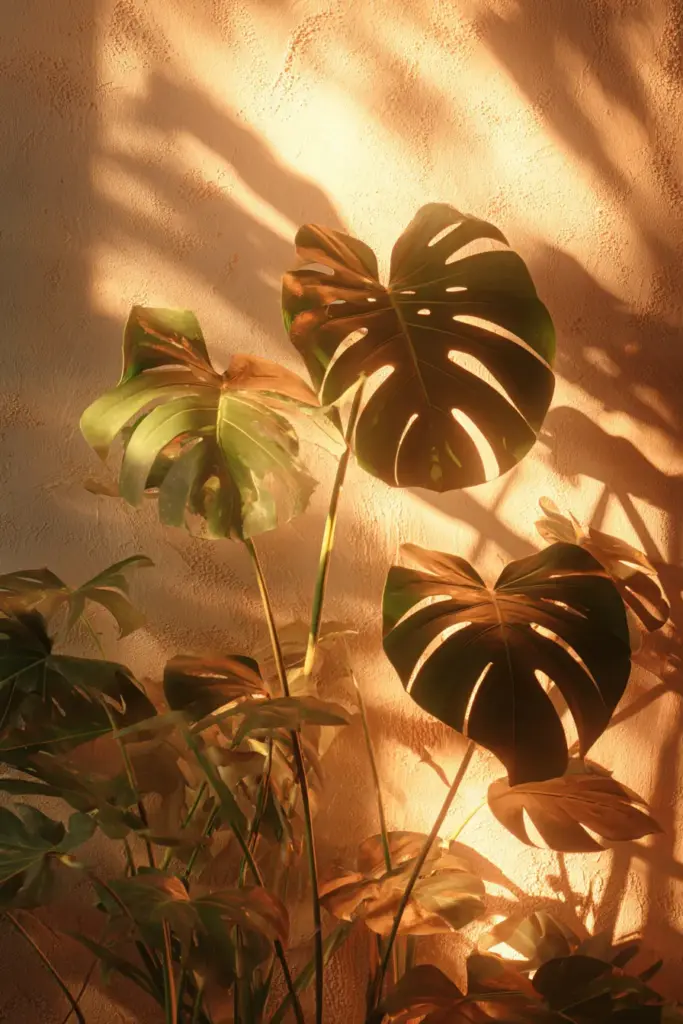
Another beautiful option: place warm-toned LED strips behind plants like monstera or snake plants. The backlit leaves create stunning silhouettes that bring the biophilic element of Japandi to life.
DIY Project Spotlight: Creating Your Own Washi Paper Pendant
Let’s walk through one complete project that embodies everything Japandi represents.
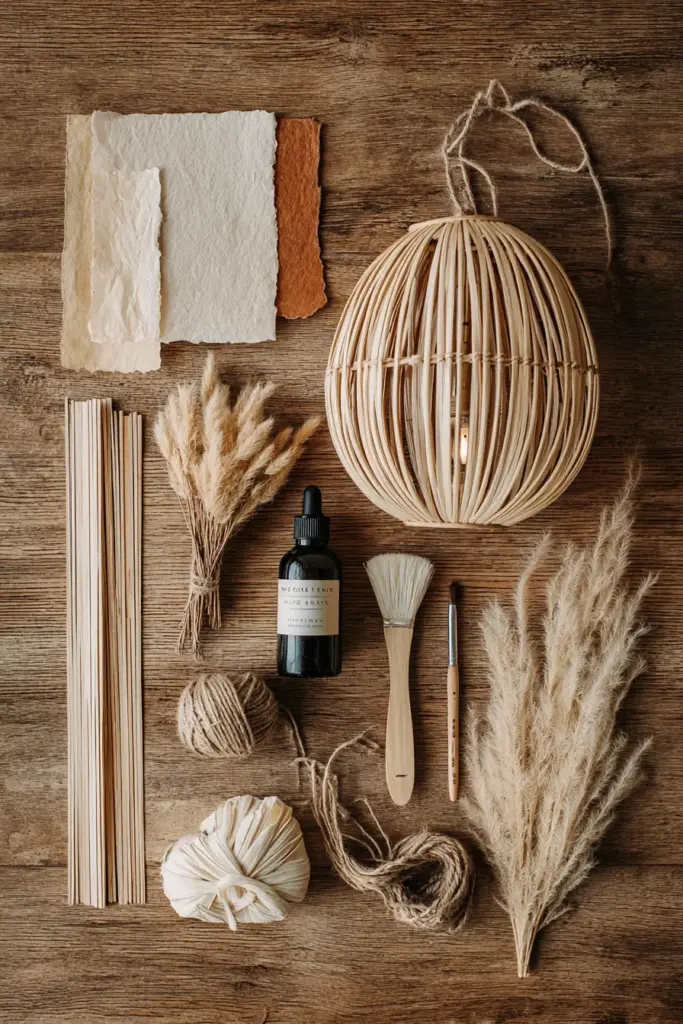
Materials You’ll Need
- Round paper lantern frame (available at craft stores, approximately ₱200-400)
- Washi paper or rice paper sheets (₱150-300)
- Mod Podge or diluted white glue
- Warm LED bulb (2700K, ₱150-250)
- Pendant cord kit (₱300-500)
- Soft brush
- Natural twine or thin bamboo strips (optional)
Step-by-Step Instructions
Step 1: Prepare your workspace with newspaper or cloth to catch any drips.
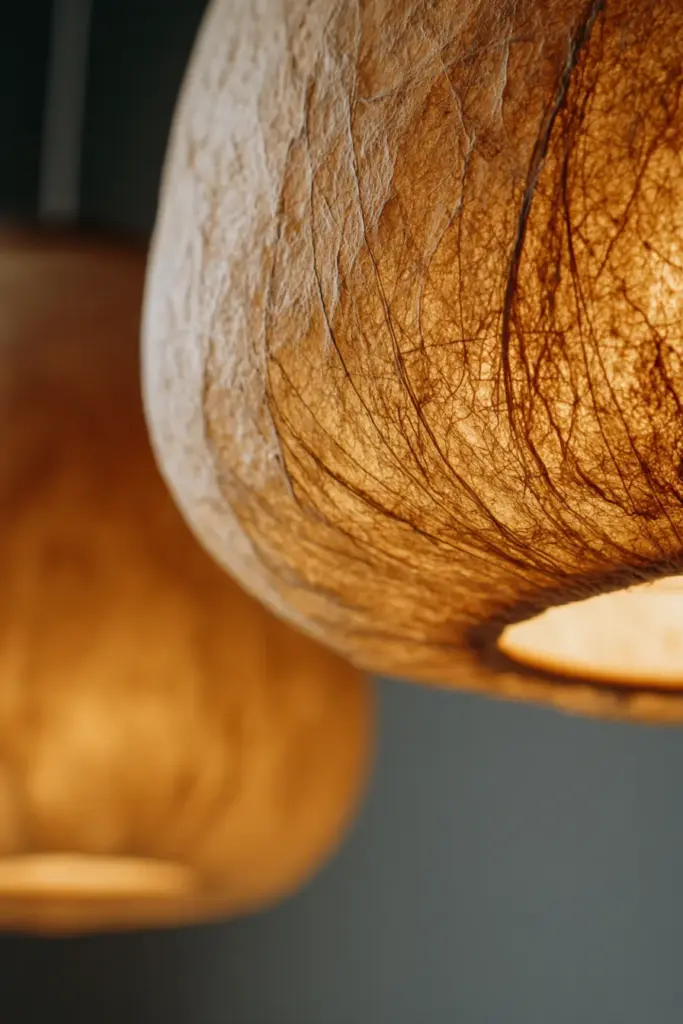
Step 2: Cut or tear your washi paper into organic shapes—don’t aim for perfection. The irregular edges create that wabi-sabi beauty.
Step 3: Mix your adhesive with a little water for easier application. Using your soft brush, apply a thin layer to a section of your lantern frame.
Step 4: Gently press washi paper pieces onto the adhesive, overlapping slightly. The paper will become translucent when wet, so you can see how the light will filter through.
Step 5: Continue layering until your entire lantern is covered. Some areas can have more layers for varied opacity—this creates visual interest when lit.
Step 6: Allow to dry completely (6-8 hours). Once dry, you can add subtle details: thin bamboo strips glued vertically for a kumiko-inspired pattern, or leave it beautifully simple.
Step 7: Install your warm LED bulb and pendant kit. Hang at varying heights—Japandi style embraces asymmetry.
Cost breakdown: Approximately ₱1,000-1,700 total—a fraction of what you’d pay for a designer piece.
Upcycling Existing Fixtures: Transformation on a Budget
You don’t always need to start from scratch. Sometimes your existing lamps just need a Japandi makeover.
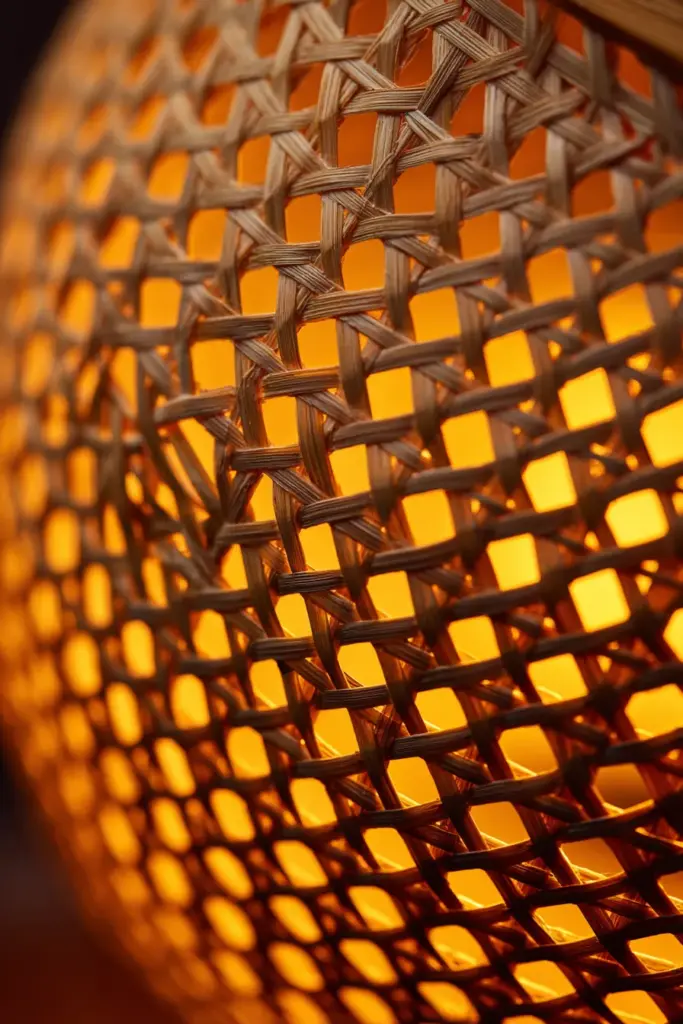
Rattan Shade Upgrade
Take a basic IKEA lamp and wrap the shade with natural rattan webbing (available at furniture supply shops in Divisoria for around ₱200 per meter). Secure with hot glue along the seam. The transformation is stunning—what was once generic becomes warmly textured and organic.
Wood Base Refinishing
If you have metal or plastic lamp bases, consider wrapping them with jute rope or painting them in muted Japandi tones: warm taupe, soft charcoal, or natural wood stain. Sand any glossy finishes first for better adhesion.
The goal is to bring every element back to nature—wood, paper, fiber, stone. These materials don’t just look beautiful; they feel right in a Japandi space.
Smart Solutions for Renters: No-Drill Dimmer Integration
One of the most important aspects of Japandi lighting is adjustability. The ability to dim lights transforms the same space from morning vitality to evening tranquility.
If you’re renting in Silang or anywhere in the Philippines, drilling isn’t always an option. Here’s how to add dimming capability without permanent changes.
Plug-in Dimmer Switches
These genius devices sit between your lamp and the wall outlet. Simply plug your lamp into the dimmer, then plug the dimmer into your wall socket. No installation required, and you can take them with you when you move (approximately ₱300-600 from hardware stores).
Smart Bulbs for App Control
Philips Hue or similar smart LED bulbs allow you to control brightness and even color temperature from your phone. This is perfect for creating different moods—brighter and cooler for productive mornings, warmer and dimmer for cozy evenings.
DIY Hack: You can create a “sunrise routine” where your lights gradually brighten in the morning and dim in the evening, mimicking natural light patterns. This supports your circadian rhythm while maintaining that essential Japandi connection to nature.
Material Sourcing Guide for Filipino DIY Enthusiasts
Finding authentic materials locally makes your projects more sustainable and budget-friendly.
| Material | Local Sources | Approximate Cost |
|---|---|---|
| Rattan webbing/strips | Divisoria, Blumentritt furniture suppliers | ₱200-500/meter |
| Washi/rice paper | National Bookstore, Daiso, craft stores | ₱150-400/pack |
| Warm LED bulbs (2700K) | SM Home, Ace Hardware, Wilcon | ₱150-300/bulb |
| Bamboo poles/strips | Local hardware, gardening centers | ₱100-300/piece |
| Linen fabric | Divisoria fabric section, Landmark | ₱200-400/yard |
| Lamp cord kits | Ace Hardware, Handyman | ₱300-600/kit |
| Natural jute/twine | SM Home, True Value | ₱100-250/roll |
Integrating Local Plants
Don’t overlook the biophilic potential of Philippine flora. Monstera deliciosa, snake plants, and pothos are widely available and look stunning when backlit with warm LEDs. Purchase from local plant markets in Tagaytay (if you’re in Silang) or Quezon City for budget-friendly options.
Position plants near light sources so their shadows dance on walls. This living element is deeply Japandi—bringing the outside in, celebrating natural forms.
Common DIY Pitfalls and How to Avoid Them
Even with the best intentions, some mistakes can disrupt your Japandi vision. Let’s address them before they happen.
Mistake #1: Cool-Toned Bulbs
The fastest way to ruin Japandi ambiance is with bright white or blue-toned bulbs. These create clinical, harsh environments. Always check the Kelvin rating—stay between 2700K-3000K without exception.
Mistake #2: Overhead-Only Lighting
Relying solely on ceiling lights creates flat, uninviting spaces. Even if you only add one floor lamp and one table lamp, you’ve already created more depth and warmth.
Mistake #3: Yellowing Paper Shades
Rice paper and washi can yellow over time, especially with heat. Use LED bulbs exclusively (they run much cooler), and ensure some ventilation around paper fixtures. If yellowing occurs, it actually enhances the wabi-sabi aesthetic—embrace the patina.
Mistake #4: Ignoring Natural Light
Japandi celebrates daylight. Pair your DIY lighting with sheer linen curtains that filter harsh sun into soft, diffused light. Mirrors positioned opposite windows amplify this natural glow without electricity.
Sustainability Meets Style: The Environmental Case for DIY
Creating your own Japandi lighting isn’t just beautiful—it’s responsible.
When you upcycle an existing lamp instead of buying new, you prevent one more item from entering a landfill. When you choose natural materials like bamboo and paper over plastic, you’re supporting biodegradable cycles.
Carbon footprint consideration: A mass-produced imported lamp might travel thousands of kilometers before reaching your home. Your DIY version, crafted from locally-sourced materials, has a fraction of that environmental impact.
Looking ahead to 2026 trends, consider experimenting with solar-powered lanterns for outdoor-indoor transition spaces. These charge during the day and provide gentle ambient light in the evening—completely off-grid and perfectly aligned with Japandi’s respect for nature.
Creating Zones: Lighting Different Living Room Areas
Your living room likely serves multiple purposes. Lighting should adapt to each zone while maintaining overall harmony.
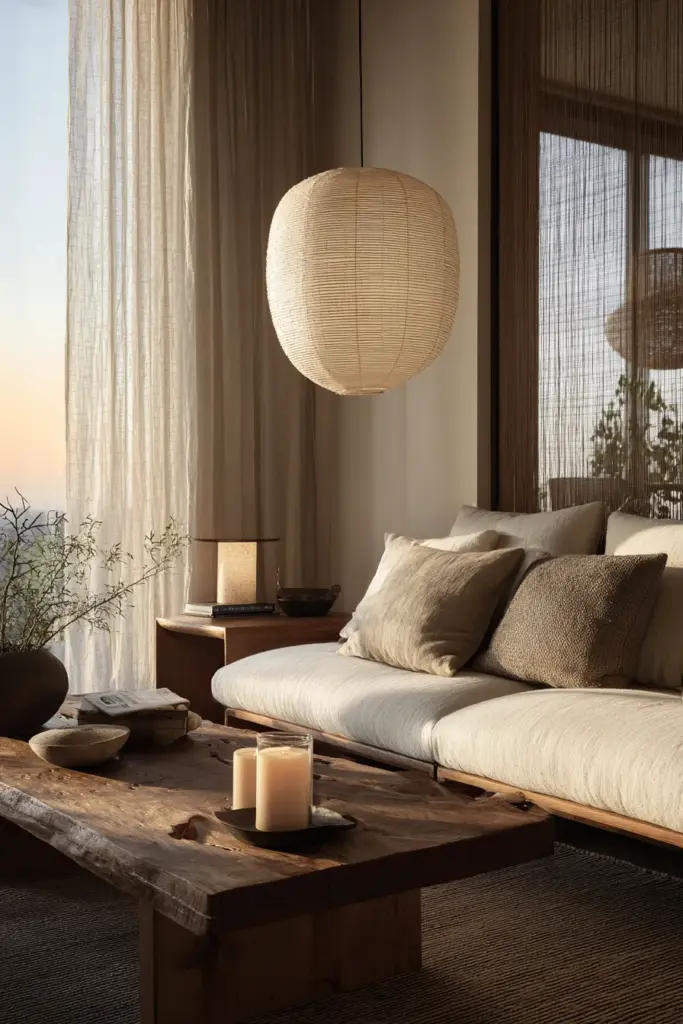
The Conversation Area
Around your sofa, create warm pools of light with table lamps on side tables. A floor lamp arching over the seating area adds drama. All bulbs should be dimmable to adjust for different occasions—bright for game night, low for intimate conversations.
The Reading Nook
If you have a corner chair or window seat, give it dedicated task lighting. A simple DIY arm lamp with adjustable positioning works beautifully. You can create one by mounting a bamboo rod on a pivot joint (hardware stores carry these components affordably).
Display Shelving
Floating shelves displaying ceramics, books, or plants benefit from integrated LED strips. Hide these strips along the underside of shelves for an uplighting effect that highlights objects without glare.
The key is variety in height, intensity, and purpose—all working together to create a cohesive, layered environment.
Before & After: Real Budget Transformations
Let’s look at what’s possible with a modest investment.
Scenario: Standard condo living room in Silang, starting with one harsh overhead fluorescent fixture.
Before: Flat lighting, no ambiance, ₱0 additional investment.
After – Budget DIY Approach (₱4,500 total):
- DIY washi paper pendant (₱1,500)
- Upcycled floor lamp with rattan shade (₱1,200)
- Two plug-in dimmers (₱600)
- LED strip for shelf backlighting (₱700)
- Smart bulbs for existing fixtures (₱500)
Result: A space transformed from sterile to sanctuary, with multiple lighting layers, full dimming control, and natural materials throughout. The room now supports morning yoga, afternoon reading, and evening relaxation—all through lighting adjustments.
Maintenance: Keeping Your DIY Lighting Beautiful
Natural materials require gentle care, but they’re surprisingly durable when treated right.
Weekly Care
Dust washi paper fixtures gently with a soft, dry cloth or feather duster. Never use wet cleaning—paper will absorb moisture and potentially stain.
Monthly Attention
Check all electrical connections to ensure nothing has loosened. Tighten cord grips if needed. Inspect for any signs of heat damage near bulbs (though LEDs should prevent this).
Seasonal Refresh
In humid Filipino climate, natural fibers can absorb moisture during rainy season. If you notice any mildew, remove the shade and let it air in sunlight for a few hours. Prevention is best—ensure good room ventilation.
Rattan and bamboo benefit from occasional treatment with furniture oil or coconut oil—just a light coating preserves their color and prevents drying.
Quick Reference Checklist: Your Japandi Lighting Essentials
Before you begin your DIY journey, ensure you have these fundamentals:
- Bulb temperature: 2700K-3000K warm LED only
- Material palette: Natural wood, bamboo, rattan, paper, linen, stone
- Lighting layers: At least three types (ambient, task, accent)
- Dimming capability: Dimmers or smart bulbs for every major light source
- Natural light support: Sheer curtains, strategic mirrors
- Plant integration: At least one backlit or spotlit plant
- Color palette: Neutral bases (cream, taupe, charcoal, natural wood tones)
- Asymmetry: Varying heights and positions rather than perfect symmetry
- Quality over quantity: Better to have three beautiful lights than seven mediocre ones
A Soft Closing: Light as a Daily Ritual
Creating Japandi lighting in your living room is more than decoration. It’s an invitation to live more intentionally.
Each evening when you dim the lights, you’re choosing calm over chaos. When you switch on that handmade washi pendant, you’re celebrating the beauty of imperfection. And when warm light filters through natural materials, casting gentle shadows that shift with the breeze, you’re connecting with something ancient and essential.
Your hands crafted these lights. Your vision transformed simple materials into sources of comfort. And now, every time you enter this room, you’ll feel the difference—not just seeing it, but feeling it in your shoulders dropping, your breath deepening, your mind quieting.
This is the gift of Japandi lighting done right. Welcome home.
Frequently Asked Questions
What’s the ideal color temperature for Japandi living room lighting?
Stick to warm LEDs between 2700K and 3000K. This creates the honey-golden glow essential to Japandi’s cozy atmosphere. Anything cooler (4000K+) feels too clinical and disrupts the calm, natural vibe. Always check the Kelvin rating before purchasing bulbs.
Can I create Japandi lighting on a budget under ₱5,000?
Absolutely. Focus on upcycling existing fixtures, sourcing materials locally from places like Divisoria, and starting with one or two key DIY projects like a washi paper pendant and rattan shade upgrade. You can create a complete layered lighting scheme for ₱3,500-4,500 if you shop smart.
How do I layer lighting in a small Japandi living room?
Even in compact spaces, aim for three layers: one soft overhead ambient light (paper pendant), one floor or table lamp for task lighting near seating, and one accent element like LED strips behind shelves or plants. Keep fixtures minimal in design so they don’t visually clutter the space.
What materials work best for DIY Japandi lamp shades?
Rice paper, washi paper, rattan webbing, natural linen, and bamboo are all excellent choices. These materials diffuse light beautifully rather than blocking it, creating that signature warm glow. Avoid synthetic fabrics or plastics—they lack the organic quality Japandi requires.
How can renters add dimmers without drilling or permanent installation?
Use plug-in dimmer switches that sit between your lamp and wall outlet (no installation needed), or invest in smart LED bulbs controlled via phone app. Both options are fully portable and give you complete control over brightness and ambiance without modifying your rental space.