Table of Contents
There is something quietly transformative about building your own furniture. When you shape a piece of wood with your own hands, smooth it with care, and finish it with intention, it carries an energy that no store-bought piece ever quite matches. That is exactly the spirit of Japandi — a design philosophy born from the meeting of Japanese wabi-sabi and Scandinavian hygge, where beauty lives in simplicity, imperfection, and honest materials.
A DIY Japandi side table is one of the most accessible entry points into this world. It asks for very little — a few pieces of wood, a quiet afternoon, and a willingness to slow down. What it gives back is a piece that feels like it has always belonged in your home.
Whether you are furnishing a small apartment bedroom or styling a living room corner, this guide walks you through everything: the right wood, the ideal dimensions, the best matte finish, and the styling touches that make a Japandi side table feel complete. We have also included a full cut list, tool guide, and a beginner-friendly construction sequence — because this is the tutorial that most Japandi inspiration boards forget to write.
Pull up a chair. Let us build something beautiful together.
What Makes a Side Table Truly Japandi
Before you reach for the saw, it helps to understand what separates a Japandi side table from a generic minimalist one. The difference is subtle but felt.
The Design Language
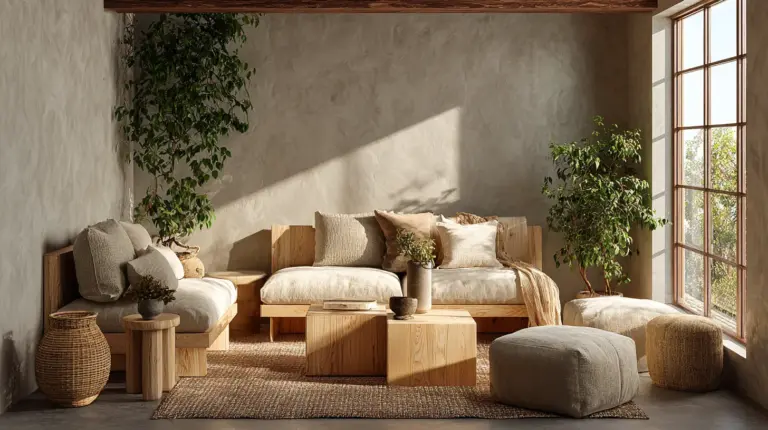
A Japandi side table carries clean horizontal lines, a low-to-the-ground silhouette, and a palette that whispers rather than shouts. Think warm ash, pale oak, or soft birch — woods that look like they were kissed by morning light rather than lacquered under a showroom bulb.
The joinery leans honest. Visible tenons, softened edges, and the gentle imperfection of hand-sanding are not flaws here — they are features. In Japandi design, the mark of the maker is a form of beauty.
Japandi vs. Scandinavian vs. Japanese: What Is the Difference?
| Style | Key Mood | Wood Palette | Finish | Shape Tendency |
|---|---|---|---|---|
| Scandinavian | Light, airy, functional | Light pine, birch | Semi-matte, sometimes painted white | Tapered legs, clean angles |
| Japanese | Spare, grounded, meditative | Dark walnut, hinoki, bamboo | Matte, oiled, raw | Low, geometric, asymmetric |
| Japandi | Warm, calm, imperfect-perfect | Oak, ash, birch, light pine | Matte, water-based, warm-neutral | Low profile, soft curves or clean lines |
Japandi borrows the warmth of Scandinavian wood tones and pairs it with the restraint and groundedness of Japanese minimalism. The result feels both livable and meditative — cozy without being cluttered.
Best Wood for a DIY Japandi Side Table
The wood you choose will define the entire mood of your table. Choose well, and the piece practically styles itself.
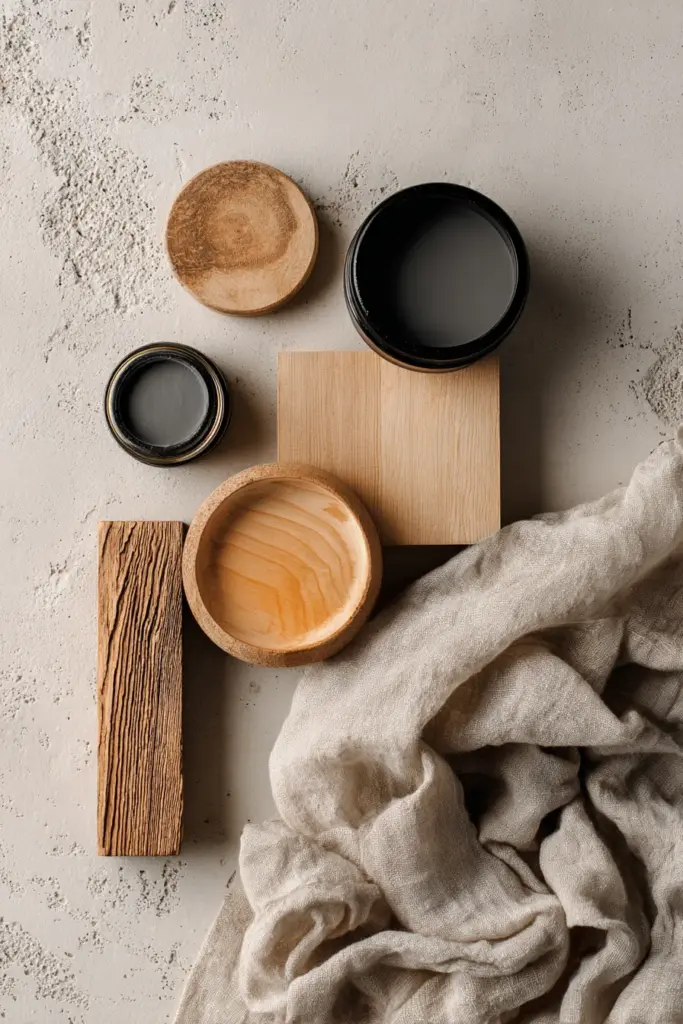
Top Wood Species for Japandi Furniture
Oak is the gold standard. Its open grain and warm honey tone deepen beautifully with a matte oil finish. It is durable, widely available, and takes stain evenly. White oak in particular has a subtle grey-green undertone that reads as effortlessly Japandi.
Ash is a close second — slightly lighter, with a fine, flowing grain that photographs like a dream. It is also a sustainable choice in many regions.
Birch plywood (particularly Baltic birch) is ideal for beginner builders. It is stable, affordable, and the edge grain reveals those characteristic stacked layers that have become a signature of modern Japandi furniture.
Light pine is budget-friendly and easy to work with hand tools. New pine can look too “yellow” fresh off the shelf, but a grey-tinted matte stain or a wash of diluted white paint softens it into something far more elegant.
Avoid: tropical hardwoods with heavy grain, anything pre-lacquered, or wood with a high-gloss finish out of the mill. Japandi does not want to shine. It wants to glow.
Japandi Side Table Dimensions: Getting the Scale Right
One of the most common mistakes in small-space furniture is scale. A side table that is too tall overwhelms a low sofa. One that is too deep crowds a narrow hallway. Getting the dimensions right is a quiet act of respect for your room.
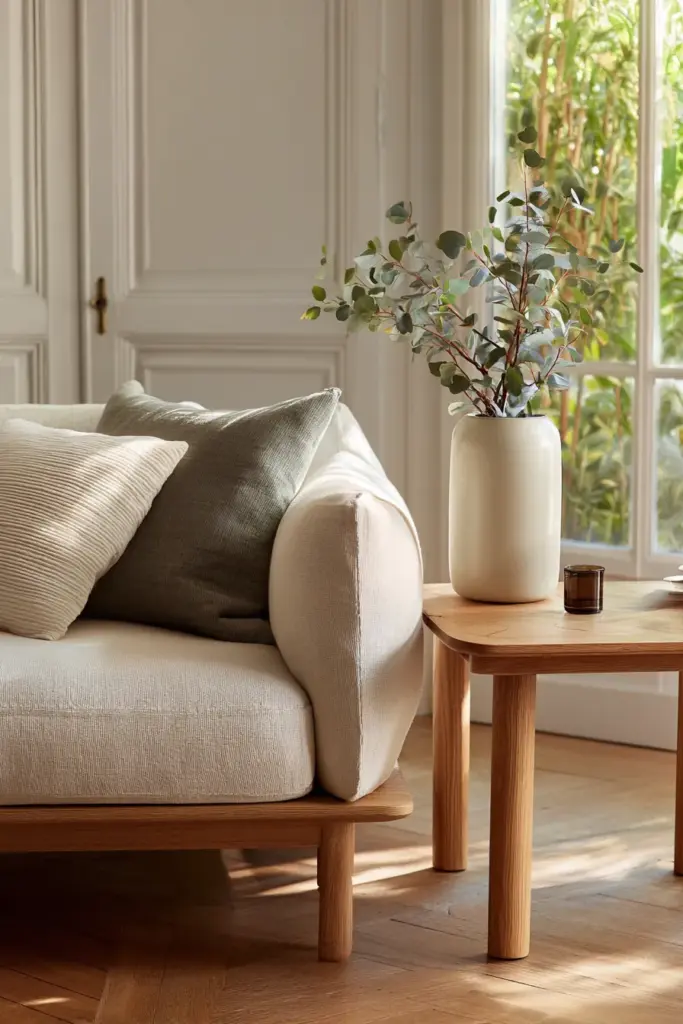
Recommended Dimensions by Use
| Table Type | Height | Top Surface | Best For |
|---|---|---|---|
| Bedside / Japandi bedside table | 45–55 cm | 35 × 35 cm | Low-profile beds, mattress-on-floor setups |
| Living room side table | 55–65 cm | 40 × 40 cm | Beside a sofa arm (standard sofa arm height: ~60–65 cm) |
| Entryway console / accent | 70–75 cm | 25 × 60 cm | Narrow entryways, beside armchairs |
| Compact Japandi side table | 50 cm | 30 × 30 cm | Small apartments, tight corners |
A good rule of thumb: your Japandi side table should sit within 5 cm of your sofa or bed arm height. This keeps drinks, books, and ceramics within natural reach without awkward stretching.
Tools and Materials You Will Need
You do not need a workshop to build this table. The design below is intentionally simple — achievable with hand tools in an afternoon.
For a No-Power-Tools Build
- Hand saw or pull saw
- Sandpaper: 80, 120, 180, and 220 grit
- Wood glue (PVA or polyurethane)
- Clamps (at least 4, corner clamps ideal)
- Tape measure and pencil
- Square
Optional (Speeds Up the Build)
- Circular saw or jigsaw
- Random orbital sander
- Drill with countersink bit
- Pocket hole jig (for hidden joinery)
Materials List (Standard Living Room Side Table, 40 × 40 × 60 cm)
| Component | Material | Dimensions | Qty |
|---|---|---|---|
| Tabletop | 18 mm oak or birch plywood | 400 × 400 mm | 1 |
| Legs | 40 × 40 mm square oak dowel or timber | 560 mm | 4 |
| Shelf (optional) | 18 mm plywood | 320 × 320 mm | 1 |
| Apron rails | 18 × 60 mm timber | 364 mm | 4 |
| Wood glue, sandpaper, finish | — | — | As needed |
Step-By-Step: How to Build Your DIY Japandi Side Table
Step 1 — Cut Your Pieces
Mark and cut all components according to the cut list above. If using a hand saw, score your cut line with a sharp knife first — this prevents splintering and gives you a cleaner edge that needs less sanding.
Take your time on the legs. Consistent leg length is what separates a stable table from a wobbly one. Cut all four at once if possible by clamping them together.
Step 2 — Sand Before Assembly
This is the step most beginners skip, and it is the one that matters most for a Japandi aesthetic. Begin with 80 grit to remove any mill marks or rough surfaces. Progress through 120, then 180, finishing with 220 grit for a surface that feels like warm skin.
Pay particular attention to the edges. Slightly round every edge and corner with your sandpaper — just enough to soften the sharpness. This is the detail that gives handmade Japandi furniture its characteristic gentleness.
Step 3 — Assemble the Leg Frame
Attach the apron rails to the legs using wood glue and clamps. If you have a pocket hole jig, drive two pocket screws per joint from the inside of the apron — they will be completely hidden once the top is on.
Square up the frame carefully before the glue sets. Use a large carpenter’s square, or measure diagonally corner to corner — both diagonals should be equal.
Allow to dry fully: at least 2 hours for PVA, 30 minutes for polyurethane glue with good clamping pressure.
Step 4 — Attach the Tabletop
Apply wood glue to the top edge of each apron rail. Set the tabletop in place, centred evenly on all sides. Clamp or weight it down and let it cure. For extra security, drill countersunk screws up through the apron rails into the underside of the top — these will be invisible from above.
If you are adding a lower shelf, cut four shelf support cleats (small strips of timber) and glue and nail them to the inside of the apron rails at the desired height. Drop the shelf panel in place.
Step 5 — Final Sand and Finish
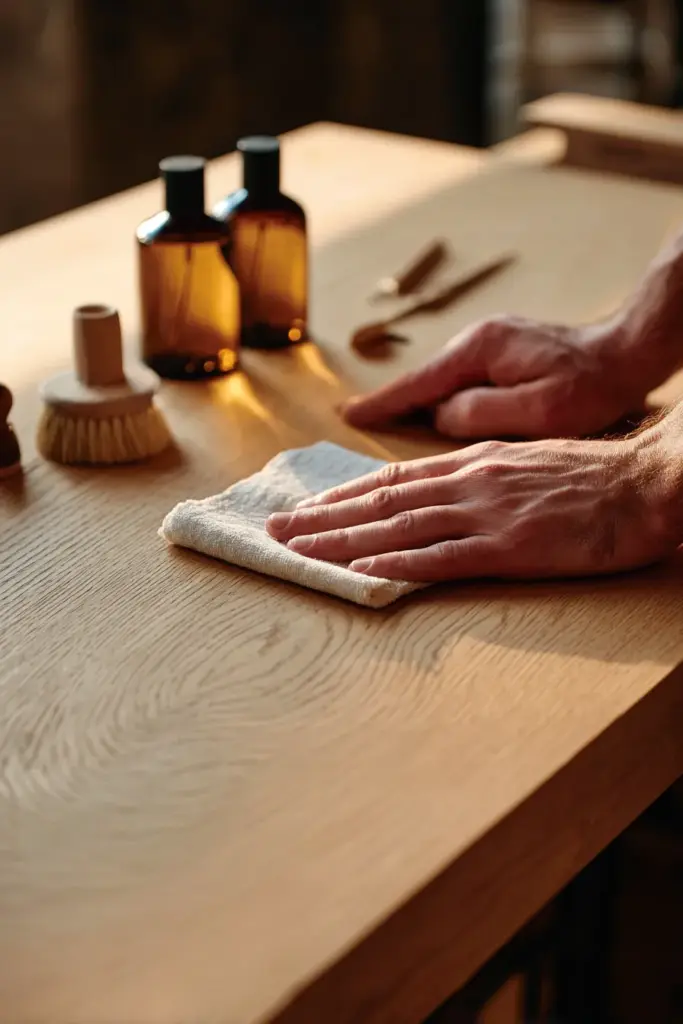
Once the glue is fully cured (ideally overnight), do a final pass with 220 grit over all surfaces, following the grain. Wipe away all dust with a slightly damp cloth, then let it dry completely.
For a true Japandi matte finish, we recommend:
- Water-based matte varnish (low-VOC) for durability with a natural look
- Hard wax oil (such as Rubio Monocoat or Osmo Polyx) for a deeply tactile, natural-feeling surface that is still protective
- Raw linseed oil diluted 50/50 with mineral spirits for a very minimal, almost untreated look that deepens beautifully over time
Apply in thin coats with a lint-free cloth, following the grain. Two coats are usually sufficient. Sand very lightly with 400 grit between coats for an ultra-smooth result.
Avoid polyurethane with a gloss or semi-gloss sheen. Japandi does not want a plastic surface — it wants wood that breathes.
How to Age New Pine to Look More Japandi
If pine is your material of choice, a few techniques will take it from “fresh lumber” to “found in a Kyoto workshop.”
A grey-toned matte stain (1 part stain to 3 parts water, applied and wiped back immediately) washes out the yellow and gives pine the cool, muted quality of aged timber. Apply along the grain, then wipe immediately with a dry cloth to control intensity.
You can also try steel wool dissolved in white vinegar (let it sit overnight until dissolved, then strain). Brush this onto pine and watch it react with the tannins — the result is a beautiful weathered grey. Seal with matte wax once dry.
Natural imperfections — small knots, slight colour variation, subtle grain irregularities — are not things to hide in Japandi design. They are exactly what makes the piece feel alive.
Japandi Side Table Styling Formulas
A beautiful table deserves a beautiful surface. Japandi styling follows one quiet principle: less, but better. Here are three plug-and-play formulas.
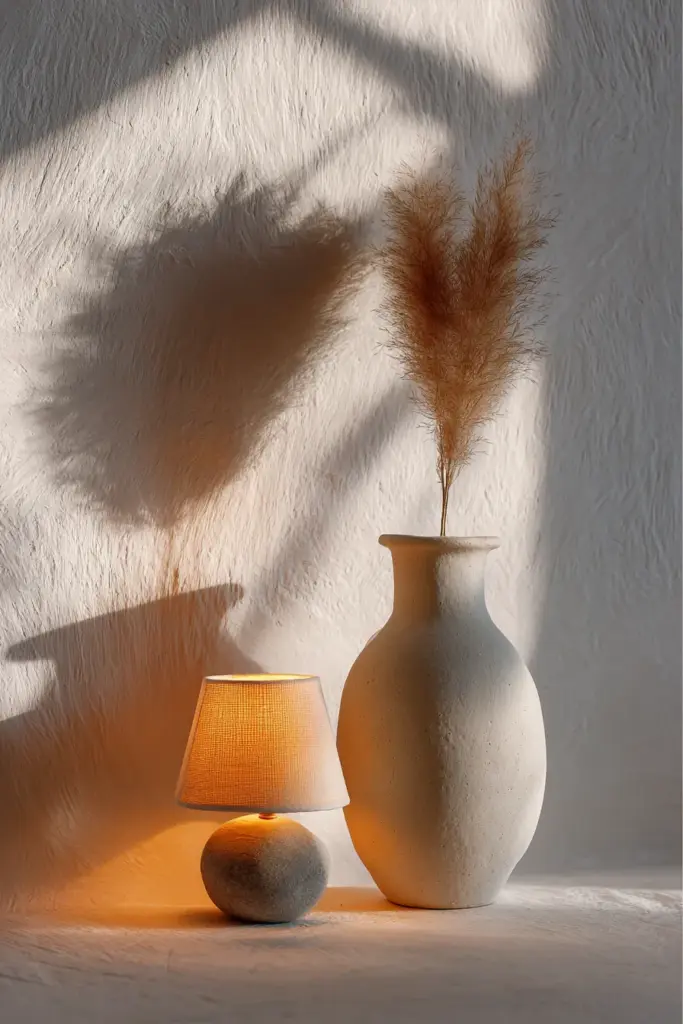
The Classic Japandi Trio (Living Room)
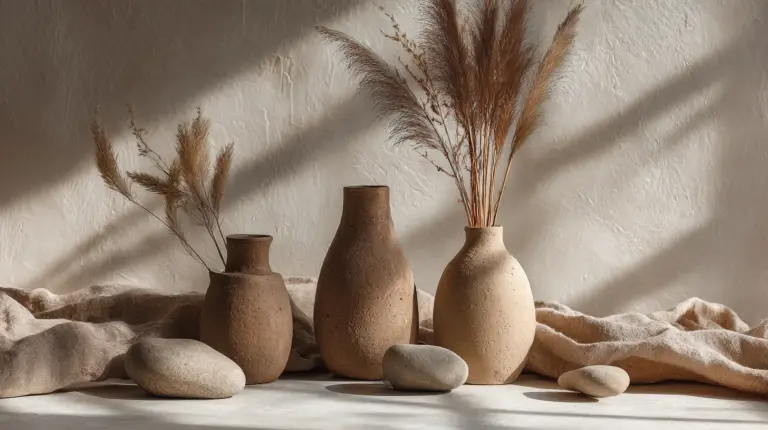
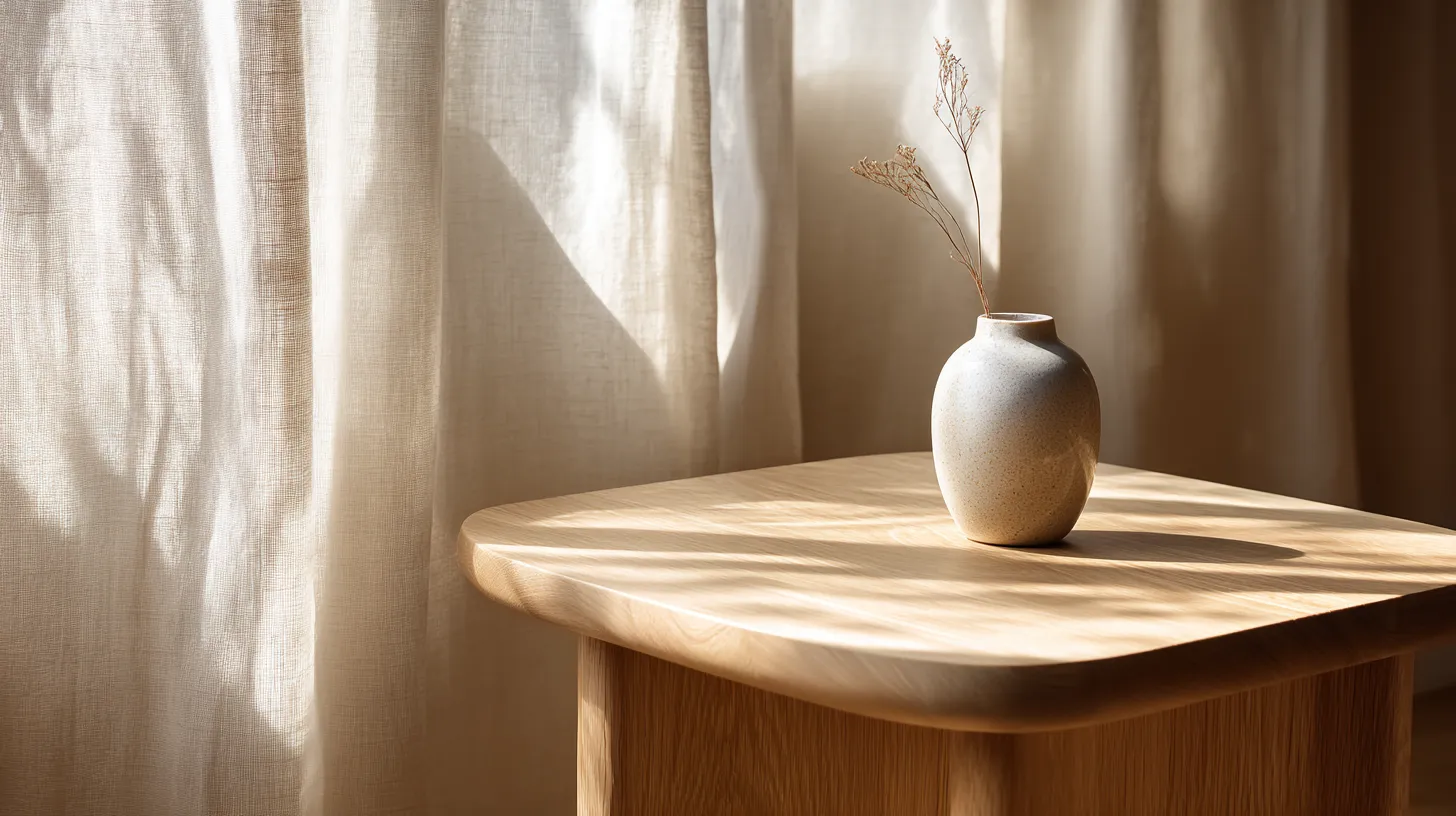
- 1 low ceramic vase with a single stem (dried pampas, eucalyptus, or a single branch)
- 1 small art object or stone (a river pebble, a small sculpture, a rough ceramic bowl)
- 1 ambient light source (a small hand-thrown ceramic lamp or a flat stone diffuser with a tea light)
That is it. Three items, each with a different texture and height. Negative space is the fourth element.
The Bedside Japandi Setup
- 1 slim table lamp with a linen or paper shade
- 1 small tray (lacquered or raw wood) to corral your phone, glasses, or lip balm
- 1 book, placed flat or gently leaning
Resist the urge to add more. The restraint is the style.
The Entryway Accent
- 1 small pot with a slow-growing plant (succulents, moss balls, or a trailing pothos in a plain terracotta pot)
- 1 decorative object that holds keys or mail
- 1 textural element — woven grass, a folded linen cloth, a smooth wood ring
Each of these setups follows the Japandi three-item rule: one natural element, one functional element, one purely beautiful element. After that, stop.
Renter-Friendly and Small-Space Adaptations
Building your own Japandi side table as a renter comes with one golden rule: everything must be reversible, lightweight, and moveable.
Design your table with knock-down joinery — bolt-together legs, threaded inserts, or simple butt joints secured with machine screws — so it disassembles in minutes for moving day. Keep the weight manageable: a 40 × 40 cm birch plywood top with four slender legs will weigh under 4 kg, light enough to carry in one hand.
For small apartments, consider building a compact Japandi side table at 30 × 30 cm with a lower shelf instead of an upper one — this keeps visual weight low and gives you storage without cluttering the sightline. A table that fits beside a 70 cm sofa arm should be no wider than the sofa arm itself.
Sustainability: The Reclaimed Wood Japandi Side Table
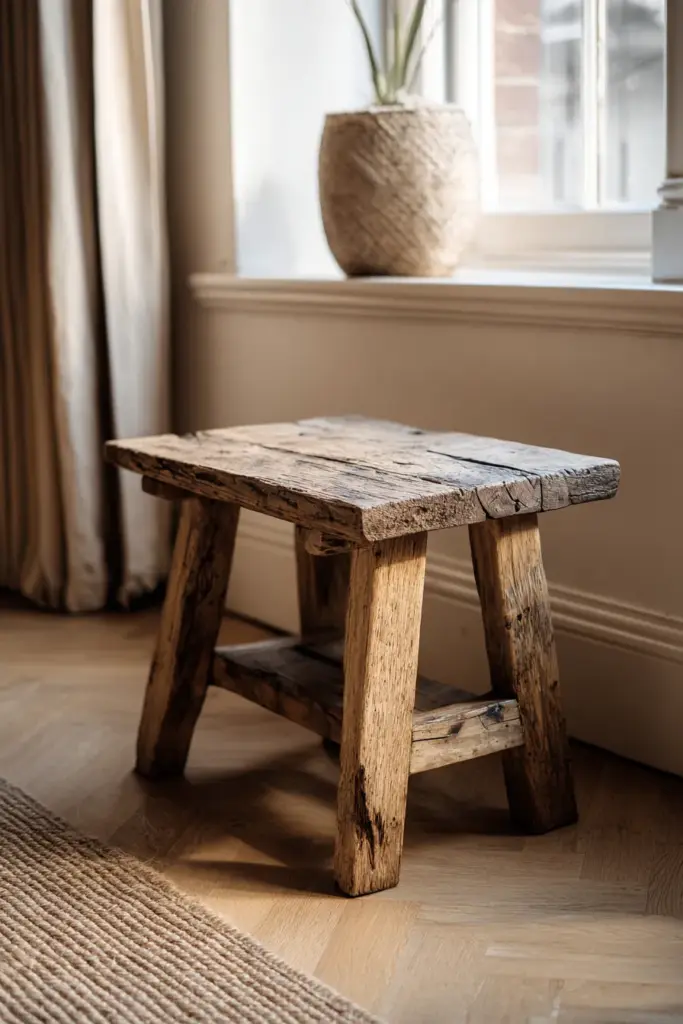
There is a particular joy in building from reclaimed wood. An old shelf pulled from a skip, a plank salvaged from demolished furniture, a piece of scaffolding board bought for almost nothing — each one carries a story that a hardware store plank simply cannot.
Reclaimed wood often has exactly the aged quality that Japandi design celebrates: small imperfections, gentle discolouration, and a matte patina that can take years to develop naturally. Sand it just enough to remove splinters and rough edges, but preserve the character. Finish with hard wax oil to protect without sealing away the history.
This approach also aligns deeply with the Japandi value of mottainai — the Japanese concept of avoiding waste, of seeing the potential in what already exists. Building a Japandi side table from reclaimed timber is not just an aesthetic choice. It is a values choice.
Japandi Side Table with Soft Lighting
The right table transforms entirely at night. A Japandi side table becomes most magical in low, warm light — the kind that pools rather than floods.
Consider pairing your table with a small, warm-toned table lamp in a ceramic or washi paper shade. Colour temperature matters: aim for 2200–2700K, which renders amber and honey tones rather than harsh white. Placed on a bedside Japandi table, this creates the kind of light that makes everything feel slower and softer.
For a living room side table, a small LED candle or stone diffuser lamp adds warmth without clutter. Some builders even route a shallow groove under the tabletop lip to hide a short LED strip, creating a gentle pool of light below the surface. Subtle, atmospheric, and uniquely yours.
Before You Start: Build Checklist
- Know your Japandi side table dimensions (match to bed or sofa arm height)
- Choose your wood species (oak and birch for best results; pine for budget)
- Plan your matte finish (hard wax oil or water-based matte varnish)
- Have your tools ready (hand saw, clamps, sandpaper, glue minimum)
- Decide on joinery style (glue + clamps for permanent; bolt-together for renters)
- Sand before assembly, not just after
- Style with three items maximum: natural, functional, beautiful
Conclusion
A DIY Japandi side table is more than a furniture project. It is a small act of intentional living — choosing to make something with care in a world that moves too fast. When you run your hand across a surface you sanded yourself, when you choose the wood and the finish and the exact height that suits your life, the resulting piece carries meaning that no Etsy listing or showroom floor can replicate.
Build slowly. Sand carefully. Finish with patience. And when it is done, set three beautiful things on top of it and leave the rest of the table bare.
That empty space is not emptiness. In Japandi, it is the whole point.
FAQs
What wood is best for a Japandi side table?
White oak and ash are the top choices for an authentic Japandi look — their warm, muted grain tones and open texture respond beautifully to matte oil finishes. Baltic birch plywood is the best budget-friendly alternative, offering stability and a distinctive edge grain. Avoid pre-lacquered or high-gloss woods, which work against the natural, tactile quality that defines Japandi furniture.
What are the best Japandi side table dimensions?
For a bedside Japandi table, aim for 45–55 cm height with a 35 × 35 cm top. For a living room side table, 55–65 cm height with a 40 × 40 cm top works well alongside a standard sofa. In small apartments, a compact 30 × 30 cm top at 50 cm height keeps visual weight low while still being functional. The key rule: sit your table within 5 cm of your sofa or bed arm height.
Can a beginner build a Japandi side table?
Yes — this is one of the most beginner-friendly furniture builds available. The basic design requires only four cuts (the legs), a simple glued frame, and a flat top. With a hand saw, sandpaper, wood glue, and four clamps, you can complete a solid, beautiful table in a single afternoon. No power tools are required, though a drill speeds up the process.
What finish should I use for a Japandi side table?
Hard wax oil (such as Rubio Monocoat or Osmo Polyx) gives the most authentic Japandi result — deeply tactile, naturally warm, and fully matte. Water-based matte varnish is a practical second choice, offering more durability in high-use settings. Avoid polyurethane gloss or semi-gloss finishes; they add a plastic sheen that works against the quiet, natural character of Japandi design.
How do I style a Japandi side table?
Follow the three-item rule: one natural element (a plant, stone, or dried botanical), one functional item (a tray, lamp, or book), and one purely beautiful object (a ceramic, sculpture, or woven piece). After three items, stop. Negative space is not wasted space in Japandi — it is the element that makes everything else breathe.