Table of Contents
There is something quietly powerful about a mirror that does more than reflect your face. A well-placed mirror in a Japandi-inspired space holds light like water — soft, unhurried, and alive. It doesn’t shout. It breathes.
Japandi design — that beautiful meeting of Japanese wabi-sabi and Scandinavian simplicity — asks us to slow down and choose with intention. Every material, every edge, every finish carries meaning. And a DIY Japandi mirror? It is one of the most rewarding, affordable ways to bring that philosophy home.
Whether you’re styling a small apartment in a cozy corner or anchoring a living room wall, this guide will walk you through everything you need. From choosing the right natural wood frame to distressing oak with a vinegar wash, you’ll find step-by-step instructions, material suggestions, cost breakdowns, and design tips rooted in the Japandi spirit.
Let’s begin — slowly, intentionally, the Japandi way.
What Is a Japandi Mirror?
A Japandi mirror is not simply a mirror with a wooden frame. It is a design object that carries the quiet philosophy of two cultures at once.
On the Japanese side, you have wabi-sabi — the beauty of imperfection, the charm of aged wood, the grace of asymmetry. On the Scandinavian side, you have clean lines, functional minimalism, and a love of natural materials like oak and rattan.
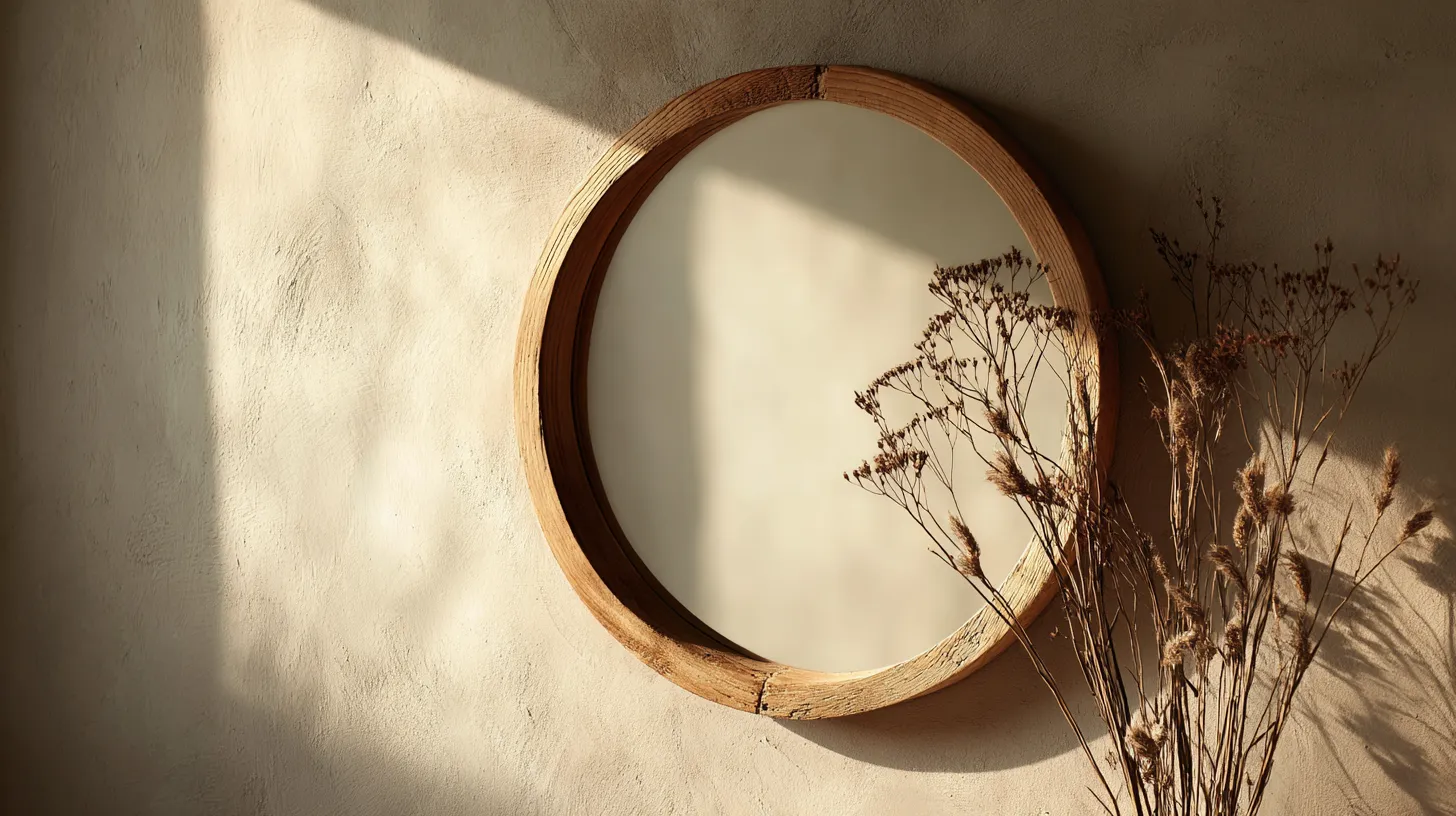
Together, a Japandi mirror tends to be round or gently organic in shape, framed in natural wood (often bamboo, oak, or rattan), and finished with restraint. No ornate carvings. No gilded edges. Just honest material, honest form, and quiet beauty.
It reflects not just your image, but the values of your space.
Why Make a DIY Japandi Mirror?
Store-bought versions can be stunning — but they can also cost well over $150. A DIY Japandi mirror, made thoughtfully with sustainable materials, can come together for under $20 depending on what you already have at home.
More than the cost savings, there is something deeply Japandi about the process itself. Working with your hands, sanding slowly, choosing a grain of wood — these are acts of presence. The imperfections you leave become part of the story, exactly as wabi-sabi intends.
And when you hang it on your wall, you’ll know every decision that went into it.
Materials You’ll Need
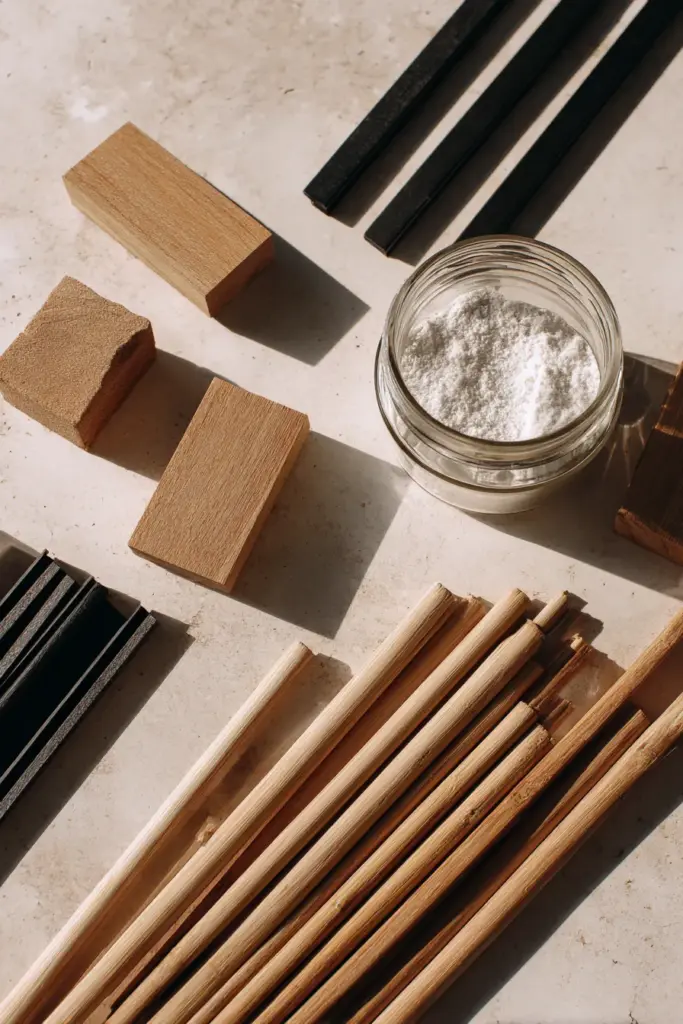
Before you begin, gather your materials. A true Japandi palette leans natural, muted, and tactile.
| Material | Purpose | Approx. Cost |
|---|---|---|
| Round mirror (12″–18″ diameter) | Base reflective surface | $5–$10 |
| Oak or bamboo wood dowels / thin planks | Frame construction | $4–$8 |
| Wood glue or epoxy | Bonding the frame | $2–$4 |
| Fine sandpaper (120 & 220 grit) | Distressing and smoothing | $1–$2 |
| White vinegar + steel wool | Wabi-sabi aging wash | Under $1 |
| Black metal trim or rattan wrap | Optional accent detail | $2–$5 |
| Picture hanging hooks | Wall mounting | $1–$2 |
| Matte sealant spray | Protective finish | $3–$5 |
Total estimated cost: $18–$37, depending on what you already own.
No Dremel or miter saw required for the basic build — a hand saw and patience will do beautifully.
Tools You’ll Need
You don’t need a professional workshop to make this. A kitchen table, good lighting, and care are enough.
- Hand saw or craft knife (for cutting dowels to length)
- Clamps or binder clips (to hold pieces while glue dries)
- Old toothbrush or small paintbrush (for applying vinegar wash)
- Soft cloth or sponge (for sealing and finishing)
- Measuring tape and pencil
- Drop cloth or newspaper to protect your workspace
Step-by-Step: How to Make a DIY Japandi Mirror
Step 1: Choose Your Mirror Base
Start with a simple round mirror. These are widely available at thrift stores, dollar shops, or online — and the rounder and more organic the shape, the more authentically Japandi it will feel.
A diameter between 12 and 18 inches works beautifully for most walls. Larger mirrors create a focal statement; smaller ones suit intimate corners or entryway hooks beautifully.
Look for mirrors with a flat back so your frame sits flush and secure.
Step 2: Cut and Arrange Your Wood Frame Elements
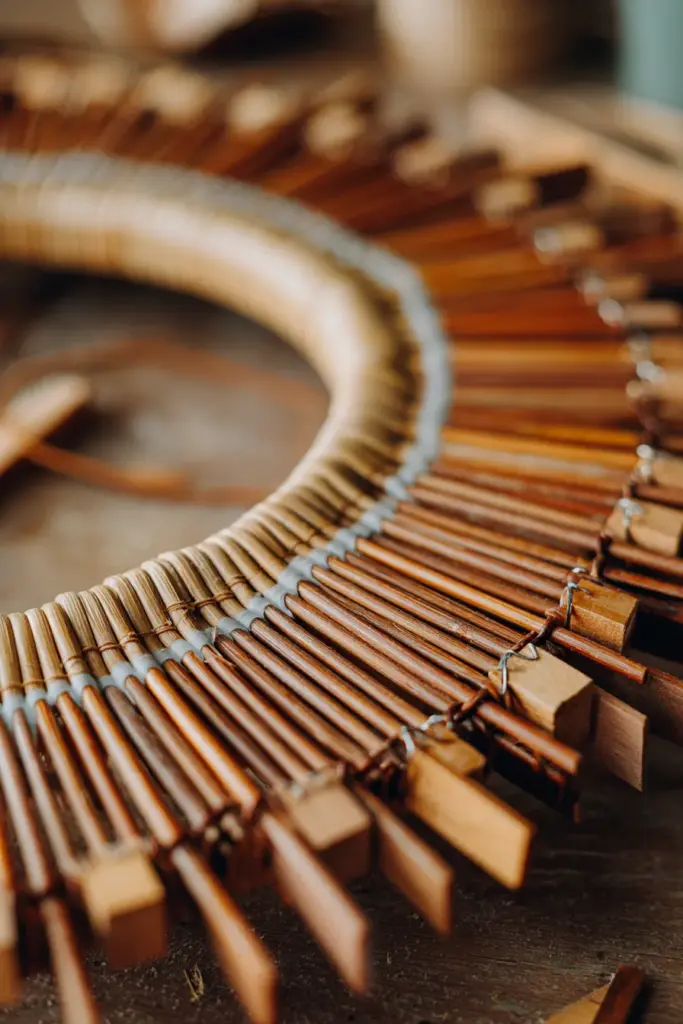
This is where the magic begins. Choose oak or bamboo dowels — thin, natural, and honest in their grain. You can also use thin wood planks cut to size.
Arrange your wood pieces around the mirror edge in a pattern that feels natural, not forced. Think sunburst shapes, asymmetrical clusters, or a simple layered border. Wabi-sabi welcomes irregularity.
Tips for this step:
- Cut pieces to varying lengths for an organic, flowing look
- Lightly sand each piece before assembly (start with 120 grit, finish with 220)
- Lay everything flat on a work surface and photograph your arrangement before gluing — it’s easy to forget what felt right
Step 3: Apply the Vinegar Wash for Wabi-Sabi Aging
This is the most distinctly Japandi step — and the one most tutorials skip entirely.
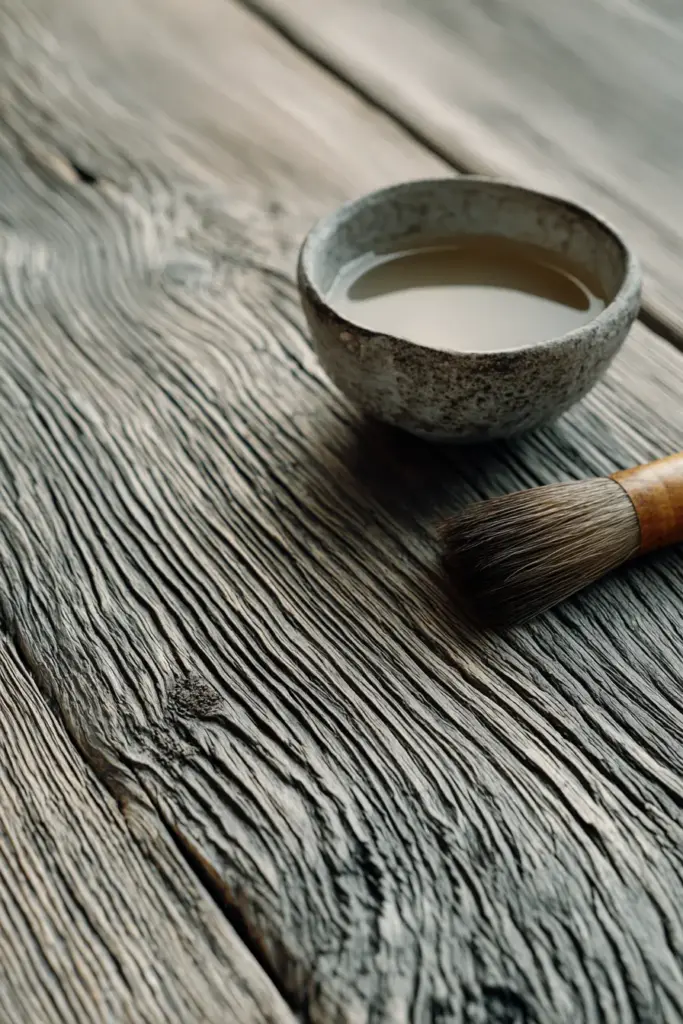
To create that beautifully aged, grey-toned oak finish beloved in wabi-sabi interiors, soak a piece of fine steel wool in white vinegar overnight (or for at least 4 hours). The resulting liquid, brushed onto raw oak, reacts with the wood’s tannins to produce a silver-grey tone that looks decades old.
Apply with an old toothbrush or small brush. Work in gentle strokes along the grain. Let dry completely — at least 2 hours — before moving to the next step.
The longer you leave it, the deeper the tone. Trust the process.
Safety note: Work in a ventilated space. Avoid touching your eyes after handling the steel wool solution. Dispose of used steel wool carefully as it can oxidise and generate heat.
Step 4: Glue Your Frame to the Mirror
Once your wood pieces are distressed and dry, it’s time to assemble.
Apply wood glue or epoxy to the back of each wood element. Press firmly to the mirror edge and hold or clamp in place. For rounder frames, use binder clips or painter’s tape to hold pieces while drying.
Work in sections rather than all at once. Let each section set for at least 30–60 minutes before moving on. Full cure time for most wood glues is 24 hours — patience here protects your work.
Optional: Wrap sections of the frame in rattan or natural twine for added texture. This creates a beautiful contrast between the smoothed wood and the woven material — very characteristic of the Japandi aesthetic.
Step 5: Add Black Metal Trim (Optional but Beautiful)
A thin strip of black metal or dark-toned trim along the inner mirror edge creates a grounding line that feels quintessentially Japandi. It draws the eye and gives the design intention.
You can find thin adhesive metal strips at hardware stores, or repurpose a picture frame corner trim. Cut to fit, apply carefully, and press firmly.
This detail — small as it seems — transforms the piece from handmade to designed.
Step 6: Seal and Finish
Once fully assembled and dry, apply a light coat of matte sealant spray to protect your work. Matte finish is essential here — a glossy seal would undercut the soft, natural mood you’ve created.
Hold the can 12 inches away and apply in a smooth, sweeping motion. Two thin coats are better than one thick one. Let dry fully before handling.
Step 7: Hang with Intention
Attach picture hooks or D-ring hardware to the back of your mirror. For a more editorial Japandi look, consider hanging your mirror at a slight downward angle — it opens the wall, reflects more of the room, and gives the piece an almost gallery-like presence.
Placement ideas:
- In a hallway to create depth and welcome the light
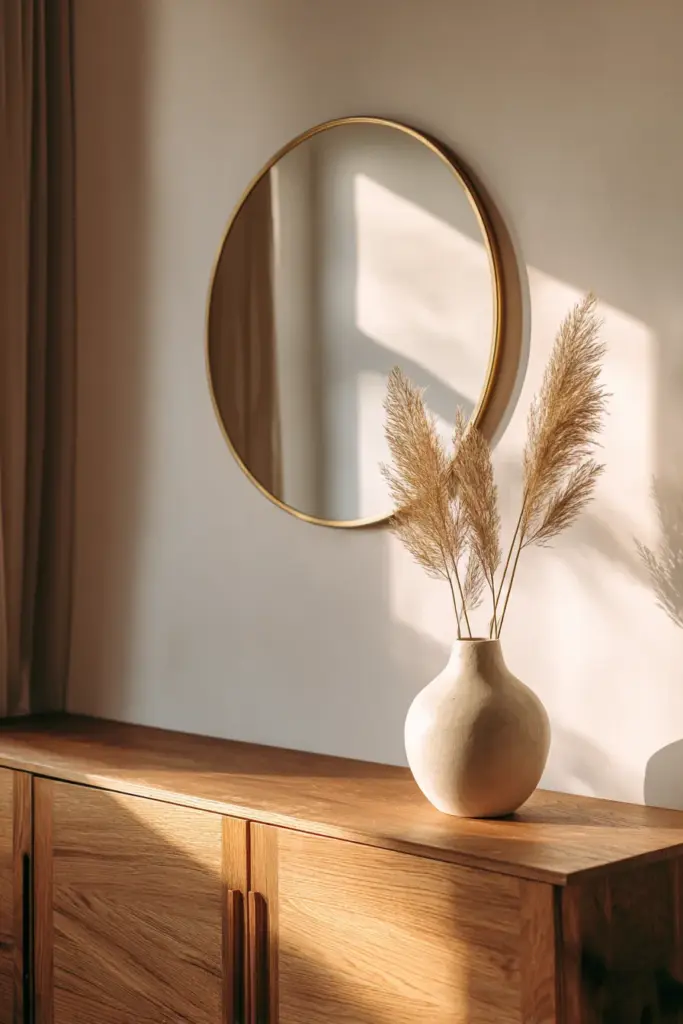
- Above a low sideboard with a bud vase and a single stone beside it
- In a dark corner to bounce what little light exists
- Opposite a window to reflect the living, breathing world outside
Multifunctional Ideas: Beyond the Basic Mirror
One of the most underexplored angles in DIY Japandi design is the multifunctional frame. Your mirror can do more than reflect.
Hidden Shelf
Build a small recessed ledge into the bottom of the frame using thin oak. Just deep enough for a small candle, a sprig of dried eucalyptus, or a piece of raw quartz. This transforms your mirror into a living installation.
Jewellery Hooks
Add 2–3 small brass or black iron hooks along the lower frame edge. These become elegant holders for delicate necklaces, a linen mask, or a single key. Functional, intentional, beautiful.
Plant Integration
Place a trailing plant — trailing ivy, string of pearls, or a small pothos — on a shelf nearby so the mirror reflects it. The biophilic effect is immediate and deeply calming. Your mirror becomes a window into a living world.
Where to Place Your Japandi Mirror
Placement is not an afterthought. In Japandi philosophy, the relationship between objects matters as much as the objects themselves.
| Space | Placement Tip | Effect |
|---|---|---|
| Hallway | Hang at eye level opposite the door | Creates depth, welcomes natural light |
| Living room | Above a low console or beside a plant | Anchors the room, reflects biophilic elements |
| Bedroom | Lean against the wall rather than hang | Casual, intentional, very Japandi |
| Small apartment | Angle slightly downward on a key wall | Makes space feel larger and more open |
| Dark corner | Any placement that catches a lamp or candle | Warms the shadow, adds perceived light |
Key Takeaways
- Japandi mirrors blend wabi-sabi imperfection with Scandinavian minimalism — organic shapes, natural materials, quiet finishes
- You can build one for under $20 using a thrifted round mirror, oak or bamboo dowels, and basic glue
- The vinegar wash technique creates an authentic aged grey finish without paint or stain
- No power tools required — a hand saw, sandpaper, and patience are enough
- Multifunctional frames (with shelves or hooks) add intentional functionality
- Placement matters — use your mirror to reflect light, plants, and depth
Conclusion
A DIY Japandi mirror is more than a project. It is a practice in slowing down, choosing well, and finding beauty in the honest texture of wood and the imperfect warmth of a hand-made thing.
When you hang it on your wall, you’re not just decorating. You’re making a quiet statement about how you want to live — with intention, with calm, with an eye for the beauty that already exists in simple materials and slow mornings.
At ERYLIN, we believe your home should feel like a breath out. We hope this mirror — your mirror — becomes exactly that.
FAQs
What is a Japandi mirror?
A Japandi mirror combines Japanese wabi-sabi philosophy with Scandinavian minimalism. It typically features a round or organically shaped frame in natural materials like oak, bamboo, or rattan, with a restrained, muted finish that honours texture and imperfection over ornamentation.
How do I make a DIY Japandi mirror frame without power tools?
You can easily make one using a hand saw to cut oak or bamboo dowels, wood glue to attach them to a round mirror base, and sandpaper to smooth and distress the wood. No Dremel or miter saw is needed. The vinegar-and-steel-wool aging technique adds authentic wabi-sabi character without any special equipment.
What materials are best for a Japandi style mirror?
The most authentic choices are bamboo, oak, rattan, and black metal accents. These materials are sustainable, tactile, and true to the Japandi palette. Avoid anything overly polished, synthetic, or highly lacquered — Japandi honours natural grain and honest texture.
Where should I place a Japandi mirror in my home?
Hallways, living rooms, and small apartment walls are ideal. Place your mirror where it can reflect natural light, a plant, or a cozy corner of the room. Leaning a mirror slightly angled against the wall rather than hanging it flat is a popular Japandi styling approach — it feels casual, intentional, and quietly beautiful.
How much does a DIY Japandi mirror cost to make?
A beautifully finished DIY Japandi mirror can cost as little as $18–$25 using a thrifted mirror base, inexpensive wood dowels, and household materials like white vinegar and steel wool. The total depends on frame complexity and whether you add rattan wrapping or metal trim accents.