Table of Contents
By ERYLIN — Your Guide to Slow, Soulful Living
There is something quietly profound about setting a table with your own hands. Not just arranging dishes, but placing something you made — something that carries the warmth of your intention — beneath every cup and bowl.
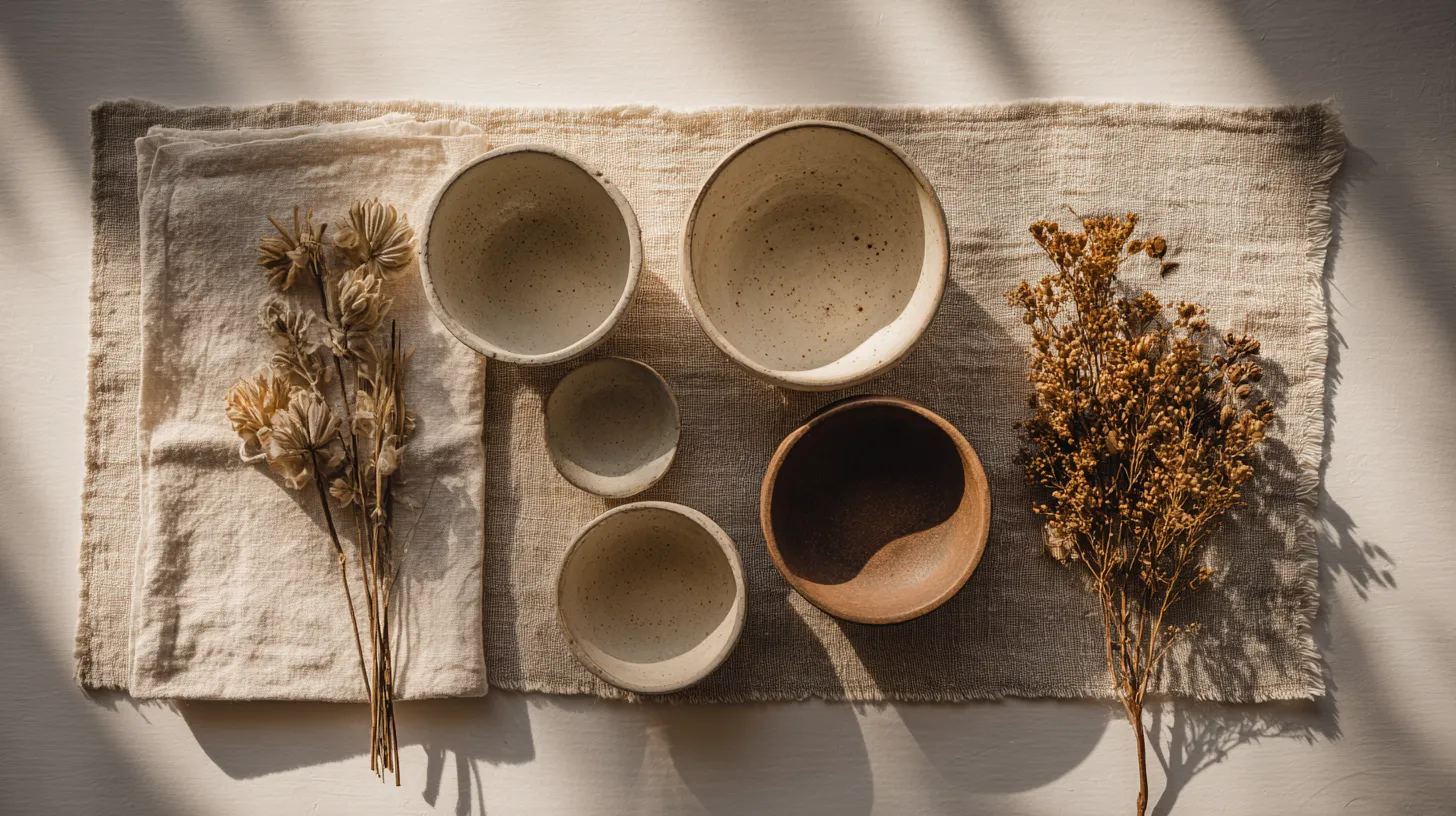
Japandi placemats sit at that beautiful crossroads of Japanese wabi-sabi and Scandinavian hygge. They are humble, natural, and deeply considered. They don’t try to impress. They simply belong.
Whether you reach for raw linen, woven cotton, or a scrap of vintage fabric waiting patiently in a drawer, this guide will walk you through every method — sewing, no-sew, and upcycled — to help you create a table that feels like a breath of fresh air.
These are not just placemats. They are the foundation of a daily ritual you’ll want to return to, again and again.
What Is Japandi Style for Placemats?
Japandi is the design philosophy that emerges when Japanese minimalism meets Scandinavian warmth. It prizes natural materials, quiet color, and the beauty of imperfection.
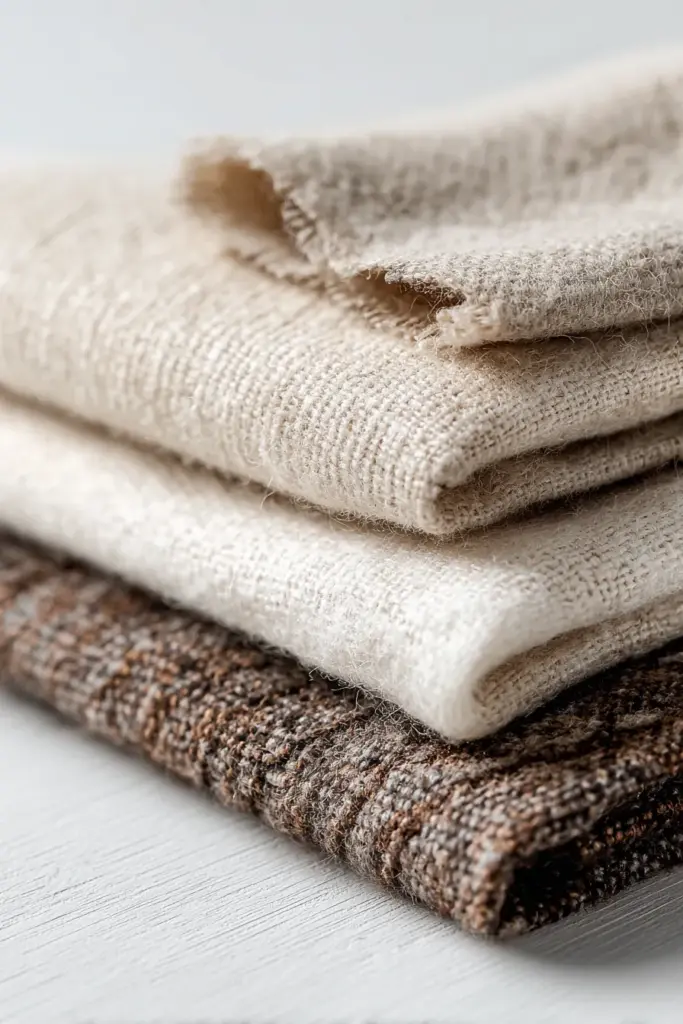
For placemats, this translates into textures you want to touch — undyed linen, loosely woven cotton, soft felt — in colors drawn from the earth: warm beige, cool taupe, muted charcoal, and the occasional breath of sage or clay.
There are no loud prints here. No glossy finishes. Just the honest grain of fabric under morning light.
Materials for DIY Japandi Table Decor
Choosing Your Fabric
The fabric you choose sets the entire mood of your table. Linen is the quintessential Japandi choice — it softens with every wash, wrinkles beautifully, and ages like something beloved.
Woven cotton, particularly ikat or kasuri-style fabric, brings a quiet handcrafted quality that fits perfectly within the wabi-sabi philosophy. Look for loose, open weaves in neutral tones, or pre-washed cotton with a slightly worn, lived-in feel.
For no-sew versions, wool felt is your best friend. It doesn’t fray, holds its shape, and adds a layer of warmth to the table that synthetic materials simply cannot replicate.
Sustainable and Upcycled Options
One of Japandi’s most important values is intentionality — using what you have and honoring the life already in materials. Old linen tablecloths, worn cotton shirts, and canvas remnants all make excellent placemat fabric.
Look through your linen cupboard before you shop. You may already have everything you need.
Recycled burlap, natural jute, and even repurposed grain sacks have a beautiful roughness that pairs wonderfully with smooth ceramic or matte stoneware.
A Quick Materials Guide
| Material | Best For | Texture Feel | Care |
|---|---|---|---|
| Linen | Sewn placemats | Crisp, softens with use | Machine wash cold, air dry |
| Woven cotton (kasuri/ikat) | Sewn, decorative | Artisan, tactile | Hand wash, lay flat to dry |
| Wool felt | No-sew, layered | Soft, dense | Spot clean only |
| Jute / burlap | Upcycled, rustic | Rough, earthy | Wipe clean |
| Canvas remnants | Sturdy, minimalist | Firm, flat | Machine wash cold |
Japandi Color Palette and Sizing Guide
Colors That Calm
Japandi spaces are anchored in neutrals that don’t compete for attention. For placemats, think warm whites, natural ecru, sandy beige, and the deep quiet of charcoal or slate.
Earthy accents work beautifully — a soft terracotta edge, a thread of sage running through woven cotton. These are colors borrowed from forest floors and morning fog, not paint swatches.
Avoid anything synthetic-bright or high-gloss. The palette should feel like it grew, not was manufactured.
Sizing Your Placemats
The standard placemat size is 12 × 18 inches (30 × 46 cm) — large enough to anchor a full place setting, small enough to feel considered rather than tablecloth-like.
| Placemat Size | Best Use |
|---|---|
| 12 × 18 inches | Standard adult setting |
| 10 × 14 inches | Children’s table, smaller dishes |
| 14 × 20 inches | Large dinner plates, statement settings |
| Round, 13-inch diameter | Casual dining, rustic bowls |
Add a ½-inch seam allowance on all sides if you’re sewing. If you’re going no-sew, cut precisely — the raw edge is part of the beauty.
How to Make Japandi Placemats: Three Methods
Method One: The Sewn Linen Placemat
This is the most satisfying method. It takes a little patience, but the result is a placemat that could pass for something found in a Kyoto guesthouse.
What You Need:
- ½ yard natural linen (for 2 placemats)
- Quilt batting or fusible fleece (for padding)
- Matching or contrast thread
- Rotary cutter or sharp fabric scissors
- Walking foot (optional but recommended)
- Pins or wonder clips
Step One: Cut and Layer
Cut your linen to 13 × 19 inches (front and back pieces), and your batting to 12 × 18 inches. Press your fabric with a warm iron — linen responds beautifully to steam, relaxing into something that feels handmade in the best way.
Layer your pieces: backing face down, batting centered on top, front piece face up. Pin or clip generously around all edges.
Step Two: Stitch the Perimeter
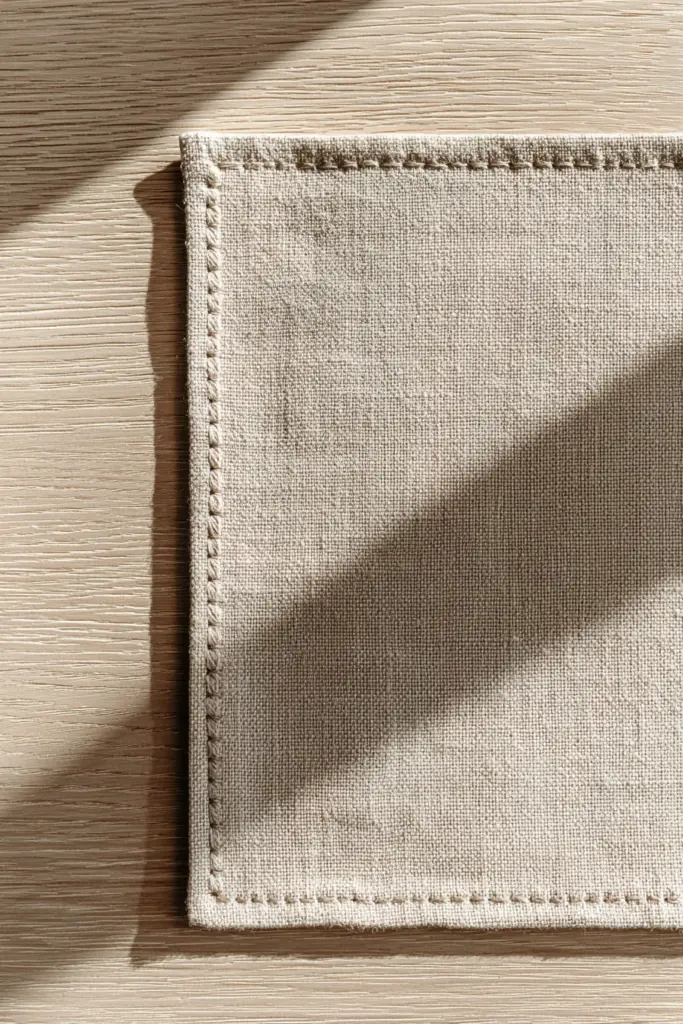
Fold the front fabric over the batting and backing, turning under a ½-inch hem. Press as you go. Topstitch around all four edges with a walking foot if you have one — it feeds the layers evenly and prevents the shifting that haunts placemat sewing.
Stitch-in-the-ditch along your pressed fold for a clean, professional finish. Use a thread that matches your linen for invisible elegance, or choose a contrast stitch in charcoal for a visible, intentional detail.
Step Three: Optional Binding
For an elevated finish, cut binding strips from a complementary fabric — yukata cotton or a thin cotton in a coordinating neutral works beautifully. Fold, press, and sew the binding around all four edges, mitering the corners neatly.
This step transforms a simple placemat into something that feels like an heirloom.
Method Two: The No-Sew Japandi Placemat
No sewing machine? No problem. This method is perfect for beginners and produces a clean, modern result that absolutely honors the Japandi aesthetic.
What You Need:
- Wool felt or thick woven fabric
- Fabric glue (B-7000 or similar flexible adhesive)
- Sharp scissors or a rotary cutter
- Ruler and chalk or fabric pen
- Optional: window mesh or open-weave fabric for layering
Step One: Cut Clean
Mark and cut your felt to 12 × 18 inches. With felt, the raw edge is not a problem — it doesn’t fray, and the clean cut has a quiet precision that suits Japandi beautifully.
If you’re layering, cut a piece of open-weave mesh or loosely woven cotton slightly smaller — perhaps 10 × 16 inches — to layer over the base.
Step Two: Layer and Glue
Apply a thin, even line of fabric glue around the edges of your mesh or top layer. Press firmly onto your base felt and allow to cure flat under a few heavy books for 24 hours.
The result is a placemat with depth and texture — the woven layer catches light differently than the solid base beneath it, creating subtle visual interest without pattern.
Step Three: Optional Embellishment
A few stitches of thick natural twine or waxed thread, sewn by hand around the border, add a beautiful artisan quality. You don’t need a sewing machine for this — a large needle and slow, deliberate stitches are all it takes.
Method Three: The Upcycled Kasuri-Inspired Placemat
This method draws directly from Japanese textile tradition. Kasuri fabric — hand-dyed, ikat-woven cotton — has been used in Japan for centuries to create textiles of quiet, irregular beauty.
What You Need:
- Vintage kasuri or ikat cotton (thrift stores, fabric markets, old clothing)
- Color catchers (for the first wash — vintage indigo fabric can bleed)
- Fusible fleece or cotton batting
- Matching thread and a walking foot
Step One: Pre-Wash Carefully
Old kasuri fabric must be washed before cutting. Use cold water and a color catcher — botanical indigo dyes can bleed, and protecting your batting (and your washing machine) is important.
Lay flat to dry. Iron while slightly damp for the crispest result.
Step Two: Cut Using a Freezer Paper Template
Trace your placemat shape — 12 × 18 inches — onto freezer paper and iron it lightly to your fabric as a cutting guide. This prevents the fabric from shifting as you cut, especially important with loosely woven kasuri.
Cut front and back panels. Assemble with batting in the center and sew as with Method One.
Step Three: Honor the Imperfection
Kasuri fabric often has slight irregularities in the weave — a thread that catches differently, a dye that pools softly at the edge. Resist the urge to hide these. They are the wabi-sabi of the piece. They are precisely what makes it beautiful.
Japandi Table Styling: Completing the Look
A placemat doesn’t exist alone. It anchors a world — a ceramic bowl, a linen napkin, a small sprig of something green.
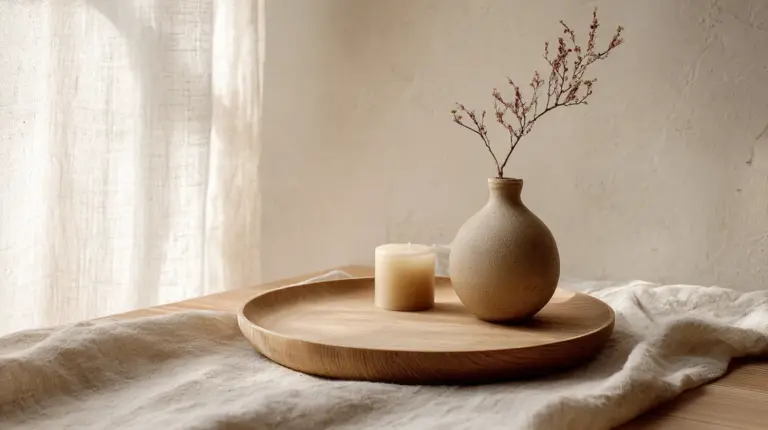
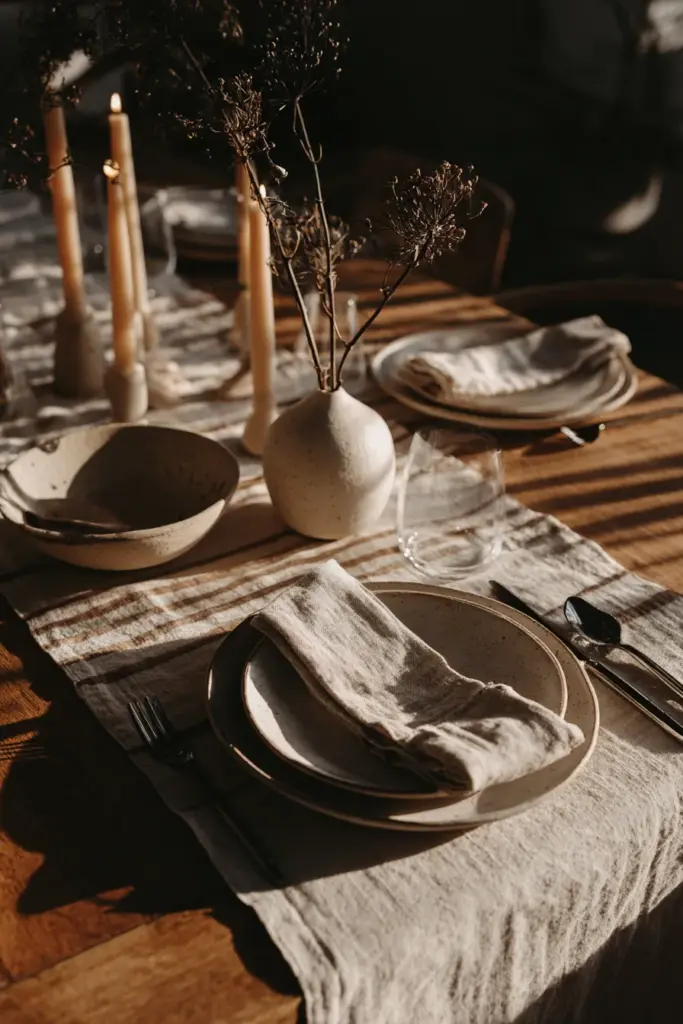
Pair your DIY placemats with matte stoneware in earthy tones. Add a linen napkin in a coordinating neutral, folded simply, placed to the left. A thin-stemmed water glass, a small bud vase with a single dried stem — this is the Japandi table in full form.
For cozy ambiance, layer your table with warm, low lighting — a candle or a soft pendant overhead. The placemats absorb and soften the light in a way that synthetic materials never do.
Complement your table with cozy, considered furniture — a light oak table, simple chairs with clean lines — to complete the Japandi atmosphere.
Budget Breakdown: DIY Japandi Placemats Under $10 per Set
One of the great joys of making your own Japandi placemats is the cost. A set of four, beautifully made, costs a fraction of what you’d pay at a design store.
| Item | Estimated Cost |
|---|---|
| ½ yard natural linen | $4–6 |
| Quilt batting (small piece) | $1–2 |
| Thread | $1 |
| Fabric glue (if no-sew) | $2–3 |
| Binding fabric (optional) | $1–2 |
| Total for 2 placemats | $6–10 |
Tools like a rotary cutter are helpful but not essential — sharp fabric scissors work beautifully. A cutting mat and ruler are reusable investments that will serve many projects after this one.
Placemat Care Guide
Natural fabric placemats reward gentle care. Linen and cotton can be machine washed cold on a gentle cycle, but air drying is always preferable — it preserves the fibers and prevents shrinkage.
Vintage kasuri or ikat fabrics should be hand washed and laid flat to dry. Avoid wringing — press gently between clean towels instead.
Wool felt placemats are best spot cleaned. A damp cloth and a little patience is all they need.
Store your placemats rolled rather than folded to prevent permanent crease lines. A small bundle tied with a linen ribbon is both practical and lovely.
Key Takeaways: Your DIY Japandi Placemat Checklist
- Choose natural fabrics — linen, woven cotton, wool felt, or upcycled textiles
- Keep the color palette calm: beige, taupe, charcoal, sage, warm white
- Standard size is 12 × 18 inches; adjust for children or large plates
- Three methods to choose from: sewn linen, no-sew felt, upcycled kasuri
- Pre-wash all fabric, especially vintage dyed cotton, before cutting
- Embrace imperfection — irregular weaves and soft edges are part of the beauty
- Pair with matte ceramics, linen napkins, and low warm light
- Budget for a full set is under $10; tools are minimal and reusable
- Air dry all natural fabric placemats; store rolled to prevent creasing
- Spot clean wool felt; hand wash delicate vintage fabric
Conclusion
There is a kind of slowness that Japandi asks of us — a willingness to take the long way around, to choose the handmade over the convenient, to find beauty in the process as much as the result.
When you set your table with something you made yourself, you are doing more than decorating. You are practicing the very philosophy Japandi embodies: that care, craft, and natural beauty belong in the everyday. Not just in galleries and curated shops, but here — right here — beneath your morning coffee cup.
Make something quiet. Make something beautiful. Make it yours.
— ERYLIN
Frequently Asked Questions
What is Japandi style for placemats?
Japandi style combines Japanese wabi-sabi — the appreciation of imperfection and natural materials — with Scandinavian minimalism and warmth. For placemats, this means natural fabrics like linen and woven cotton, neutral earth tones, simple shapes, and a quiet elegance that values texture over pattern.
How do I make Japandi placemats at home?
You can make Japandi placemats using three main methods: sewing linen or cotton panels with batting for structure, using fabric glue to layer wool felt and open-weave mesh for a no-sew version, or upcycling vintage kasuri or ikat fabric into sewn placemats. All methods work beautifully for beginners with minimal tools.
What materials work best for DIY Japandi table decor?
The best materials are natural and tactile — linen, loosely woven cotton (especially ikat or kasuri), wool felt, jute, and repurposed canvas. Neutral tones in beige, taupe, charcoal, and warm white best reflect the Japandi palette. Avoid synthetics and high-gloss fabrics, which break the calm aesthetic.
Are handmade Japandi placemats better than store-bought?
Handmade Japandi placemats offer something store-bought sets cannot replicate — the quality of natural, untreated fabric that softens and improves with age, plus the wabi-sabi beauty of slight imperfection. They also cost significantly less: a set of four handmade linen placemats typically runs under $10, compared to $40–80 for comparable designer versions.
How do I wash and care for natural fabric placemats?
Linen and cotton placemats can be machine washed cold on a gentle cycle and air dried flat. Vintage kasuri or ikat fabric should be hand washed in cold water and laid flat to dry to preserve the dye and weave. Wool felt placemats are best spot cleaned with a damp cloth. Store all placemats rolled rather than folded to avoid permanent crease lines.