Table of Contents
There’s something deeply grounding about walking barefoot across a floor that feels honest. Wood grain under your toes. The cool smoothness of polished concrete. A floor isn’t just a surface—it’s the foundation of how a room breathes, how light moves, how warmth settles into corners.
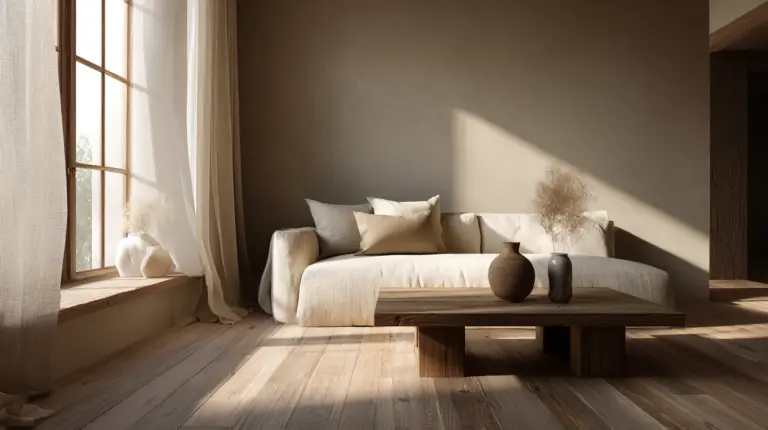
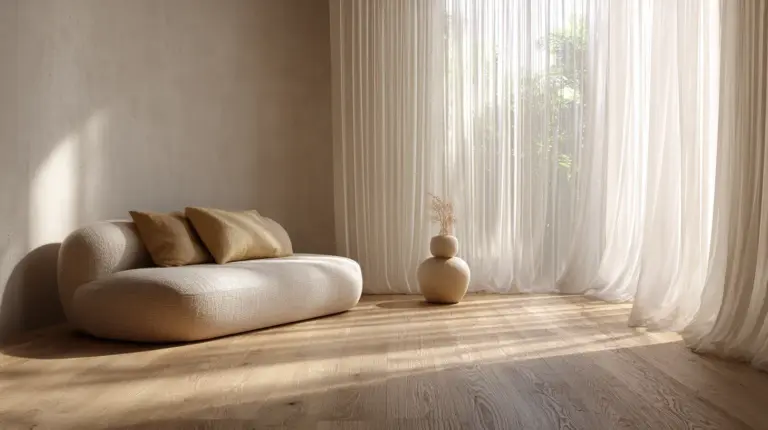
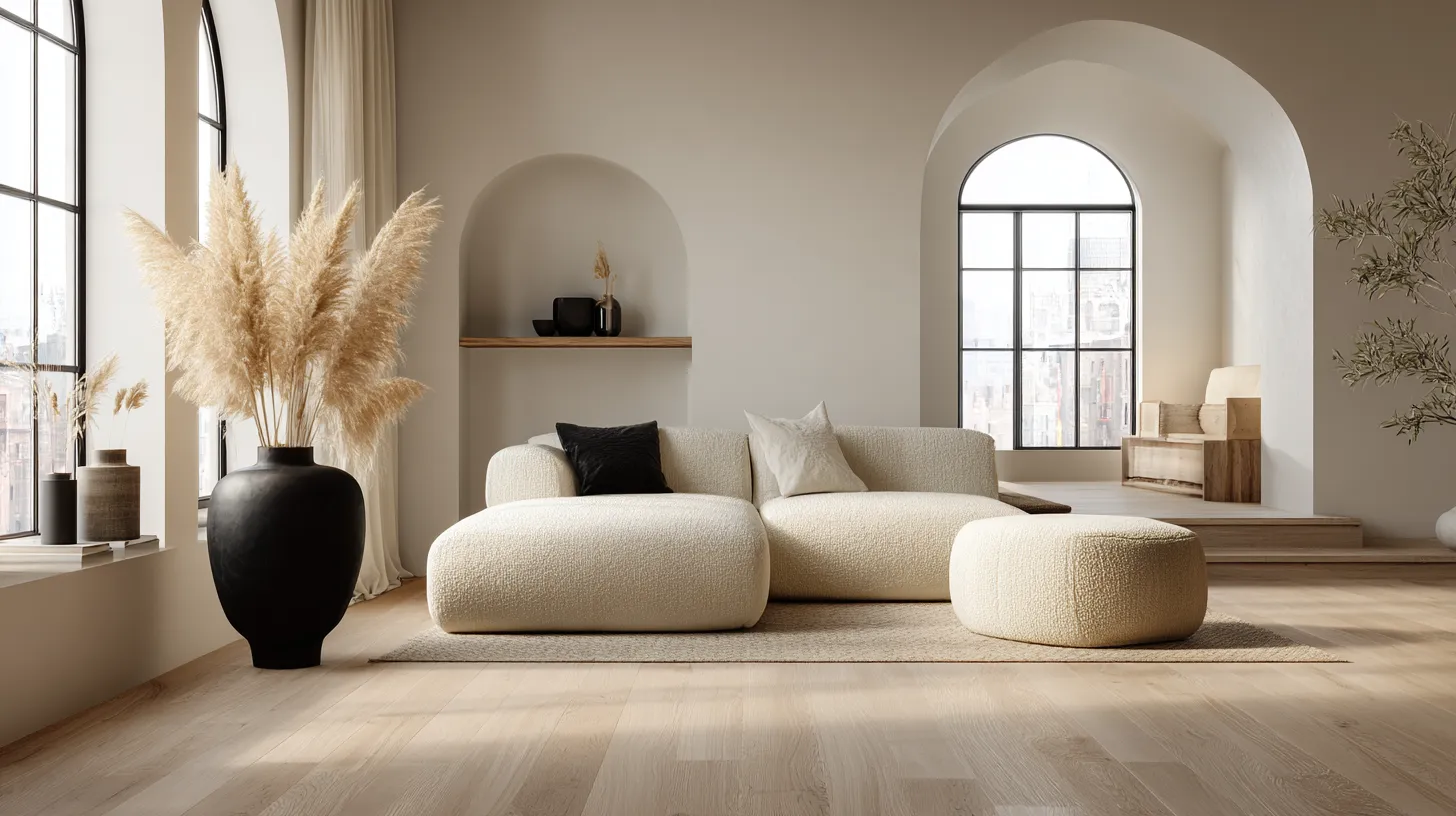
Japandi style understands this intimacy. It marries Scandinavian simplicity with Japanese wabi-sabi, creating spaces that feel both serene and alive. The flooring you choose becomes the quiet canvas for everything else—low-slung furniture, textured throws, the way afternoon sun pools near the window.
Installing your own Japandi flooring isn’t just about saving money. It’s about claiming authorship over your space, learning its quirks, feeling the weight of each plank as it clicks into place. This guide walks you through the entire journey, from selecting materials to sealing that final edge.
Whether you’re working with a compact Manila condo or a sprawling suburban home, these steps will help you create flooring that whispers rather than shouts.
Understanding Japandi Flooring: Materials That Tell Stories
Natural Wood: The Timeless Choice
Wood flooring anchors Japandi interiors with unmatched warmth. Light oak, ash, and maple echo Scandinavian brightness, while deeper walnut nods to Japanese craftsmanship.
Engineered wood offers stability in humid climates—crucial for Philippine homes where moisture can warp solid planks. Look for 12-14mm thickness with a 3-4mm wear layer. These hold up beautifully under tropical conditions while maintaining that organic texture.
Reclaimed wood adds soul. Salvaged teak or narra from old homes carries history in every knot and scratch, perfectly aligned with wabi-sabi’s embrace of imperfection.
Bamboo: Sustainable and Strong
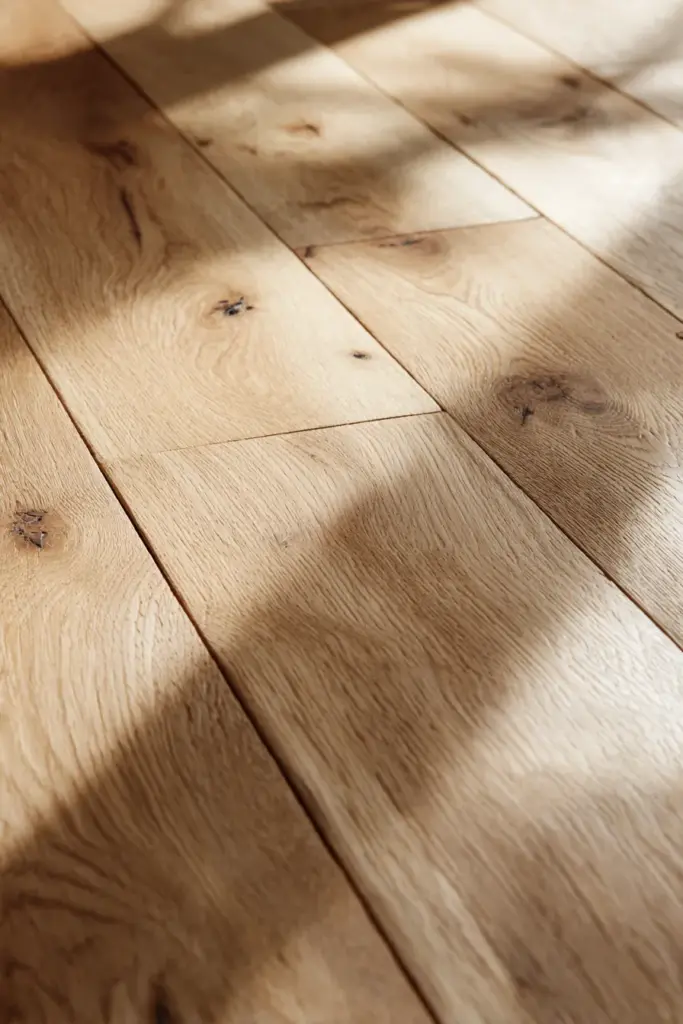
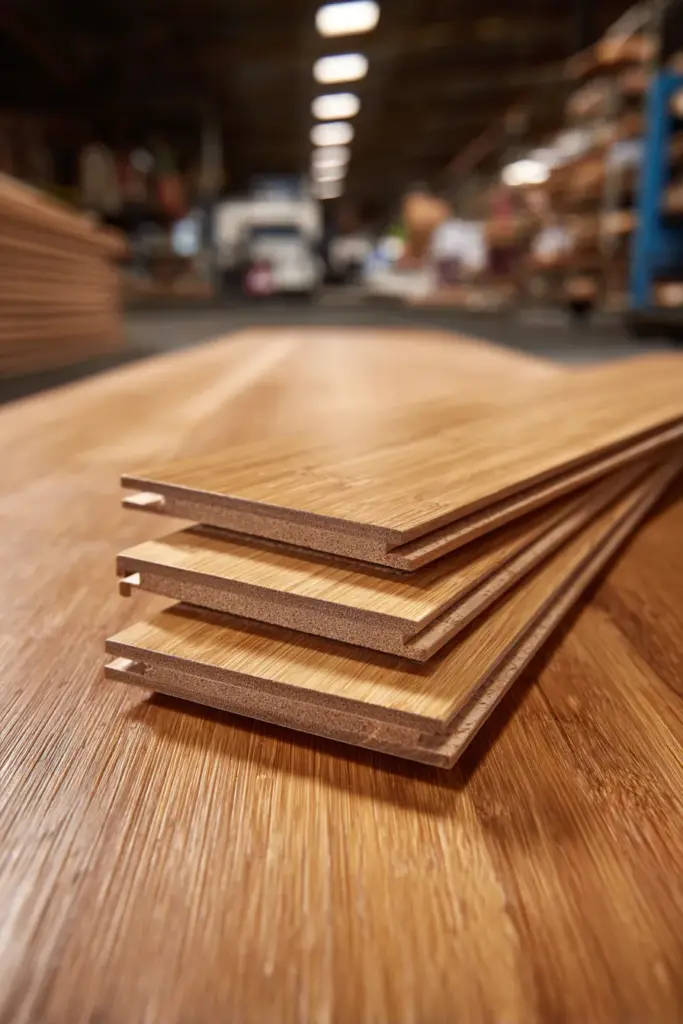
Bamboo grows faster than traditional hardwoods, making it an eco-conscious choice. Its subtle grain and honey tones complement Japandi’s natural palette effortlessly.
Strand-woven bamboo handles foot traffic better than many hardwoods. It’s also naturally antimicrobial—a practical advantage in humid environments where mold lurks.
Installation mirrors engineered wood, with click-lock systems that make DIY approachable. The key is acclimating bamboo to your room’s humidity for 72 hours before installing.
Concrete: Industrial Serenity
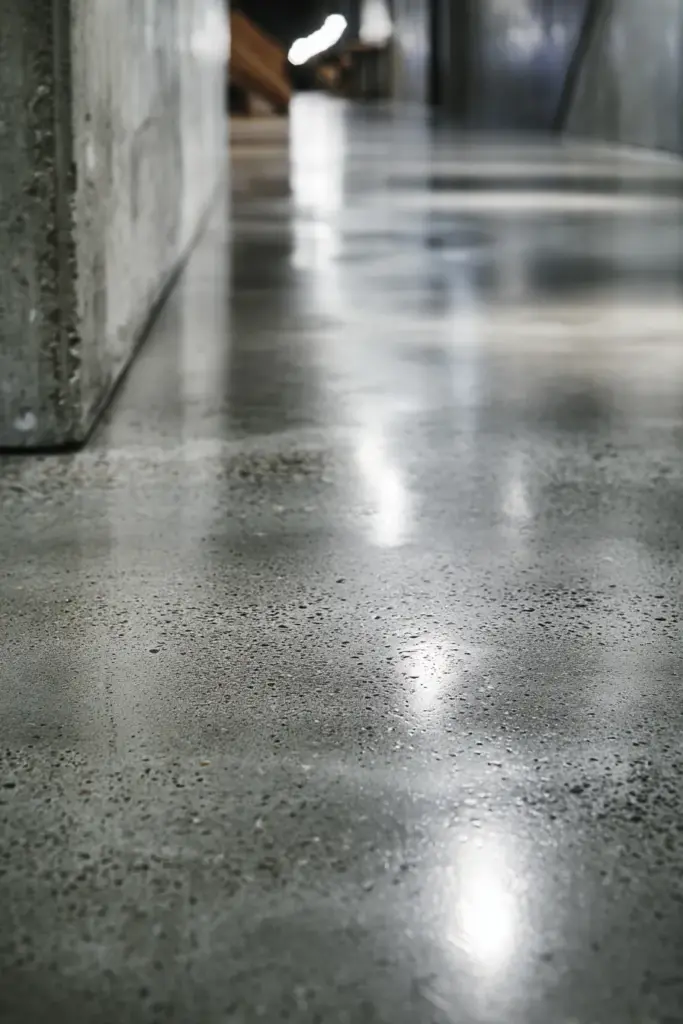
Polished concrete offers minimalist drama. Its cool gray tones create visual calm, while thermal mass helps regulate indoor temperature—welcome relief in tropical heat.
DIY concrete installation requires more prep than wood, but the payoff is stunning. You’re essentially resurfacing existing concrete or pouring a thin overlay, then grinding and sealing to a matte or satin finish.
The imperfections—slight color variations, aggregate patterns—become design features rather than flaws.
Cork and Stone: Textural Alternatives
Cork flooring feels impossibly soft underfoot while providing natural insulation and sound dampening. Its warm, mottled appearance adds subtle interest without overwhelming minimalist aesthetics.
Natural stone tiles—limestone, travertine, slate—bring earthy gravitas. They work beautifully in tropical climates, staying cool even during summer’s peak. Pair with radiant heating for year-round comfort.
Pre-Installation Planning: Setting Yourself Up for Success
Assessing Your Space
Walk your living room slowly. Notice where sunlight hits hardest—UV can fade certain woods. Check for moisture issues near windows or exterior walls, especially during rainy season.
Measure twice, order once. Calculate square meters, then add 10% for waste and future repairs. Small living rooms (20-30 sqm) benefit from continuous plank direction, which visually expands space.
Creating Your Budget Breakdown
Philippine pricing varies widely depending on material and quality. Here’s what to expect per square meter:
| Material | Cost Range (PHP) | DIY Difficulty | Climate Suitability |
|---|---|---|---|
| Laminate | 1,500 – 3,000 | Easy | Good with moisture barrier |
| Engineered Wood | 3,000 – 6,000 | Moderate | Excellent for humidity |
| Bamboo | 2,500 – 5,000 | Moderate | Very good (strand-woven) |
| Cork | 2,000 – 4,500 | Easy | Good with sealing |
| Concrete Overlay | 1,200 – 2,500 | Challenging | Excellent |
| Natural Stone | 3,500 – 8,000 | Challenging | Excellent |
Don’t forget underlayment (PHP 50-150/sqm), adhesives, tools, and finishing materials. Budget an extra 20% for unexpected needs.
Sourcing Materials Locally
Wilcon Depot, Handyman, and All Home offer decent Japandi-appropriate options. For reclaimed wood, check architectural salvage yards in Quezon City or Marikina.
Online marketplaces like Carousell sometimes yield vintage finds. Instagram shops specializing in sustainable materials often stock bamboo and cork at competitive prices.
Request samples. See how they look under your actual lighting conditions before committing.
Essential Tools and Materials Checklist
For Wood and Bamboo Installation
- Measuring and marking: Tape measure, carpenter’s square, chalk line
- Cutting: Circular saw or miter saw, jigsaw for curved cuts
- Installation: Rubber mallet, tapping block, pull bar, spacers (8-10mm)
- Fastening: Flooring nailer (rent if doing >30 sqm), finish nails for edges
- Underlayment: Foam or cork roll, moisture barrier for ground floors
- Finishing: Wood filler, sandpaper (180-220 grit), floor finish or oil
For Concrete Installation
- Surface prep: Concrete grinder (rent), shop vacuum, degreaser
- Repair: Self-leveling compound, concrete patching mix
- Application: Trowels (flat and notched), mixing drill, buckets
- Finishing: Diamond polishing pads (50, 100, 200, 400 grit), densifier, sealer
- Safety: Respirator mask, knee pads, safety glasses, ear protection
Universal Essentials
- Level (4-foot minimum) for checking flatness
- Utility knife for underlayment and trim
- Pry bar for removing baseboards
- Cleaning supplies: broom, microfiber mop, vacuum
Safety first. Humid Philippine conditions make dust masks essential—mold spores hide in old subfloors.

Step-by-Step: Installing Engineered Wood or Bamboo
1. Prepare the Subfloor
Remove existing flooring, baseboards, and trim carefully. Save baseboards if they’re in good condition—they’ll frame your new floor beautifully.
Check the subfloor with a long level. Any dips or humps over 3mm per 3 meters need addressing. Use self-leveling compound for concrete slabs, sanding or shimming for wood subfloors.
Manila-specific tip: Test moisture levels with a concrete moisture meter if you’re on a ground floor. Readings above 4.5% require a vapor barrier to prevent future warping.
2. Install Underlayment
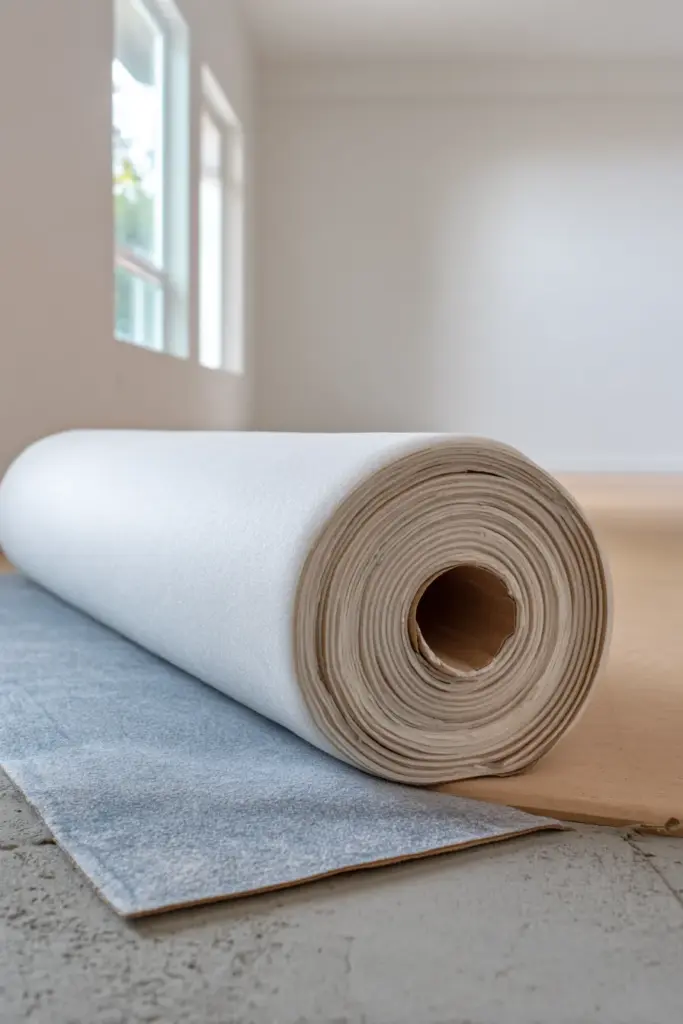
Roll out your underlayment perpendicular to your planned plank direction. Overlap seams by 5cm and tape them down with moisture-resistant tape.
For concrete subfloors in humid climates, use 6-mil polyethylene sheeting as a vapor barrier beneath foam underlayment. This double-layer approach prevents moisture from wicking up during monsoon season.
Trim excess at walls with a utility knife, leaving a small gap for expansion.
3. Plan Your Layout
Start from the longest, straightest wall—usually opposite the main entrance. This ensures your eye naturally follows clean lines.
Dry-lay the first three rows to visualize the pattern. Stagger end joints by at least 30cm to avoid a “staircase” effect. If your final row will be narrower than 5cm, adjust the first row’s width to balance.
Small space hack: Run planks parallel to your longest wall to elongate narrow rooms. In square rooms, follow the primary light source direction.
4. Begin Installation
Place 10mm spacers against the starting wall. These maintain the crucial expansion gap—wood and bamboo need room to breathe, especially in variable humidity.
Lay the first row with groove side toward the wall. Tongue should face out for easier clicking of subsequent rows. Tap gently with a rubber mallet and tapping block—never strike directly on the plank edge.
Connect the second row at a 30-45 degree angle, then press down until you hear a satisfying click. The feeling is unmistakable, like a small victory with each plank.
5. Work Row by Row
Measure and cut the last plank of each row using your circular saw. Always cut face-up to prevent chipping.
Use leftover pieces to start new rows—this saves material and creates natural staggering. Maintain that 30cm minimum offset between end joints.
Around obstacles like door frames or pipes, trace the shape onto your plank. Cut carefully with a jigsaw, leaving a 3mm gap around fixed objects for expansion.
6. Final Rows and Transitions
The last row often requires rip-cutting planks lengthwise. Measure at multiple points along the wall—walls are rarely perfectly straight.
Use a pull bar to snap in the final row, working from one end to the other. It requires patience and sometimes creative vocabulary.
Install transition strips at doorways and where your flooring meets tile or carpet. These hide expansion gaps while creating visual boundaries between spaces.
7. Finish Strong
Remove all spacers. Install baseboards or quarter-round molding to cover expansion gaps, nailing into walls—never into the floor itself.
Fill any small gaps or nail holes with color-matched wood filler. Wipe excess immediately with a damp cloth.
Walk your entire floor, checking for squeaks or loose planks. Address issues now while tools are still accessible.
Step-by-Step: Polished Concrete Installation
1. Assess and Repair
Existing concrete must be sound—no major cracks or crumbling. Small cracks become character marks; large structural issues need professional attention.
Clean thoroughly with a degreaser, then grind the surface with 30-40 grit metal-bonded diamonds. This opens the concrete’s pores for better densifier penetration later.
Fill holes and cracks with epoxy-based concrete filler. Let cure for 24-48 hours. Level any major dips with self-leveling compound.
2. Grind and Polish
This is where transformation happens. Start with 50-grit resin pads, working in overlapping passes.
Progress through 100, 200, and 400 grit. Each step reveals more aggregate and depth. Spray water as you work to control dust and cool the diamonds.
The sound changes as you progress—rougher at first, then a smooth whisper as finer grits polish the surface.
3. Densify and Seal
Apply concrete densifier with a pump sprayer or mop. This chemical reaction hardens the surface from within, creating durability without thick coatings.
Let it penetrate for 30 minutes, then scrub away residue. The surface should feel slightly tacky but not wet.
After 24 hours, apply a penetrating sealer in thin coats. Two coats provide adequate protection for residential use. Choose matte or satin finishes—gloss feels too commercial for Japandi aesthetics.
4. Maintenance Considerations
Reseal every 2-3 years depending on foot traffic. Use pH-neutral cleaners only—acids etch concrete, alkalines dull the finish.
Place rugs strategically to protect high-traffic zones while adding textural warmth. Natural fiber rugs—jute, sisal, seagrass—perfectly complement concrete’s coolness.
Common DIY Pitfalls and How to Avoid Them
Skipping Acclimation
Wood and bamboo must adjust to your home’s humidity for at least 72 hours before installation. Unbox and stack with spacers between layers for air circulation.
Rushing this step causes gaps or buckling within months. Patience here saves heartache later.
Inadequate Expansion Gaps
10mm gaps around all perimeters and vertical objects aren’t suggestions—they’re requirements. Wood moves. If it can’t expand, it buckles upward or creates pressure cracks.
In humid Manila, this matters even more. Monsoon season can cause noticeable expansion.
Wrong Underlayment Choices
Each flooring type has specific underlayment needs. Bamboo over concrete requires a vapor barrier. Wood over wood subfloors needs sound-dampening foam.
Don’t cheap out here. The few pesos saved now cost thousands in future repairs.
Ignoring Subfloor Prep
That “slightly uneven” subfloor telegraphs through thin materials. You’ll feel every bump, and planks may crack at stress points.
Proper leveling isn’t exciting work, but it’s where quality installations separate from amateur attempts.
Underestimating Small Rooms
Compact spaces actually require more precision. Layout mistakes magnify in 20 sqm living rooms. Measure three times, cut once.
Visual tricks—like running planks toward windows—make rooms feel larger, but only if executed cleanly.
Maintenance for Longevity: Keeping Your Floor Beautiful
Daily and Weekly Care
Sweep or vacuum regularly to remove grit that scratches finishes. Microfiber dust mops work beautifully for daily touch-ups.
Damp mop weekly with water only, or add a capful of pH-neutral cleaner. Never saturate wood or bamboo—moisture is the enemy.
Humidity Control
Invest in a good dehumidifier for monsoon months. Aim for 40-60% relative humidity year-round.
Wood expands in moisture, contracts in dryness. Consistent humidity prevents seasonal gapping and cupping.
Seasonal Deep Cleaning
Every few months, use cleaners specific to your flooring type. Oil-based finishes may need refreshing with a light coat of maintenance oil.
Concrete can be buffed with a microfiber pad to restore shine between sealings.
Handling Damage
Small scratches in wood? Rub with a walnut—the natural oils fill minor marks surprisingly well.
Deeper gouges need wood filler or professional refinishing. Concrete chips can be filled with color-matched epoxy.
Embrace imperfection. Japandi style celebrates wabi-sabi—the beauty of things imperfect, impermanent, and incomplete. That small dent tells your home’s story.
When to Call a Professional
DIY suits most living rooms under 50 square meters with straightforward layouts. Beyond that, consider professional help for:
- Structural repairs: Major subfloor issues, foundation cracks
- Complex patterns: Herringbone, chevron, or intricate inlays
- Specialized equipment needs: Sanding entire floors, large-area concrete grinding
- Moisture remediation: Ground floor flooding issues, rising damp
There’s no shame in knowing your limits. A hybrid approach works well—hire for prep and finishing, DIY the installation itself.
Get multiple quotes. Good contractors explain their process clearly and welcome questions.
Sustainable Choices: Honoring Japandi Values
Material Selection
Choose FSC-certified wood or rapidly renewable bamboo. Cork harvesting doesn’t harm trees—bark regrows every nine years.
Reclaimed materials embody both sustainability and wabi-sabi. That vintage flooring has already proven its durability.
Low-VOC Products
Off-gassing from adhesives and finishes affects indoor air quality. Look for products labeled low-VOC or zero-VOC.
Water-based polyurethanes and natural oils (tung, linseed) perform beautifully without harsh fumes.
Local Sourcing
Philippine-grown bamboo and reclaimed tropical hardwoods reduce transportation carbon footprints. You’re also supporting local economies.
Visit suppliers in person when possible. Seeing and touching materials before purchase prevents disappointment.
Styling Your New Japandi Floor
Furniture Placement
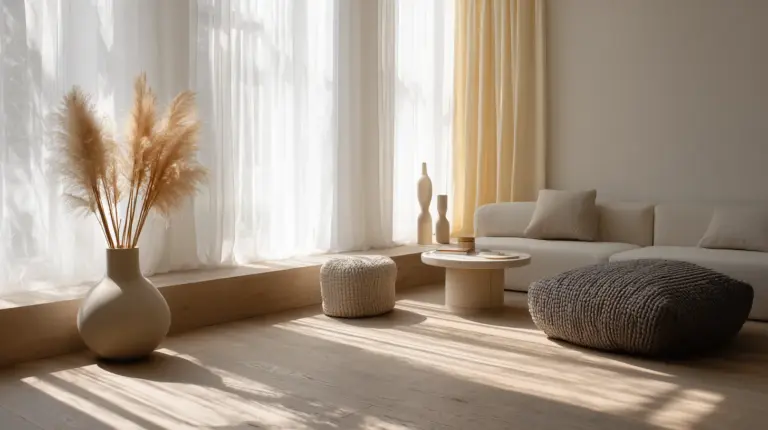
Low-profile seating emphasizes horizontal lines that echo your floor’s planks. Wood tones should complement, not match exactly—variation adds depth.
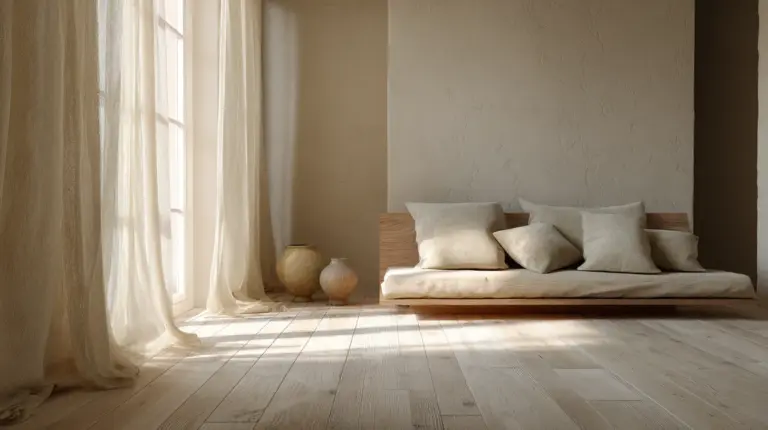
Leave space between furniture pieces. Japanese ma (negative space) lets your beautiful flooring breathe.
Layering Textures
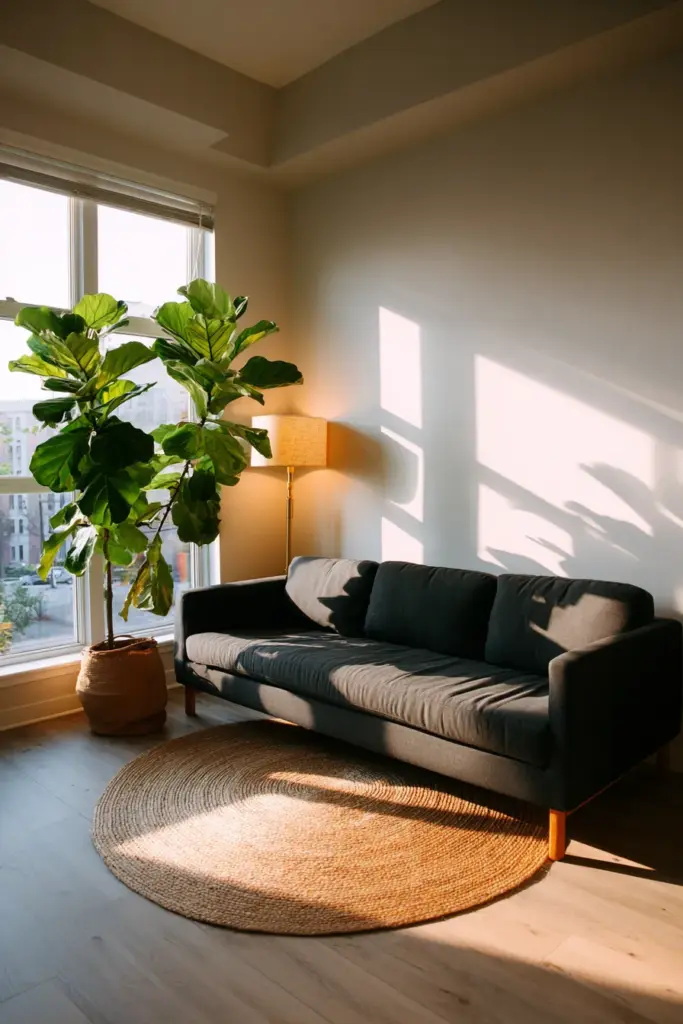
Natural fiber rugs define zones in open layouts. A jute rug under your coffee table grounds the seating area while protecting high-traffic spots.
Choose rugs in neutral tones—cream, taupe, soft gray—that enhance rather than compete with your flooring’s natural beauty.
Lighting Considerations
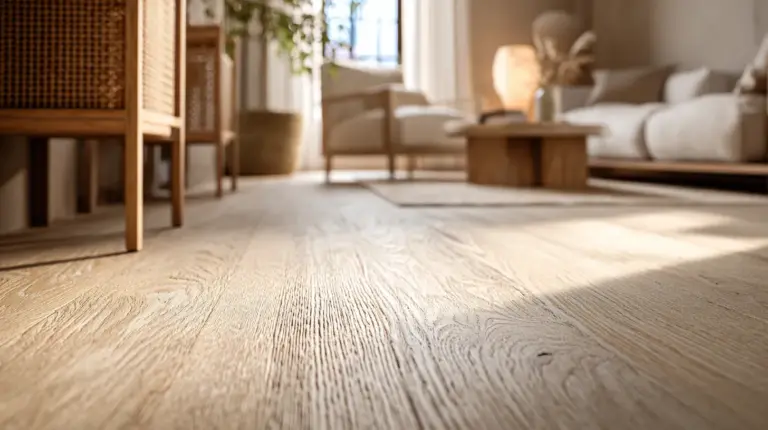
Floor-level lighting accentuates wood grain and concrete textures. Position lamps where light can graze across the surface, revealing depth and character.
Large windows showcase your flooring’s natural beauty during daylight hours. In the evening, warm Edison bulbs create cozy amber pools.
Key Takeaways: Your Flooring Success Checklist
Before you begin, ensure you’ve covered these essentials:
- Material selected based on your climate, budget, and aesthetic vision
- Accurate measurements with 10% waste factored in
- Subfloor assessed for level, moisture, and structural soundness
- All tools gathered or rented, including safety equipment
- Materials acclimated to your home’s conditions for 72+ hours
- Layout planned to maximize visual flow in your specific space
- Expansion gaps maintained at 10mm around all perimeters
- Underlayment appropriate for your flooring type and subfloor
- Time allocated realistically—most DIY installs take 2-4 days
- Patience embraced—rushing leads to mistakes you’ll see daily
Remember: Perfection isn’t the goal. Authenticity is.
Conclusion: The Floor Beneath Your Life
In six months, you won’t remember the sore knees from kneeling all weekend. You’ll barely recall the moment when that tricky corner finally clicked into place. But every morning when you step from bedroom to living room, you’ll feel it—that quiet pride of having created something with your own hands.
Your floor becomes more than a surface. It’s where your child will take first steps. Where friends gather for long conversations over tea. Where afternoon light pools in golden rectangles, inviting you to pause and breathe.
Japandi design teaches us that beauty lives in simplicity, that imperfection holds more truth than sterile perfection. Your DIY installation, with its small quirks and hard-won victories, embodies this philosophy completely.
The work you’ve done isn’t just home improvement. It’s an act of making, of claiming space, of building something that holds you gently as you move through your days.
Welcome home. The floor you’ve created welcomes you back.
Frequently Asked Questions
What is the best flooring for a Japandi living room?
Engineered wood in light oak or ash tones captures Japandi’s essence beautifully, combining Scandinavian brightness with durability suited for humid climates. Bamboo offers an eco-conscious alternative with similar warmth, while polished concrete provides minimalist serenity for those drawn to industrial aesthetics. Choose based on your climate—humid areas like Manila benefit from engineered wood or strand-woven bamboo over solid hardwood.
How much does DIY Japandi flooring cost per square meter in the Philippines?
Expect PHP 1,500-3,000/sqm for laminate, PHP 2,500-5,000 for bamboo, and PHP 3,000-6,000 for engineered wood, including underlayment and installation supplies. Concrete overlay runs PHP 1,200-2,500/sqm for materials if you’re resurfacing existing concrete. Professional installation typically adds PHP 500-1,500/sqm, but DIY eliminates this cost. Budget an extra 20% for tools, waste, and unexpected needs.
Can I install Japandi flooring in a small Manila condo with high humidity?
Absolutely. Engineered wood and strand-woven bamboo handle humidity better than solid planks thanks to their layered construction. The key is installing a proper vapor barrier over concrete subfloors—use 6-mil polyethylene sheeting beneath foam underlayment. Maintain 40-60% relative humidity with a dehumidifier during monsoon season. Avoid solid hardwood on ground floors, as moisture wicking causes warping.
What tools do I need for DIY bamboo or wood flooring installation?
Essential tools include: tape measure, carpenter’s square, circular or miter saw, rubber mallet, tapping block, pull bar, 10mm spacers, and a utility knife. For rooms over 30 sqm, rent a pneumatic flooring nailer (PHP 500-800/day). You’ll also need underlayment, moisture barrier, and finishing materials like wood filler and baseboards. Safety gear—dust mask, knee pads, safety glasses—protects you during the 2-4 day installation process.
How do I maintain Japandi flooring to keep it beautiful long-term?
Sweep or vacuum daily to remove abrasive grit. Damp mop weekly with pH-neutral cleaners—never saturate wood or bamboo. Control humidity between 40-60% year-round with a dehumidifier to prevent seasonal expansion and gapping. Reseal concrete every 2-3 years. Refresh oil-finished wood annually with maintenance coats. Embrace small imperfections as wabi-sabi—that authentic wear adds character. Place natural fiber rugs in high-traffic zones for protection while enhancing Japandi aesthetics.