Table of Contents
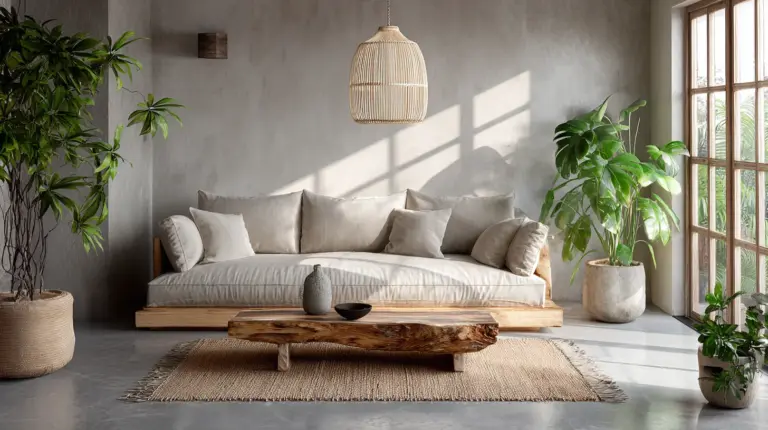
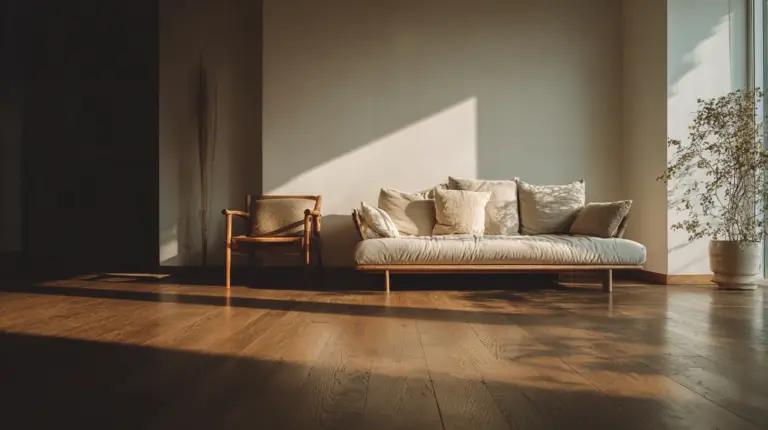
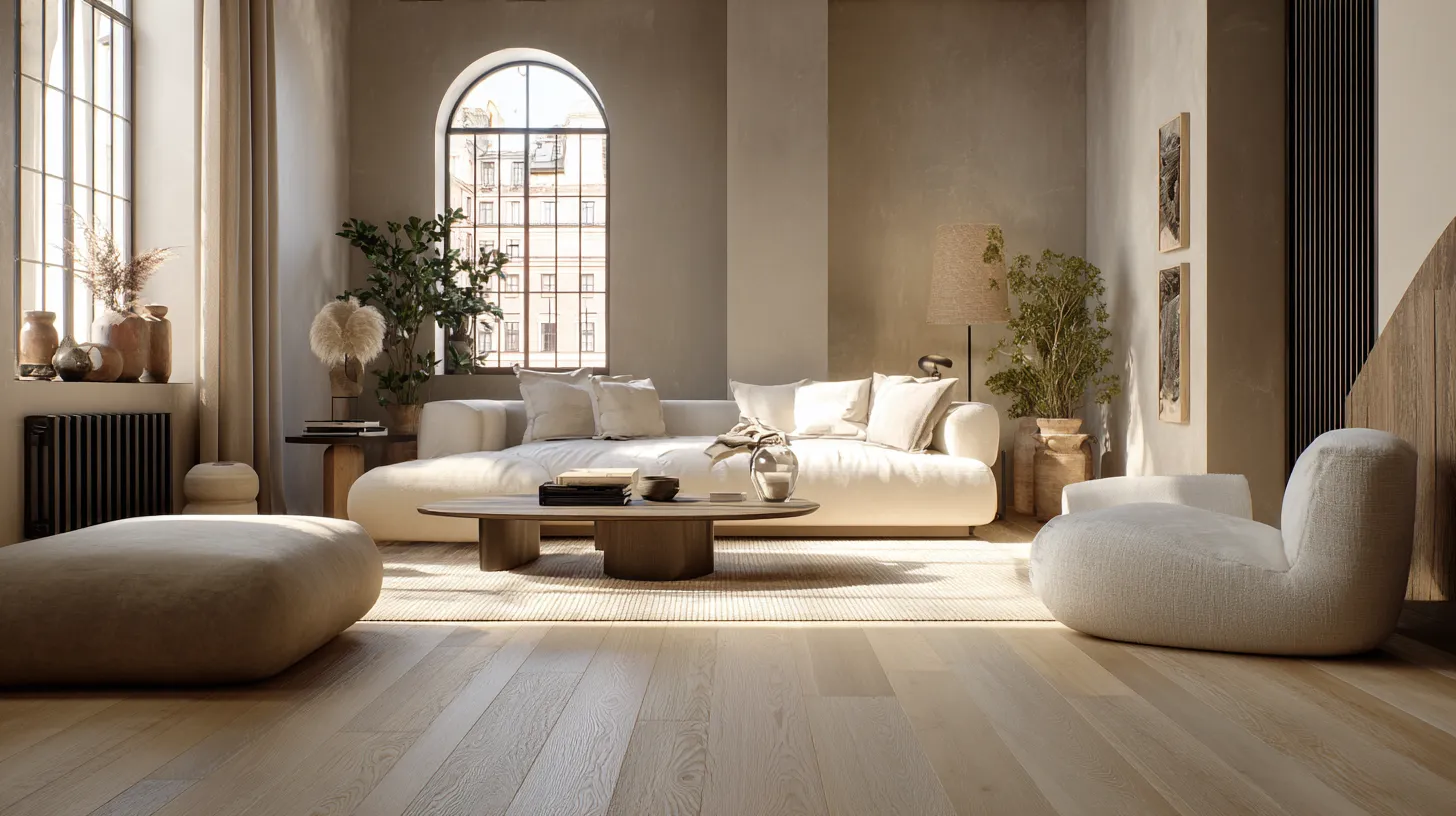
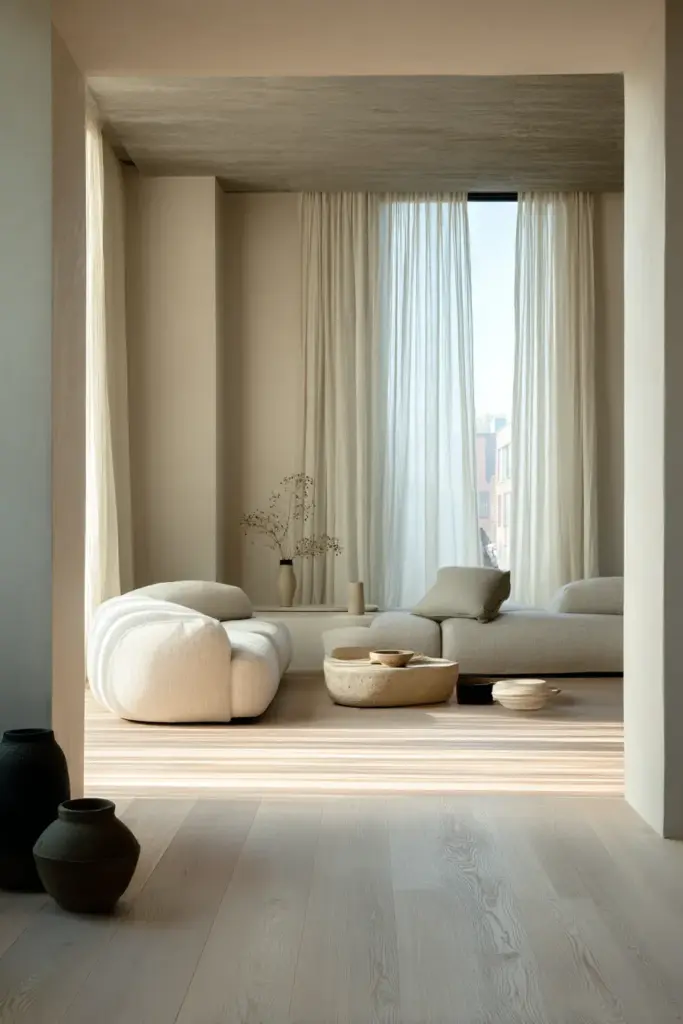
There is something almost meditative about the moment you walk into a Japandi living room. The air feels lighter. The floor — quiet, warm, unhurried — seems to hold the whole room in place. That feeling doesn’t happen by accident.
Behind every perfect plank of pale oak or brushed bamboo is a foundation you never see but always feel. The subfloor is where the story begins. Get it right, and every step you take sounds like silence. Get it wrong, and the floor creaks, shifts, and eventually shows you all the cracks it was hiding.
This guide walks you through everything: the best flooring materials for a Japandi living room, how to prepare your subfloor properly, what underlayment works in humid climates, and practical cost guidance if you’re building or renovating in the Philippines. Consider this your calm, thorough companion — the one you wish you’d had from the very start.
What Makes Japandi Flooring Different?
Japandi design is the quiet marriage of Japanese wabi-sabi and Scandinavian hygge. It finds beauty in imperfection and warmth in restraint. The floor in a Japandi space isn’t simply functional — it’s the earth beneath your home.
This philosophy shapes every flooring decision. You’ll reach for matte finishes over gloss. You’ll choose pale ash over dark walnut. You’ll feel the grain of real wood underfoot rather than the cold slip of polished stone. And crucially, you’ll build a subfloor that supports all of this with quiet confidence.
The Best Flooring Materials for a Japandi Living Room
Natural Hardwood
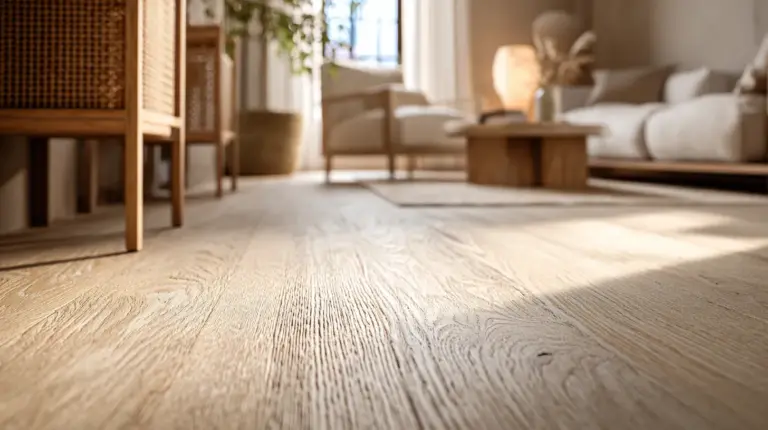
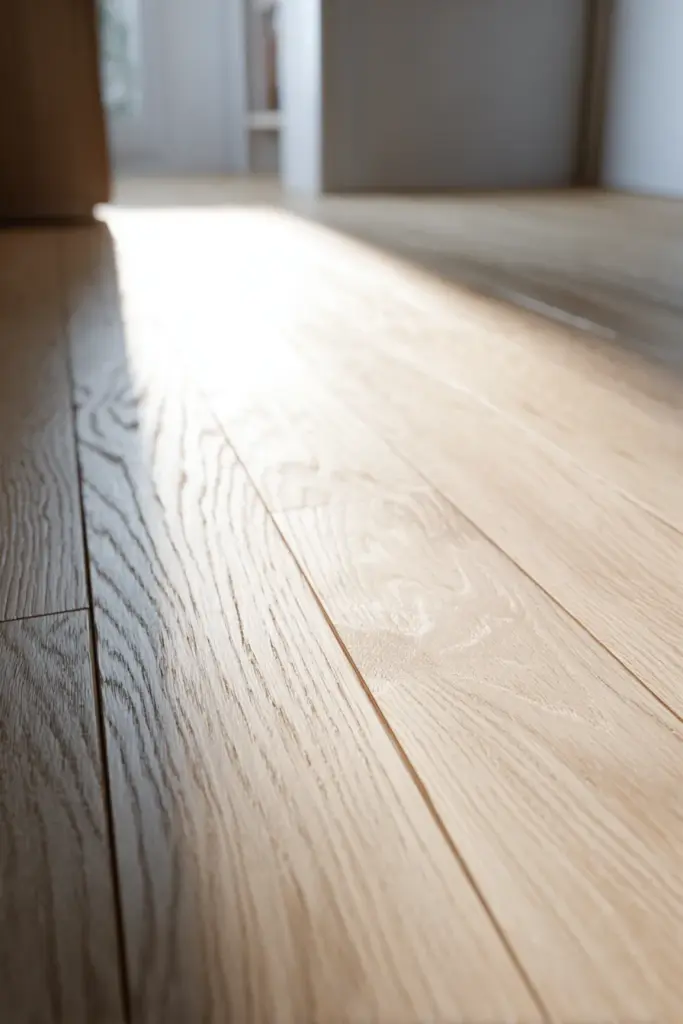
Nothing carries the spirit of Japandi quite like real wood. Light-toned species — maple, ash, white oak, or locally available narra alternatives — bring warmth without weight. Look for matte lacquered or natural oil finishes that allow the wood’s grain to breathe and age gracefully.
Engineered hardwood is often the wiser choice for Philippine climates. It’s dimensionally stable, handles humidity fluctuations better than solid wood, and can be installed over concrete subfloors with the right underlayment. Most engineered planks come in a 12–15mm profile, which fits beautifully within a low-profile Japandi stack.
Bamboo Flooring
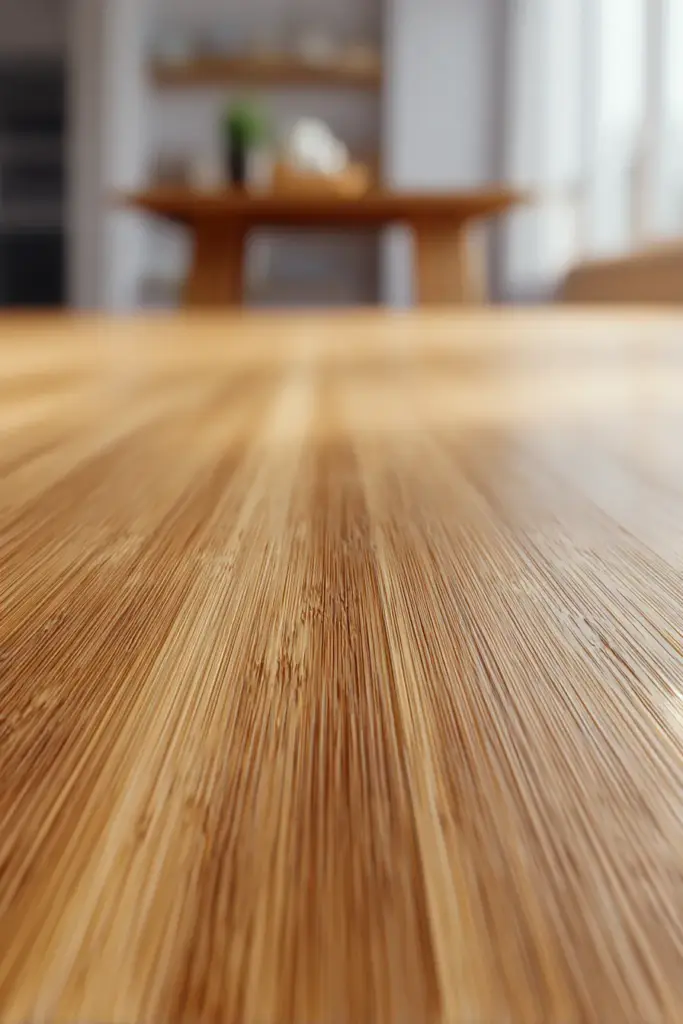
Bamboo is a Japandi favorite — sustainable, strong, and subtly textured. It grows to harvest maturity in just five years, making it one of the most eco-responsible flooring options available. FSC-certified bamboo carries third-party verification that your floor didn’t come at ecological cost.
The trade-off is sensitivity to moisture. In humid regions like Calabarzon, bamboo flooring requires a moisture barrier beneath it and must be acclimated to the room’s humidity before installation. Without proper subfloor prep, bamboo swells, buckles, and loses its quiet dignity.
Cork Flooring
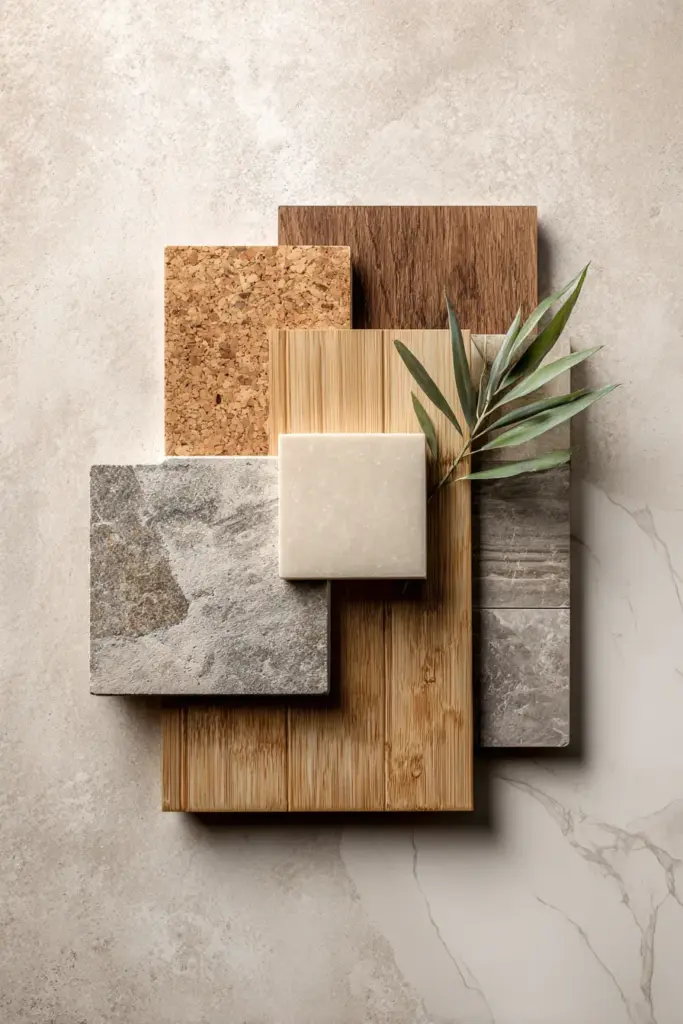
Cork is underused and deeply underappreciated. It’s soft underfoot, naturally sound-absorbing, and carries a warmth you can feel on bare feet — deeply aligned with the Japandi love of tactile living. It also has natural antimicrobial properties, which makes it a thoughtful choice for households with children.
Cork is sensitive to moisture and point pressure, so a level, dry subfloor is non-negotiable. It suits ground-floor rooms where foot traffic is moderate and the underfloor environment is well-managed.
Concrete-Look Vinyl Plank
Modern luxury vinyl plank (LVP) has come a long way. Today’s concrete-look and wood-grain vinyl options offer the visual serenity of natural materials with outstanding water resistance. For Japandi spaces in tropical climates, vinyl plank is a practical and beautiful solution.
Look for herringbone patterns in neutral grey or sand tones, or long-format planks that elongate the room. Brands like Floorify offer concrete-look and wood-grain options that sit beautifully within a minimalist palette. LVP typically installs at 6–8mm, making it an ideal option for subfloor builds with limited height clearance.
Stone and Concrete Tiles
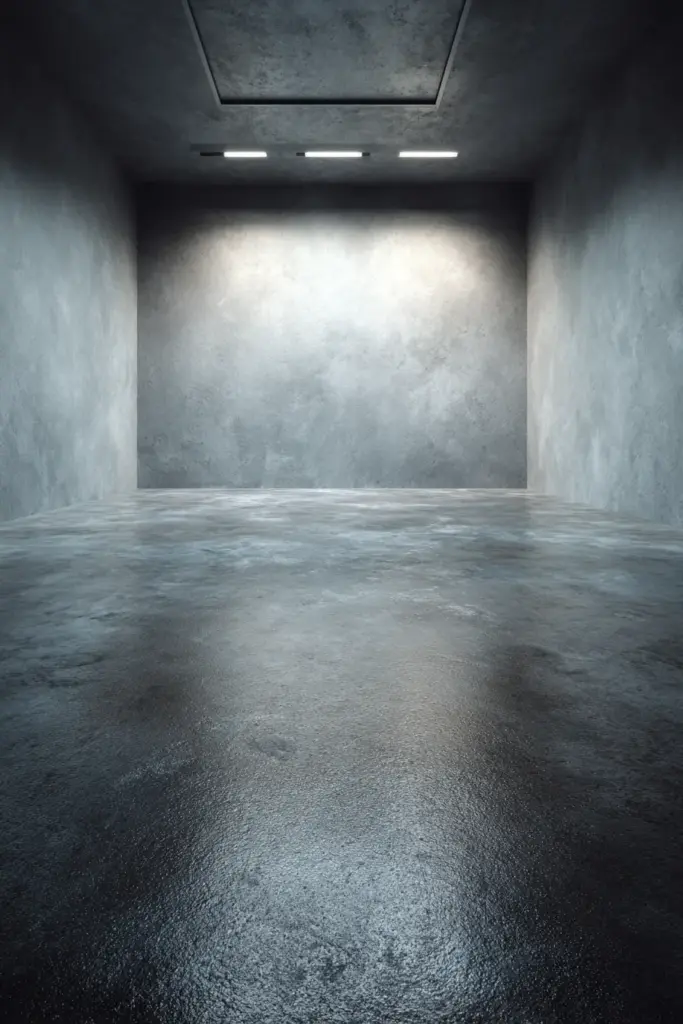
Polished concrete or large-format stone tiles create a serene, gallery-like floor that channels the Japanese aesthetic particularly well. They’re durable, cool underfoot (a welcome quality in warm climates), and profoundly low-maintenance.
The challenge is thermal comfort. Stone floors can feel cold in air-conditioned spaces. Pairing them with underfloor heating (UFH) solves this elegantly — but requires specific subfloor planning from the start.
Subfloor Preparation: The Foundation of Everything
This is where most renovation guides go quiet. They show you beautiful floors but skip the work beneath them. At ERYLIN, we believe the subfloor deserves the same care as everything you see.
Step 1 — Inspect and Clean Your Existing Subfloor
Start by removing all existing flooring and adhesives. Inspect the concrete slab for cracks, soft spots, or signs of rising damp. In the Philippines, where homes often sit on concrete slabs poured during monsoon season, moisture migration is a genuine concern.
Sweep and vacuum thoroughly. Any debris trapped beneath the floor system will eventually create noise and instability. A clean slab is a respectful beginning.
Step 2 — Moisture Testing
Moisture is the single greatest enemy of any natural flooring material. Bamboo, cork, and engineered wood all require a subfloor moisture content below 6–8% before installation. In high-humidity regions, this step cannot be skipped.
Use a pin-type or pinless moisture meter on your concrete slab. Take readings in multiple locations — near walls, in the centre, near windows. If readings are consistently above 85% relative humidity (or the equivalent moisture content for your flooring system), you need a moisture barrier before anything else goes down.
Step 3 — Level the Subfloor
A floor that isn’t level will never be quiet. Uneven concrete causes planks to bridge unsupported spans, which leads to the familiar click and bounce underfoot that betrays a poorly installed floor.
Use a long straightedge or laser level to identify low and high spots. The standard tolerance for most floating floors is a maximum variation of 3mm over 1.8 metres. Fill low areas with a self-levelling compound (available from most Philippine building supply stores). Grind down high spots carefully. Allow levelling compound to cure fully — typically 24 hours — before proceeding.
Step 4 — Termite and Pest Treatment
This is critical in the Philippine context and rarely mentioned in international flooring guides. Concrete slabs themselves don’t attract termites, but the wood subframe or skirting boards around them do. Before installing any wooden or bamboo flooring, ensure the perimeter of the slab and any timber framing has been treated with a reputable termite barrier.
Consult a licensed pest control professional for soil treatment if you’re building from the ground up. For renovation work, borate-based treatments applied to exposed timber framing are an effective and low-toxicity option.
Step 5 — Install Your Moisture Barrier and Underlayment
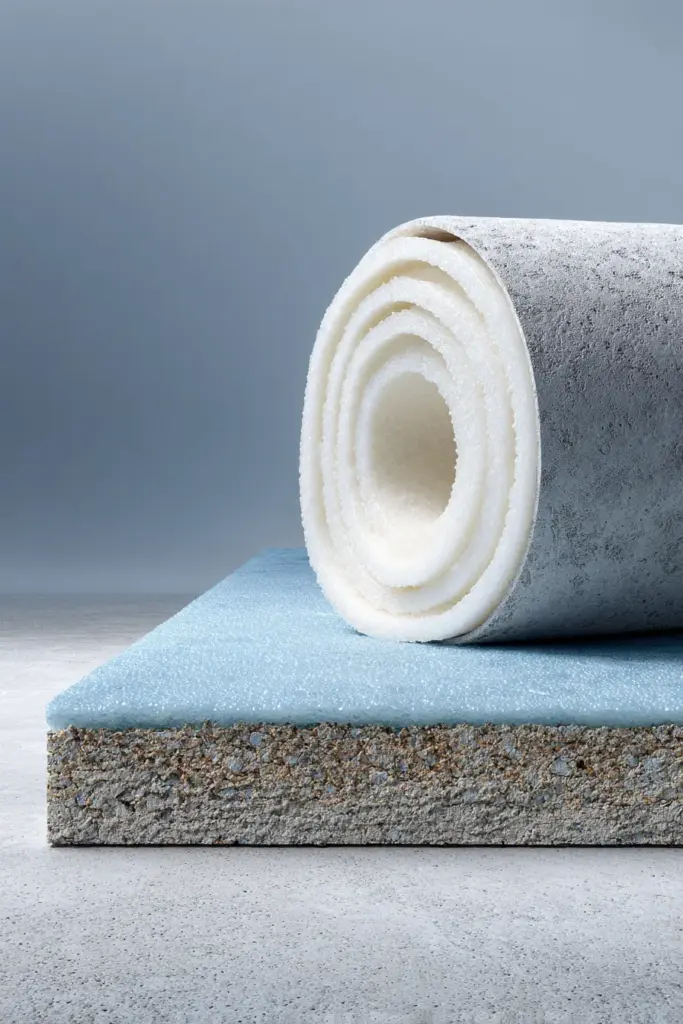
The underlayment is the quiet mediator between your subfloor and your finished floor. It serves multiple functions: moisture protection, acoustic dampening, thermal comfort, and minor levelling compensation. Choosing the right one matters.
Choosing the Right Underlayment for Japandi Flooring
| Underlayment Type | Best For | Humidity Protection | Acoustic Rating | Approx. Cost (PHP/sqm) |
|---|---|---|---|---|
| Foam (PE) | Vinyl plank, LVP | Low | Basic | 80–150 |
| Combination (foam + moisture barrier) | Engineered wood, bamboo | Good | Moderate | 150–300 |
| Cork underlay | All hard floors | Moderate | Excellent | 200–400 |
| Acoustic rubber | Open-plan living rooms | Good | Excellent | 400–600 |
| UFH-compatible foam | Heated floors | Good | Basic | 250–450 |
For bamboo flooring in humid climates, always choose a combination underlayment with an integrated polyethylene moisture barrier. The vapour barrier faces down, toward the concrete, and the foam layer faces up, cushioning the floor above.
For open-plan Japandi living rooms — where sound travels easily from kitchen to lounge — an acoustic cork or rubber underlayment reduces impact noise significantly. This is especially relevant in multi-storey homes.
For underfloor heating systems, use only UFH-compatible underlayments with a maximum thermal resistance (tog) specified by your UFH manufacturer. Most engineered wood and LVP can be used with UFH at surface temperatures not exceeding 27°C. Always verify with your flooring supplier.
Subfloor Height and the Low-Profile Japandi Stack
One of Japandi design’s quiet rules is visual continuity at the floor level. Thick, raised transitions between rooms break the spell. A 10–15mm total floor stack is ideal for maintaining a seamless, low-profile aesthetic.
Here’s how a well-considered Japandi floor stack might look:
- Concrete slab — existing structure
- Moisture barrier — 0.2mm polyethylene film
- Underlayment — 2–3mm foam or cork
- Engineered hardwood or LVP plank — 8–12mm
- Total stack height — approximately 10–15mm
This slim profile keeps door clearances comfortable, transitions between rooms easy, and the overall floor level consistent with a Japandi aesthetic.
Flooring Installation Cost Guide (Philippines)
Prices are approximate and vary by region, supplier, and season.
| Item | Estimated Cost (PHP/sqm) |
|---|---|
| Concrete levelling compound | 150–400 |
| Moisture barrier film | 30–80 |
| Foam underlayment (basic) | 80–150 |
| Acoustic/cork underlayment | 200–500 |
| Engineered hardwood (supply) | 1,200–3,500 |
| Bamboo flooring (supply) | 800–2,000 |
| Luxury vinyl plank (supply) | 500–1,500 |
| Labour (installation) | 300–600 |
| Termite treatment (perimeter) | 50–150 |
For a typical 25–30 sqm Japandi living room in the Calabarzon region, a complete flooring project — from subfloor prep to finished planks — might range from PHP 45,000 to PHP 140,000 depending on material choices.
Sustainability in Your Japandi Floor
The Japandi aesthetic is inseparable from ecological mindfulness. When choosing materials, look beyond aesthetics to lifecycle impact.
Bamboo regenerates in 3–5 years versus 25–80 years for hardwood — one of the lowest-carbon flooring options available. Cork is harvested without felling the tree. FSC-certified engineered wood ensures responsible forest management. Recycled vinyl content in LVP is a growing 2026 trend, reducing the carbon cost of an otherwise petroleum-based product.
Ask your supplier for Environmental Product Declarations (EPDs) or FSC certifications. A Japandi floor that cares for the earth carries a deeper beauty.
Japandi Flooring Checklist
Before installation begins, run through these:
- Concrete slab inspected for cracks and soft spots
- Moisture readings taken in multiple locations (target: below 6–8%)
- Subfloor levelled to within 3mm per 1.8m
- Termite treatment applied to timber framing and perimeter
- Moisture barrier installed (especially for bamboo and cork)
- Underlayment selected based on flooring type and acoustic needs
- Total floor stack height calculated (target: 10–15mm)
- UFH compatibility confirmed if applicable (max surface temp 27°C)
- Flooring acclimated to room humidity for 48–72 hours before install
- Expansion gaps left at all walls and fixed objects (min. 10mm)
Conclusion
A Japandi living room floor is not just something you walk on. It is the ground of your home’s quietest, most beautiful moments. The morning light catches the grain of pale ash. The soft give of cork underfoot meets bare feet. The room breathes evenly, unhurried.
That serenity starts beneath what you see. In the levelled concrete, the moisture-tested slab, the carefully chosen underlayment. In the small, considered decisions made before the first plank is ever laid.
Build your foundation with the same intention you bring to every visible detail. Your floor — and your home — will hold that care for years to come.
Explore more in the ERYLIN series: Japandi Lighting Ideas, Cozy Japandi Furniture for Small Spaces, and Underfloor Heating in Japandi Interiors.
Frequently Asked Questions
What is the best flooring for a Japandi living room?
The best choices are light-toned engineered hardwood, bamboo, cork, or concrete-look luxury vinyl plank. All align with Japandi’s matte, natural, and textural aesthetic. In humid climates like the Philippines, engineered hardwood and LVP offer the best balance of beauty and stability.
How do I prepare a subfloor for Japandi bamboo flooring?
Test moisture levels with a meter — bamboo requires a slab moisture content below 6–8%. Level the concrete to within 3mm per 1.8 metres. Install a combination foam-and-moisture-barrier underlayment. Acclimate bamboo planks in the room for at least 48–72 hours before installation.
Can you use a concrete subfloor with Japandi wood planks?
Yes — concrete slabs are the most common subfloor in Philippine homes and work well for floating engineered wood or bamboo installations. Ensure the slab is dry, level, and treated for moisture before laying underlayment and planks.
What underlayment is best for Japandi flooring in a humid climate?
Choose a combination underlayment with an integrated polyethylene moisture barrier for humid regions. For open-plan living rooms, acoustic cork or rubber underlayment adds sound dampening. Budget PHP 150–500/sqm for a quality underlayment suited to tropical conditions.
What is the approximate Japandi flooring installation cost per sqm in the Philippines?
A complete Japandi floor — from subfloor prep to finished planks — typically ranges from PHP 1,200–4,500/sqm depending on material choice. Bamboo and LVP sit at the accessible end; engineered hardwood with acoustic underlayment sits at the higher end. For a 25–30 sqm living room, budget between PHP 45,000–140,000 all-in.