Table of Contents
There’s something quietly powerful about breathing new life into forgotten furniture. That worn dresser in your grandmother’s attic, the scuffed coffee table relegated to the garage—they hold stories, craftsmanship, and potential waiting to be rediscovered.
Upcycling old furniture isn’t just about saving money or being eco-conscious, though both are beautiful byproducts. It’s about creating something uniquely yours, a piece that carries history forward while speaking to your present style. It’s the intersection of sustainability and soul.
In a world of mass-produced sameness, upcycled furniture becomes a statement—not loud, but deeply intentional. Each brushstroke, each carefully chosen hardware detail, transforms the ordinary into the extraordinary. And the process itself? It’s meditative, creative, and surprisingly achievable.
Let’s explore how to turn overlooked pieces into the kind of furniture that makes guests pause and ask, “Where did you find that?”
Understanding the Art of Furniture Upcycling
Furniture upcycling is the practice of transforming old, worn, or outdated furniture into refreshed, stylish pieces without discarding the original structure. Unlike recycling, which breaks materials down, upcycling elevates them—preserving character while enhancing function and beauty.
The magic lies in seeing potential where others see problems. That chipped veneer? An opportunity for creative texture. Those dated brass handles? A chance to introduce modern matte black or brushed gold accents.
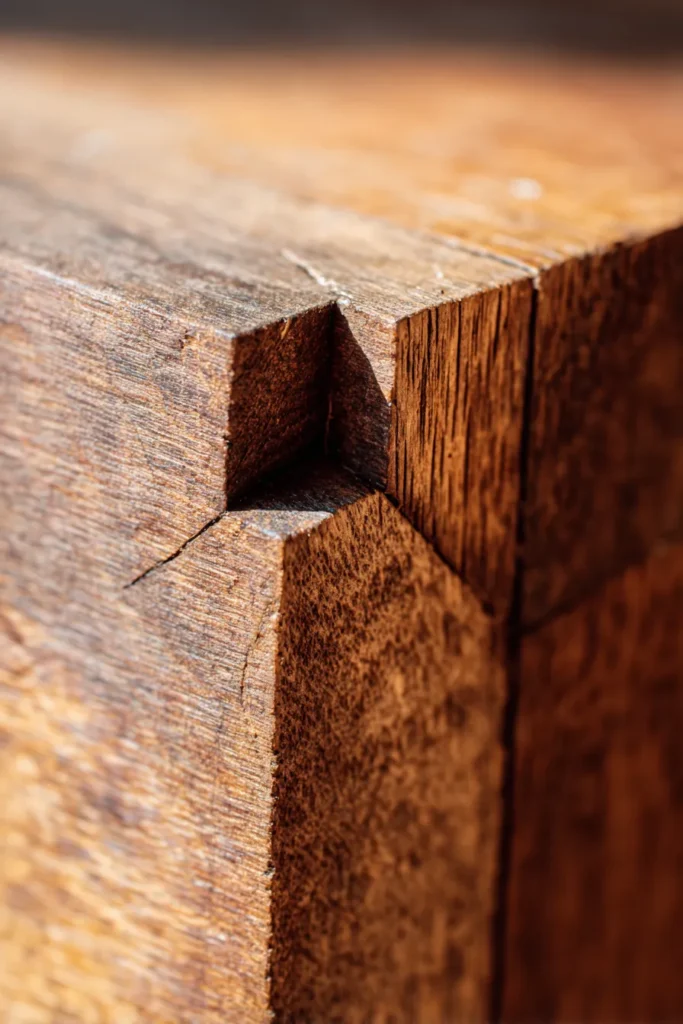
Upcycling honors the craftsmanship of older pieces—the dovetail joints, solid wood construction, and attention to detail rarely found in contemporary furniture. You’re not just updating aesthetics; you’re curating quality that has already stood the test of time.
Why Upcycle? The Triple Benefit
The reasons to embrace furniture restoration extend far beyond trendiness. First, there’s sustainability—keeping furniture out of landfills reduces waste and the environmental cost of manufacturing new pieces. Every upcycled dresser is one less tree harvested, one less carbon footprint expanded.
Second, there’s the economic advantage. Quality vintage furniture often costs a fraction of new designer pieces, yet with thoughtful upcycling, it can rival or surpass them in visual impact and durability.
Third, and perhaps most compelling, is the emotional connection. Upcycled pieces tell stories. They become conversation starters, heirlooms in the making, reflections of your creativity and values woven into your daily environment.
Assessing Your Furniture: The Foundation of Success
Before you sand or paint a single surface, take time to truly evaluate your piece. Turn it over, open every drawer, test its stability. This assessment determines whether a piece deserves your time and investment.
Look for solid wood construction over particleboard or laminate. Solid wood can be sanded, stained, and transformed repeatedly. Press firmly on surfaces—they shouldn’t flex or feel hollow. Check joints for wobbling or separation; these can often be repaired with wood glue and careful clamping.
Examine the existing finish carefully. Is it paint, varnish, or wax? Run your hand across the surface—smooth finishes are easier to work with, while rough or flaking finishes may require more intensive prep work but often reward you with beautiful wood underneath.
Recognizing Worthy Candidates for Transformation
The best upcycling candidates combine structural integrity with design potential. Mid-century modern pieces with clean lines translate beautifully into contemporary spaces. Ornate Victorian furniture can become statement pieces with the right color treatment.
Look for unique details worth preserving: carved drawer fronts, interesting leg shapes, original hardware with patina, or unexpected proportions. These elements become the signature features of your finished piece.
Avoid furniture with severe water damage, extensive veneer bubbling that can’t be glued down, or broken joints in hard-to-access areas. Sometimes the repair costs—in time and materials—outweigh the benefits, especially when countless other pieces await transformation.
Essential Tools and Materials for Furniture Upcycling
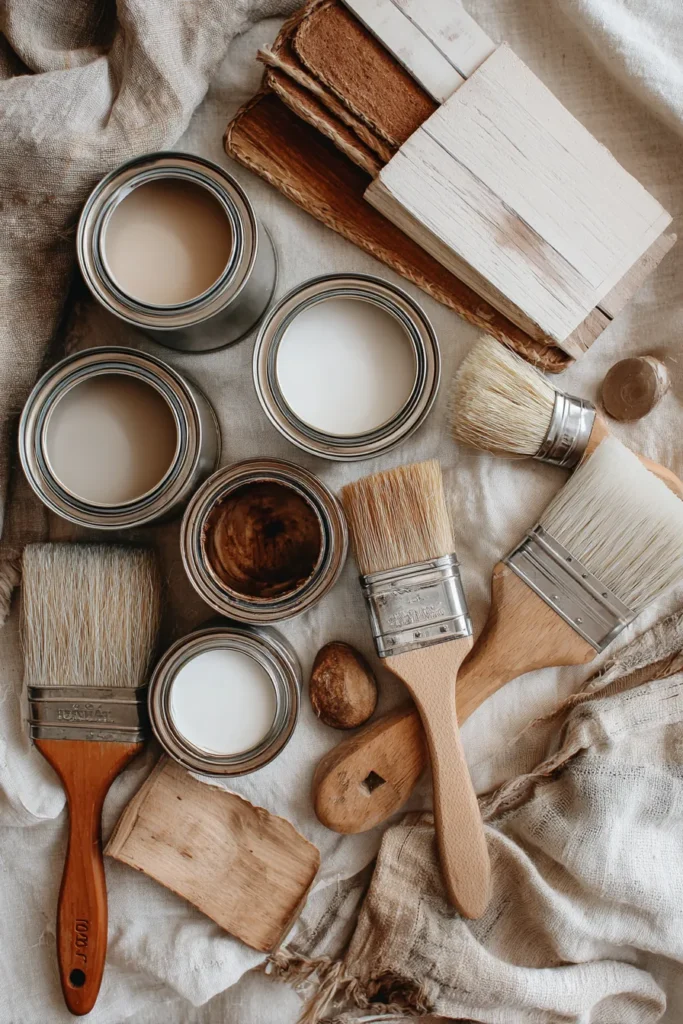
Your upcycling toolkit doesn’t need to be extensive, but quality matters. Start with the basics: medium and fine-grit sandpaper (120, 180, and 220 grit), a sanding block or electric sander, tack cloths for dust removal, and a good set of screwdrivers for hardware removal.
For application, invest in quality brushes—foam brushes for smooth finishes, angled brushes for detail work, and roller brushes for large flat surfaces. Cheap brushes shed bristles that mar your finish, creating frustration you don’t need.
Choose eco-friendly materials whenever possible. Look for low-VOC or zero-VOC paints, water-based polyurethanes, and natural wood stains. These protect both your health during the project and your home’s air quality long after. Mineral paints, in particular, offer excellent coverage and durability while remaining environmentally conscious.
Innovative Materials That Elevate Results
Consider specialty eco-coatings that provide durability without harsh chemicals. Products like hemp oil finishes or beeswax-based sealants offer protection while maintaining the wood’s natural texture and breathing properties.
Sustainable veneers made from rapidly renewable sources like bamboo can transform damaged surfaces without the weight or cost of solid wood replacement. They’re particularly useful for modernizing the tops of tables or dressers with irreparable surface damage.
For hardware, explore reclaimed options from architectural salvage shops or mix vintage and new elements. A combination of aged brass cup pulls with modern linear handles creates visual interest and bridges traditional and contemporary aesthetics.
Step-by-Step: Transforming Your First Piece
Let’s walk through a complete furniture makeover using a classic example: a tired wooden dresser becoming a sophisticated statement piece.
Step 1: Preparation and Cleaning
Remove all hardware, labeling each piece if you plan to reuse it. Clean every surface with a degreaser or TSP substitute—years of dust, oils, and residue must go. This step isn’t glamorous, but it’s critical. Paint and finishes bond to clean surfaces, not grime.
Step 2: Repair and Stabilization
Address any structural issues now. Reglue loose joints, fill gouges with wood filler, and ensure drawers slide smoothly. If drawer slides are broken, consider installing modern soft-close hardware for added functionality. This is where you’re honoring the piece’s integrity before enhancing its beauty.
Step 3: Surface Preparation
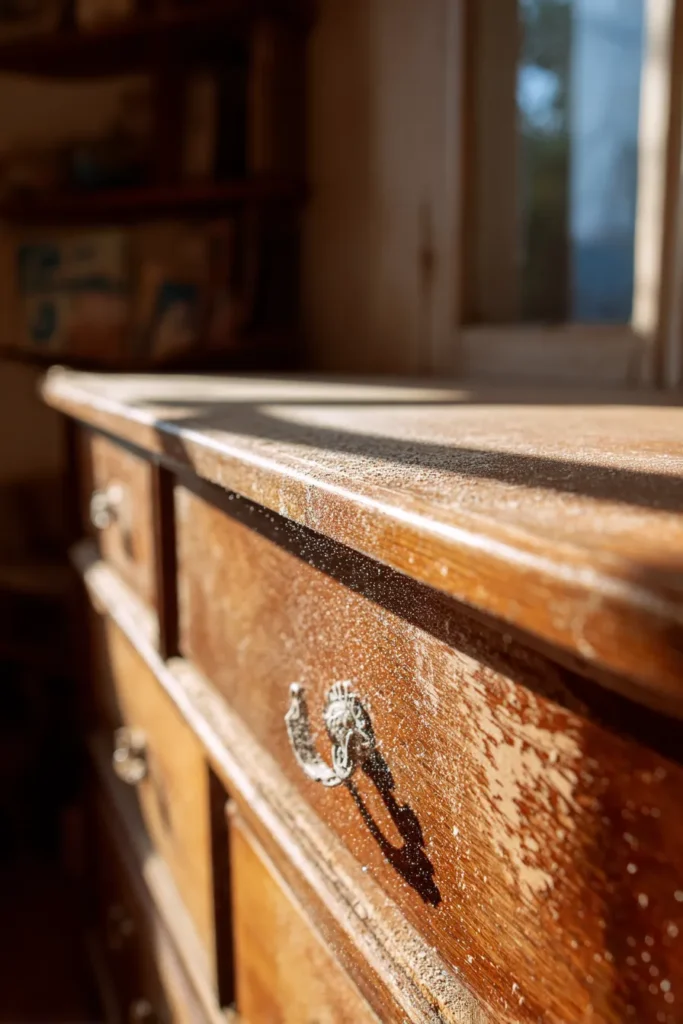
Sand all surfaces you plan to finish, working from coarser to finer grits. You’re not necessarily removing all existing finish—just creating a slightly rough surface for new paint or stain to grip. Always sand in the direction of the wood grain to avoid scratches.
After sanding, use a tack cloth to remove every speck of dust. Then wipe down with a slightly damp cloth and let dry completely. Any dust remaining will create bumps in your finish—patience here pays dividends.
Applying Your Chosen Finish
For painted finishes, apply a quality primer first, especially over dark or varied existing finishes. Primer creates a uniform base and improves paint adhesion dramatically. Use thin coats—two to three light coats always surpass one heavy coat that drips and takes forever to dry.
Allow proper drying time between coats. Rushing this stage leads to tackiness, smudging, and frustration. Read your paint’s specifications and add an extra hour beyond the recommended minimum in humid conditions.
For stained finishes, test your stain on an inconspicuous area first. Apply with a brush or cloth, working in sections and wiping away excess before it dries. Stain penetrates differently depending on wood type and grain density, so this test prevents surprises on visible surfaces.
Seal all finishes—painted or stained—with an appropriate topcoat. Water-based polyurethane offers durability without yellowing. Apply at least two coats, lightly sanding with 220-grit sandpaper between coats for smoothness.
Creative Transformation Ideas That Make Impact
Bold Color Blocking
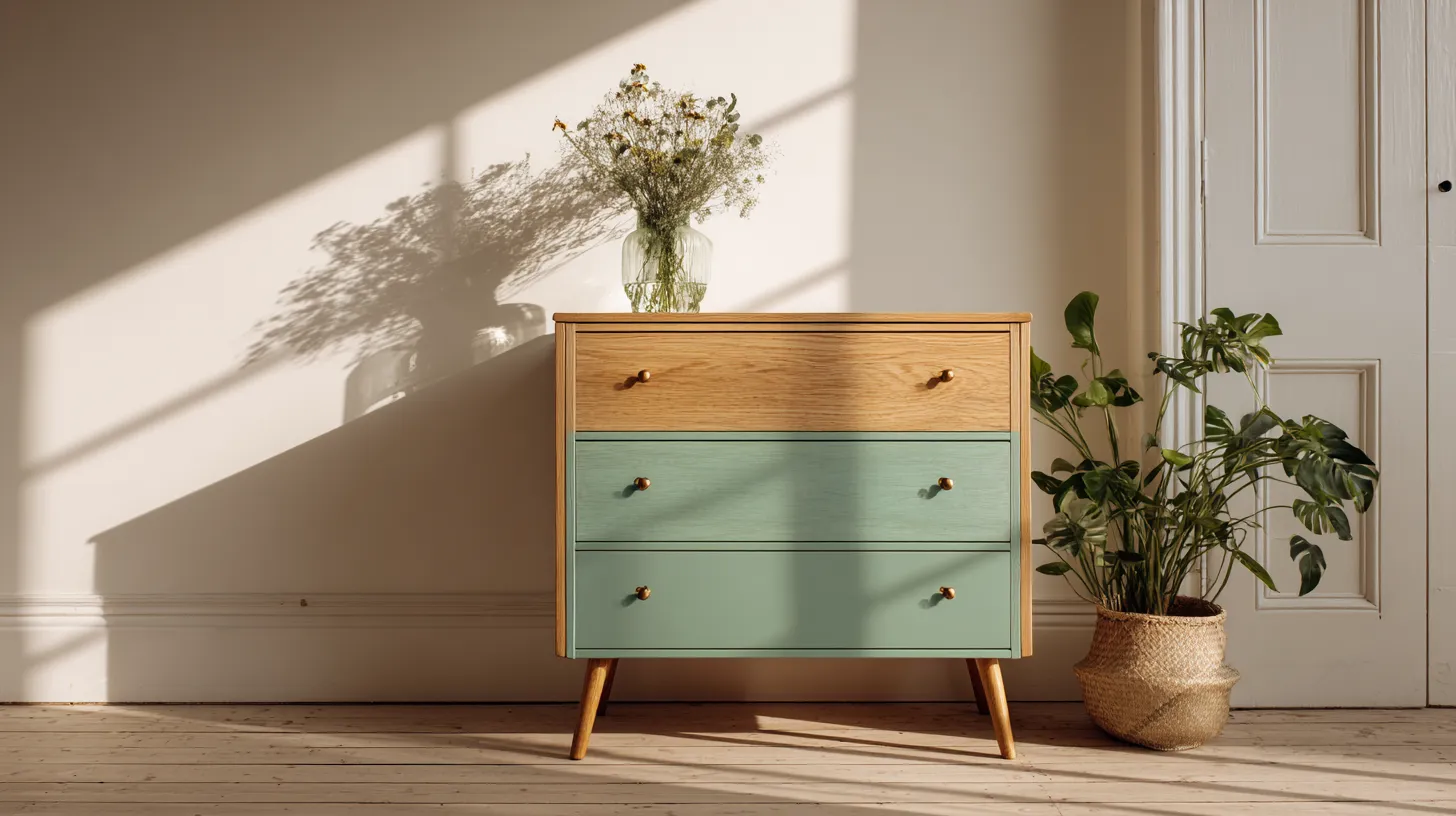
Instead of painting your entire piece one color, consider two-toning. Paint the body in a soft sage or warm terracotta, then contrast drawer fronts in deep charcoal or cream. This technique adds visual interest and highlights the furniture’s architecture.
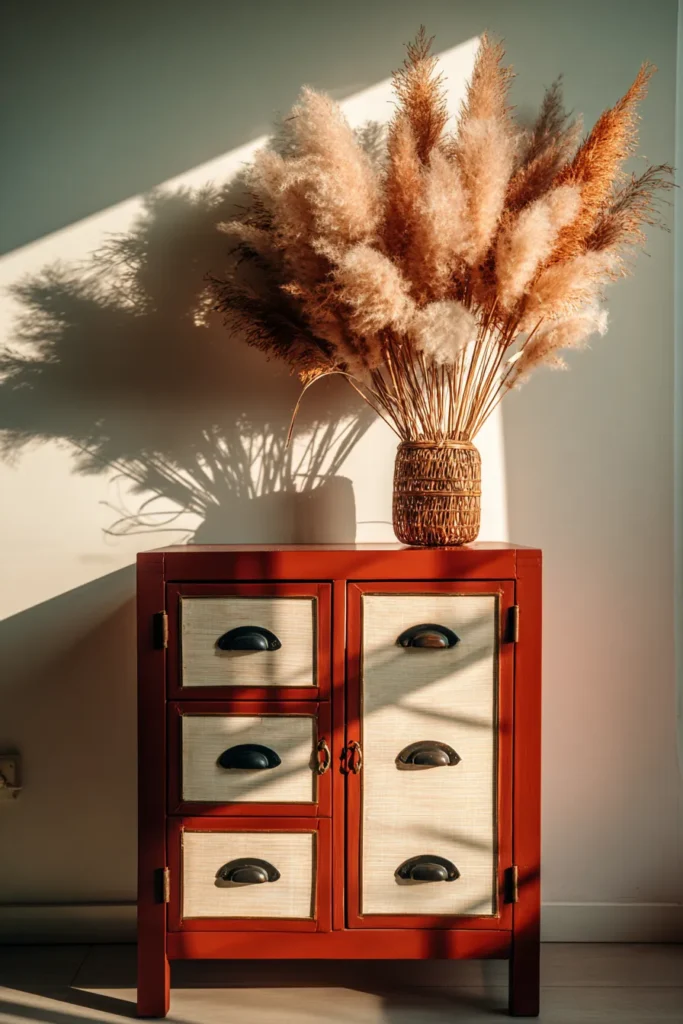
Modern rustic elegance shines through when you pair unexpected colors—dusty blue with raw wood tones, or blush pink with aged brass hardware. These combinations feel curated rather than matched, sophisticated rather than safe.
Textural Additions
Layer texture through techniques like dry brushing, where you barely load your brush with contrasting paint and sweep it across raised details. This highlights carved elements and adds subtle dimension.
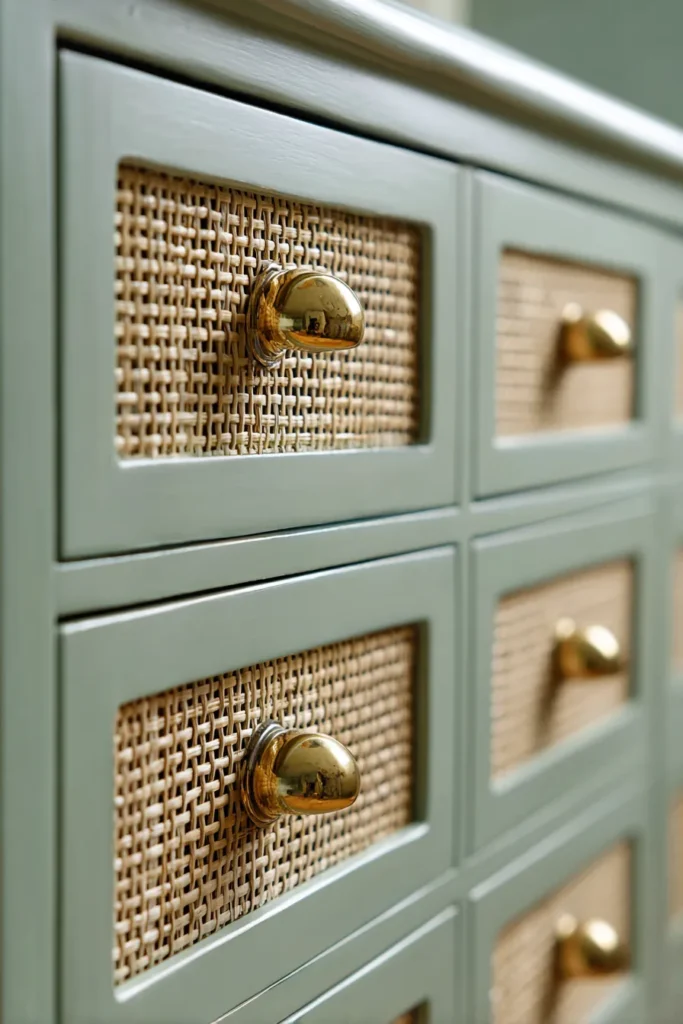
Consider adding natural cane webbing to drawer fronts or cabinet doors. This nods to traditional craftsmanship while introducing organic texture that softens painted surfaces. Cane works beautifully in modern, coastal, and traditional spaces alike.
Functional Reinvention
Upcycling for multifunctional use addresses modern living challenges, particularly in smaller homes where every piece must earn its place. An old dresser becomes a bathroom vanity with the addition of a vessel sink and plumbing modifications. A vintage door transforms into a headboard or room divider.
Consider turning low filing cabinets into elevated planters with metal liners, or repurposing a wooden ladder into a blanket rack or towel holder. These functional transformations add unique character impossible to buy retail
Statement hardware makes dramatic impact with minimal effort. Replace standard knobs with leather pulls, crystal knobs, or geometric brass handles. Hardware functions as jewelry for furniture—the detail that elevates good to exceptional.
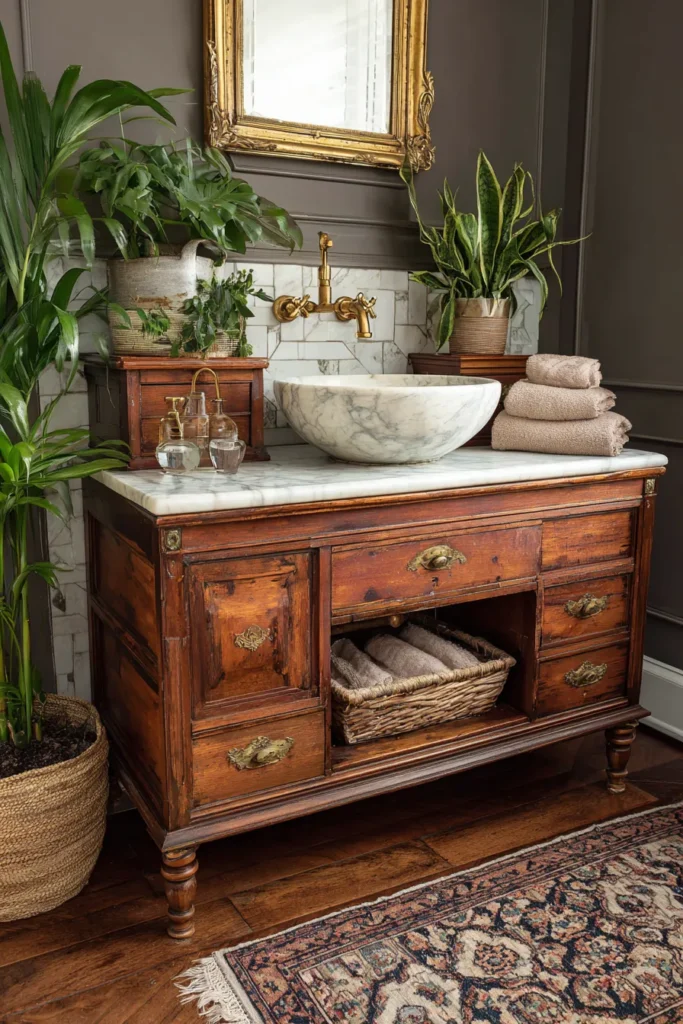
Preserving Character While Modernizing Style
The tension between modernization and authenticity creates the most compelling upcycled pieces. You want furniture that feels current without erasing its history entirely.
Preserve original craftsmanship details whenever possible. If your piece features beautiful wood grain, consider stripping paint rather than covering it. Hand-carved elements deserve highlighting, not hiding—use stain or clear finishes that showcase rather than conceal.
When hardware shows authentic aged patina, clean and reuse it rather than replacing it. That greenish tint on brass, the worn edges of iron pulls—these tell time’s story in ways new hardware never can.
Balancing Old and New
Mix preservation with modern elements for pieces that feel timeless rather than dated. You might strip and oil an oak tabletop to reveal gorgeous grain while painting the base a contemporary charcoal. The contrast honors both the wood’s beauty and current aesthetic preferences.
For ornate Victorian pieces, consider selective simplification. Remove fussy decorative elements that feel too busy while retaining the overall silhouette and key details. Sometimes less truly is more, allowing the piece’s bones to shine through.
This balanced approach also impacts market value for those considering selling upcycled furniture. Collectors often prize pieces that respect original craftsmanship while demonstrating tasteful updates. Research comparable pieces before making irreversible changes to valuable antiques.
Safety and Environmental Considerations
Protect yourself throughout the process. Wear appropriate masks when sanding—wood dust, old paint particles, and finish fumes can harm respiratory health. Work in well-ventilated areas, ideally outdoors or in a garage with open doors.
Old furniture, particularly pieces from before 1978, may contain lead paint. Test before sanding if you suspect lead presence. Lead dust is extremely hazardous; if tests are positive, consider professional stripping or encapsulation methods rather than DIY sanding.
Choose materials mindfully for environmental impact. Water-based products typically contain fewer harmful VOCs than oil-based alternatives. Natural finishes like linseed oil, tung oil, or beeswax offer protection while remaining biodegradable and low-toxicity.
Consider the lifecycle of your materials. Can paint cans be recycled in your area? Are your brushes cleanable and reusable, or disposable? Even small choices accumulate into larger environmental impacts.
Disposal and Responsible Material Choices
Properly dispose of chemical strippers, stains, and finishes according to local hazardous waste guidelines. Never pour these down drains—they contaminate water systems. Most communities offer hazardous waste collection days for safe disposal.
When choosing new materials to add, prioritize sustainable options. Reclaimed wood for shelving additions, recycled glass for tabletop insets, or salvaged metal for custom legs honor the upcycling ethos throughout your project.
Common Mistakes to Avoid
Skipping surface preparation tops the list of regrettable shortcuts. No amount of premium paint can adhere properly to dirty, glossy, or unstable surfaces. That hour spent cleaning and sanding saves days of frustration later when paint doesn’t peel or chip.
Using incompatible products creates heartbreak. Oil-based products over water-based, or vice versa without proper preparation, can prevent drying or cause peeling. Always read product labels for compatibility information.
Inadequate drying time between steps ruins otherwise excellent work. Environmental conditions matter—high humidity slows drying significantly. When instructions say “wait 24 hours,” that’s not a suggestion. Patience isn’t just virtue; it’s project insurance.
Finishing Without Protection
Skipping the topcoat leaves your beautiful paint job vulnerable to everyday wear. Furniture gets touched, bumped, and used. Unprotected paint chips and stains easily, making your hard work look shabby within months.
Similarly, rushing final reassembly causes problems. Make sure all finish coats are fully cured (not just dry to the touch) before reattaching hardware or placing objects on surfaces. Cure times can extend days or even weeks beyond initial drying.
Upcycling Checklist: Your Project Success Guide
- Assess furniture thoroughly: Check structure, wood quality, and repair needs before starting
- Gather all tools and materials: Having everything ready prevents mid-project frustration
- Clean surfaces completely: Remove all dirt, grease, and residue for proper adhesion
- Make structural repairs first: Fix loose joints, fills gouges, address functionality issues
- Sand appropriately: Create smooth, slightly rough surface for finish adhesion
- Remove all dust: Use tack cloth and damp wipe before applying any finish
- Test finishes: Try stains and techniques on hidden areas first
- Apply thin, even coats: Multiple light layers beat one heavy application
- Allow proper drying time: Follow product specifications, add extra time in humidity
- Protect with topcoat: Seal painted or stained surfaces for durability
- Use quality hardware: Elevate the finished piece with thoughtful details
- Work in ventilated areas: Protect your health throughout the process
- Dispose of materials properly: Follow local guidelines for chemical products
Creating Your Signature Style
As you complete more projects, you’ll develop a recognizable aesthetic. Maybe you gravitate toward soft neutrals with natural wood tones, or perhaps bold jewel tones feel more authentically you.
Develop consistency through repeated color palettes, similar hardware choices, or favorite techniques. This creates cohesion when multiple upcycled pieces occupy the same space, making intentional design apparent rather than accidental collection.
Document your process through photos—before, during, after. These become your portfolio if you consider selling pieces, and they’re invaluable for tracking what techniques worked well or which products delivered the best results.
When Upcycling Becomes Business
Many furniture flippers began as hobbyists who discovered their refinished pieces attracted attention and offers. If you’re considering selling upcycled furniture, understand your local market first. Research what styles sell, appropriate pricing, and where collectors shop—online marketplaces, consignment stores, or craft fairs.
Price to reflect your time, materials, and skill while remaining competitive. Factor in the original piece’s cost, supplies, and a fair hourly rate for your labor. Quality work commands premium prices—don’t undervalue craftsmanship.
Build a brand identity around your work. Develop a memorable business name (consider creative upcycled furniture slogans that reflect your values: “Where Stories Meet Style” or “Reclaimed, Reimagined, Remarkable”). Consistent branding helps you stand out in a growing market.
The Emotional Reward of Creation
Beyond the practical benefits and beautiful results, upcycling offers something profoundly satisfying: the knowledge that your hands created beauty from neglect, value from discard.
There’s meditation in the rhythmic motion of sanding, creative flow in choosing the perfect color, pride in solving structural puzzles. These quiet hours of focused work offer respite from digital overwhelm and constant connectivity.
The finished piece becomes more than furniture—it’s evidence of patience, creativity, and resourcefulness. It’s proof that beautiful things needn’t be expensive or new, that sustainability can be stylish, that you possess skills worth developing.
Frequently Asked Questions
How do I know if old furniture is worth upcycling?
Look for solid wood construction, stable joints, and unique design details. Furniture that wobbles slightly or has surface damage is often fixable, but avoid pieces with severe structural issues, extensive water damage, or particleboard construction that limits transformation options.
What’s the easiest upcycling project for beginners?
Start with a small wooden side table or chair. These manageable pieces let you practice sanding, painting, and sealing techniques without overwhelming time or material investment. Swapping hardware on existing furniture is another confidence-building entry point.
Can I upcycle furniture without sanding?
Some specialty paints, like chalk paint or mineral paint, claim to require minimal surface prep. However, light sanding significantly improves adhesion and longevity even with these products. At minimum, clean thoroughly and scuff sand glossy surfaces lightly for best results.
How do I make old furniture look modern without losing its character?
Use contemporary colors on the body while preserving original wood tones or details. Update hardware to modern styles, but retain the piece’s overall silhouette. Simplify overly ornate elements selectively rather than removing all personality. Balance is key.
What are the best finishes for high-use furniture pieces?
Water-based polyurethane offers excellent durability with low toxicity for dining tables, dressers, and other frequently touched pieces. For softer finishes with easier repair, consider hardwax oils. Apply multiple coats and allow full cure time before use for maximum protection.