Table of Contents
There’s something quietly powerful about bringing green life into your home. A single potted fern can soften a corner. A cluster of succulents can turn a windowsill into a living gallery.
But plants deserve more than crowded countertops and forgotten floor corners. They deserve displays that elevate them—and your space—without draining your budget.
The truth is, creating beautiful plant displays doesn’t require expensive shelving units or designer stands. With a few simple materials, a weekend afternoon, and a little creativity, you can craft displays that feel custom, intentional, and entirely yours. Let’s explore how to turn everyday items into stunning botanical showcases that breathe life into every room.
Why DIY Plant Displays Matter More Than You Think
Store-bought plant stands often feel generic. They lack the warmth and character that comes from something made with intention.
When you build your own displays, you’re not just saving money—you’re creating pieces that fit your exact space, style, and plant collection. A ladder shelf can hold twelve pots in just two square feet. A mounted rail system can transform a bare wall into a vertical garden that purifies your air while it beautifies your view.
DIY displays also let you adapt as your collection grows. Start with a simple wooden crate arrangement, then expand with floating shelves or hanging planters as your green family multiplies. Each piece becomes part of your home’s evolving story.
Understanding Your Space and Plant Needs
Before you gather materials, pause. Look at your rooms with fresh eyes.
Notice where natural light pools in the morning. Identify corners that feel empty or walls that need softening. Consider which plants will live where—your trailing pothos needs different support than your upright snake plant.
Light and Plant Pairing Basics
Low-light champions like ZZ plants and pothos thrive on shelves away from windows. They’re forgiving and sculptural, perfect for beginners building their first displays.
Bright-light lovers such as succulents and cacti need window-adjacent stands or hanging displays where sunlight can reach them directly. Place them on ladder shelves positioned perpendicular to south-facing windows for optimal exposure.
Medium-light plants including philodendrons and ferns work beautifully on floating shelves at mid-wall height, where they catch diffused light without direct sun exposure. These are your most versatile options for creative display arrangements.
| Plant Type | Light Needs | Best Display Options | Watering Frequency |
|---|---|---|---|
| ZZ Plant | Low to Medium | Corner shelves, floor stands | Every 2-3 weeks |
| Pothos | Low to Bright | Hanging planters, wall rails | Weekly |
| Succulents | Bright Direct | Window ledges, ladder stands | Every 10-14 days |
| Snake Plant | Low to Medium | Floor stands, tall shelves | Every 2-4 weeks |
| Ferns | Medium Indirect | Floating shelves, macrame hangers | Every 4-7 days |
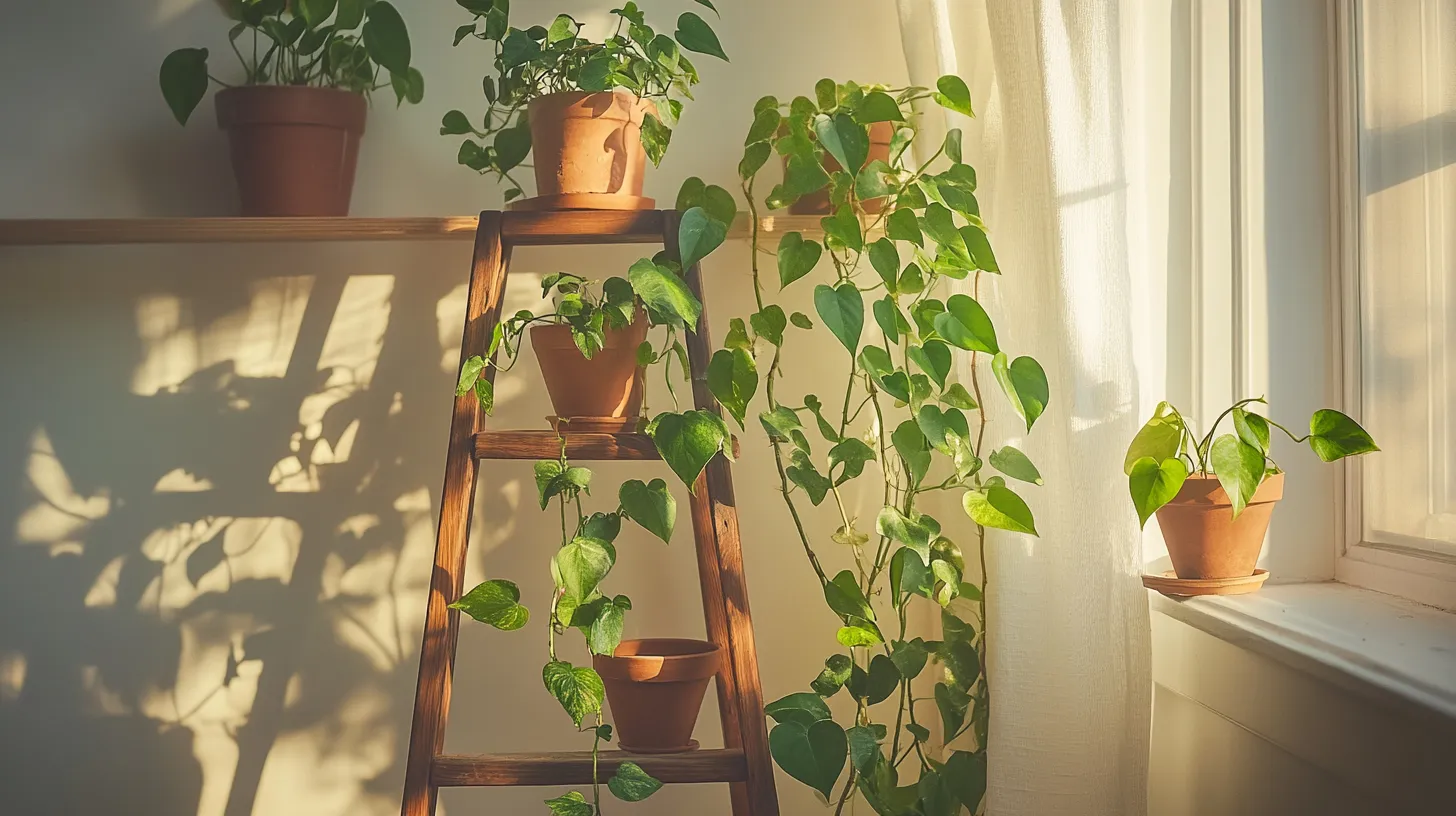
The Upcycled Wooden Ladder: Your Vertical Garden Foundation
Old wooden ladders are DIY gold. You’ll find them at thrift stores for $10-20, or ask neighbors during spring cleanups.
Sand the rungs gently to prevent splinters. Apply a clear sealant if you’re using it outdoors, or leave the wood raw for a weathered, rustic look indoors. The natural grain tells its own story.
Building Your Ladder Display
Lean the ladder against a wall at a slight angle for stability. No mounting required—perfect for renters. Place larger pots on lower rungs where they’re easier to water, lighter plants up high.
Add small S-hooks to hang trailing plants like string of pearls between rungs. Drape their vines downward to create cascading greenery that draws the eye vertically. The result feels intentional, layered, alive.
Cost breakdown: Ladder ($15), sandpaper ($3), plants ($20-40). Total: Under $60 for a display that holds 8-12 pots and transforms an entire wall.
Floating Shelf Magic: Clean Lines, Maximum Impact
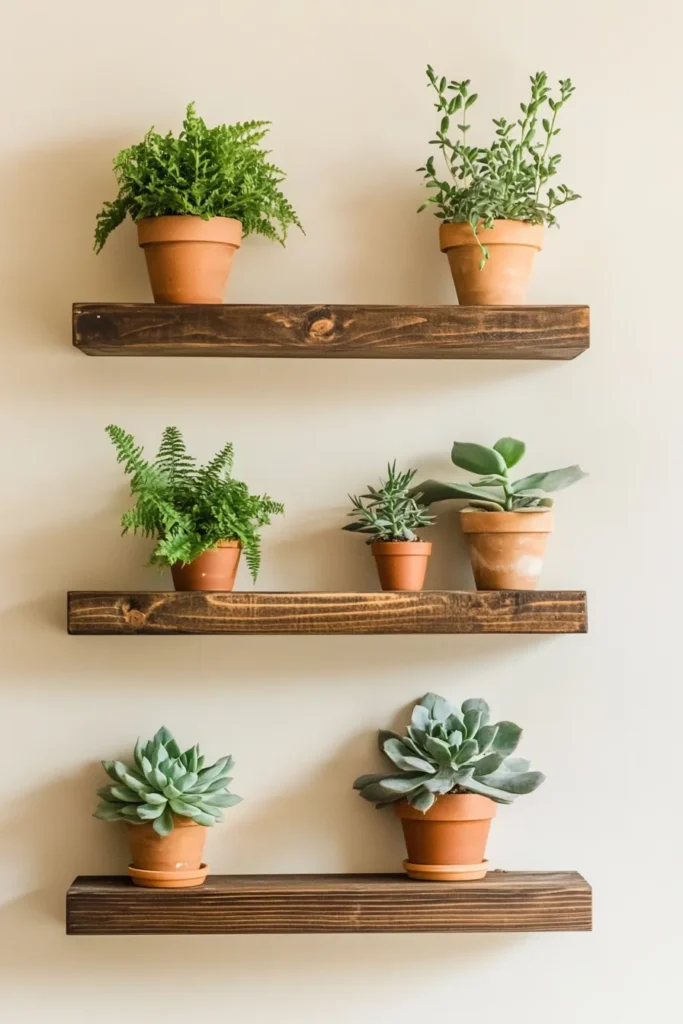
Floating shelves create the illusion that your plants are suspended in air. They’re sleek, modern, and surprisingly simple to install.
Purchase unfinished pine shelves at hardware stores—6-8 inches deep, any length. Stain them in warm walnut tones or paint them matte white to match your walls. The key is repetition: install three to five shelves at staggered heights for a gallery effect.
Installation Tips for Renters
Use heavy-duty damage-free hanging strips rated for 16 pounds per set. They hold surprisingly well and remove cleanly when you move.
Arrange plants by size: smallest succulents on top shelves, medium pothos in the middle, larger ferns on lower levels. This creates visual balance and makes watering easier—you’re not reaching over large pots to tend small ones.
Pro tip: Paint small terracotta pots in coordinating colors—sage green, cream, terracotta—to unify your display. The repetition of color creates cohesion even with different plant varieties.
Cinder Block Geometry: Industrial Charm Meets Function
Cinder blocks are the unexpected heroes of budget displays. At $2-3 each, they’re affordable, modular, and endlessly reconfigurable.
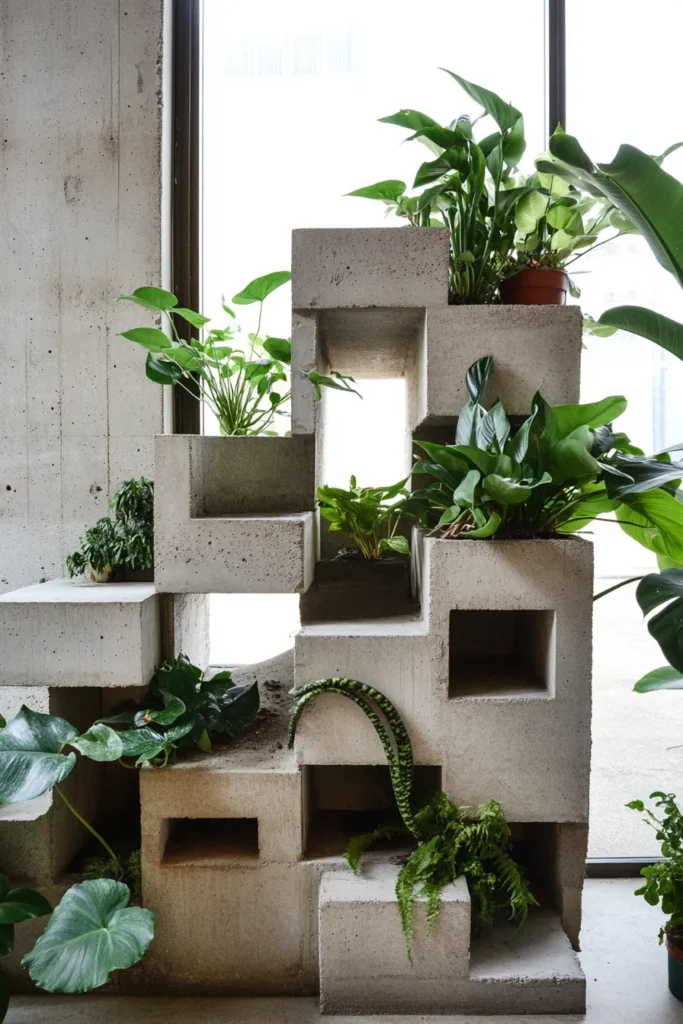
Stack them in stairstep formations or create cube niches for individual pots. The hollow centers become built-in shelves. Their industrial texture contrasts beautifully with soft green foliage and organic pot shapes.
Three Essential Arrangements
The Staircase: Stack blocks in ascending heights along a wall. Place one plant per level for a minimalist gallery feel. Total blocks needed: 6. Cost: $18.
The Cube Wall: Create a grid of hollow openings by alternating block directions. Each opening holds one 4-6 inch pot. This works brilliantly for herb gardens in kitchens. Blocks needed: 8-12. Cost: $24-36.
The Corner Tower: Build a tall corner structure using blocks as both base and shelves. Add wooden planks across openings for additional surfaces. Blocks needed: 10. Wood: $10. Total: $40.
Spray paint blocks in matte black or white for a polished look, or leave them raw for authentic industrial texture. Both approaches work—choose based on your room’s existing palette.
Macrame Hangers: Bohemian Elegance from Rope
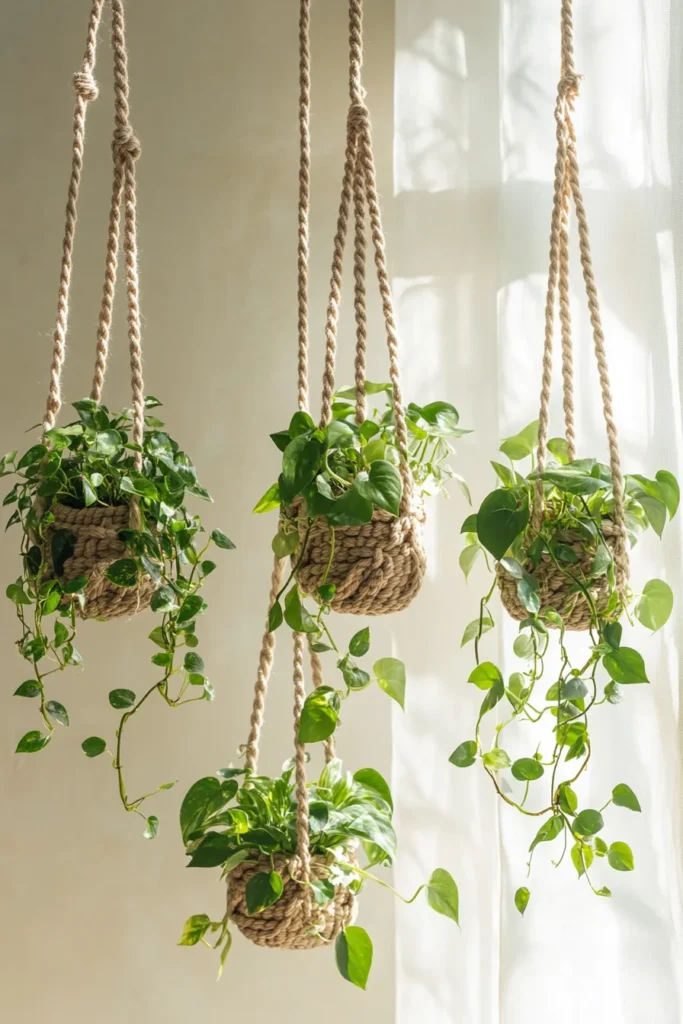
There’s something timeless about plants suspended in woven rope. Macrame hangers add vertical interest without taking floor space—crucial in small apartments.
You can make simple hangers with just cotton cord and basic knots. No special tools required. Each hanger takes 30-45 minutes once you learn the pattern.
Quick Macrame Plant Hanger Tutorial
Cut four 8-foot lengths of 4mm cotton cord. Fold them in half and loop them through a 2-inch metal ring. That’s your starting point—eight strands hanging from one ring.
Tie a gathering knot 2 inches below the ring to bunch all strands together. Then separate into four pairs and tie square knots every 4 inches down each pair. At 16 inches, tie all strands together in one final gathering knot. Trim ends for fringe.
Materials: Cotton cord ($8 for 100 feet makes 3 hangers), metal rings ($1 each). Cost per hanger: $4.
Hang these from ceiling hooks or curtain rods. Place trailing plants like pothos or spider plants inside—their leaves cascade beautifully through the negative space of the knotwork.
Repurposed Wooden Crates: Rustic Meets Refined
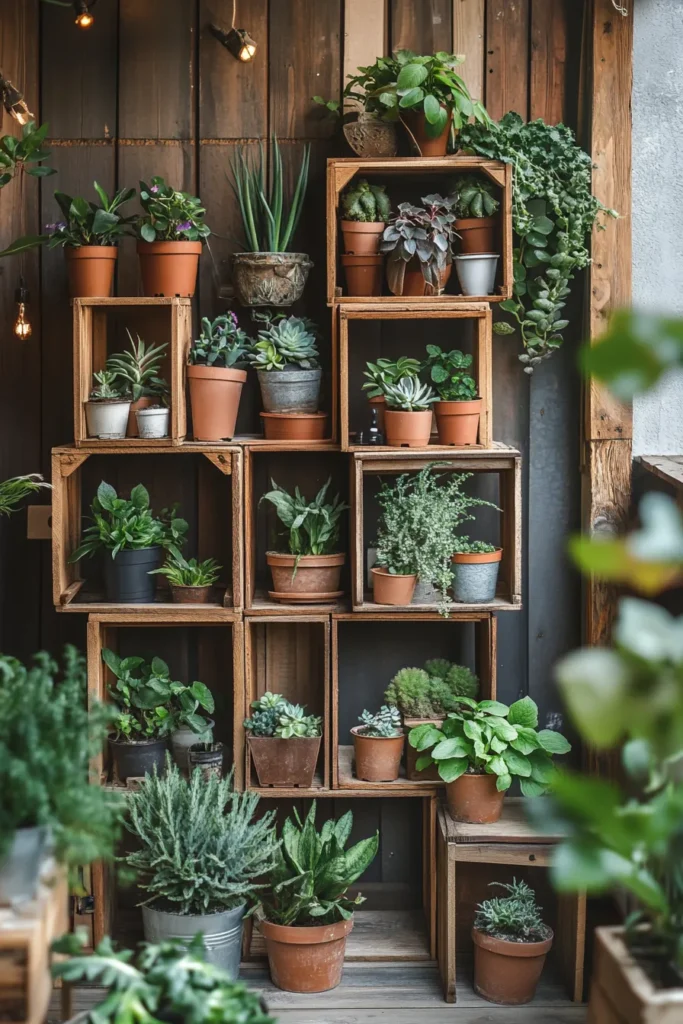
Those weathered wooden crates from fruit markets or craft stores ($5-8 each) become instant tiered displays when stacked creatively.
Mount them horizontally on walls as shadow boxes for small pots. Stack them vertically as freestanding towers. Turn them on their sides to create cubby shelves.
Styling Your Crate Display
Sand rough edges lightly, then decide: stain for richness or whitewash for beachy cottage vibes. Both approaches honor the wood’s natural texture while making it home-ready.
Fill cubbies with plants at varying heights. Mix upright plants like snake plants with cascading varieties. Tuck mood lighting—battery-operated fairy lights—into back corners for evening ambiance.
Space-saving insight: A three-crate tower uses less than one square foot of floor space but creates homes for 6-9 plants. Perfect for small apartments where every inch counts.
Wall-Mounted Rail Systems: The Modern Minimalist’s Dream
Picture a sleek metal rail mounted horizontally on your wall, with movable S-hooks holding individual planters. You can slide pots left or right, add or remove them, rearrange your green gallery on a whim.
Hardware stores sell closet rail systems for $15-25. Install a 3-4 foot rail at eye level. Use decorative S-hooks ($1 each) to hang lightweight pots with built-in handles.
This approach works brilliantly for herb gardens in kitchens—basil, mint, thyme all in a row, easily accessible while cooking. The rail itself becomes a design element, drawing a clean horizontal line that organizes and elevates your plants.
Renter-friendly variation: Use a tension rod between window frames instead of wall-mounting. Zero damage, maximum flexibility. Best for windows with deep sills where the rod won’t interfere with opening the window.
IKEA Hacks: Affordable Furniture Becomes Plant Paradise
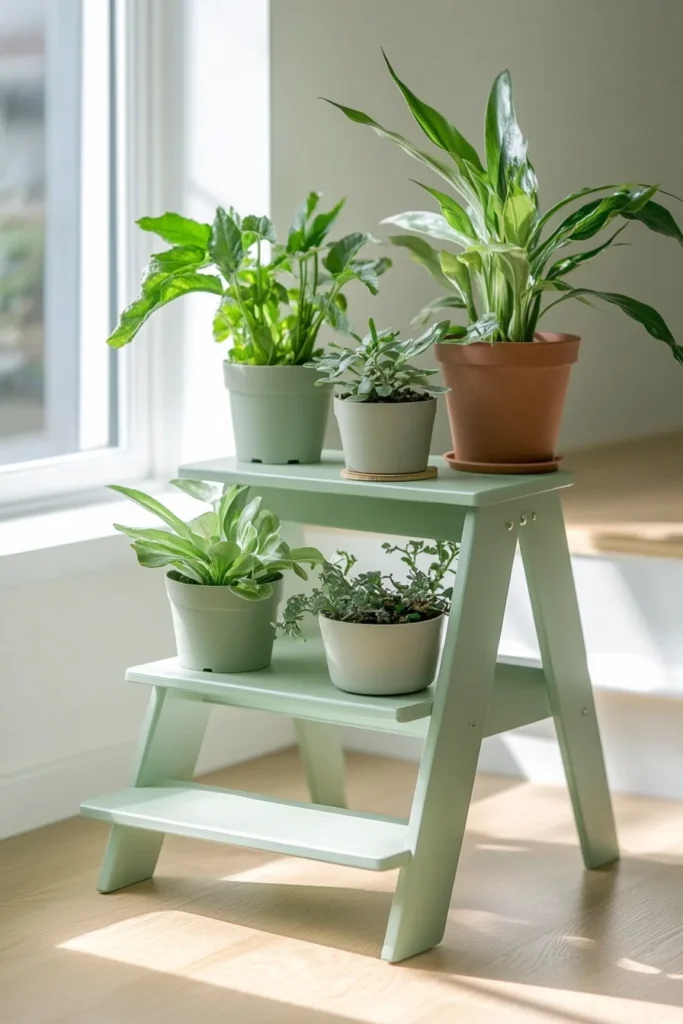
That $20 BEKVAM wooden step stool? It’s actually a three-tiered plant stand in disguise. Leave it natural or paint it bold colors—navy, forest green, coral—to make a statement.
The LACK side table ($10) becomes a modern plant pedestal when placed in corners. Stack two at different heights for dimension. The IVAR shelf system ($60 for a full unit) transforms into a modular plant wall that grows with your collection.
Customization Ideas
Drill drainage holes in the LACK table’s top surface, then line with a shallow tray to create a self-contained watering station. Or leave intact and use decorative saucers under each pot.
Paint IVAR shelves in gradient tones—darkest at bottom, lightest at top—to create visual lift. This technique makes ceilings feel higher while highlighting your plants against shifting background colors.
Add adhesive LED strip lights under each shelf for grow-light functionality plus moody evening ambiance. Many strips now offer full-spectrum options that support photosynthesis while creating warm, living light.
Tree Stumps and Natural Wood: Bringing the Outdoors In
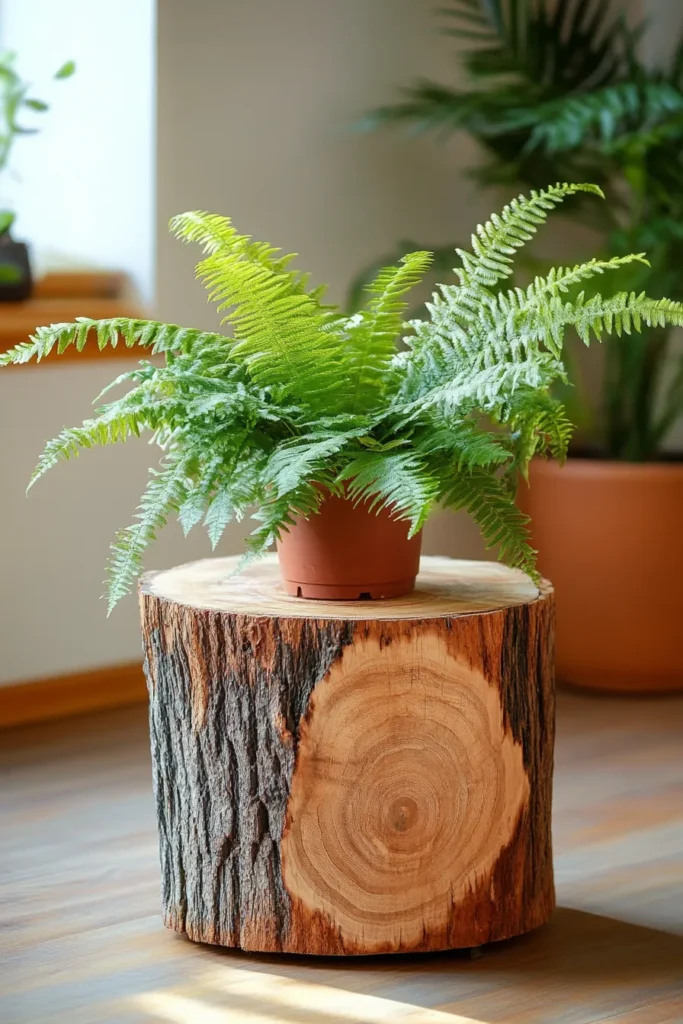
If you have access to fallen branches or tree stumps, you’ve found organic sculpture that doubles as plant stands. Look for pieces with flat tops and interesting grain patterns.
Clean thoroughly, let dry completely, then seal with polyurethane for indoor use. The natural irregularities—knots, bark texture, growth rings—become features, not flaws.
Place large stumps (12+ inches diameter) directly on floors as pedestal stands for statement plants. Use smaller branch rounds (4-6 inches) grouped on shelves or tables for succulent collections.
Sourcing tip: Check neighborhood Facebook groups during storm seasons. People often give away fallen wood for free, just for the hauling. A single afternoon of collecting yields months of display materials.
Plant Display Checklist: Your Budget-Friendly Blueprint
Here’s everything you need to create stunning displays without overspending:
Essential Supplies
- Sandpaper (various grits) – $5
- Wood sealant or stain – $8-12
- Measuring tape and level – $10
- Wall anchors and screws – $6
- S-hooks in various sizes – $8 for 20-pack
- Cotton cord for macrame – $8 per 100 feet
- Paint or spray paint for customization – $4-6 per color
Material Options Under $20 Each
- Wooden ladder from thrift stores
- Cinder blocks (buy 6-10)
- Wooden crates from craft stores
- Floating shelf boards (unfinished pine)
- IKEA BEKVAM step stool
- Metal closet rail system
- Tension rods for hanging displays
Plant Selection for Displays
- Choose low-light plants for interior shelves
- Reserve bright spots for succulents
- Use trailing plants in hanging displays
- Mix heights and textures for visual interest
- Group plants with similar watering needs
Pro Tips
- Measure twice, build once
- Start with one display type and expand
- Use painters tape to mark wall positions before drilling
- Test weight limits with books before adding plants
- Keep watering cans accessible near displays
Maintenance and Care: Keeping Your Displays Beautiful
Beautiful displays need thoughtful maintenance. Rotate plants weekly so all sides receive light evenly. This prevents lopsided growth and keeps foliage full.
Check for water damage on wooden surfaces monthly. Wipe up spills immediately and use waterproof saucers under every pot. This single habit prevents warping, staining, and the eventual collapse of water-damaged shelves.
Dust leaves gently with a damp cloth every few weeks. Clean plants photosynthesize better, which means healthier growth and more vibrant color. It’s a small ritual that deepens your connection to your green companions.
Seasonal Adjustments
Winter: Move displays away from cold windows and heating vents. Both extremes stress plants and cause leaf drop. Add humidity trays—pebbles in shallow dishes of water placed under pots—to counter dry indoor air.
Summer: Watch for increased watering needs as temperatures rise. Plants in hanging displays dry faster than those at floor level due to heat rising. Check soil moisture every 3-4 days during hot months.
Spring and Fall: These transition seasons are perfect for rotating plant positions, deep cleaning displays, and refreshing arrangements. Move summer sun-lovers to shadier spots as days shorten, and vice versa come spring.
Creating Cohesion: Making Multiple Displays Feel Intentional
When you’ve built several different displays, unify them through repetition. Use the same pot colors across different stands. Choose similar wood stains for all wooden elements. This creates rhythm—your eye flows easily from ladder shelf to floating shelves to crate tower because shared elements tie them together.
Limit your palette to 2-3 materials. Maybe everything involves natural wood, white paint, and metal accents. Or focus on weathered wood, black elements, and terracotta pots. Constraint creates sophistication.
Visual weight distribution: Balance tall displays on one wall with low, horizontal arrangements on the facing wall. If you have a dramatic vertical ladder display, ground it with floor plants in simple pots nearby. High and low, busy and simple—these contrasts create dynamic harmony.
The Emotional Reward: Why DIY Matters Beyond Budget
Yes, you’ll save hundreds compared to buying ready-made stands. But the real gift is different.
When you build something with your hands, you embed intention into your space. Each display becomes a small act of care—care for your plants, care for your home, care for yourself. These aren’t just clever storage solutions. They’re daily reminders that beauty doesn’t require wealth, only attention and creativity.
Your hands sanded that wood smooth. You chose where each hook would hang. You arranged those pots until the composition felt right. That makes your space unreplicable, deeply personal, entirely yours.
And when guests notice—and they will—you won’t just say “thanks.” You’ll tell stories. About the ladder you found. The afternoon you learned macrame knots. How those cinder blocks cost less than a restaurant meal but transformed your living room into a botanical gallery.
This is the magic of DIY: every display is a small victory, proof that you can create beauty on any budget. Your plants grow upward toward light. You grow more capable, more confident, more at home in your own space.
Start with one project this weekend. Sand a crate. Hang a shelf. Tie those first macrame knots. Watch how quickly one display becomes two, then five, then a whole indoor garden that breathes life into every room. You don’t need permission or a big budget. You just need to begin.
Frequently Asked Questions
What are some easy DIY plant stand ideas for beginners?
Start with a simple wooden crate turned on its side or an upcycled ladder leaned against the wall. Both require zero assembly, minimal tools, and cost under $20. Floating shelves with damage-free hanging strips work perfectly for renters who can’t drill holes.
How do I make a budget-friendly plant stand at home?
Use materials like cinder blocks ($2-3 each), wooden boards from hardware stores ($10-15), or repurposed furniture. Stack blocks in geometric patterns, add boards across them for extra surfaces, and you’ll have a modular display for under $40 that holds a dozen plants.
What materials are best for outdoor DIY plant stands?
Choose weather-resistant options like sealed wood, cinder blocks, or metal rails. Apply waterproof sealant to wooden ladders and crates before outdoor use. Avoid untreated pine and particle board, which warp and deteriorate quickly in rain and humidity.
How can I add more plants in small apartment spaces?
Maximize vertical space with wall-mounted rails, floating shelves at staggered heights, and hanging macrame planters. A single ladder stand uses just two square feet of floor space but creates homes for 8-12 plants. Think upward, not outward.
Are DIY plant displays safe for pets?
Position displays high enough that pets can’t reach them—wall-mounted shelves and hanging planters work best. Avoid floor-level arrangements with toxic plants like pothos or philodendron if you have curious cats or dogs. Choose pet-safe varieties like spider plants and Boston ferns for lower displays.