Table of Contents
There’s something deeply personal about the light that fills your home. It shapes your mornings, softens your evenings, and sets the tone for every gathering in between. Yet so often, lighting feels like an afterthought—something utilitarian rather than intentional.
What if the fixtures themselves could become conversation pieces? What if you could craft sources of light that reflect your style, your values, and the story you want your space to tell? DIY lighting isn’t just about saving money or flexing your creative muscles. It’s about bringing warmth and wonder into the places where you live.
In this guide, we’ll walk through fixture ideas that truly wow—from beginner-friendly projects to statement pieces that command attention. Whether you’re drawn to rustic charm, modern minimalism, or bohemian ease, there’s a handmade fixture waiting to transform your room. Let’s create something luminous together.
Why DIY Your Lighting Fixtures?
Store-bought fixtures can feel anonymous. They’re designed for the masses, not for the specific corner of your bedroom or the nook above your dining table. When you make your own, you control every detail—the materials, the scale, the finish, the feeling.
Handmade lighting also allows you to align with sustainable values. You can repurpose vintage finds, use natural materials, and choose energy-efficient LED bulbs that reduce your environmental footprint. There’s a quiet satisfaction in knowing exactly where each component came from.
And then there’s the budget. Many DIY fixtures cost a fraction of designer equivalents while delivering equal (or greater) visual impact. With basic tools and a few hours, you can create pieces that look curated and expensive.
Essential Safety Considerations Before You Start
Before we dive into specific projects, let’s talk about safety—because beautiful lighting should never compromise your home’s integrity or your family’s wellbeing.
Always use UL-rated components for any fixture that connects to your electrical system. This includes sockets, cord sets, and junction boxes. Non-rated parts can overheat or create fire hazards, no matter how stunning your design.
Know your limits with wiring. Simple plug-in fixtures with pre-wired cord sets are beginner-friendly. Hardwired installations that tie into your home’s electrical system require either professional help or solid knowledge of electrical codes. If you’re unsure, consult an electrician—it’s worth the investment.
Choose the right bulbs for your materials. LED bulbs stay cooler than incandescent options, making them safer for fixtures made from paper, fabric, or wood. Always check wattage limits and keep flammable materials away from heat sources.
Test before you hang. Plug in your completed fixture at ground level and let it run for 30 minutes. Check for hot spots, flickering, or unusual smells. This simple step can prevent problems once your fixture is installed at ceiling height.
Mason Jar Pendant Lights: Rustic Charm Reimagined
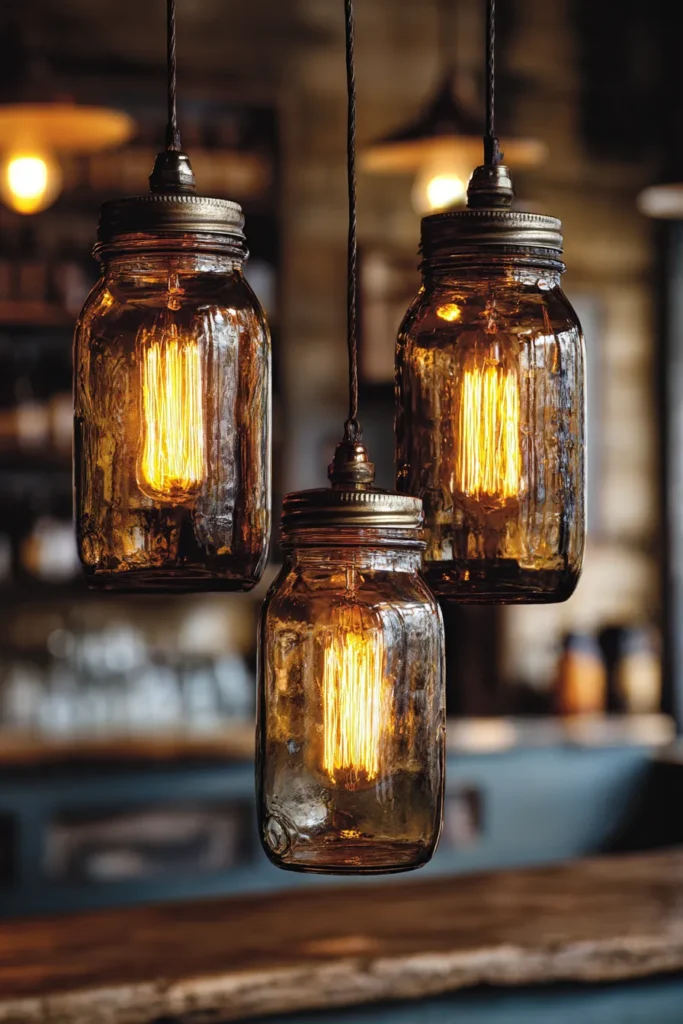
Mason jars have earned their place in the DIY lighting hall of fame for good reason. Their thick glass diffuses light beautifully, creating a warm glow that feels instantly cozy. The nostalgic shape works equally well in farmhouse kitchens and modern industrial lofts.
Start with clear or amber jars—quart size works well for single pendants, while pint jars create charming clusters. You’ll need pendant light cord kits with threaded sockets that fit through standard jar lids. Drill a centered hole in each lid (a step bit makes this easier), thread the cord through, and secure the socket inside.
Hang them solo above a kitchen island or cluster three at varying heights for visual drama. For extra character, try vintage blue Ball jars or leave the jars slightly weathered. Pair with vintage-style LED bulbs to complete the look while keeping energy costs low.
Cost per fixture: $12–$18 when using new jars and basic cord kits.
Hemp Rope Pendant: Natural Texture Meets Modern Lines
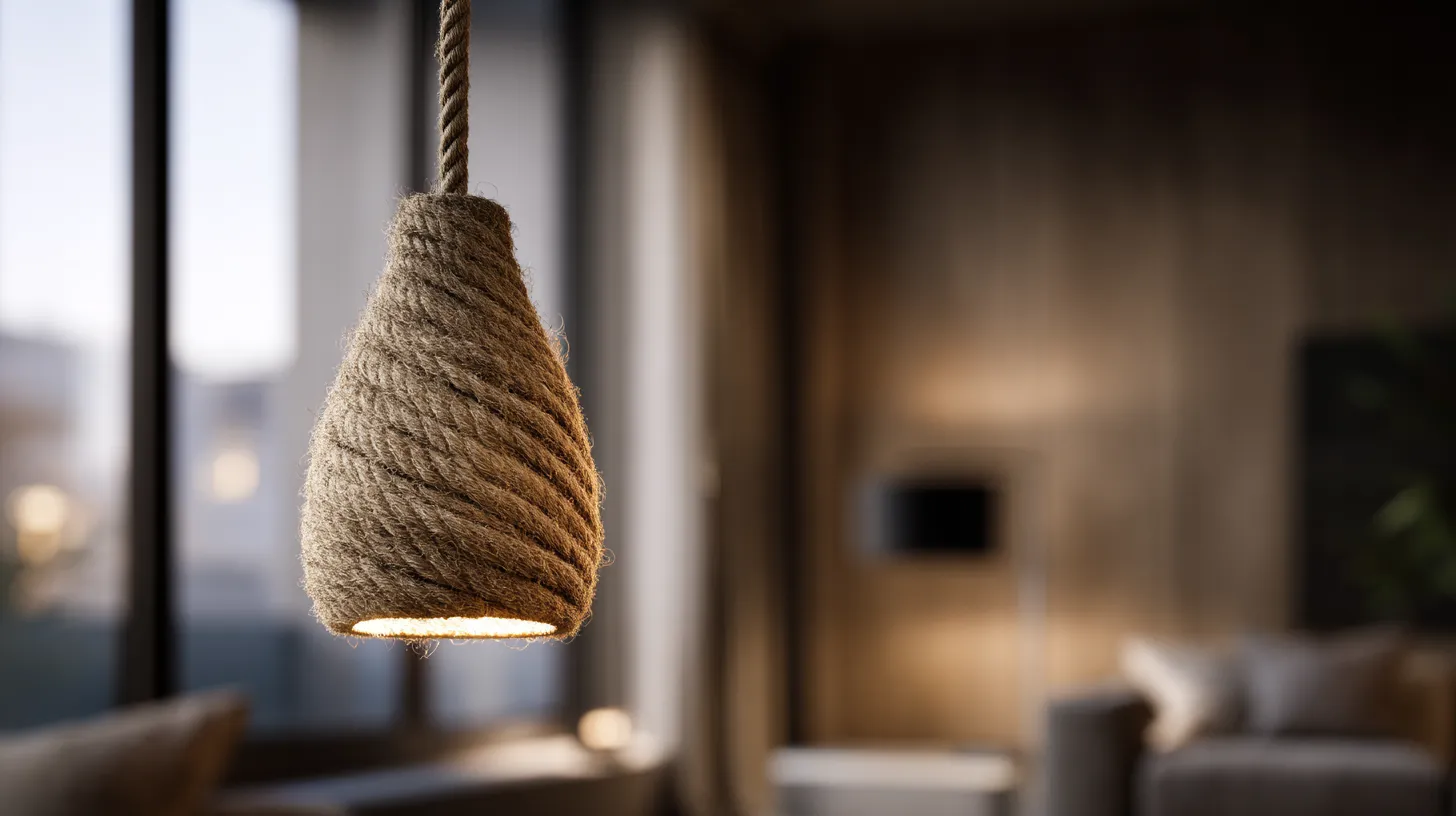
Nothing brings organic warmth quite like natural fiber. A hemp rope wrapped pendant creates textural interest and filters light through its woven surface, casting subtle patterns on surrounding walls.
Purchase a wire pendant frame (available from craft stores or online suppliers) and high-quality hemp rope. Starting at the top, wrap the rope tightly around the frame using hot glue at intervals to secure. Maintain consistent tension for an even appearance—loose spots create shadows and look unfinished.
The finished fixture reads as bohemian without feeling overly casual. It works beautifully in dining rooms, bedrooms, or covered outdoor spaces. Choose natural hemp for neutral schemes or explore dyed options for color accents.
This project takes patience—plan for 2–3 hours depending on frame size—but requires minimal tools and no electrical knowledge beyond attaching a standard cord kit.
Cost per fixture: $25–$35 including quality rope and frame.
Wine Bottle Chandelier: Upcycled Elegance
Empty wine bottles represent opportunity, not waste. When lit from within and suspended at varying heights, they become sculptural focal points that spark conversation and celebration.
Collect bottles in complementary colors—amber, green, and clear create depth together. You’ll need a bottle-cutting kit (around $30 and reusable for multiple projects) to remove bottoms safely. Sand cut edges thoroughly with progressively finer grits to eliminate sharp spots.
Mount bottles upside-down on a wooden or metal frame using threaded rods or strong wire. Insert pendant cord kits with small candelabra-base sockets. LED bulbs are essential here—bottles trap heat, making incandescent options dangerous.
This works particularly well above dining tables or in wine cellars. The recycled nature aligns with sustainable values while creating undeniable visual impact.
Cost per fixture: $40–$60 for a 4–5 bottle chandelier (excluding bottles you already have).
Wood Bead Chandelier: Boho Sophistication
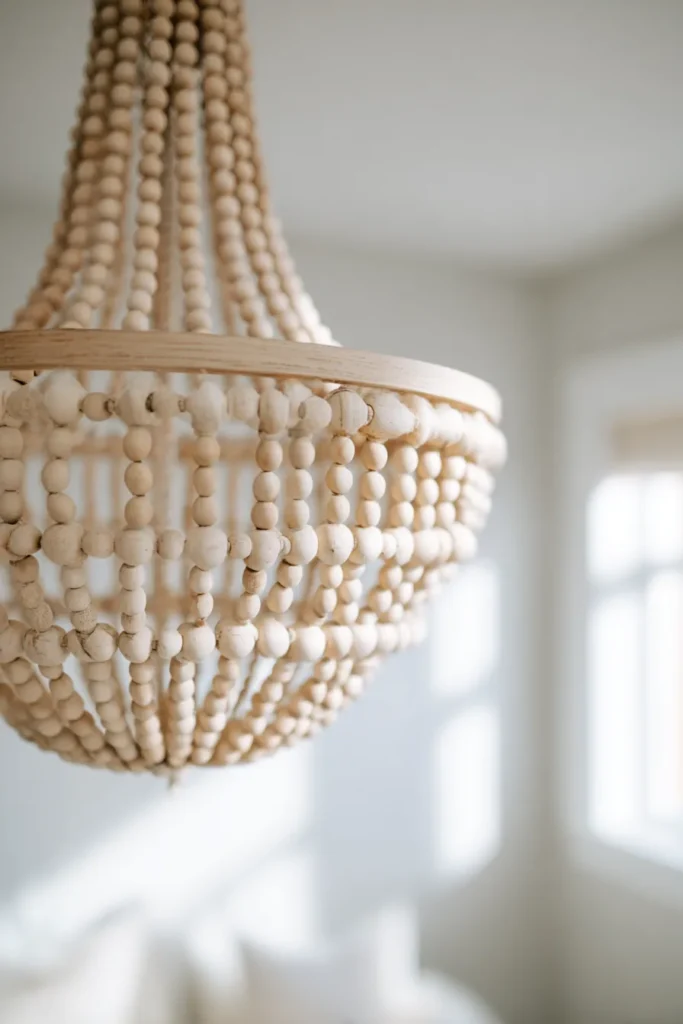
Natural wood beads create movement, texture, and a sense of handcrafted artistry. These chandeliers feel simultaneously bohemian and refined—perfect for spaces that balance relaxation with style.
You’ll need wood beads in your chosen size (larger beads read as bolder), embroidery hoops in graduated sizes, and strong fishing line or jute twine. Start with the largest hoop at bottom and tier smaller hoops above. String beads vertically between hoops, varying strand lengths for visual interest.
The result filters light beautifully while adding architectural dimension. Natural wood works in virtually any color scheme, or try whitewashed or stained beads for different effects. Hang in bedrooms for romantic ambiance or in living spaces for organic warmth.
This project demands time rather than technical skill—perfect for a weekend afternoon with music and good light.
Cost per fixture: $30–$50 depending on bead quantity and hoop size.
Chicken Wire Basket Pendant: Industrial Farmhouse Fusion
Chicken wire offers utilitarian beauty with surprising versatility. Shaped into basket forms and left raw or painted, it creates fixtures that feel collected from old factories or European markets.
Purchase galvanized chicken wire from hardware stores and form it around a bucket or bowl to create your desired shape. Wire edges together securely, then remove from mold. For cleaner edges, bind the rim with wire or wrap with jute rope.
The wire cage houses the bulb while creating geometric shadow patterns. Leave it raw silver for industrial edge, spray paint matte black for modern drama, or brush on white for shabby chic appeal. These work beautifully in kitchens, mudrooms, or covered porches.
Cost per fixture: $15–$25 including cord kit and wire.
Coffee Filter Chandelier: Unexpected Softness
This project proves that wow-worthy lighting doesn’t require expensive materials. Standard white coffee filters create petal-like layers that soften harsh bulb glare and read as surprisingly sophisticated.
Start with a paper lantern base (available at craft stores for $3–$5). Hot glue coffee filters around the lantern in overlapping rows, starting at the bottom and working up. Ruffle filters slightly as you attach them for added dimension. Continue until the entire surface is covered.
The result resembles a modern artichoke or dahlia bloom—organic, textural, and wholly unique. This works best with LED bulbs since coffee filters are flammable. Hang in bedrooms, bathrooms, or anywhere you want soft, diffused light.
At under $20 for materials, this delivers maximum impact for minimal investment. It’s also forgiving for beginners—imperfections add to the handmade charm.
Cost per fixture: $15–$20 including lantern base and filters.
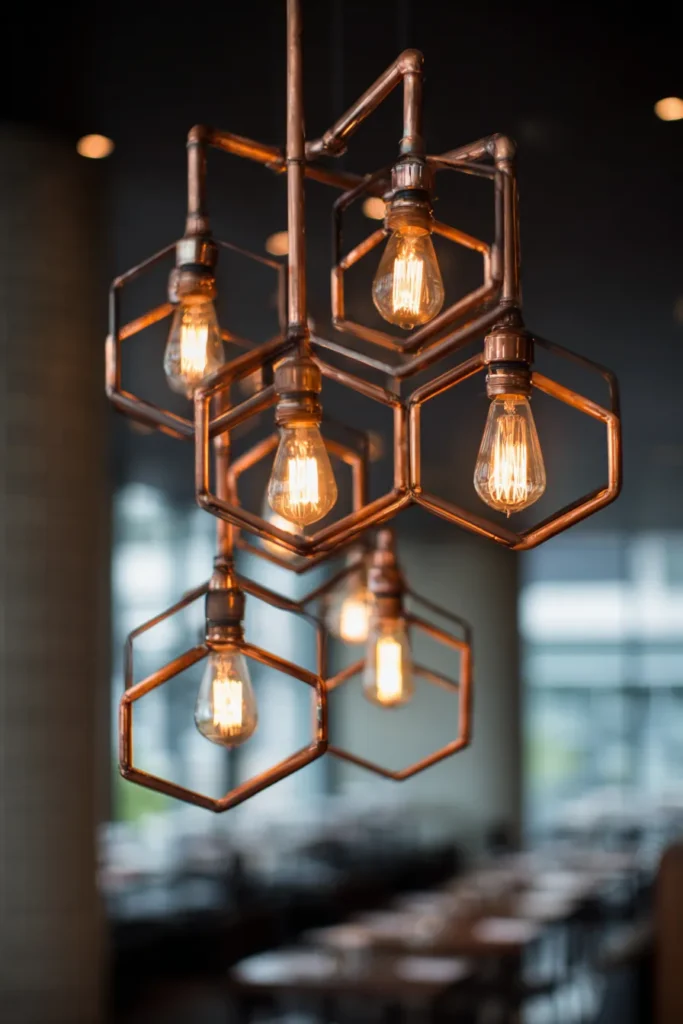
Copper Pipe Geometric Fixture: Modern Industrial Edge
Copper tubing brings architectural precision and metallic warmth. When configured into geometric shapes—hexagons, triangles, cubes—it creates statement pieces that anchor modern spaces.
Cut copper pipe to equal lengths using a tubing cutter (essential for clean edges). Connect pieces using copper elbows and tees from the plumbing section. You can solder for permanence or use epoxy for no-flame assembly. Thread edison bulbs on cord sets through the framework.
Leave copper bright for its natural glow, or let it develop natural patina over time. For quicker aging, use vinegar and salt solutions. The structured geometry pairs beautifully with mid-century furniture and minimalist décor.
This requires more planning and precision than some projects but rewards you with professional-looking results.
Cost per fixture: $40–$70 depending on size and bulb choice.
Embroidery Hoop Pendant: Delicate Bohemian Layers
Wooden embroidery hoops—those humble craft supplies—transform into ethereal light fixtures with fabric, lace, or macramé.
Purchase multiple hoops in graduated sizes. Stretch sheer fabric, vintage lace, or crochet doilies across each hoop, securing with hot glue or small stitches. Suspend hoops at different heights using fishing line or thin chain, creating a tiered effect.
Light filters through the fabric layers, casting romantic patterns. This works beautifully in nurseries, bedrooms, or reading nooks where you want dreamy ambiance. Choose white or cream fabrics for airy lightness, or explore colored sheers for subtle tinting.
The project costs almost nothing if you raid your craft stash, and the ethereal result looks far more expensive than its materials suggest.
Cost per fixture: $10–$20 using basic hoops and fabric remnants.
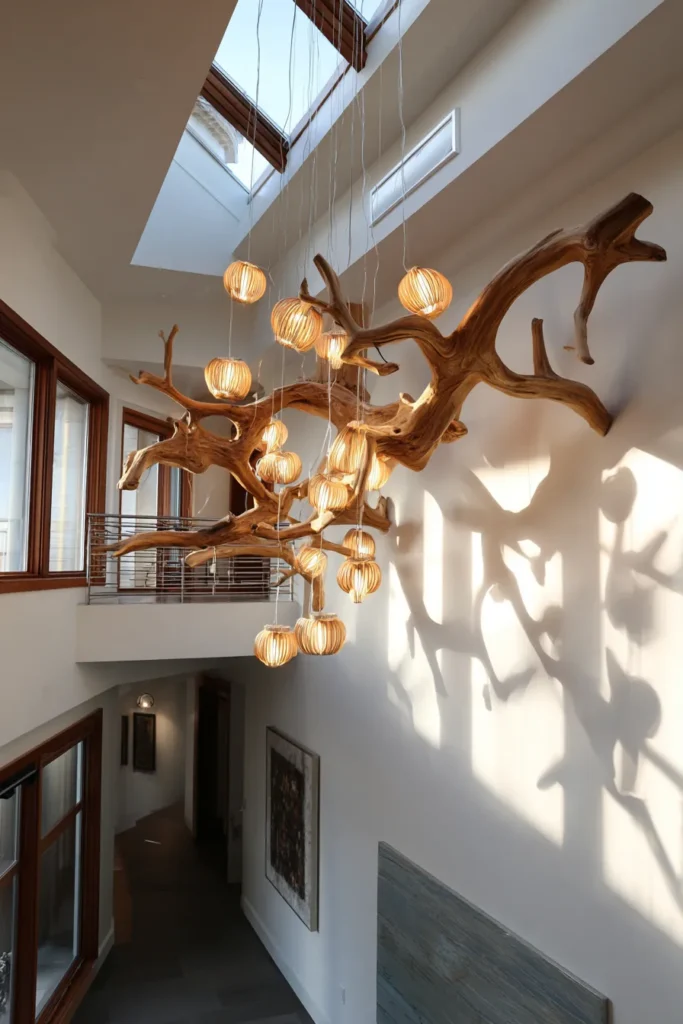
Branch Chandelier: Bringing Nature Inside
A substantial branch becomes a sculptural fixture that brings the outside in. This works particularly well in spaces with high ceilings and nature-inspired décor.
Find a sturdy, interesting branch—look for pieces with character, natural curves, or multiple arms. Clean thoroughly and treat with food-safe wood conditioner to prevent cracking. Drill small holes to thread pendant cords through, spacing them to create balanced light distribution.
Hang the branch from ceiling hooks using heavy-duty chain or rope. The organic form contrasts beautifully with the straight lines of walls and furniture. Pair with vintage filament bulbs for warmth or clear glass globes for modern clarity.
This fixture becomes a focal point that guests always notice—proof that nature creates forms better than any factory.
Cost per fixture: $30–$50 including cord kits and hardware (branch free from nature).
Smart Bulb Integration: Adding 2025 Technology
Even handmade fixtures can embrace modern technology. Smart LED bulbs add voice control, color changing, and scheduling without any additional wiring.
Choose bulbs compatible with your home system—Philips Hue, LIFX, or standard smart bulbs that connect via WiFi. These screw into standard sockets, making them perfect for DIY fixtures. Program them to dim gradually in evenings, wake you gently in mornings, or shift colors for ambiance.
This brings functionality to beautiful forms. Your handmade hemp pendant can now adjust from bright task lighting to soft amber glow with a voice command. Your mason jar cluster can shift through colors for parties or holidays.
The combination of handcrafted charm and smart technology feels uniquely current—honoring both making and innovation.
Additional cost: $10–$25 per smart bulb depending on features.
Room-Specific Adaptations
Different spaces demand different lighting approaches. A fixture that works beautifully in your dining room might overwhelm a small bedroom.
Kitchens benefit from multiple smaller fixtures that provide task lighting. Try mason jar pendants above islands or clustered wire basket fixtures over counters. Prioritize brightness and cleanable materials.
Bedrooms call for softer, dimmable options. Coffee filter chandeliers, wood bead fixtures, or fabric-covered hoop pendants create romantic ambiance. Install dimmer switches or use smart bulbs to control intensity.
Bathrooms require moisture-resistant materials and adequate brightness for grooming tasks. Simple pendant lights with glass or metal elements work well. Always check that bulbs and fixtures are rated for damp locations.
Living rooms can handle statement pieces. Large branch chandeliers, copper geometric fixtures, or dramatic wine bottle installations become conversation focal points here.
Outdoor covered spaces need weather-resistant materials. Metal and glass fixtures withstand elements better than fabric or paper. Always use outdoor-rated cord sets and bulbs.
Tools and Materials Checklist
Before starting any project, gather your essentials:
Basic Tools:
- Hot glue gun and glue sticks
- Wire cutters
- Drill with various bits
- Measuring tape
- Sandpaper (various grits)
- Safety glasses
Electrical Components:
- Pendant light cord kits (UL-rated)
- Lamp sockets (appropriate size for your bulbs)
- LED bulbs (energy-efficient and cooler running)
- Ceiling hooks or mounting hardware
- Wire nuts and electrical tape (for hardwired projects)
Common Materials:
- Natural rope or twine
- Wood beads
- Wire (chicken wire, craft wire, or copper)
- Glass containers (jars, bottles, globes)
- Metal or wooden hoops/frames
- Paint or finish (when desired)
Where to Source:
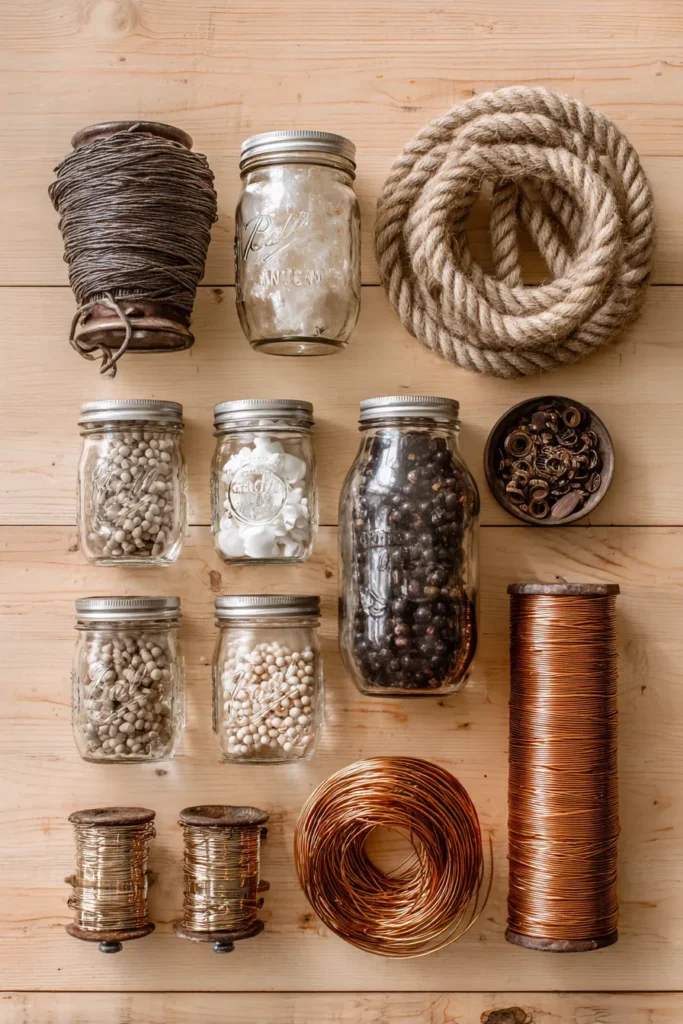
- Hardware stores: electrical components, wire, tools
- Craft stores: beads, hoops, decorative elements
- Thrift stores: vintage jars, interesting vessels, unique finds
- Online retailers: specialized cord kits, unique bulbs, quality rope
Budget Breakdown by Project Type
Understanding costs helps you plan effectively:
| Project Type | Material Cost | Time Required | Difficulty Level |
|---|---|---|---|
| Mason Jar Pendant | $12–$18 | 30–45 minutes | Beginner |
| Coffee Filter Chandelier | $15–$20 | 2–3 hours | Beginner |
| Hemp Rope Pendant | $25–$35 | 2–3 hours | Beginner |
| Wood Bead Chandelier | $30–$50 | 3–4 hours | Intermediate |
| Copper Pipe Geometric | $40–$70 | 3–5 hours | Intermediate |
| Wine Bottle Chandelier | $40–$60 | 4–6 hours | Advanced |
| Branch Chandelier | $30–$50 | 2–4 hours | Intermediate |
Most projects cost significantly less than comparable retail fixtures while offering completely customized results.
Troubleshooting Common DIY Lighting Issues
Even carefully planned projects sometimes need adjustments:
Flickering bulbs usually indicate loose connections. Unplug and tighten all connections where cord meets socket and socket meets bulb. If flickering persists, try a different bulb to rule out bulb defects.
Fixtures that hang crooked need rebalancing. For single pendants, adjust where cord attaches to ceiling. For multi-bulb fixtures, redistribute weight by adjusting component placement or adding small weights to lighter sides.
Insufficient light output means you need brighter bulbs or additional fixtures. LED technology lets you increase lumens without increasing wattage or heat. Consider your room size and purpose—task areas need more light than ambient spaces.
Hot spots or heat concerns indicate bulbs too powerful for your materials. Switch to lower wattage LEDs immediately. Never exceed wattage recommendations on cord kits or sockets.
Materials that discolor over time near bulbs are getting too hot. Increase distance between bulb and material, switch to cooler-running LEDs, or choose heat-resistant alternatives.
Sustainability and Eco-Conscious Choices
DIY lighting naturally aligns with sustainable values through repurposing and mindful material selection.
Choose LED bulbs exclusively. They use 75% less energy than incandescent bulbs and last 25 times longer. This single choice makes the biggest environmental impact.
Repurpose existing materials whenever possible. Thrift store finds, salvaged branches, and materials you already own eliminate manufacturing impacts and reduce waste.
Select natural, renewable materials. Hemp rope, wood beads, and cotton fabrics break down naturally at end of life. They’re also produced with lower environmental costs than plastics or synthetic fibers.
Support ethical suppliers. When purchasing new materials, research companies committed to fair labor and sustainable practices. Your buying choices shape industry standards.
Design for longevity. Create fixtures you’ll love for years, not trendy pieces you’ll discard next season. Timeless designs with quality materials serve you and the planet better.
Combining Multiple Fixtures for Layered Lighting
Single fixtures rarely provide complete lighting solutions. Layer different sources for functionality and ambiance.
Ambient lighting fills the room with general illumination. Your DIY chandelier or pendant provides this foundational layer. It should feel comfortable but not harsh.
Task lighting helps with specific activities—reading, cooking, grooming. Add smaller DIY fixtures where you need focused light. Consider making coordinating pieces in different scales.
Accent lighting highlights architectural features or décor. Small DIY sconces or picture lights draw attention to what you love most.
Mix heights and intensities. Hang pendants at different levels to create visual rhythm. Use dimmers or smart bulbs to adjust each fixture independently throughout the day.
The goal is versatile lighting that adapts to your needs—bright and energizing for mornings, soft and calming for evenings.
Inspiration from Current Design Trends
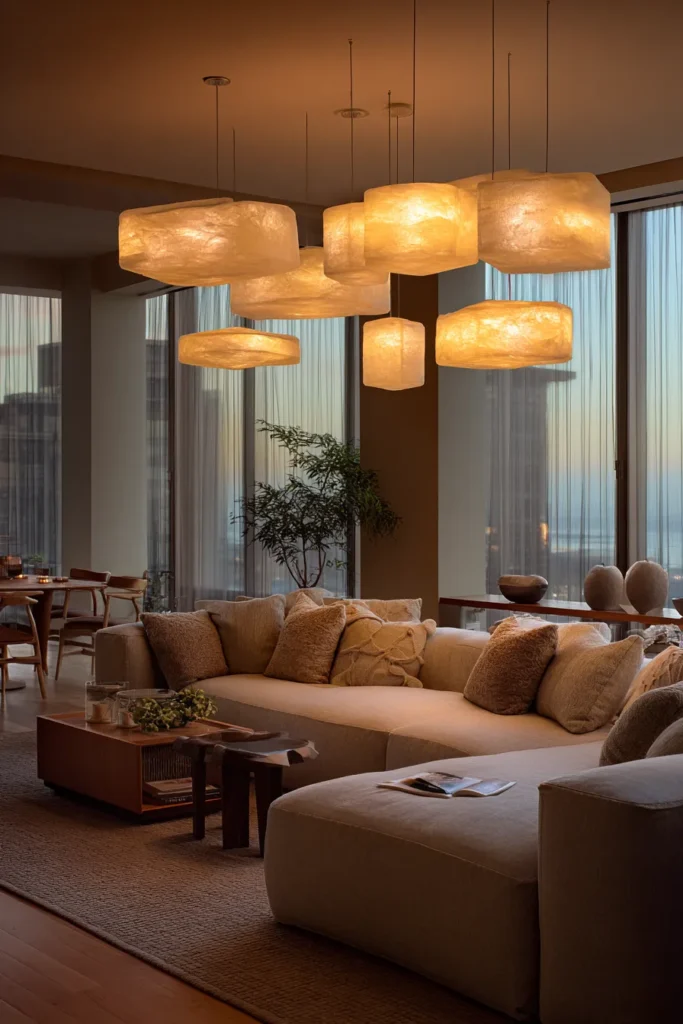
Understanding what’s current helps your DIY fixtures feel fresh and intentional.
Biophilic elements bring nature indoors through materials and forms. Branch chandeliers, natural fiber fixtures, and wood bead designs tap into our innate connection with nature.
Mixed metals create visual interest through contrast. Combine copper pipes with brass sockets or silver wire with gold-toned bulbs. Don’t be afraid to blend finishes.
Oversized fixtures make bold statements in rooms with adequate space. Scale up your designs for drama—larger hoops, longer branches, bigger clusters.
Warm minimalism balances clean lines with natural materials. Copper geometric fixtures or simple glass pendants embody this restrained elegance.
Vintage revival celebrates authentic character. Edison bulbs, aged finishes, and repurposed materials honor history while serving modern needs.
Your DIY projects can embrace these trends while remaining true to your personal style.
Key Takeaways for DIY Lighting Success
Before you gather materials and start creating:
- Safety first always: Use UL-rated electrical components, choose appropriate bulbs for your materials, and know when to call a professional
- Start simple: Begin with beginner-friendly projects like mason jar pendants before attempting complex multi-bulb installations
- Measure twice: Ensure your fixture scale suits your space—oversized pieces overwhelm small rooms while tiny fixtures disappear in large spaces
- Test thoroughly: Run completed fixtures for 30 minutes at ground level before hanging to identify any issues
- Choose quality materials: Better components last longer and look more polished—worth the slight extra investment
- Embrace imperfection: Handmade charm includes slight variations—they prove your fixture is truly one-of-a-kind
- Consider your bulbs carefully: LED bulbs provide safety, efficiency, and longevity—always the smart choice
- Plan for your space: Match fixture style and function to room purpose and existing décor
- Budget realistically: Most projects cost $15–$70 but factor in tools you’ll need if not already owned
- Take your time: Rushing creates mistakes—enjoy the process as much as the finished product
Conclusion: Light as Personal Expression
The fixtures you choose shape not just visibility but atmosphere, emotion, and identity. When you make them yourself, you embed each piece with intention and care. Your home deserves lighting that feels as thoughtfully curated as every other decision you make about your space.
These DIY projects offer starting points, but your creativity determines the final result. Maybe you’ll combine ideas—wood beads wrapped around copper frames, or mason jars suspended from a found branch. Perhaps you’ll develop entirely new approaches using materials that speak to you.
What matters most is that you’re creating sources of light that feel authentically yours. In a world of mass production, handmade fixtures remind us that beauty and function can be personal, meaningful, and completely unique. Your space becomes more than just decorated—it becomes truly inhabited.
So gather your materials, trust your vision, and make something luminous. The light you create will warm your home in ways no store-bought fixture ever could.
Frequently Asked Questions
What are the easiest DIY light fixtures for complete beginners?
Mason jar pendants and coffee filter chandeliers offer the simplest starting points. Both require minimal tools, no electrical wiring knowledge (just pre-wired cord kits), and forgiving materials. You can complete either project in under three hours with basic supplies from craft or hardware stores. Start here to build confidence before attempting more complex designs.
Are DIY light fixtures safe for everyday use?
Yes, when built with UL-rated electrical components and appropriate materials for your bulb choice. Always use LED bulbs in fixtures made from fabric, paper, or wood since they run much cooler than incandescent options. Test fixtures at ground level before hanging, never exceed wattage limits on sockets, and consult electricians for hardwired installations if you lack electrical experience.
How much do DIY lighting projects typically cost?
Most projects range from $12–$70 depending on complexity and materials. Simple mason jar pendants cost around $12–$18, while multi-bulb wine bottle chandeliers might reach $60. You’ll save 50–80% compared to similar retail fixtures while creating completely customized pieces. Factor in tool costs if you don’t already own hot glue guns, drills, or wire cutters.
Can I make a chandelier using mason jars?
Absolutely—mason jar chandeliers are classic DIY projects. Create a wooden or metal base frame sized for your space, drill holes in jar lids, thread pendant cord kits through, and arrange jars in your desired configuration. Cluster 3–5 jars at varying heights for dining tables, or create linear arrangements for kitchen islands. Use vintage blue jars for extra character or clear jars for farmhouse simplicity.
What materials work best for DIY boho chandeliers?
Natural materials create authentic bohemian style: wood beads, hemp rope, macramé cord, embroidery hoops, and natural fiber fabrics. Combine materials for textural interest—wood beads strung between hoops wrapped in hemp rope, or macramé panels suspended from driftwood branches. Stick with neutral tones and organic materials to maintain the relaxed, earth-connected feeling central to boho design.