Table of Contents
There’s something quietly radical about choosing to transform rather than discard. In a world that whispers “new” at every turn, the decision to honor what already exists feels both rebellious and deeply grounding. Old furniture holds stories—scratches from moving days, rings from coffee cups, the gentle wear of everyday life.
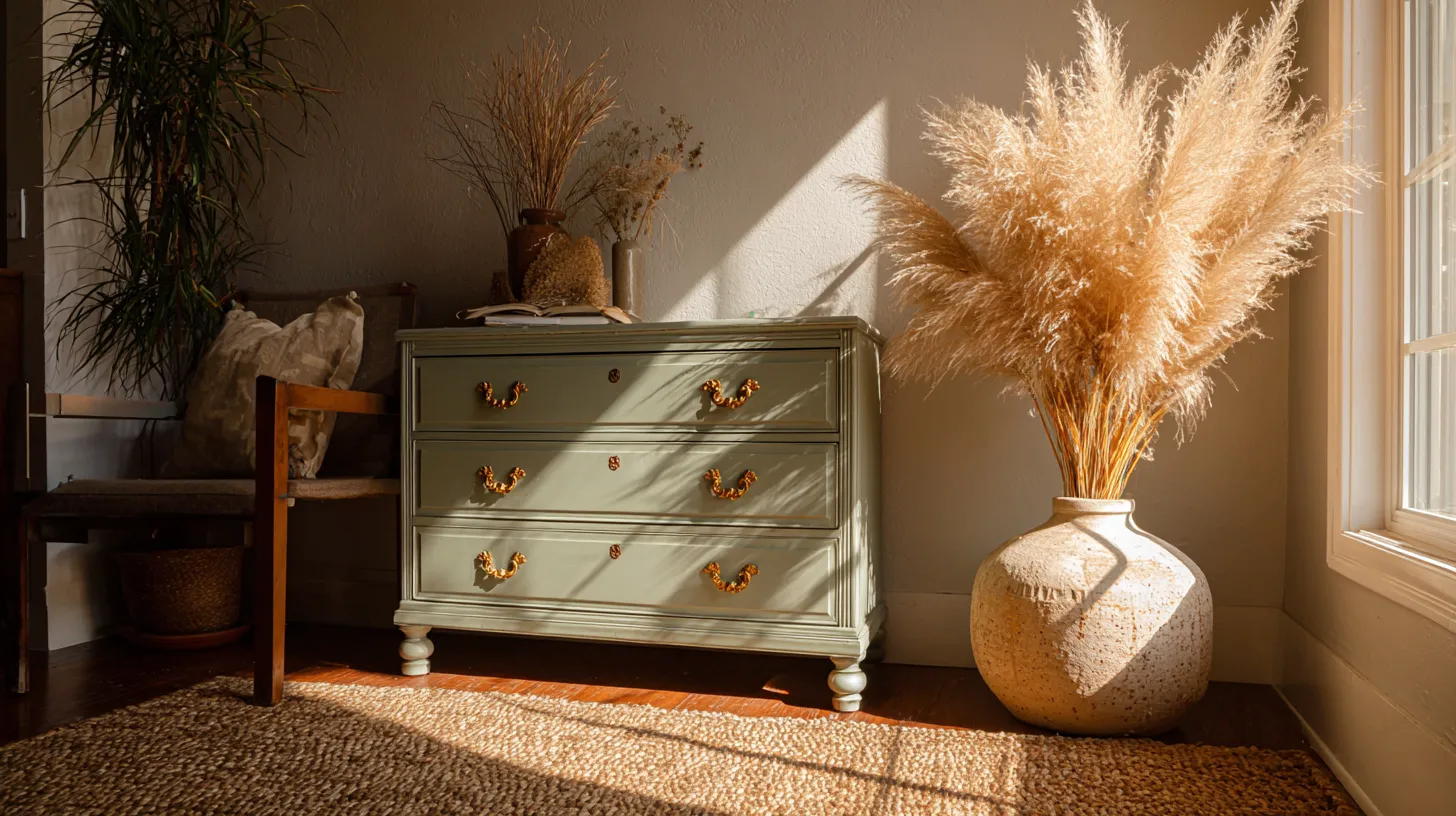
And beneath those marks lies possibility. With thoughtful hands and a shift in perspective, that tired dresser becomes a statement piece. That forgotten chair finds new purpose. You save money, yes—but you also reclaim something more valuable: the satisfaction of creating beauty from what you already own.
This isn’t about perfection. It’s about breathing fresh life into the familiar, discovering that transformation doesn’t require a fortune—just vision, patience, and a willingness to see potential where others see only age.
Let’s explore how repurposing old furniture can lighten both your environmental footprint and your budget, one mindful project at a time.
Why Repurposing Makes Financial Sense
The numbers tell a compelling story. A new mid-range dresser costs between $400 and $800, while repurposing an existing piece might require $50 to $100 in supplies—paint, hardware, sandpaper, perhaps new drawer pulls. That’s an 80-90% cost savings for a result that often surpasses store-bought alternatives in character and craftsmanship.
Consider the hidden costs of buying new: delivery fees averaging $75-$150, assembly time, and the environmental toll of manufacturing and shipping. Repurposing eliminates these entirely while preserving the solid wood construction that modern furniture rarely offers at accessible price points.
Beyond immediate savings, repurposed furniture builds equity in your home’s aesthetic. Custom pieces create visual interest that generic options cannot match. Your dining table, transformed with careful sanding and Danish oil, becomes a conversation piece—an investment in atmosphere as much as function.
The True Cost Comparison
Let’s examine realistic project scenarios:
| Project Type | New Furniture Cost | Repurposing Cost | Savings | Time Investment |
|---|---|---|---|---|
| Dresser refinish | $600-$800 | $75-$125 | $475-$725 | 8-12 hours |
| Coffee table makeover | $300-$500 | $40-$80 | $220-$470 | 5-8 hours |
| Chair reupholstery | $400-$600 | $100-$150 | $250-$500 | 6-10 hours |
| Bookshelf transformation | $250-$400 | $35-$70 | $180-$360 | 4-6 hours |
| Side table refresh | $150-$250 | $25-$50 | $100-$225 | 3-5 hours |
These figures account for quality materials—no shortcuts that compromise longevity. The time investment becomes meditative practice rather than burden when approached mindfully.
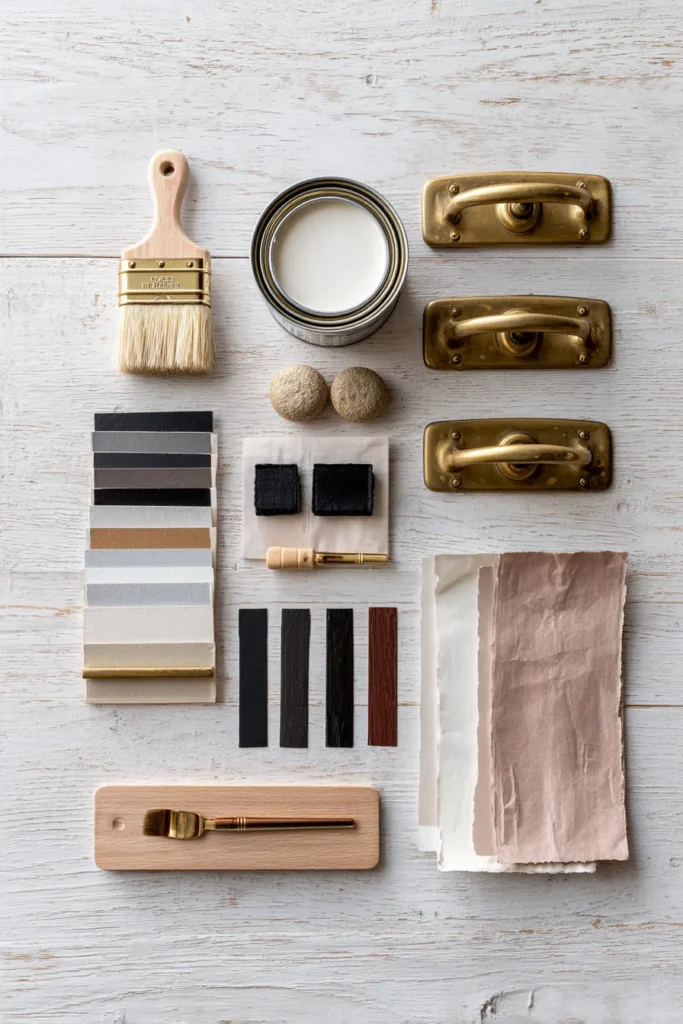
Assessing What’s Worth Your Time
Not every piece deserves resurrection. Learning to evaluate furniture before investing effort prevents frustration and wasted resources.
Structural Soundness Check
Run your hands along joints and seams. Solid wood furniture with tight joinery—dovetails, mortise-and-tenon connections—merits attention. Press down on surfaces; they should feel stable, not bouncy. Drawers should slide without catching or separating at corners.
Avoid particleboard pretending to be wood. It crumbles when sanded and holds screws poorly. Look for weight and grain patterns that reveal real wood beneath layers of finish.
Check for water damage by examining color changes, soft spots, or musty odors. Minor surface stains can be sanded away, but deep rot compromises structural integrity beyond casual repair.
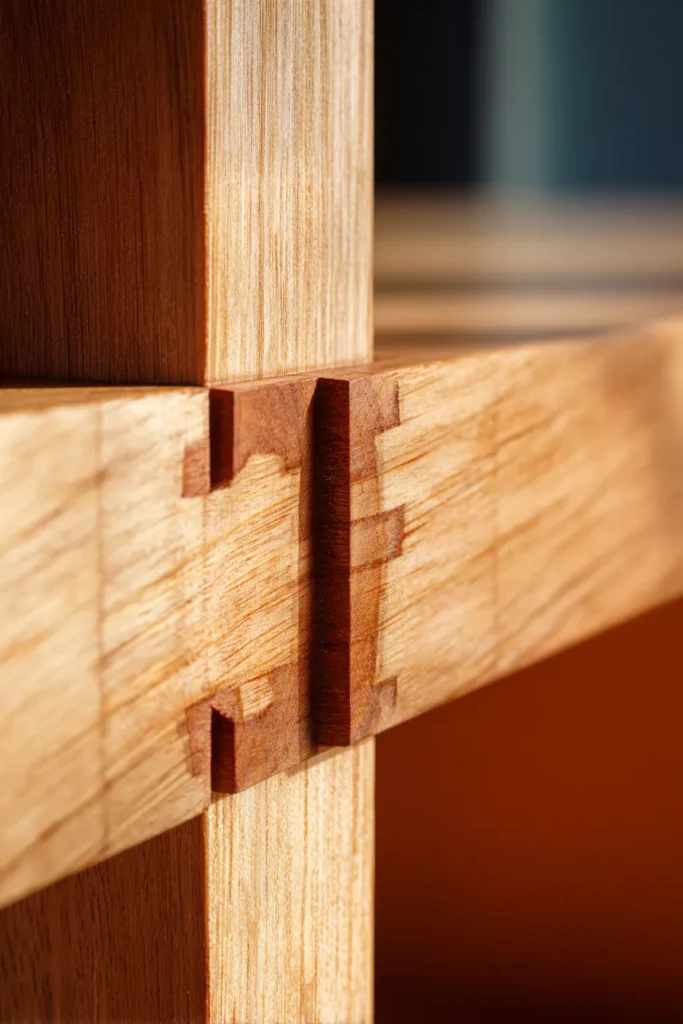
The Bone Structure Matters
Strong bones make everything else possible. A wobbly chair can be reglued and clamped. Loose veneer can be reattached with wood glue and patience. But cracked load-bearing elements or missing structural components require woodworking skills beyond most DIY comfort zones.
Ask yourself: Would this piece function safely after cosmetic updates? If yes, proceed. If no, pass gracefully and keep searching.
Budget-Friendly Materials That Elevate
Quality doesn’t require excess. Strategic material choices deliver professional results without professional price tags.
Paint and Finish Options
Chalk paint ($30-$40 per quart) offers forgiving application and vintage-inspired matte finishes. It requires minimal surface prep and distresses beautifully for shabby-chic aesthetics. One quart covers approximately 150 square feet.
Milk paint ($25-$35 per pint in powder form) creates authentic chippy patinas on raw wood. Mix only what you need; powder stores indefinitely. The unpredictable finish adds organic character impossible to replicate.
Water-based polyurethane ($25-$35 per quart) provides durable, low-VOC protection. It dries clear, won’t yellow, and cleans up with soap and water. Two coats suffice for most furniture surfaces.
For budget-conscious projects, latex paint ($20-$30 per gallon) works beautifully when paired with proper primer ($15-$25 per quart). Choose satin or semi-gloss sheens for durability in high-traffic pieces.
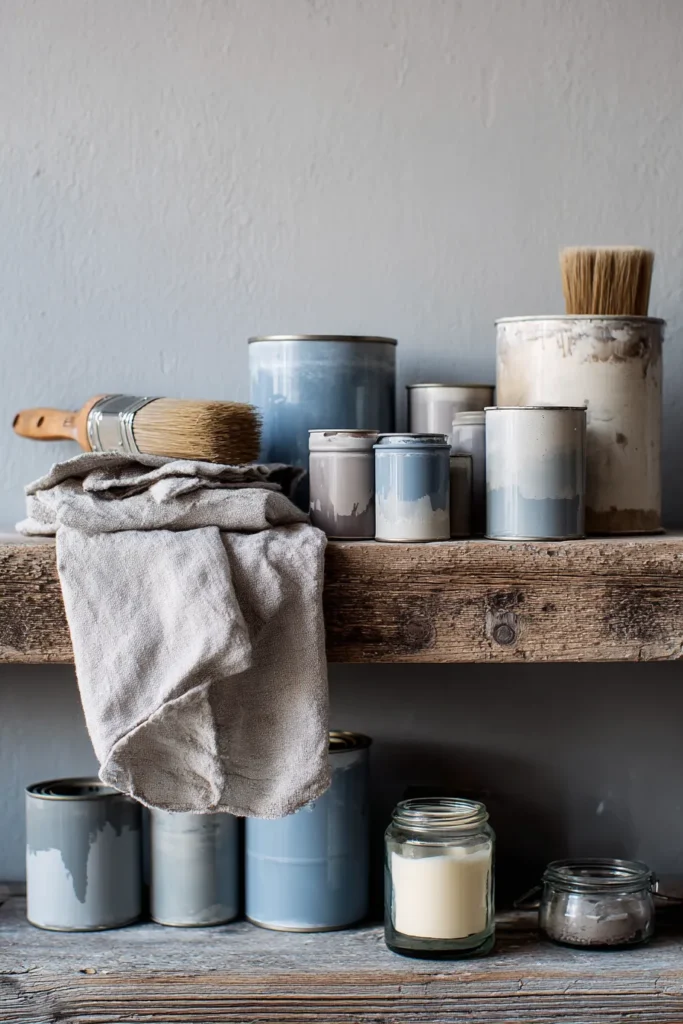
Hardware as Jewelry
Drawer pulls and cabinet knobs function as furniture jewelry—small details with outsized visual impact. Thrift stores often sell vintage brass and glass options for $1-$3 each. New hardware ranges from $3-$15 per pull, with ceramic and leather options at premium prices.
Alternatively, refresh existing hardware with spray paint in metallic finishes ($5-$8 per can). Gold, brass, and matte black transform dated brass pulls into contemporary statements. Light sanding ensures paint adhesion.
Fabric for Soft Surfaces
Upholstery fabric remnants from fabric stores cost $10-$20 per yard compared to $30-$60 for full-price designer options. You need surprisingly little—two yards covers most dining chair seats with enough for pattern matching.
Consider drop cloths ($12-$18 each) for farmhouse-style slip covers. The natural canvas texture softens with washing and coordinates effortlessly with rustic interiors.
Essential Tools for Most Projects
Building a basic toolkit eliminates rental fees and enables spontaneous creativity. These tools handle 90% of furniture repurposing projects.
The Foundation Kit
- Orbital sander ($40-$70): Removes old finish efficiently without the arm fatigue of hand-sanding. Choose 5-inch random orbit models for versatility.
- Sandpaper assortment ($15-$25): Stock 80, 120, 180, and 220 grits. Coarse grits remove finish; fine grits smooth between paint coats.
- Quality paintbrushes ($8-$15 each): Invest in 2-inch angled brushes for furniture. Cheap brushes shed bristles into your finish.
- Tack cloths ($5 for pack of 3): Remove sanding dust before finishing. No substitute captures fine particles as effectively.
- Wood filler ($6-$10 per pint): Repairs gouges, nail holes, and imperfections. Dries sandable and paintable.
- Screwdriver set ($15-$25): Both Phillips and flathead in multiple sizes for hardware removal and installation.
- Painter’s tape ($4-$6 per roll): Protects surfaces and creates clean lines. Remove while paint remains slightly tacky.
- Drop cloths ($8-$15): Canvas versions last for years and protect floors during messy sanding and painting.
This foundation kit costs $125-$200 total—an investment that pays for itself within two or three projects.
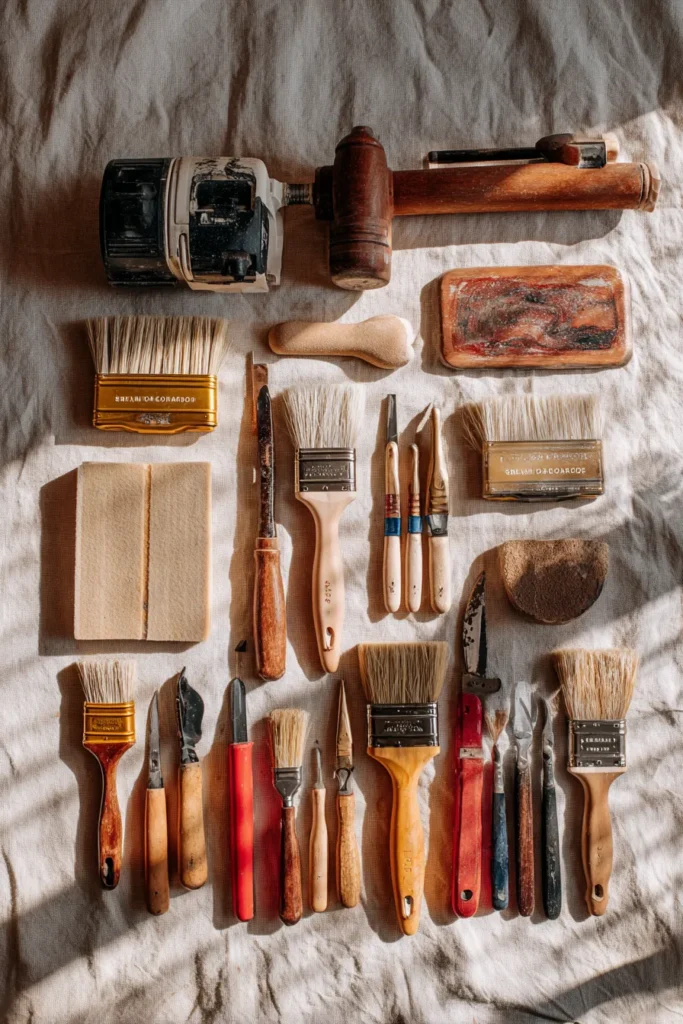
Nice-to-Have Additions
As skills develop, consider adding a power drill ($50-$80) for hardware installation and a staple gun ($25-$40) for upholstery projects. A heat gun ($30-$50) removes stubborn paint and veneer, though chemical strippers work for patient refinishers.
Step-by-Step Transformation Techniques
Different furniture types require tailored approaches. Master these core techniques and adapt them to specific pieces.
The Classic Refinish
This approach suits solid wood dressers, tables, and case goods with intact finishes you want to replace.
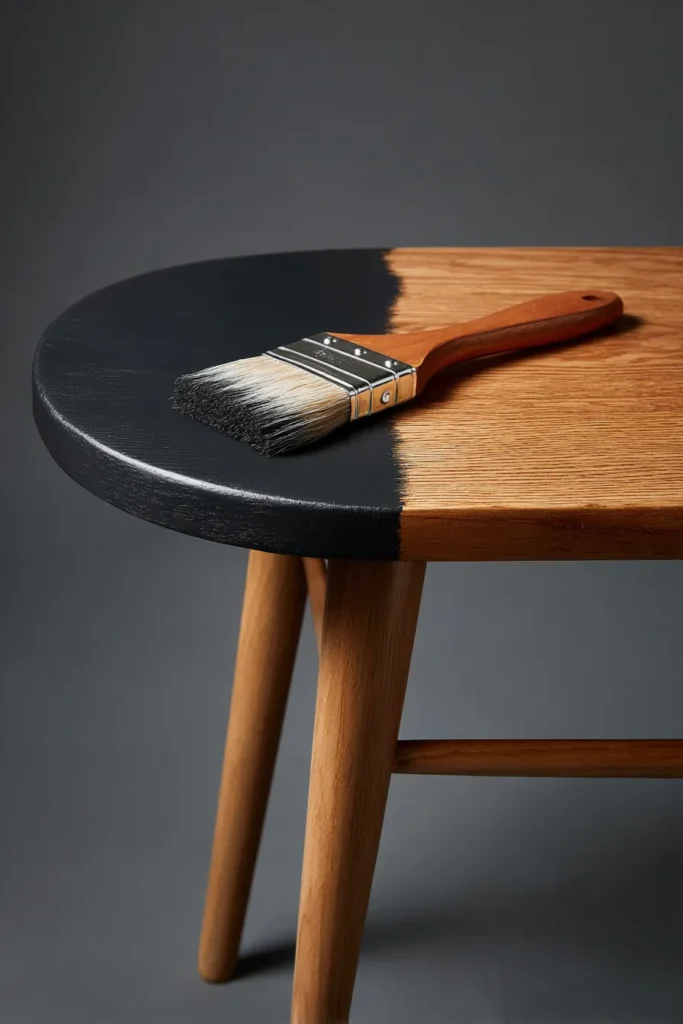
Step 1: Strip or sand. Choose chemical stripper for intricate carvings or multiple paint layers. Sand flat surfaces starting with 80-grit paper, progressing through 120 and 180 grits. Work with wood grain, not against it.
Step 2: Repair and fill. Apply wood filler to gouges and scratches. Let dry completely (usually 2-4 hours). Sand smooth with 180-grit paper until repairs disappear.
Step 3: Clean thoroughly. Wipe entire piece with tack cloth. Vacuum crevices. Dust compromises paint adhesion and creates bumpy finishes.
Step 4: Prime if needed. Previously painted furniture benefits from primer, especially when switching from dark to light colors. Water-based primer dries in 2-3 hours.
Step 5: Apply finish coats. Thin, even coats prevent drips and dry faster than thick applications. Sand lightly between coats with 220-grit paper. Two to three coats typically suffice.
Step 6: Seal and protect. Wax provides soft sheen and subtle protection. Polyurethane offers durability for high-use surfaces like tables and dressers. Apply 2-3 thin coats.
The Upholstery Update
Dining chairs and accent seating gain new life through fabric refreshment.
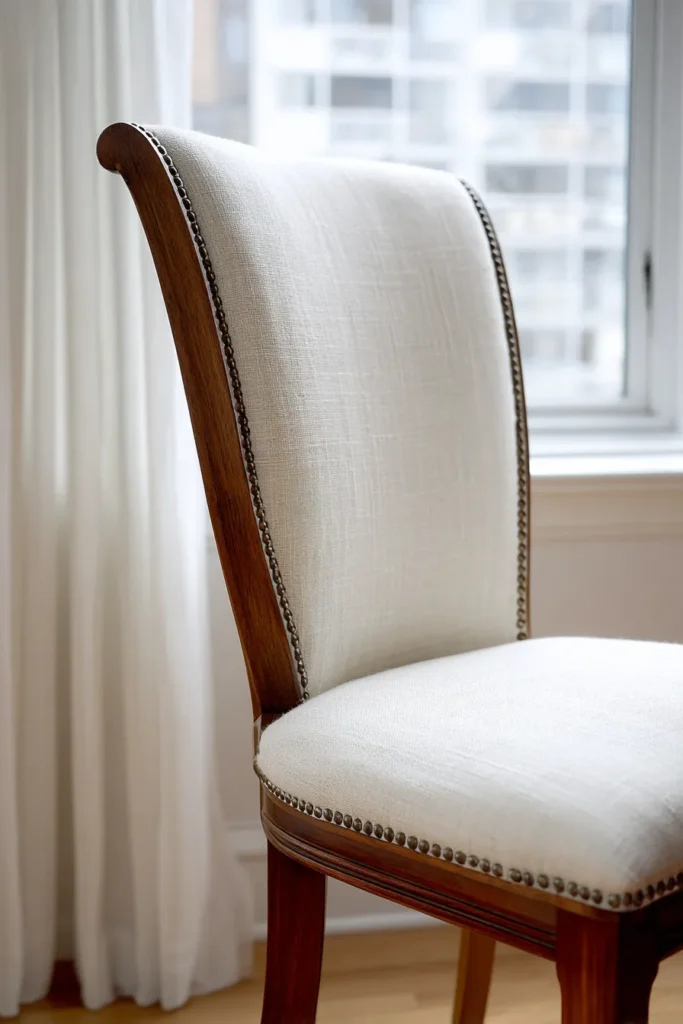
Remove seat by unscrewing from chair base. Strip old fabric and padding, noting how original fabric was attached—this becomes your template. Cut new batting and fabric, leaving 3-4 inches excess on all sides.
Center fabric pattern on seat. Pull taut and staple to underside, starting with one side, then opposite side, then remaining two. Work from centers outward, smoothing as you go. Trim excess fabric and reattach seat to chair base.
This 30-minute transformation costs $15-$25 per chair and delivers custom results unavailable at retail.
The Creative Repurpose
Sometimes furniture functions best when reimagined entirely. An old dresser becomes a bathroom vanity with sink cutout and plumbing access. Wooden crates stacked and secured create open shelving with rustic charm.
Tall dressers convert to kitchen islands by removing top drawers for open storage and adding butcher block surfaces. Nightstands become stylish pet feeding stations with bowl cutouts in top surfaces.
These transformations require vision but minimal additional investment beyond primary refinishing costs.
Common Mistakes to Avoid
Learning from others’ errors saves time, money, and frustration.
Skipping Surface Preparation
The temptation to paint immediately over existing finish guarantees disappointment. Paint adheres to clean, slightly roughened surfaces. Without sanding or deglosser, your beautiful new finish chips and peels within weeks.
Even “no-prep” paints benefit from light scuffing and thorough cleaning. Fifteen minutes of preparation prevents hours of do-over work.
Using Cheap Brushes
Bargain brushes shed bristles, leave visible stroke marks, and frustrate even experienced painters. Quality synthetic brushes cost $10-$15 but last through dozens of projects with proper cleaning. The difference in finish quality justifies the investment immediately.
Insufficient Drying Time
Impatience ruins more furniture projects than lack of skill. Paint feels dry to touch within hours but needs 24-48 hours to cure sufficiently for additional coats. Polyurethane requires similar patience between applications.
Rushing creates tacky surfaces that trap dust and bristles, necessitating sanding and recoating. Build drying time into project schedules and occupy yourself elsewhere.
Neglecting Hardware Prep
Painting over existing hardware looks sloppy and functions poorly. Remove all knobs, pulls, and hinges before refinishing. Clean screw holes; fill if changing hardware size. Reinstall clean or new hardware only after final finish coat cures completely.
This attention to detail distinguishes amateur work from professional-looking results.
Sustainable Benefits Beyond Savings
Financial advantages represent only part of repurposing’s value proposition.
Every furniture piece diverted from landfills reduces environmental burden. The EPA estimates Americans discard over 12 million tons of furniture annually, much of it salvageable. Choosing repurposing over disposal directly combats this waste stream.
Manufacturing new furniture requires significant energy, water, and raw materials. A single wooden dresser’s production consumes approximately 15-20 board feet of lumber plus finishing chemicals, hardware, and transportation fuel. Repurposing eliminates these resource demands entirely.
Vintage furniture often features solid wood construction superior to modern particleboard alternatives. Preserving these pieces maintains quality craftsmanship while preventing resource extraction for inferior replacements.
Low-VOC Product Choices
Select water-based paints, stains, and finishes whenever possible. These products contain fewer volatile organic compounds, improving indoor air quality and reducing environmental harm. Many brands now offer zero-VOC options without compromising performance.
Natural finishing oils—linseed, tung, Danish oil—provide beautiful, food-safe results from renewable resources. They penetrate wood rather than sitting on surfaces, highlighting grain while protecting.
Milk paint, made from milk protein, lime, and earth pigments, represents the ultimate eco-friendly option. Completely biodegradable and non-toxic, it’s safe for children’s furniture and nursery pieces.
Multifunctional Transformation Ideas
Modern living demands flexibility. Repurposed furniture adapted for multiple uses maximizes both value and living space.
Storage Solutions That Adapt
Old dressers with removed drawers become entertainment centers housing media equipment and gaming systems. The same piece moves to an entryway as a console table with baskets replacing drawers for shoe and accessory storage.
Vintage trunks function as coffee tables with hidden storage for blankets and pillows. Add cushions on top for additional seating during gatherings.
Tall bookcases turned horizontal and wall-mounted create unique, height-adjustable shelving systems perfect for evolving storage needs.
Work-From-Home Conversions
Secretary desks and drop-front cabinets make excellent compact home offices. When work ends, close the front and visual clutter disappears. These vintage pieces cost $50-$150 at estate sales—a fraction of purpose-built home office furniture.
Old dining tables refinished and positioned as work surfaces provide generous workspace unavailable in typical desks. Pair with rolling file cabinets (repurposed nightstands on casters) for complete office functionality.
Quick-Win Projects for Beginners
Build confidence with these simple transformations requiring minimal tools and experience.
The Weekend Side Table Refresh
Sand lightly, apply two coats of paint, swap hardware. Total investment: $30-$50 and 4-6 hours including drying time. Results that rival $200 retail options.
Drawer Pull Upgrade
Remove existing pulls, fill old holes if needed, install new hardware. This 30-minute project transforms any dresser or cabinet. Cost: $20-$60 depending on hardware choice.
Stain Refresh on Natural Wood
Clean wood thoroughly, apply fresh coat of stain or finishing oil. No sanding required if existing finish remains intact. Revives dried-out wood for $15-$25 in materials.
Painted Accent Legs
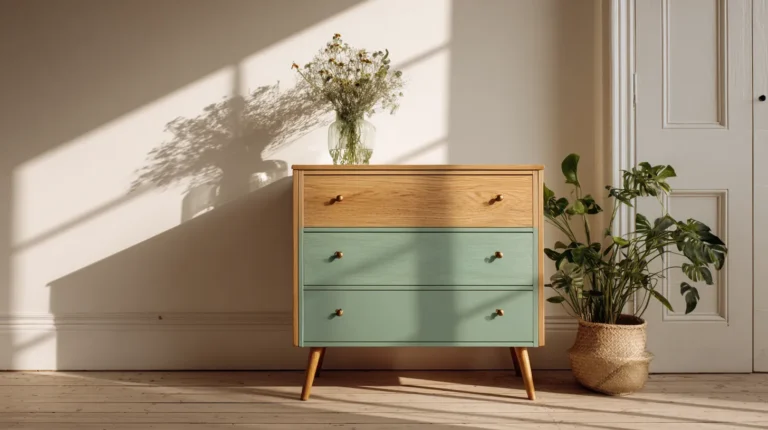
Mask furniture body, paint legs in contrasting color. This technique works beautifully on mid-century pieces and traditional furniture alike. Requires two hours and $10-$15 in supplies.
These accessible projects prove that transformation doesn’t demand advanced skills—just willingness to try.
When to Call for Expertise
Some situations exceed DIY capabilities. Recognizing these moments prevents expensive mistakes.
Complex upholstery involving springs, padding layers, and tufting requires professional knowledge. Similarly, structural repairs to broken joints or split wood benefit from experienced woodworkers’ tools and techniques.
Antique furniture with significant monetary or sentimental value merits professional assessment before DIY attempts. Some pieces decrease in value when original finishes are removed.
Large-scale projects like table expansions, major alterations, or pieces requiring specialized tools (lathe work, veneer application) warrant professional consultation. The cost often justifies the expertise and equipment access.
Planning Your Repurposing Budget
Successful projects begin with realistic budgeting that accounts for all expenses.
Cost Categories to Consider
Materials: Paint, primer, sandpaper, wood filler, brushes, hardware ($40-$150 per project)
Tools: One-time investments amortized across multiple projects ($125-$200 for basic kit)
Unexpected needs: Additional supplies discovered mid-project ($20-$40 buffer recommended)
Learning curve: First projects take longer and may require some trial and error
A realistic budget for first-time refinishers: $200-$250 including basic tools and materials for one medium-sized piece. Subsequent projects cost significantly less as tool collection grows and skills sharpen.
Calculating Your Break-Even Point
Compare your total investment (materials + tools) against comparable new furniture costs. Most refinishers break even after 2-3 projects, with all subsequent transformations representing pure savings.
Factor in time investment at a rate you find reasonable—perhaps $15-$20 per hour. Even with labor calculated, repurposing typically costs 50-70% less than new furniture while delivering superior quality and character.
Key Takeaways for Smart Repurposing
- Assess furniture structure before investing time—solid wood with tight joints makes the best candidates
- Start with small projects to build skills and confidence before tackling complex pieces
- Invest in quality tools and materials for professional-looking, long-lasting results
- Budget realistically, including time and unexpected supply needs
- Choose low-VOC products for health and environmental benefits
- Expect 80-90% cost savings compared to purchasing new furniture of similar quality
- Plan for drying time—rushing between coats compromises final results
- Remove all hardware before painting for clean, professional finishes
- Consider multifunctional transformations to maximize space and value
- Know your limits—complex structural repairs warrant professional assistance
The Lasting Satisfaction
There’s a particular pleasure in running your hand across a surface you’ve transformed. The smooth finish, the carefully chosen color, the way afternoon light catches new hardware—these details matter because you made them real.
Repurposing old furniture connects us to slower rhythms, to the satisfaction of completion, to the quiet pride of creating rather than consuming. It reminds us that beauty doesn’t always arrive new and perfect. Sometimes it emerges through patient effort applied to imperfect things.
Your home becomes a collection of stories—each piece chosen, restored, reimagined. Not perfectly matching, but perfectly yours. And in that authenticity, you find something no store can sell: the deep comfort of living among things you’ve brought back to life.
Start small. Choose one piece. Transform it with care. Notice how satisfaction settles in your bones—not just from money saved, but from beauty you’ve created with your own hands. This is repurposing’s truest gift.
Frequently Asked Questions
How can I save money repurposing old furniture?
Repurposing typically costs 80-90% less than buying comparable new furniture. A dresser refinish requires $75-$125 in materials versus $600-$800 for new, saving $475-$725. Source free or low-cost pieces from estate sales, curb alerts, or family members. Build a basic tool kit ($125-$200) that serves multiple projects, reducing per-project costs significantly. Focus on quality materials over quantity—two good coats of proper paint outlast four cheap coats.
What tools do I need to start repurposing furniture?
Essential tools include an orbital sander ($40-$70), sandpaper in multiple grits ($15-$25), quality paintbrushes ($8-$15 each), wood filler ($6-$10), screwdriver set ($15-$25), tack cloths ($5), painter’s tape ($4-$6), and drop cloths ($8-$15). This foundation kit costs $125-$200 and handles most refinishing projects. Add a power drill and staple gun as you progress to more complex work like upholstery or hardware installation.
Is it cheaper to repurpose or buy new furniture?
Repurposing is significantly cheaper for comparable quality. New solid wood furniture costs 5-10 times more than refinishing existing pieces. However, very inexpensive particleboard furniture from discount retailers may cost less than repurposing time-wise. The value calculation shifts when considering quality, longevity, and customization. Repurposed solid wood pieces last decades longer than budget alternatives and can be refinished repeatedly. Factor in your time at a reasonable hourly rate; most people still save 50-70% even with labor calculated.
How do I know if old furniture is worth repurposing?
Check structural soundness first—press on surfaces, open and close drawers, examine joints for stability. Solid wood furniture with intact joinery merits effort; particleboard rarely does. Look for quality indicators: dovetail joints in drawers, mortise-and-tenon construction, hefty weight, visible grain patterns. Minor cosmetic damage is ideal—scratches, worn finish, outdated paint. Avoid pieces with deep rot, missing structural elements, broken load-bearing parts, or pervasive water damage. When in doubt, test one small area before committing to full refinishing.
What are common mistakes to avoid when repurposing furniture?
Skipping surface preparation causes paint to chip and peel prematurely—always sand or degloss before painting. Using cheap brushes leaves visible bristles and stroke marks in finish. Rushing between coats when paint hasn’t fully dried creates tacky, dust-collecting surfaces. Painting over hardware instead of removing it looks unprofessional and functions poorly. Not testing finishes on inconspicuous areas first can lead to disappointing results. Finally, choosing trendy colors without considering long-term appeal may necessitate redoing work within a year or two. Plan thoughtfully and work patiently for results that last.