Table of Contents
There’s something deeply satisfying about building with your own hands — the scent of fresh-cut wood, the quiet focus of measuring twice, the gentle hum of tools transforming raw material into something both beautiful and useful. Floating shelves are one of those projects that reward you generously: they’re simpler than they look, endlessly customizable, and they bring an instant sense of openness and calm to any room.
We believe that home should feel like a gentle exhale — a place where function meets beauty without trying too hard. Floating shelves embody that philosophy perfectly. They seem to defy gravity, creating display space that doesn’t crowd your walls or interrupt your sightlines. Whether you’re showcasing heirloom pottery in the kitchen, creating a reading nook in the bedroom, or adding warmth to a hallway, these shelves become quiet anchors for the things you love.
This guide will walk you through everything you need to know, from selecting the right wood and understanding your wall type to three different mounting methods that suit various skill levels and aesthetic preferences. We’ll also share the details that make the difference — the kind of knowledge that transforms a good shelf into one that feels seamless and built to last.
Let’s create something beautiful together.
Understanding the Basics: What Makes a Shelf “Float”
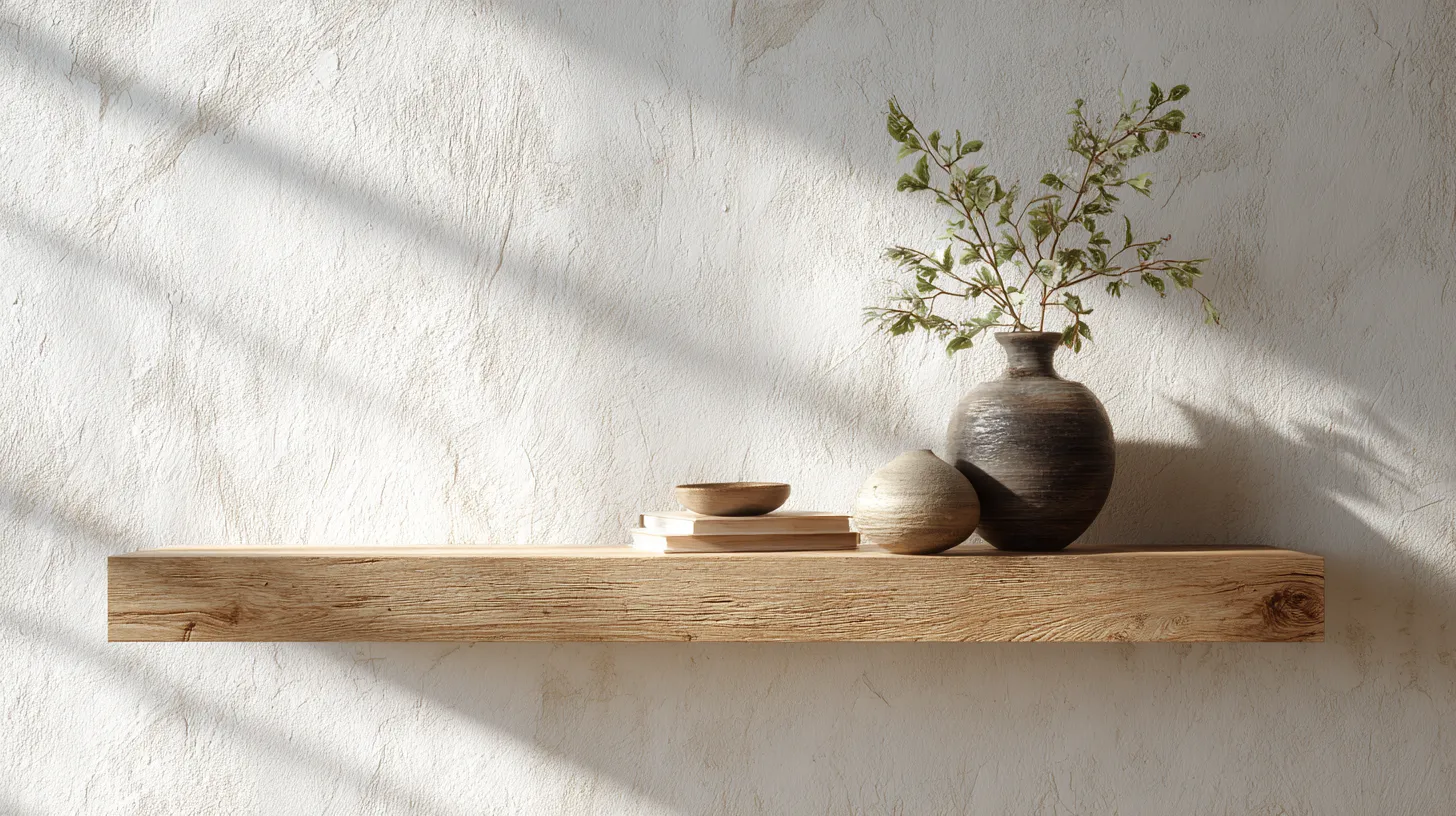
The magic of a floating shelf lies in what you don’t see. Unlike traditional shelving with visible brackets, floating shelves conceal their support system entirely, creating that signature suspended effect. The shelf appears to emerge from the wall as if it’s always belonged there.
Most floating shelves rely on one of three approaches: a hidden cleat system, concealed metal brackets, or a hollow-core construction that slides over a support rail. Each method has its strengths, and we’ll explore all three so you can choose what works best for your space, skill level, and the weight you plan to display.
Choosing Your Wood Wisely
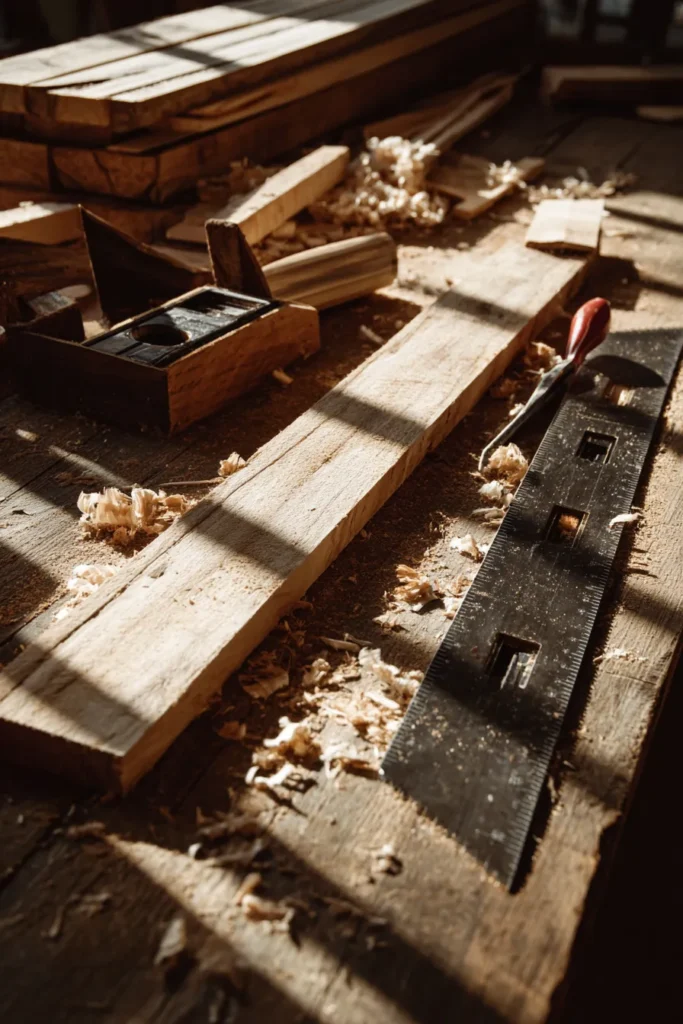
The wood you select sets the tone for everything that follows. Oak and maple offer incredible durability and a classic grain that ages beautifully — ideal for shelves that need to support heavier items like books or ceramics. Pine is softer and more budget-friendly, perfect for lighter displays of candles, small plants, or framed photographs.
For a modern rustic touch, consider walnut with its rich chocolate tones, or seek out reclaimed wood that carries stories in its knots and weathered texture. If sustainability matters to you (and we think it should), look for FSC-certified lumber or salvaged pieces from architectural salvage yards. The character in reclaimed wood is unmatched — every scratch and grain variation becomes part of your home’s narrative.
Live-edge slabs create stunning statement shelves, especially when you want to bring the organic beauty of nature indoors. Just ensure they’re properly kiln-dried to prevent warping over time.
Three Methods for Building Floating Shelves
Method 1: The Classic Cleat System
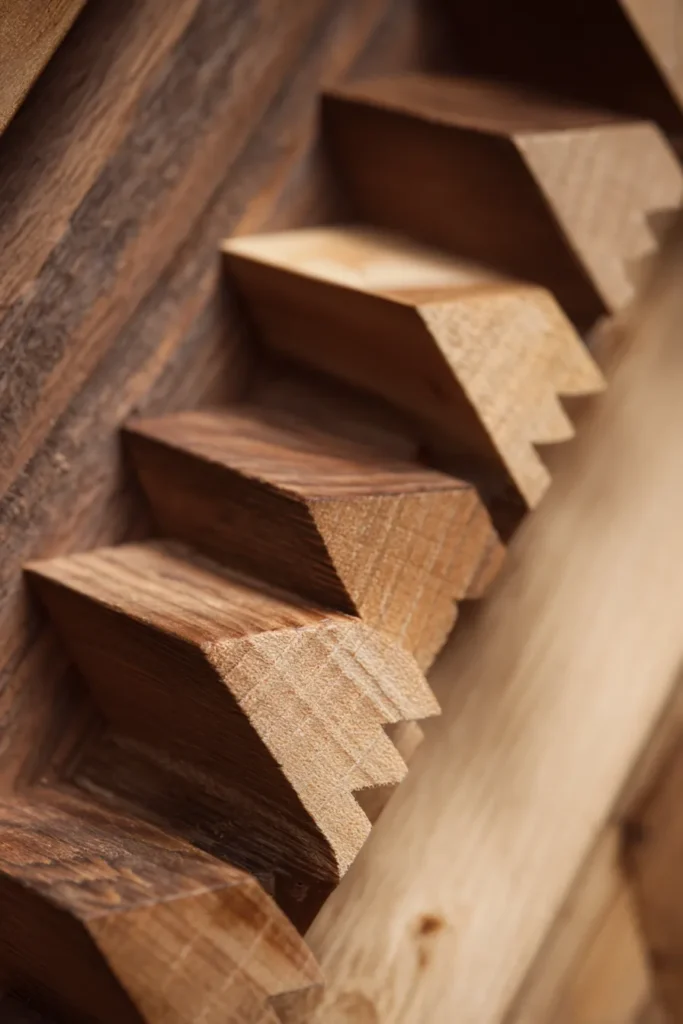
This is the workhorse approach — strong, reliable, and surprisingly beginner-friendly. A cleat is essentially a beveled wooden strip that creates an interlocking support system: one piece attaches to the wall studs, and the matching piece attaches to the back of your shelf.
What You’ll Need:
- Solid wood boards (1.5″ to 2″ thick works beautifully)
- 2×4 lumber for the cleat
- Table saw or circular saw
- Wood glue
- 3-inch wood screws
- Stud finder
- Level
- Sandpaper (120 and 220 grit)
- Finish of your choice
Step by Step:
- Cut your shelf board to the desired length and depth (8 to 12 inches deep feels generous without overwhelming).
- Create the cleat by ripping a 2×4 at a 45-degree angle lengthwise. You’ll end up with two matching beveled pieces — one for the wall, one for the shelf. The angled cut is what creates that rock-solid lock when assembled.
- Locate your studs using a reliable stud finder. For maximum strength, you’ll want to hit at least two studs, ideally three for longer shelves. Mark these locations lightly with a pencil.
- Attach the wall cleat using 3-inch screws driven directly into the studs. Check your level obsessively here — a slightly off cleat means a visibly tilted shelf, and that’s something you’ll notice every single day.
- Prepare your shelf board by routing or sanding the edges to your preferred profile. A simple roundover feels approachable; a crisp square edge reads more contemporary.
- Attach the second cleat to the back of your shelf using wood glue and screws. Make sure it’s perfectly flush with the top edge so it mates cleanly with the wall cleat.
- Sand everything smooth — start with 120 grit to remove rough spots, then finish with 220 grit for that silky-to-the-touch quality that makes wood irresistible.
- Apply your finish before installation. We love a natural oil finish that enhances the grain, or a soft matte polyurethane for spaces that need more protection (hello, kitchens and bathrooms).
- Slide the shelf onto the wall cleat and admire your handiwork. The beveled cleats lock together with satisfying precision.
Load Capacity: When properly anchored into studs, cleat-mounted shelves can support 50-75 pounds per stud. For a three-stud installation, you’re looking at 150-200+ pounds — more than enough for most residential needs.
Method 2: Hidden Metal Bracket System
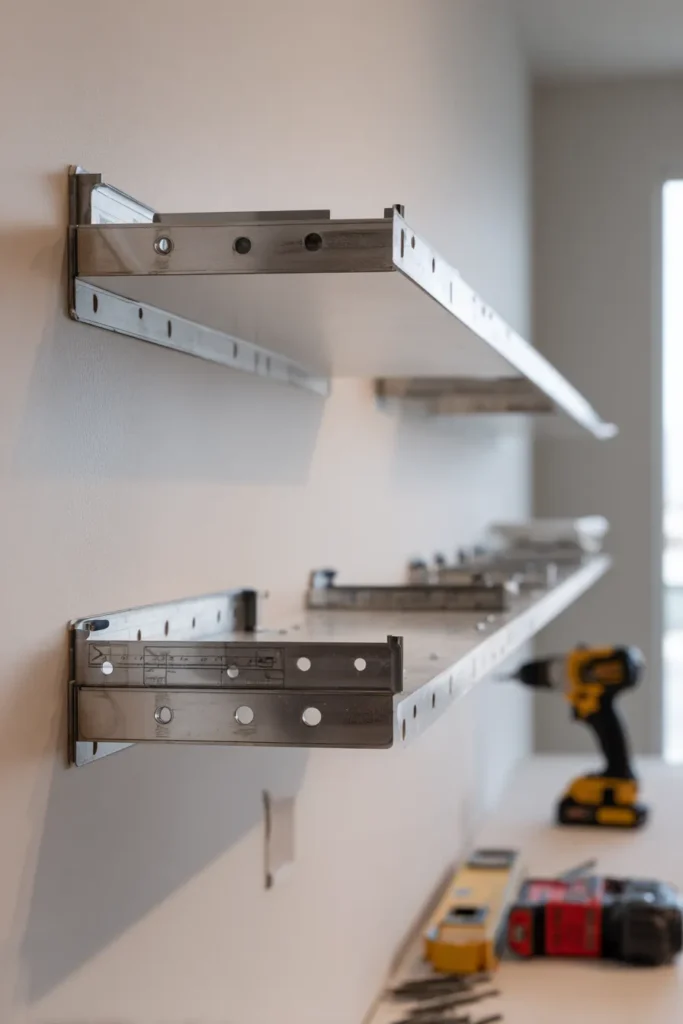
This approach uses specialized concealed brackets that nestle inside the shelf, creating a clean look with industrial-strength support. It’s ideal if you want maximum weight capacity or plan to use thinner shelf material.
What You’ll Need:
- Shelf board (can be as thin as 1 inch)
- Hidden floating shelf brackets (sized to match your depth)
- Drill with appropriate bits
- Level
- Stud finder
- Screws and wall anchors
The Process:
Install the brackets directly into wall studs, then drill corresponding holes into the back of your shelf board that perfectly align with the bracket rods. The shelf slides onto these rods and is typically secured with set screws underneath to prevent any wiggle.
This method is wonderfully forgiving for renters using removable installations, and it works brilliantly when you need serious weight capacity — some heavy-duty brackets support 100+ pounds per bracket. The key is precision in your measurements; take time to create a drilling template so your holes align perfectly.
Method 3: Hollow-Core Built-In Style
For that truly seamless, built-in look, create a hollow box from plywood or boards that slides over a simple 2×2 support rail. This is the most architecturally refined approach, though it requires more carpentry confidence.
The Concept:
Build a three-sided box (top, bottom, and front) that’s the exact dimensions of your finished shelf. Apply edge banding or solid wood strips to conceal any exposed plywood edges. Inside, attach strips that create a channel for your wall-mounted support rail to slide into.
The result looks like the shelf is growing directly from the wall — no visible seams, no brackets, just pure floating elegance. This method works beautifully for longer spans (4-6 feet) where you want a dramatic, gallery-like presentation.
Material and Tool Alternatives for Every Skill Level
Not everyone owns a fully equipped workshop, and that’s absolutely fine. The beauty of DIY is adapting to what you have available.
Instead of a table saw, use a circular saw with a straightedge guide or ask your local lumber yard to make cuts for you (many do this for free or a small fee). Hand saws work for smaller projects, though they require more patience and elbow grease.
Don’t have a router? Sandpaper and a sanding block can create beautifully softened edges — it just takes longer and a bit more attention. Edge banding can be applied with a simple household iron, transforming raw plywood edges into finished surfaces.
For drilling pilot holes, even a basic cordless drill with a standard bit set will serve you well. The key is taking your time and working methodically.
Understanding Your Wall Type: Critical for Success
The wall you’re mounting to dictates your entire approach to anchoring and load capacity. This is where many DIYers stumble, so let’s demystify it.
Drywall Over Wood Studs
This is the standard in most homes. Your goal is to anchor into those studs (typically 16 or 24 inches apart) using wood screws. A quality stud finder is worth its weight in gold here — we love the magnetic models that detect screws rather than relying on electronic sensors that can be finicky.
For lighter shelves between studs, use toggle bolts or Molly bolts that spread load across a wider area. These can hold 30-50 pounds when properly installed, though you’ll want to test your specific wall conditions.
Plaster Walls
Older homes often have plaster over wood lath. These walls are denser and more brittle than drywall, so drill slowly with a masonry bit and avoid over-tightening screws. The studs are still your best friend, but you may need longer screws to penetrate through the plaster and lath into solid wood.
Concrete or Brick
These walls require masonry anchors or concrete screws (Tapcons are reliable). You’ll need a hammer drill and masonry bits. Mark carefully, drill slowly, and use wall plugs rated for the weight you’re planning. Concrete installations are incredibly strong once properly executed — ideal for heavy-duty floating shelves in basements or lofts.
Finishing Touches That Elevate
The difference between a shelf that looks homemade and one that looks professionally crafted often comes down to finishing details.
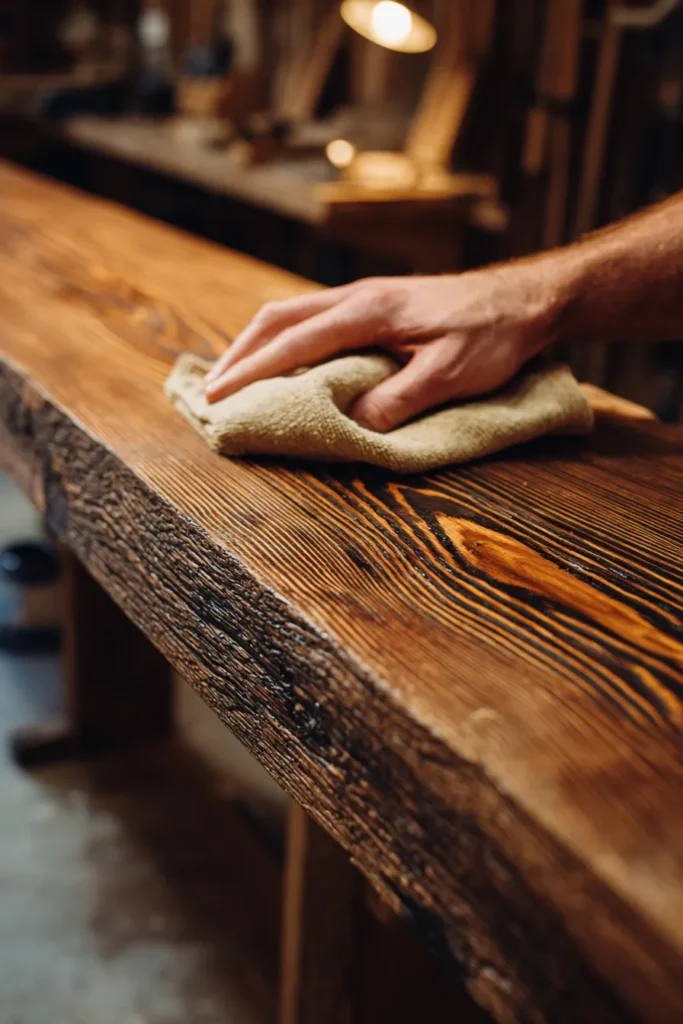
Sanding is not optional — it’s meditative, transformative work. Start with coarser grits to remove mill marks and shape edges, then progress through finer grits until the wood feels like silk. Always sand with the grain to avoid scratches.
Grain matching creates visual harmony. If you’re building multiple shelves, cut them from the same board in sequence so the grain pattern flows naturally from one to the next. This is especially beautiful with oak or walnut where the grain is prominent.
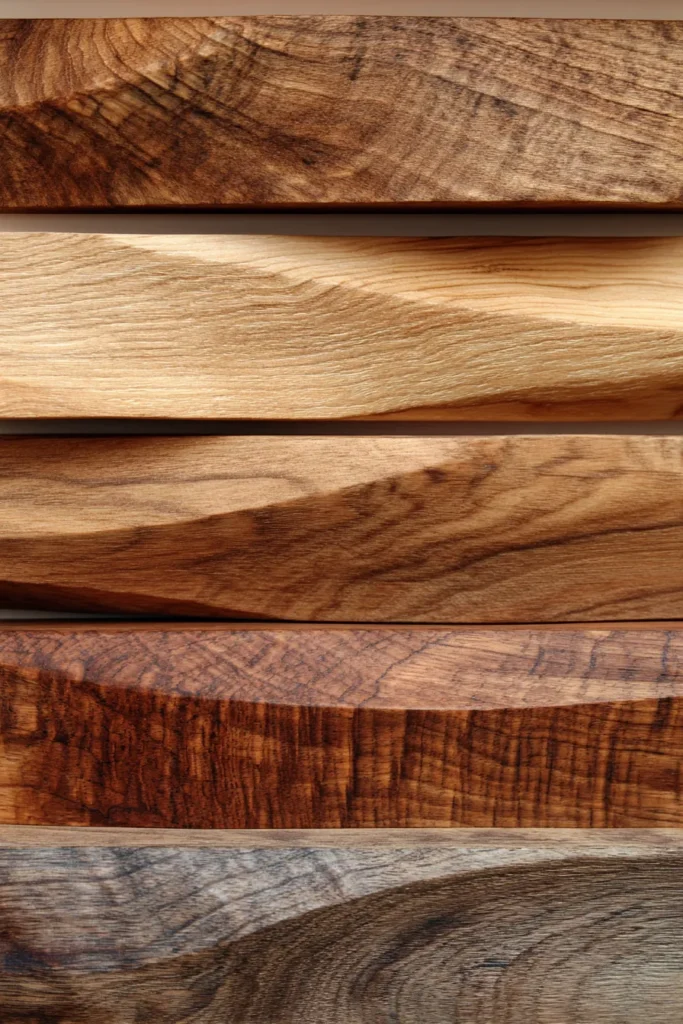
Staining should enhance, not hide. Test your stain on scrap wood first (ideally from the same board) because different species absorb color differently. Apply thin coats and wipe away excess for the most natural look. Let each coat dry fully before deciding if you want to go darker.
Sealing protects your investment. In kitchens or bathrooms, use a waterproof polyurethane. In living spaces, consider natural oils or waxes that can be easily refreshed over time. Matte finishes feel more organic and hide fingerprints better than high gloss.
Load Capacity and Safety Considerations
Beauty means nothing if your shelf fails under load. Here’s what you need to know.
| Wall Type | Anchor Method | Approximate Weight Limit |
|---|---|---|
| Drywall (into studs) | 3″ wood screws | 50-75 lbs per stud |
| Drywall (hollow wall) | Toggle bolts | 30-50 lbs per bolt |
| Plaster (into studs) | Long wood screws | 50-75 lbs per stud |
| Concrete/Brick | Masonry anchors | 80-100+ lbs per anchor |
For heavier loads, consider adding metal reinforcement rods inside hollow-core shelves, or choose thicker solid wood (2″ minimum) with cleats into multiple studs. Always build in a safety margin — if you calculate 60 pounds of books, design for 90.
Preventing sag over time: For shelves longer than 36 inches, use thicker material (1.5″ minimum) or add a hidden center support. Physics always wins, and wood will gradually bow under constant weight without adequate support.
Customization Ideas for Unique Spaces
For Renters
Use removable adhesive strips designed for heavier loads (3M Command makes versions rated for 16 pounds). Combine multiple strips for increased capacity, and consider shorter shelves (24-30 inches) that distribute weight more evenly.
You can also explore track systems that mount with a few holes that are easy to patch later, giving you adjustable shelf positions.
Smart Integration
Route channels into the back of your shelf for LED strip lighting. This creates a warm backlit glow that highlights displayed objects and adds ambiance. Use warm white (2700-3000K) for that cozy, inviting feel that defines the ERYLIN aesthetic.
Charging stations can be discreetly integrated by drilling through the shelf for cord management, keeping surfaces clean and intentional.
Biophilic Design
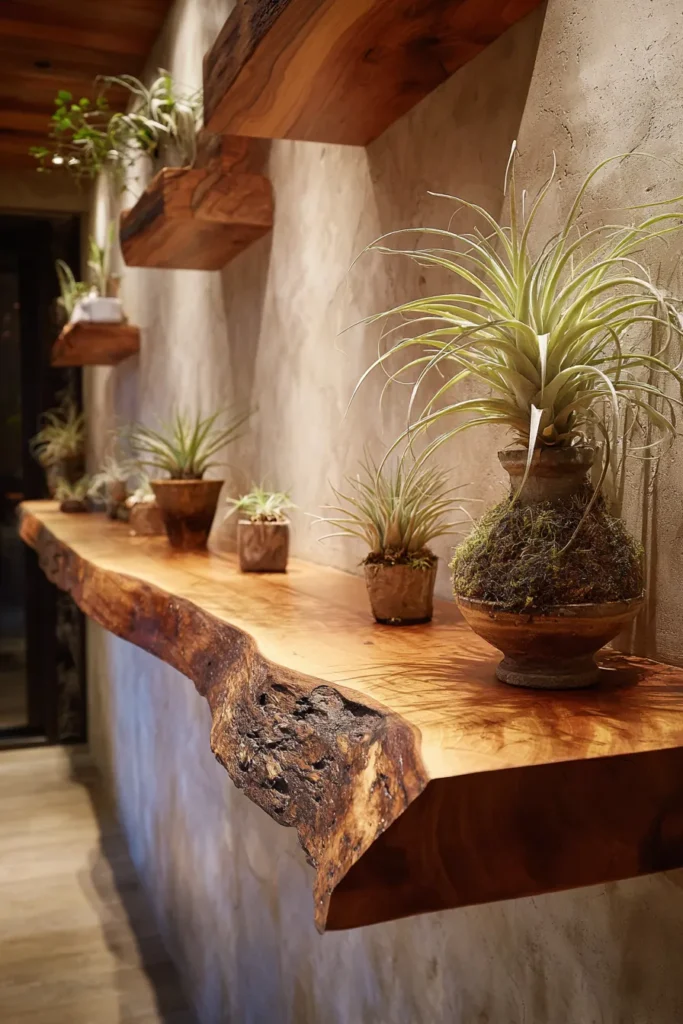
Create live-edge floating shelves with integrated plant holders by drilling holes sized for small pots or test tubes. This brings the organic beauty of nature directly into your space, connecting indoor and outdoor in that effortlessly elegant way.
Choose plants that thrive in your light conditions — pothos and philodendron are forgiving low-light champions, while string-of-pearls and air plants add sculptural interest in brighter spots.
Cost Breakdown by Method
Understanding the investment helps you plan and prioritize.
Cleat System: $15-35
- 6-foot oak or pine board: $12-25
- 2×4 for cleats: $3-5
- Screws, glue, sandpaper: $5
Hidden Bracket System: $30-60
- Shelf board: $12-25
- Quality hidden brackets (pair): $15-30
- Installation hardware: $3-5
Hollow-Core Built-In: $25-50
- Plywood or boards: $15-30
- Edge banding/trim: $5-10
- Support rail and hardware: $5-10
Add another $10-20 if you need to purchase or rent tools like a level, stud finder, or quality drill bits. The investment pays dividends when you consider the cost of store-bought floating shelves (often $60-150+) that lack the character and perfect sizing of custom-built pieces.
Troubleshooting Common Issues
Warping over time: This usually means the wood wasn’t fully dried or is exposed to moisture. Always use kiln-dried lumber and seal all surfaces, including the back and bottom that aren’t visible.
Sagging in the middle: Install additional support mid-span, use thicker material, or add metal reinforcement rods routed into the underside of the shelf.
Visible gaps between shelf and wall: Walls are rarely perfectly flat. For small gaps, consider adding a subtle decorative trim along the back edge, or use flexible caulk in a matching wood tone to bridge the gap invisibly.
Shelf won’t slide onto wall mount: Double-check that your measurements are exact and that there’s no sawdust or debris blocking the channel. Sometimes a bit of sanding on the cleat edges provides the clearance you need.
Essential Takeaways
- Choose your method based on skill level, wall type, and desired weight capacity
- Always anchor into studs when possible for maximum strength and safety
- Sand thoroughly and apply finish before installation for professional results
- Test your stain on scrap wood first to avoid surprises
- Measure obsessively — the difference between good and great is often just a quarter inch
- Select sustainable materials when possible to honor the wood and your values
- Build in safety margins for load capacity calculations
- Work methodically and don’t rush — quality takes patience
A Closing Thought
There’s a particular kind of pride that comes from making something with your hands — from seeing raw lumber transform into a functional piece of home that holds your treasures, tells your story, and brings you quiet satisfaction every time you walk past it.
These floating shelves will become part of your daily landscape. They’ll hold the pottery you found at that weekend market, the books that shaped your thinking, the framed photographs of people you love. They’ll catch morning light and display seasonal branches. They’ll be exactly what you need them to be because you built them that way.
Take your time with this project. Let the process be as satisfying as the result. And when you step back to admire that first shelf floating elegantly on your wall, know that you’ve added something beautiful and meaningful to your home.
Frequently Asked Questions
What wood is best for floating shelves?
Oak and maple offer exceptional durability and beautiful grain patterns, making them ideal for shelves holding heavier items. Pine is more affordable and works beautifully for lighter displays. For a richer, more dramatic look, walnut brings depth and warmth. Consider reclaimed wood for unique character and sustainability.
How much weight can floating shelves hold?
When properly anchored into studs with the cleat method, expect 50-75 pounds per stud, or 150-200+ pounds for a three-stud installation. Hidden metal brackets can support 100+ pounds per bracket. For drywall installations using toggle bolts, plan for 30-50 pounds maximum. Always include a safety margin in your calculations.
Can you make floating shelves without brackets?
Absolutely. The cleat system creates a bracket-free floating appearance by using beveled wood strips — one mounted to the wall, one attached to the shelf — that interlock securely. This is one of the most popular methods because it’s strong, relatively simple, and creates that seamless look where the shelf appears to emerge directly from the wall.
How do you make floating shelves look seamless?
Grain matching is key — cut multiple shelves from the same board in sequence. Apply edge banding to any exposed plywood edges, or use solid wood throughout. Sand meticulously through progressively finer grits (ending at 220). Finish all surfaces before installation, and ensure your stain or oil enhances rather than hides the natural wood beauty. Perfect leveling during installation is also critical.
How do you install floating shelves on uneven walls?
For minor irregularities, use shims behind your wall cleat or bracket to create a level mounting surface. Flexible caulk in a matching wood tone can fill small gaps between shelf and wall. For more significant unevenness, consider mounting a backing board to the wall first (shimmed and leveled), then attach your shelf system to that uniform surface. A subtle decorative trim along the back edge can also gracefully conceal gaps.