Table of Contents
There is something quietly magical about a plant set at just the right height. It catches the morning light differently. It breathes with the room. It turns a corner into a moment.
Japandi design — that soft marriage of Japanese wabi-sabi and Scandinavian hygge — understands this instinctively. It finds beauty in restraint, warmth in natural materials, and peace in the purposeful arrangement of simple things. A well-crafted plant stand is the perfect expression of that philosophy.
The good news? You don’t need a workshop full of tools or a designer’s budget to bring this aesthetic home. A DIY Japandi plant stand, built from honest materials and finished with care, can transform the way your space feels — one grain of wood at a time.
Whether you live in a sun-filled studio in Makati or a quiet apartment in Manila, this guide will walk you through everything: materials, techniques, styling, and plant pairings. Let’s build something beautiful together.
What Makes a Plant Stand Truly Japandi?
Before we pick up a saw or a brush, it helps to understand what separates a Japandi plant stand from any other wooden riser.
Japandi is about honest simplicity. No unnecessary ornamentation. No fussy curves. Just clean lines, natural textures, and a quiet confidence in the beauty of raw materials.
The Core Japandi Aesthetic
Think muted palettes — warm beiges, soft blacks, dusty taupes, and the gentle gold of unfinished wood. Think surfaces you want to touch: the subtle grain of bamboo, the cool smoothness of a ceramic pot, the soft nap of a linen runner beneath a stand.
A true Japandi plant stand feels grounded. It doesn’t compete with the plant it holds — it honors it. It elevates the leaf, the pot, the light that falls across both.
Japandi vs. Other Minimalist Styles
| Feature | Japandi | Scandinavian | Japanese Wabi-Sabi |
|---|---|---|---|
| Wood Tones | Warm neutrals + dark accents | Light birch, white ash | Aged, weathered, imperfect |
| Finish | Matte, natural oil or beeswax | Lacquered or painted | Raw, unfinished, or charred |
| Lines | Clean but warm | Functional, crisp | Irregular, handcrafted |
| Mood | Calm, cozy, elevated | Bright, airy, minimal | Meditative, rustic |
| Plant Pairings | Monstera, snake plant, ZZ | Ferns, succulents | Moss, bonsai, bamboo |
Best Materials for DIY Japandi Plant Stands
The material you choose is the soul of your stand. In Japandi design, the material is never an afterthought — it’s the whole point.
Bamboo: The Japandi-Native Choice
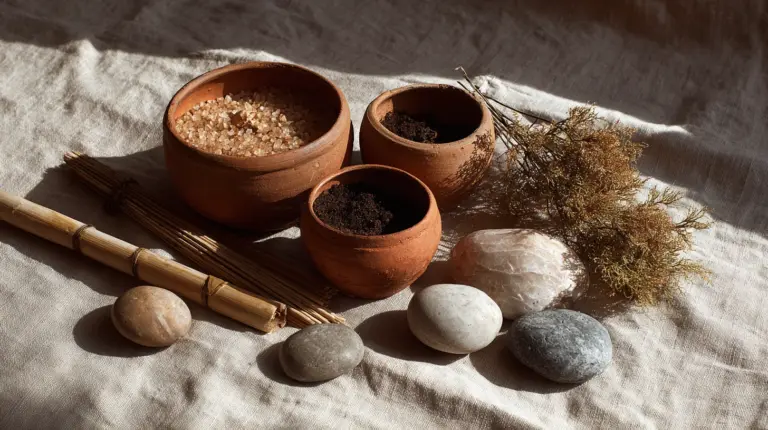
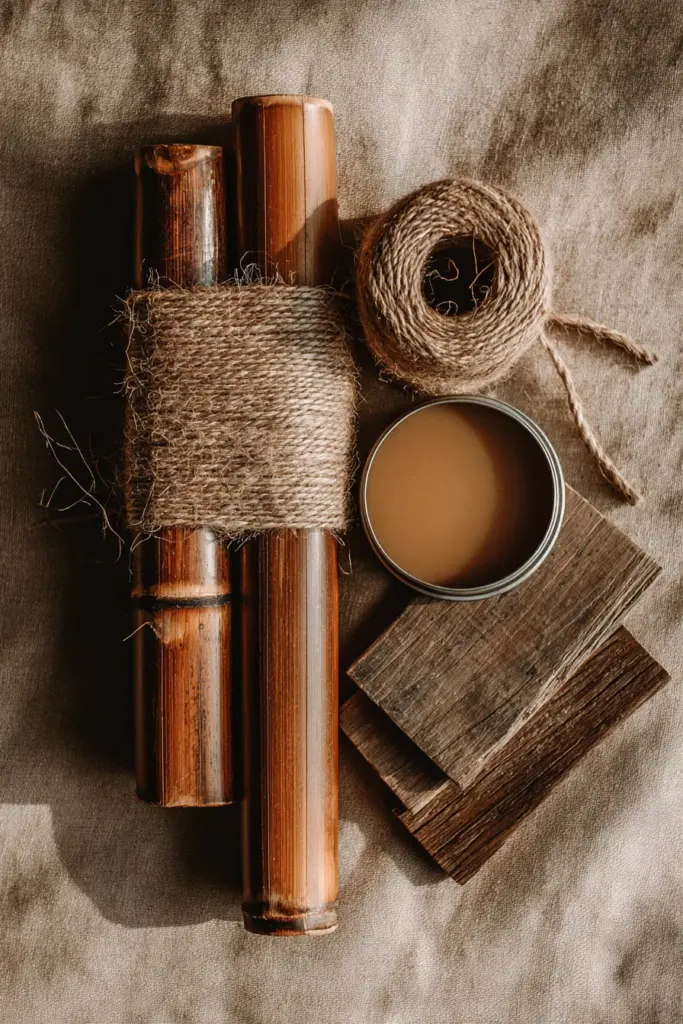
Bamboo is perhaps the most natural fit for this aesthetic. It grows fast, ages beautifully, and carries an inherent calm. In the Philippines, raw bamboo poles are easy to source — even from Divisoria markets — making this one of the most budget-friendly options available.
Use bamboo culms for legs and thinner strips for the shelf surface. Bind joints with natural jute twine or dark cotton rope for that characteristic Japandi texture. Seal with a non-toxic beeswax finish to protect against humidity while keeping the surface beautifully matte.
Local Hardwood: Narra, Acacia, and Reclaimed Wood
Narra is a Philippine treasure — warm, golden-red, and deeply beautiful when oiled. Acacia is more accessible, with a striking grain that photographs stunningly. Both are durable, workable, and deeply in step with Japandi’s love of natural material.
Reclaimed or pallet wood adds the wabi-sabi touch: a sense of history, of imperfection-as-beauty. Sand it smooth, fill the deepest cracks with dark wood filler, and finish with linseed or tung oil for a rich, matte depth.
Birch Plywood: The Clean-Cut Option
For those who prefer crisp, modern Japandi lines, birch plywood is excellent. It cuts cleanly, accepts stain evenly, and is widely available. Consider staining with English Chestnut for warmth, or leaving it light and sealing with a natural wax.
A Material Quick-Reference
| Material | Local Availability | Cost Estimate (PH) | Best Finish | Difficulty |
|---|---|---|---|---|
| Bamboo | High (Divisoria, markets) | ₱100–₱400 | Beeswax, tung oil | Beginner |
| Narra wood | Medium (lumber yards) | ₱500–₱1,500 | Linseed oil | Intermediate |
| Acacia wood | High | ₱300–₱900 | Natural oil or wax | Beginner–Intermediate |
| Reclaimed pallet | High (free to low) | ₱0–₱200 | Sand + oil | Beginner |
| Birch plywood | Medium | ₱400–₱1,000 | Stain + sealant | Intermediate |
How to Make a Simple Japandi Plant Stand: A Beginner’s Tutorial
This is your starting point — a single-tier Japandi stand with angled legs, a square shelf, and a finish that feels like it came from a boutique studio.
Tools You’ll Need
- Miter saw or hand saw
- Sandpaper (80, 120, 220 grit)
- Wood glue or brad nails
- Measuring tape
- Pencil
- Clamps
- Oil or beeswax finish
Materials for One Stand (approx. 30cm × 30cm shelf, 45cm tall)
- 4 pieces: 2×2 furring strips or bamboo culms, cut to 47cm each (angled at 5° for that signature lean)
- 1 piece: 30×30cm shelf board (plywood, acacia slab, or bamboo panel)
- Optional: Dark cotton rope for wrapped joints
- Finish of your choice
Step-by-Step Build
Step 1 — Cut the legs. Using a miter saw, cut four legs to 47cm. For classic Japandi stance, angle the top and bottom cuts at 5 degrees so the legs splay slightly outward. This adds stability and that quiet, architectural grace.
Step 2 — Sand everything smooth. Start with 80 grit to remove any rough edges, move to 120 for smoothing, and finish with 220 for a silky surface. Run your hand across every piece. If it feels good to touch, it will look good to live with.
Step 3 — Attach the legs to the shelf. Pre-drill to avoid splitting. Use wood glue and brad nails, or Kreg pocket holes for a cleaner join. Let the glue set fully — at least an hour — before releasing the clamps.
Step 4 — Wrap the joints (optional but beautiful). Wind dark cotton or jute rope around each leg-to-shelf junction. This covers the join, adds a tactile Japandi detail, and makes even a simple build look considered and intentional.
Step 5 — Apply your finish. Rub tung oil or beeswax into the wood in slow, circular motions. Let the grain drink it in. Wipe off the excess. Let it cure overnight, then buff gently with a soft cloth. The result should feel warm and alive — not plastic, not shiny.

Estimated Cost Breakdown
| Item | Estimated Cost (PH) |
|---|---|
| 2×2 furring strips (1 length) | ₱80–₱120 |
| Shelf board (acacia offcut) | ₱150–₱300 |
| Sandpaper set | ₱50–₱80 |
| Wood glue | ₱60–₱100 |
| Tung oil or beeswax | ₱150–₱250 |
| Total (approx.) | ₱490–₱850 |
Tiered and Corner Japandi Plant Stands for Small Spaces
In smaller homes and apartments, vertical thinking is everything. A tiered Japandi plant stand lets you display three or four plants in the footprint of one — a small-space solution that feels anything but cramped.
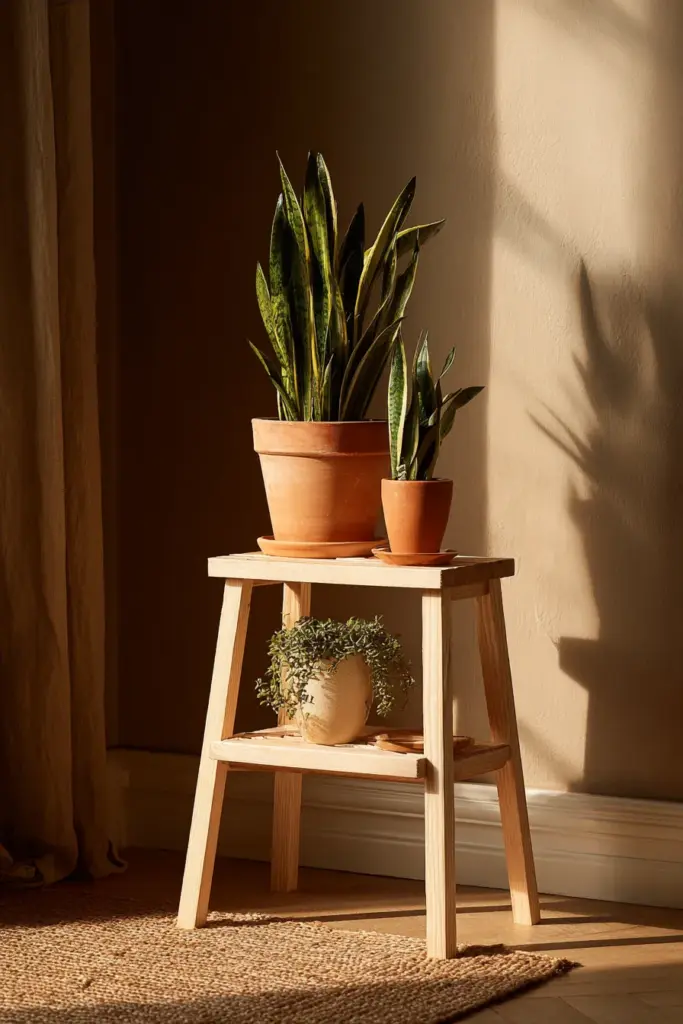
Building a 3-Tier Japandi Stand
Use the same angled-leg method above, but stack three shelves at different heights: 20cm, 40cm, and 60cm from the ground. Connect each level with four shared legs that run the full height of the stand.
Stagger the shelf sizes slightly — perhaps 35cm at the base, 28cm in the middle, 22cm at the top — for a tapered silhouette that feels elegant and balanced. This also improves stability, which is especially important on tile floors where stands can shift.
Corner Stands: The Forgotten Hero of Small Spaces
A corner plant stand is one of the most underused pieces in small-space styling. A triangular shelf — designed to sit flush against two walls — takes up almost no floor space but creates a lush, layered display in a forgotten corner.
Cut your shelf as an equilateral triangle, approximately 35cm per side. Add three angled legs. Style with a tall snake plant at the back, a trailing pothos on the middle tier, and a small ceramic pot in front. This single corner becomes the corner — the one guests remember.
Japandi Plant Pairings: Choosing Plants That Belong
A Japandi plant stand is only half the picture. The plant you place on it completes the composition.
Low-Light Champions (Perfect for Philippine Apartments)
- ZZ Plant (Zamioculcas zamiifolia): Glossy, dark, architectural. Thrives in low light and forgives irregular watering. Its graphic form is deeply Japandi.
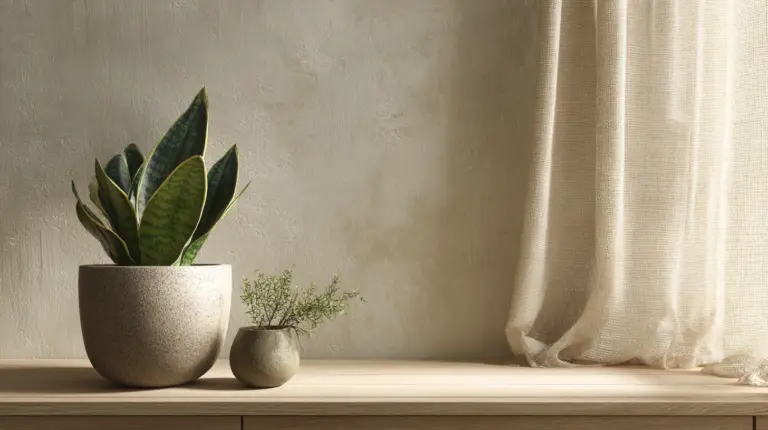
- Sansevieria (Snake Plant): Upright, structural, and nearly indestructible. Choose a dark ceramic pot in matte black or warm taupe.
- Pothos: A trailing softness that contrasts beautifully with clean wood lines. Let it cascade from a mid-height tier.
Statement Plants for Brighter Spaces
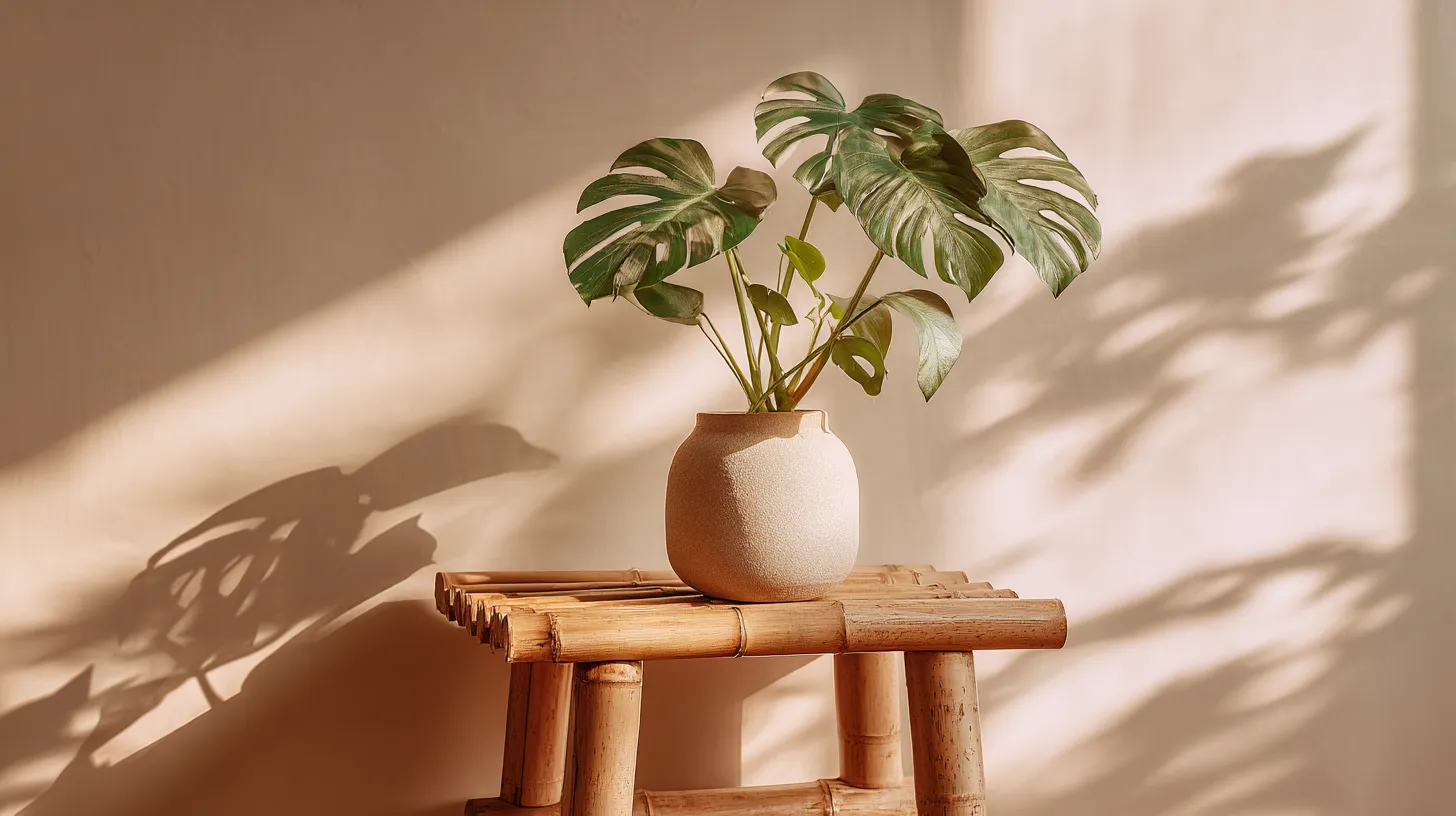
- Monstera deliciosa: The quintessential Japandi companion. Its split leaves are sculptural and lush without being fussy.
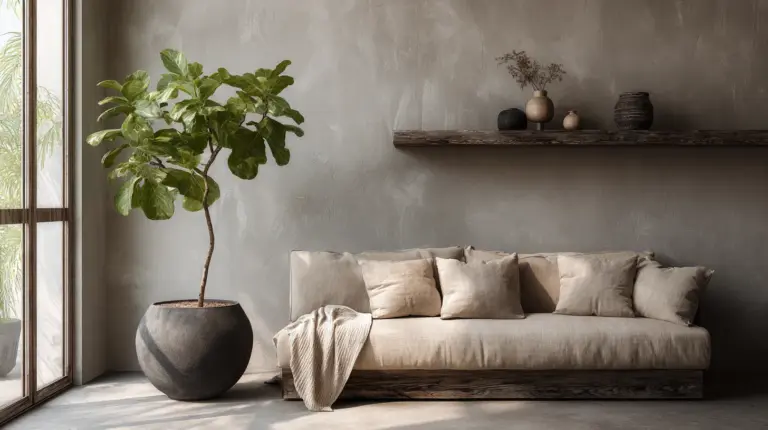
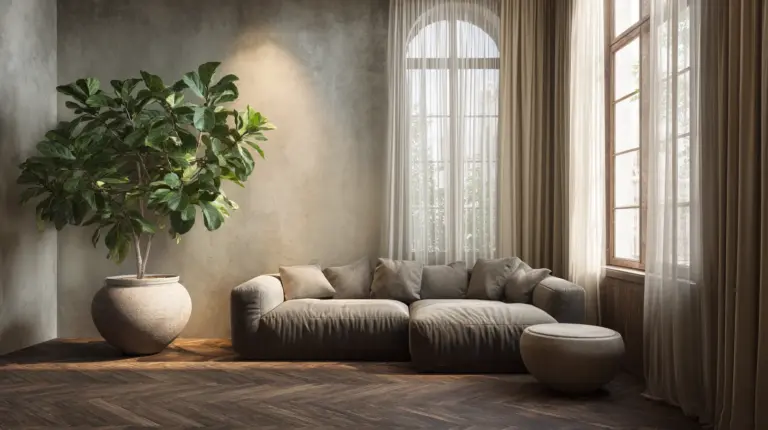
- Fiddle Leaf Fig: Tall, dramatic, deeply satisfying in a corner. Pair with a simple bamboo stand and a woven mat underneath.
Drainage Tips for Your Stands
Always use pots with drainage holes, and place a shallow saucer beneath each pot. For wooden stands, add a thin cork or felt pad under each saucer to protect the wood from moisture. Never let a pot sit in standing water — both your plant and your beautiful new stand will thank you.
Styling Your Japandi Plant Stand: Light, Texture, and Layering
The stand is built. The plant is chosen. Now it’s time to style the whole composition — and this is where the magic truly happens.
Lighting: The Quiet Collaborator
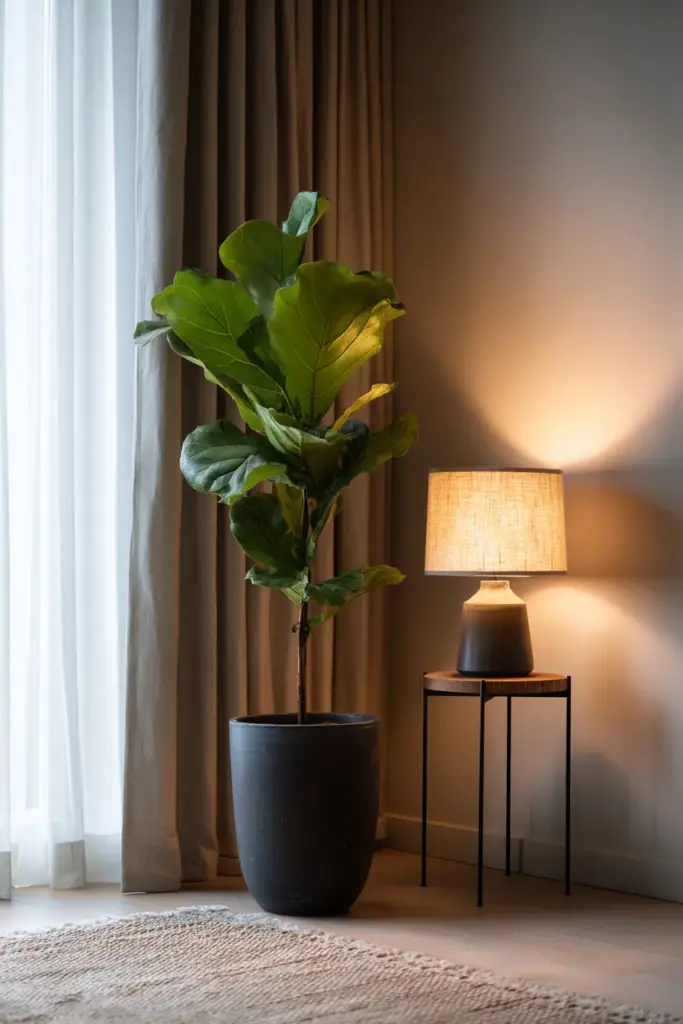
Position your plant stand where it will catch natural light for at least part of the day. Morning light is softer, more flattering — it gilds the leaves gold and casts long, gentle shadows across your wood grain. In the evening, a warm-toned lamp nearby creates an intimate, almost meditative glow. Explore Japandi lighting ideas to find the right warm bulb temperature (aim for 2700K–3000K).
Layering Textures Beneath the Stand
Place your stand on a natural fiber rug — jute, seagrass, or a flat-woven cotton in oat or warm grey. This grounds the whole composition and adds a layer of softness underfoot. A single ceramic pot in matte black or hand-thrown terracotta on your stand completes the tactile story.
The Rule of Odd Numbers
Style in threes: one tall plant, one medium, one small. Or one plant, one ceramic object, one candle. Odd groupings feel more natural than even ones — they mimic the asymmetry of the natural world that Japandi celebrates.
Sustainability Notes: Build With What You Have
One of Japandi design’s quietest teachings is this: use less, but use it beautifully. That philosophy translates directly into how we build.
- Upcycle pallet wood — clean it, sand it, oil it, and you have a beautiful, free building material.
- Zero-waste cuts — plan your cuts before you saw. Save all offcuts for future projects or small decorative pieces.
- Non-toxic finishes — beeswax and tung oil are safe for your home, safe for your plants, and biodegradable.
- Bamboo over hardwood — where possible, choose bamboo for its rapid renewability. It’s also incredibly strong.
Key Takeaways: Your Japandi Plant Stand Checklist
- Choose natural, honest materials — bamboo, local hardwood, reclaimed wood, or birch plywood
- Angled legs (5°) add structural elegance and stability
- Sand through three grits (80, 120, 220) for a surface worth touching
- Finish with non-toxic beeswax or tung oil — never gloss lacquer
- Match plant to stand: use low-light plants in dim apartments, statement plants in bright corners
- Style in odd numbers with layered textures beneath the stand
- Build vertically for small spaces: tiered or corner designs multiply your display without crowding your floor
- Protect wood from moisture with felt pads under pot saucers
- Use reclaimed or upcycled materials wherever possible
- Pair your stand with warm lighting at 2700K–3000K for an evening glow that’s worth coming home to
Conclusion
There is real joy in building something with your hands — something that holds a living thing, that catches the light, that makes a small corner of your home feel like it was always meant to look exactly this way.
A DIY Japandi plant stand is more than a project. It’s a practice in slowing down, in choosing materials that have texture and story, in placing things with intention. Every grain of wood you sand, every joint you wrap, every plant you place — these are small acts of care that accumulate into a home that feels deeply, quietly yours.
At ERYLIN, we believe beautiful living is available to everyone — not just those with large budgets or perfect spaces. Start with one stand. Start with one plant. Start today.
Frequently Asked Questions
What materials are best for DIY Japandi plant stands?
The most Japandi-authentic materials are bamboo, local hardwoods like narra or acacia, and reclaimed or pallet wood. Birch plywood is a great option for cleaner, more contemporary builds. Always finish with natural, matte sealants — beeswax, tung oil, or linseed oil — to preserve the warm, organic feel that defines this aesthetic.
How do I make a simple Japandi plant stand as a beginner?
Start with four 2×2 furring strips as legs, cut at a slight 5-degree angle for that signature splay, and a square shelf board. Attach with wood glue and brad nails, sand through three grits, and finish with natural oil. Wrap the joints in jute or dark cotton rope for an instant Japandi touch. Total build time: 2–3 hours. Total cost in the Philippines: ₱490–₱850.
What plants pair best with Japandi style stands?
Low-maintenance plants with graphic, architectural forms are ideal: monstera, sansevieria (snake plant), ZZ plant, and fiddle leaf fig. For small apartments with lower light, ZZ plants and pothos are nearly foolproof. Always pot in matte ceramic — warm terracotta, matte black, or soft white — never glossy plastic.
Are there free plans or templates for Japandi plant stands?
Most tutorial sites offer fixed-size builds only. For scalable builds, use the proportional system above: legs at 1.5× the shelf size in height, shelves decreasing by 20% per tier in a multi-tier design. This gives you a naturally elegant silhouette at any scale — from a small 20cm bedside stand to a full 70cm statement piece.
How do I style Japandi plant stands in a small space?
Think vertically. A three-tier stand holds as many plants as a flat shelf display but takes up a fraction of the floor space. Corner stands are even more efficient — they use dead corner space and create lush, layered displays without crowding a room. Pair with a natural fiber rug, warm lighting, and muted ceramic pots. Less floor, more life.