Table of Contents
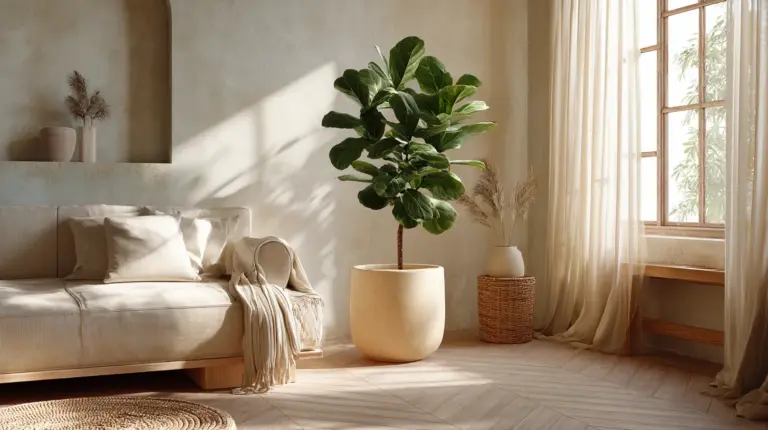
There is something quietly sacred about tending to a plant. The cool weight of damp soil in your hands, the faint green scent of roots breathing fresh air, the stillness of a Sunday morning when the light falls just right through linen curtains — this is what Japandi living feels like at its most honest.
Japandi, the soulful blend of Japanese wabi-sabi and Scandinavian hygge, is not just an aesthetic. It is a way of slowing down. And nothing embodies that philosophy more beautifully than repotting your indoor plants with intention — choosing the right vessel, the right soil, and the right moment.
This guide walks you through Japandi plant repotting from root to rim. Whether you are refreshing a beloved Ficus Audrey or finally giving your trailing Pilea a proper home, we will help you do it with calm, purpose, and a little bit of poetry.
Consider this your ritual, not your chore.
When Is the Right Time to Repot Indoor Plants?
Plants speak, if you know how to listen. Roots creeping out of drainage holes, water rushing straight through without absorbing, a plant that looks tired despite your best care — these are quiet signals that it is time.
The best season for repotting is early spring, just as the light softens and growth returns. In the Philippines, this often aligns with the months of February through April, before the heat of summer peaks. Repotting after the typhoon season, around November to December, also works well as plants recover and reset.
Avoid repotting during full bloom or in the coldest, darkest stretches. Your plant is already working hard — do not ask it to adjust and perform at the same time.
Signs Your Plant Needs Repotting
- Roots circling the bottom of the pot or escaping drainage holes
- Soil dries out faster than usual between waterings
- Visible salt or mineral buildup on the soil surface
- Slow or stunted growth despite regular feeding
- The pot feels too light, too tight, or top-heavy
Choosing the Right Japandi Pot
The vessel matters as much as what grows inside it. In Japandi style, pots are not decorative afterthoughts — they are considered companions to the plant, chosen with the same care you would give a piece of furniture.
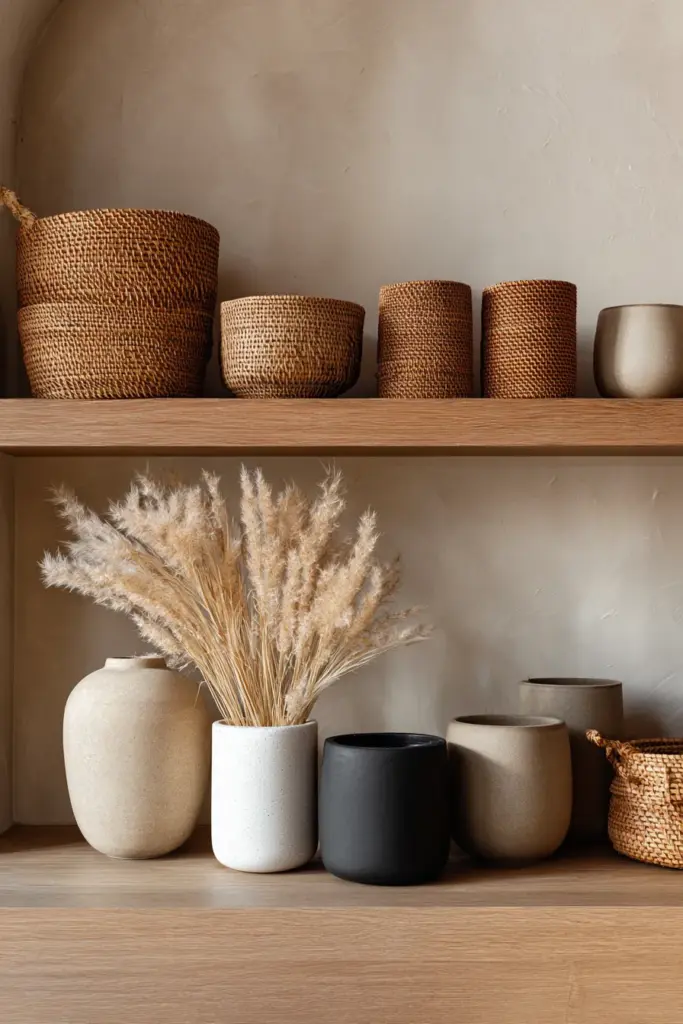
Look for natural materials: unglazed terracotta, matte ceramic, woven rattan sleeves, raw concrete, or hand-thrown stoneware in earthy tones. Think warm tan, warm white, deep charcoal, or the quiet green of moss. These textures ground a space and let the plant remain the living centerpiece.
A Note on Sustainable and Affordable Pot Options
For those based in the Philippines, beautiful Japandi-style planters do not require a large budget. Rattan basket sleeves from Divisoria or local tiangge markets pair naturally with simple terracotta pots, creating that woven, organic look without the import price tag. Upcycled wood trays as saucers, pebble-lined drainage beds, and even plain concrete painted in natural pigment are all options worth exploring.
What to look for in a Japandi pot:
| Feature | Why It Matters |
|---|---|
| Drainage hole | Prevents root rot, supports long-term health |
| Neutral, earthy tone | Complements natural textures and wood tones |
| Natural material | Breathable, eco-friendly, visually grounded |
| Correct sizing | 2–5 cm wider than current root ball |
| Matte finish | Reduces visual noise, stays timeless |
Best Plants for Japandi Interiors
Not every plant belongs in a Japandi space. The aesthetic calls for plants that feel organic, sculptural, and quietly alive — shapes that complement rather than compete with clean lines and natural wood.
These are some of the most loved Japandi houseplants and the soil mixes that help them thrive after repotting.
Japandi Plant Guide and Soil Mix
| Plant | Character | Ideal Soil Mix |
|---|---|---|
| Ficus Audrey | Soft, velvety leaves, tree-like elegance | 1 part potting mix + 1 part perlite |
| Pilea Peperomioides | Round coin leaves, modern and playful | Well-draining potting mix + coarse sand |
| Ficus Ginseng Bonsai | Ancient, sculptural, meditative | Bonsai-specific mix or akadama blend |
| Snake Plant | Upright, structural, minimal care | Cactus mix or sandy loam |
| Peace Lily | Soft white blooms, shade-tolerant | Peat-based mix with good drainage |
| Pothos (trailing) | Flowing, forgiving, textural | Standard potting mix, light perlite |
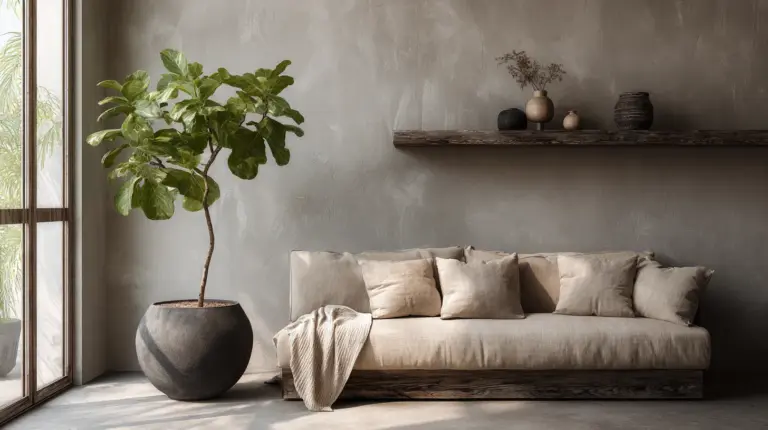
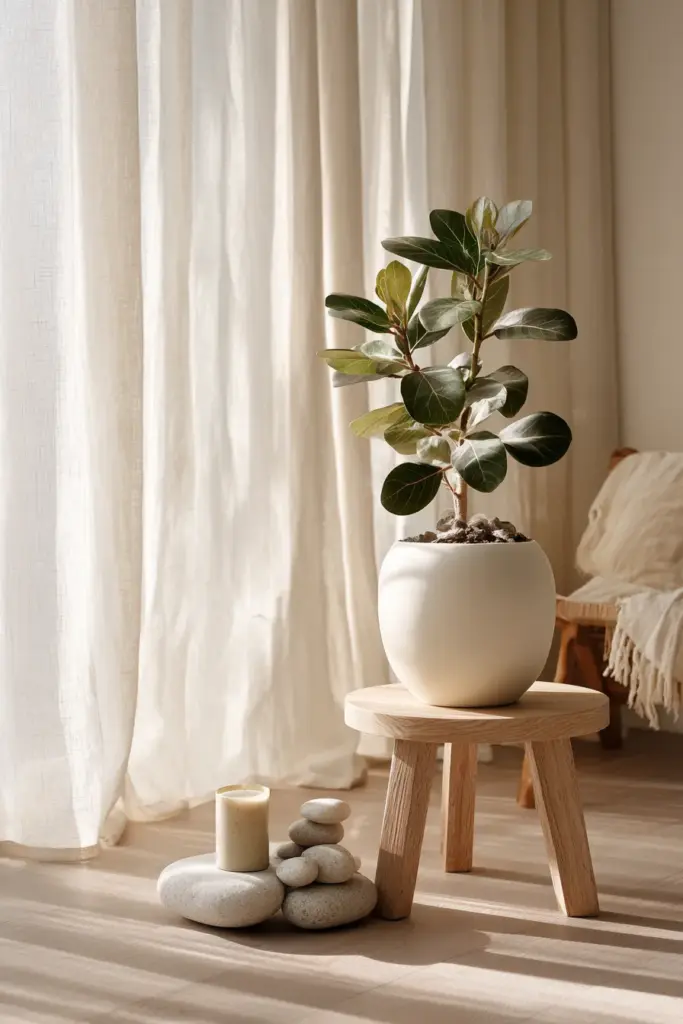
Each of these plants carries its own quiet energy. A Ficus Audrey near a north-facing window in diffused afternoon light is nothing short of living sculpture. A Pilea on a low rattan shelf alongside smooth river stones and a ceramic candle holder — that is a Japandi vignette worth pausing for.
How to Repot a Plant: A Step-by-Step Japandi Tutorial
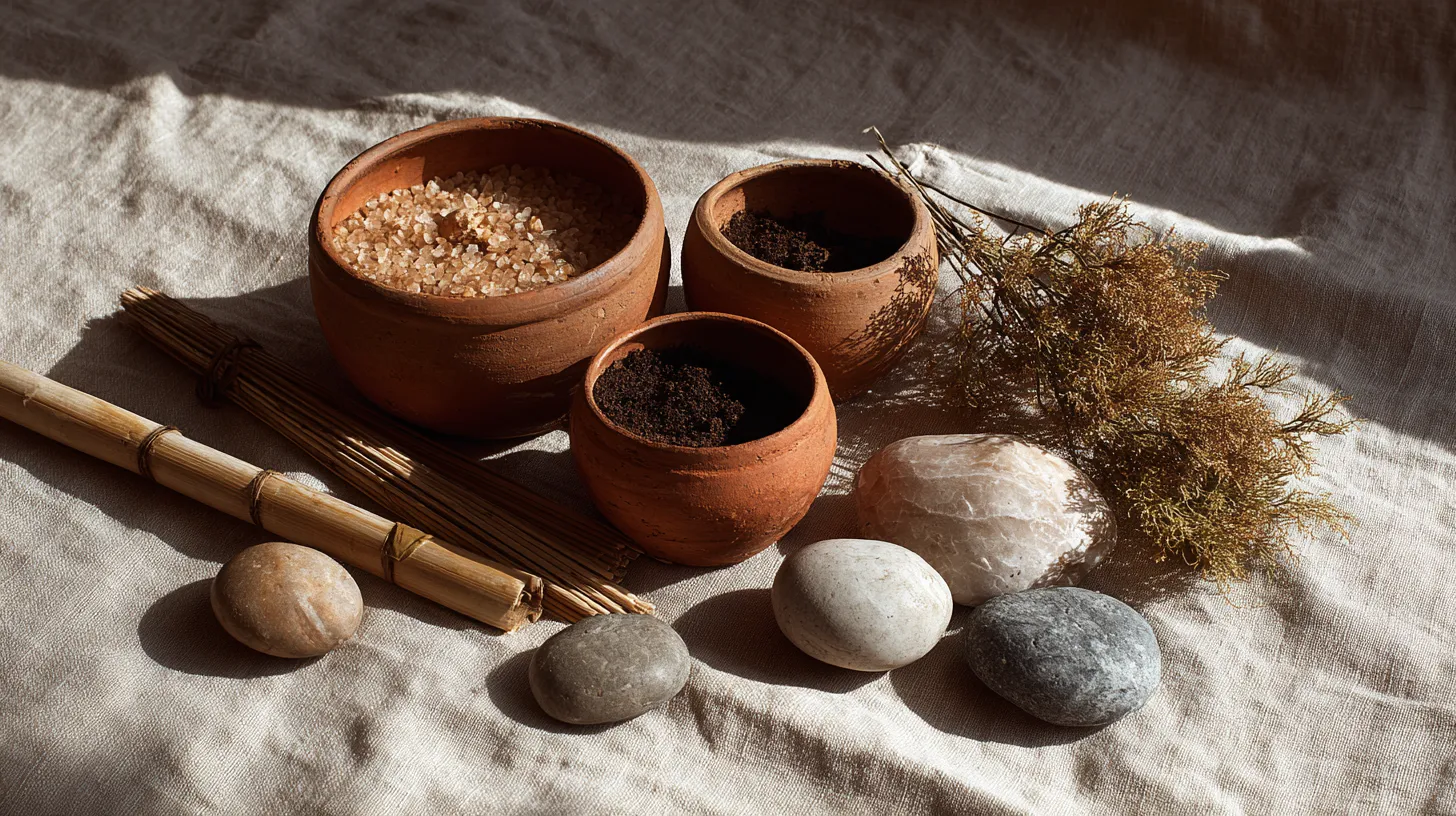
Repotting does not need to feel clinical. Set aside an unhurried morning, lay down a linen cloth or jute mat, gather your materials, and work slowly.
What You Will Need
- New pot (2–5 cm wider than current)
- Fresh, well-draining potting mix
- Perlite or coarse gravel for drainage
- Small stones or pebbles for the base layer
- Clean pruning shears or scissors
- A soft brush or cloth
- Watering can with a narrow spout
Step-by-Step Process
Step 1: Water your plant lightly one day before repotting. Moist soil holds the root ball together and reduces stress on the plant.
Step 2: Prepare your new pot. Place a layer of small stones or pebbles at the base to support drainage. Add a thin layer of your soil mix on top.
Step 3: Remove the plant gently. Tip the pot sideways and ease the plant out, supporting the base of the stem. Do not yank. If roots are clinging, run a clean knife along the inner edge of the pot.
Step 4: Inspect and trim the roots. Look for brown, mushy, or circling roots and trim them cleanly with sterilised shears. This is the heart of the repotting process — healthy roots mean a healthy plant. For bonsai plants like Ficus Ginseng, root pruning is an intentional, meditative practice.
Step 5: Loosen the root ball. Gently tease apart the outer roots with your fingers. This encourages outward growth in the new soil.
Step 6: Position and fill. Place the plant in the new pot, centred and at the right depth — the base of the stem should sit just below the rim. Fill in with your prepared soil mix, pressing lightly to remove air pockets.
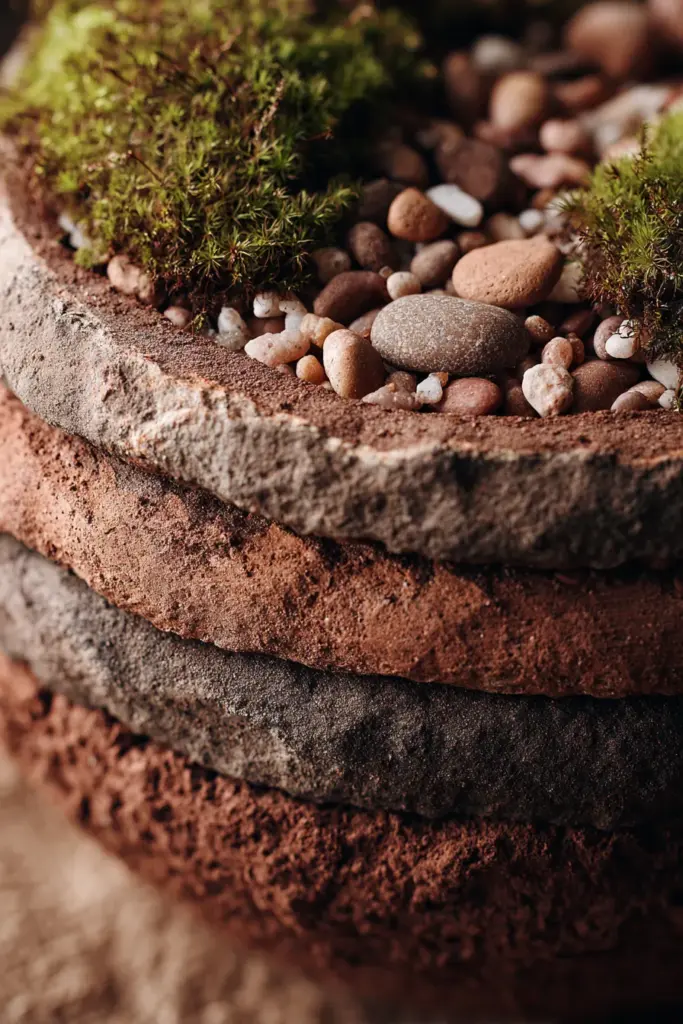
Step 7: Top dress the surface. A layer of fine pebbles, white sand, or preserved moss over the soil is a classic Japandi finish. It is beautiful and practical — it slows moisture evaporation and keeps the surface clean.
Step 8: Water lightly and place in indirect light. Do not soak. Let the plant settle.
Aftercare: The First Two Weeks
Repotting is a form of gentle disruption. Your plant needs time to find its footing, and this window is often where things go wrong.
Do not water heavily for the first 7–14 days. The roots need to search outward into fresh soil, and overwatering during this period is the most common cause of post-repot root rot.
In the Philippine climate, humidity works in your favour. Placing a shallow tray of water and pebbles beneath the pot creates a gentle humidity buffer without waterlogging the roots. This is especially helpful during the dry summer months.
Avoid direct midday sun immediately after repotting. Bright, filtered light is ideal — the kind that comes through sheer curtains or bounces off a light wall.
Post-Repot Aftercare Timeline
| Days After Repotting | What to Do |
|---|---|
| Day 1–3 | Place in indirect light, do not water |
| Day 4–7 | Check soil moisture; water only if bone dry |
| Day 7–14 | Resume light watering, no fertiliser yet |
| Week 3–4 | Introduce a diluted liquid fertiliser |
| Month 2 | Plant should show new growth — success |
Small Space Repotting for Apartments and Compact Homes
Living in a Calabarzon apartment or a compact urban home does not mean sacrificing green abundance. Japandi styling actually thrives in smaller spaces — it asks you to be intentional rather than excessive.
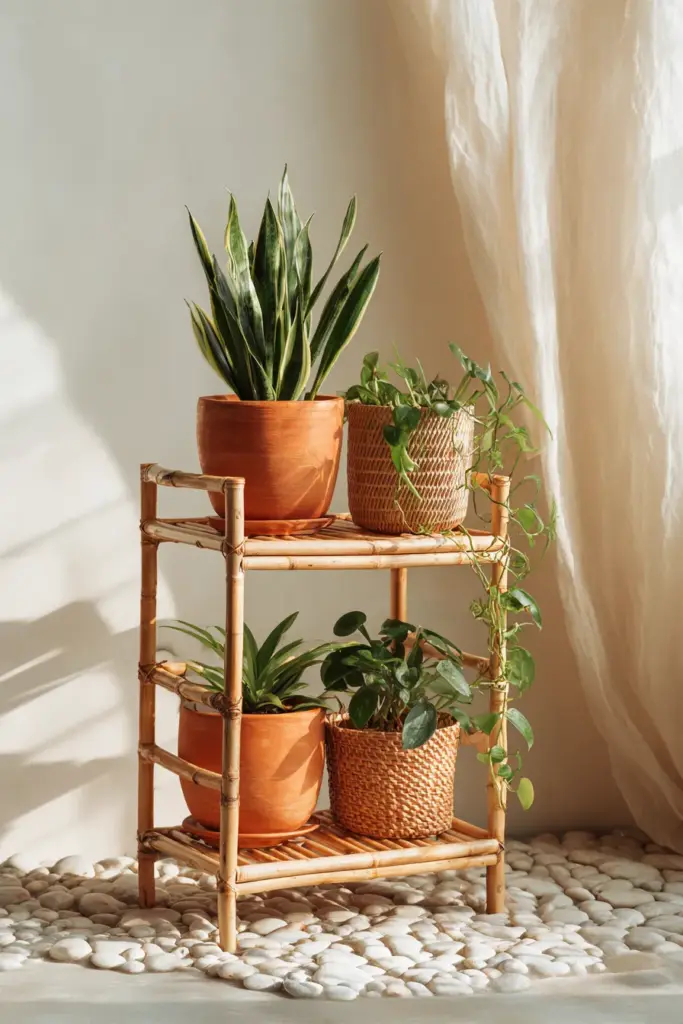
Tiered plant stands in bamboo or dark metal bring vertical dimension without taking up floor space. Repot trailing plants like Pothos into hanging woven vessels, letting the leaves cascade naturally down a wall corner. Rotate your plants a quarter turn every week or two after repotting to encourage even growth in all directions.
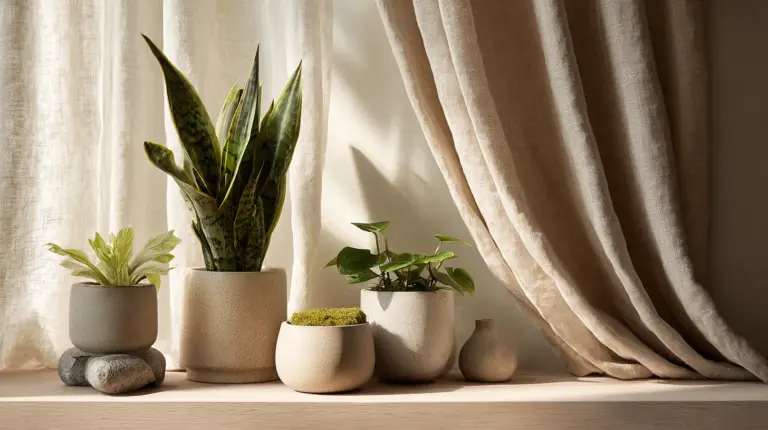
Consider grouping three or five plants of varying heights on a single low shelf — an odd number always looks more organic than even. The mix of textures, from a rough terracotta pot to a smooth ceramic to a woven rattan sleeve, creates that layered, unhurried richness that defines Japandi.
Your Japandi Repotting Checklist
- Choose a pot in a natural material with proper drainage
- Select a pot that is 2–5 cm wider than the current one
- Use a well-draining soil mix suited to your specific plant
- Gently loosen and prune roots before repotting
- Layer pebbles at the base for drainage support
- Top-dress with moss, sand, or pebbles for a polished finish
- Avoid heavy watering for the first 7–14 days
- Place in bright, indirect light after repotting
- Wait 3–4 weeks before reintroducing fertiliser
- Use humidity trays in warm, dry conditions
Conclusion
Repotting a plant in a Japandi home is not simply a maintenance task. It is a small act of devotion — to the living thing in your care, to the space you are building, and to yourself.
When you press fresh soil around the roots of a Ficus Audrey and set it back on a sun-warmed shelf beside a ceramic vessel and a worn linen cushion, you are doing something quiet and profound. You are making your space more alive.
At ERYLIN, we believe home is felt before it is seen. May your roots — and your rooms — always find room to breathe.
Frequently Asked Questions
How do you repot a plant step by step in Japandi style?
Start with a natural, well-draining pot in a neutral earthy tone. Remove your plant gently, prune unhealthy roots, refresh with a well-draining soil mix, and top-dress with moss or fine pebbles for a clean, organic finish. The process is the same as standard repotting, but the intention and materials are chosen with the Japandi aesthetic in mind — simple, natural, and considered.
When should you repot indoor plants in the Philippines?
Early spring (February to April) is ideal, as plants are entering their growing season. Post-typhoon repotting (November to December) is also effective, especially for plants that have been stressed or waterlogged. Avoid repotting during peak summer heat or when a plant is actively blooming.
What plants are best for Japandi style?
Ficus Audrey, Pilea Peperomioides, Ficus Ginseng Bonsai, Snake Plants, and Peace Lilies are all beloved Japandi houseplants. They share sculptural shapes, organic textures, and a calm visual presence that complements natural wood, linen, and stone.
How do I choose a pot for the Japandi aesthetic?
Look for unglazed terracotta, matte ceramic, or woven rattan in neutral, earthy tones — warm white, tan, charcoal, or soft grey-green. The pot should have a drainage hole and feel grounded rather than decorative. In the Philippines, local rattan baskets and affordable terracotta from markets are excellent sustainable options.
Can you repot houseplants in any season?
Technically yes, but spring is best. Repotting in late autumn or winter can stress plants that are in a slower growth phase. In tropical climates like the Philippines, the main thing to avoid is repotting during the peak of the dry season or directly after a typhoon when the plant is already under environmental stress.