Table of Contents
Paint is the quietest renovation you can do — and the most transformative. A single wall, treated with the right technique, can soften a room, lift a ceiling, or make a small space breathe.
At ERYLIN, we believe a living room should feel like an exhale. Not just a colour on a wall, but a texture you want to touch, a warmth that catches the late afternoon light.
Most guides stop at “which colour.” We want to go further — into how you apply that colour, because the technique is often what separates a flat, ordinary wall from one that feels intentional and alive.
This guide walks you through technique-first painting: what each finish actually involves, what it costs, how long it takes, and which rooms it loves most — including practical notes for humid Philippine homes.
Why Technique Matters More Than Colour Alone
Colour sets the mood. Technique sets the feeling in your hand and eye — the way light falls across a limewashed wall versus a flat matte one.
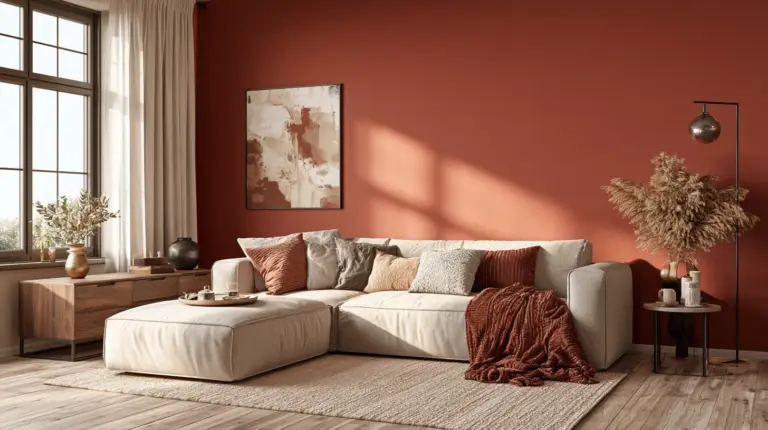
The same soft terracotta can look rustic and hand-made with a colour-wash finish, or crisp and modern with sharp colour blocking. Technique is what gives a colour its personality.
Think of it this way: colour is the word, technique is the tone of voice.
Quick Technique Selector
Use this table to shortlist a technique before reading further.
| Technique | Best For | Renter-Friendly | Skill Level | Small Rooms |
|---|---|---|---|---|
| Limewash | Japandi, rustic-modern | Yes (removable primer) | Intermediate | Yes |
| Colour Drenching | Cocooning, dramatic lounges | No | Beginner–Intermediate | Yes, if light tone |
| Half-Painted Wall | Eclectic, budget updates | Yes | Beginner | Yes |
| Colour Blocking | Modern, minimalist | Yes | Beginner | Depends on layout |
| Sponge / Colour Wash | Soft texture, warmth | Yes | Beginner | Yes |
| Stripes (Ombré or Solid) | Height illusion, modern | Yes | Intermediate | Yes, vertical stripes |
| Venetian Stucco | Elegant, formal lounges | No | Advanced | Best in larger rooms |
| Peek-a-Boo Paint | Eclectic, playful accents | Yes | Beginner | Yes |
The Techniques, One by One
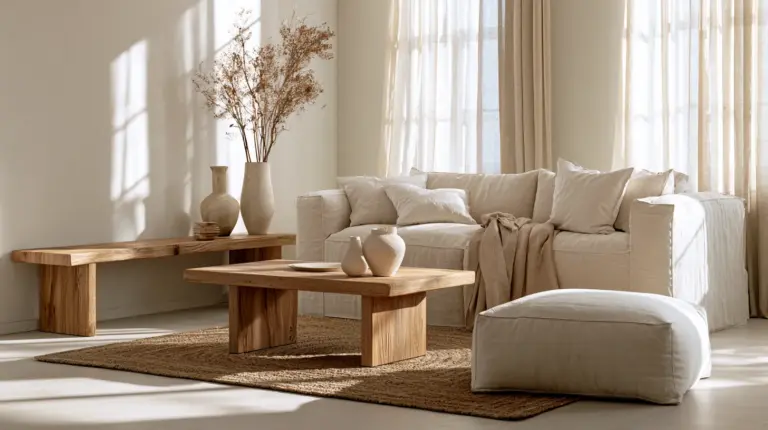
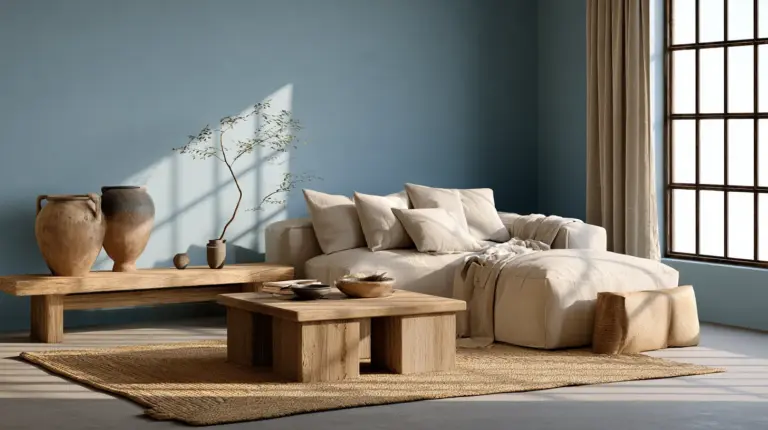
Limewash: The Japandi Favourite
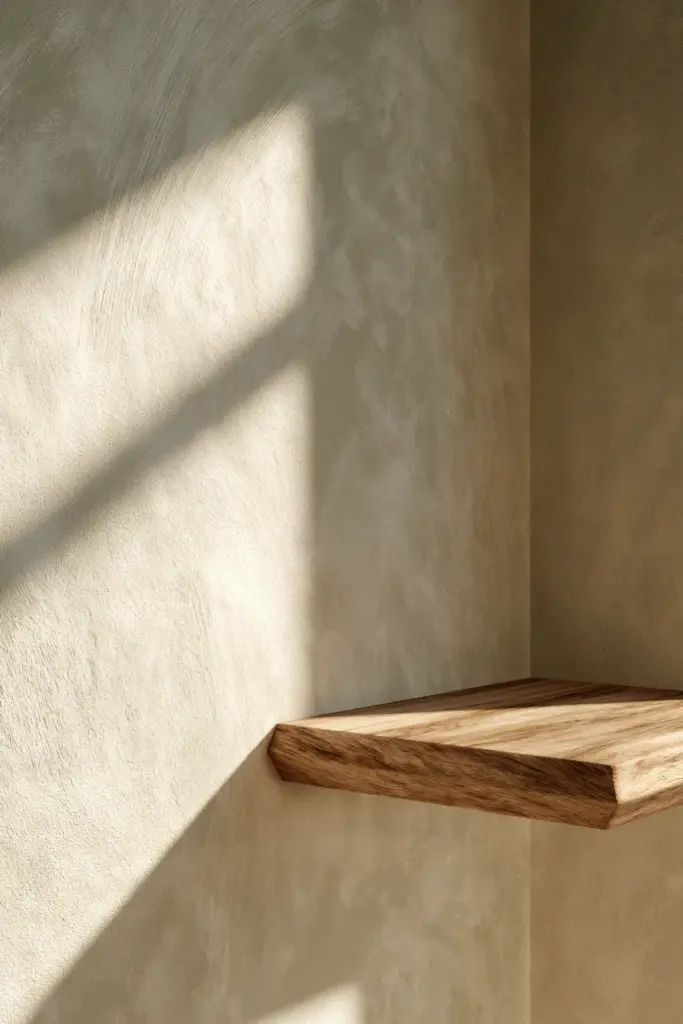
Limewash gives walls a soft, cloud-like texture — no two brushstrokes land the same way, and that’s the beauty of it.
Best for: Japandi and rustic-modern living rooms craving quiet texture.
Steps:
- Clean and lightly sand the wall.
- Apply a breathable primer suited to limewash.
- Brush limewash in loose, crossing strokes — resist perfecting it.
- Let the first coat dry fully before a second, lighter pass.
Tools & materials: natural bristle brush, limewash paint, painter’s tape, drop cloth.
Time: prep 1–2 hours, application 3–4 hours, drying 24 hours between coats.
Cost (DIY): moderate — limewash costs more per litre than standard emulsion, but one wall (about 15 m²) rarely needs more than 2–3 litres.
Pros: soft depth, breathable finish, forgiving of small wall imperfections.
Cons: not ideal for humid bathrooms-adjacent walls; needs a porous surface.
Common mistake: applying too evenly. Limewash should look slightly cloudy — that’s the texture doing its job.
Colour Drenching: Cocooning a Room
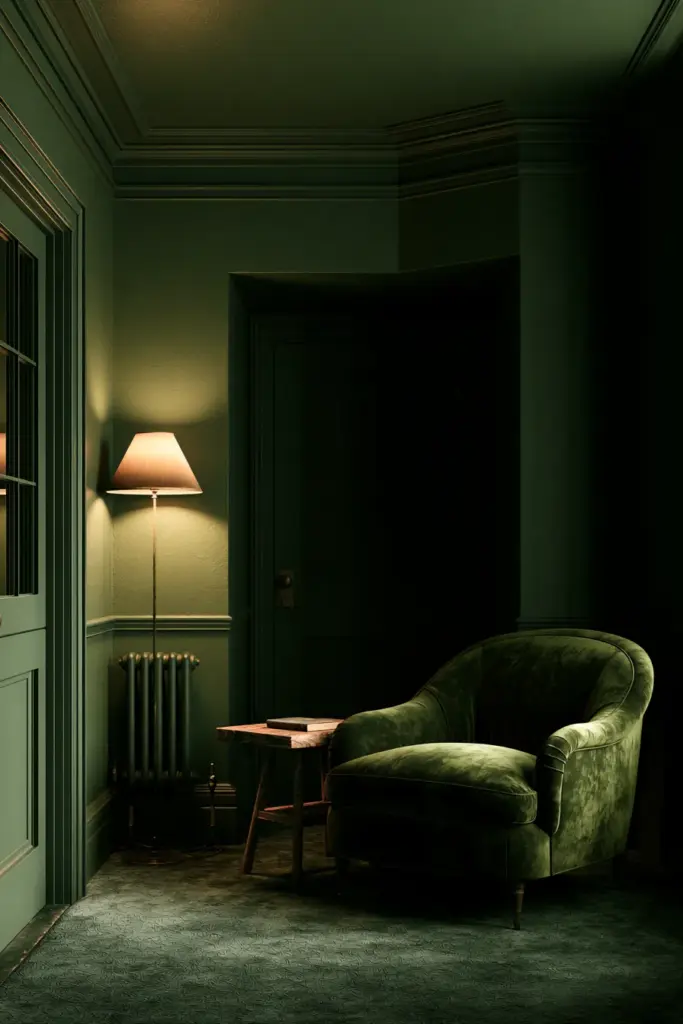
Drenching means painting walls, trim, ceiling, and sometimes skirting boards in one continuous colour. It removes visual “stopping points,” so a small room feels enveloping rather than cramped.
Best for: snug reading corners, formal lounges, small cozy furniture arrangements that want to feel grounded.
Steps:
- Choose one mid-to-deep tone — mushroom, olive, or cocoa brown work beautifully.
- Paint the ceiling first with the same shade.
- Move to walls, then trim and skirting last.
- Keep sheen consistent, or use a slightly higher sheen on trim for subtle contrast.
Time: a full weekend for an average room (12–15 hours across prep, coats, and drying).
Cost: higher than a single wall, since ceiling and trim are included — budget for 6–8 litres total.
Pros: makes ceilings feel higher by removing the colour break; deeply cosy.
Cons: commitment-heavy; harder to reverse than an accent wall.
Half-Painted Walls: The Budget-Friendly Update
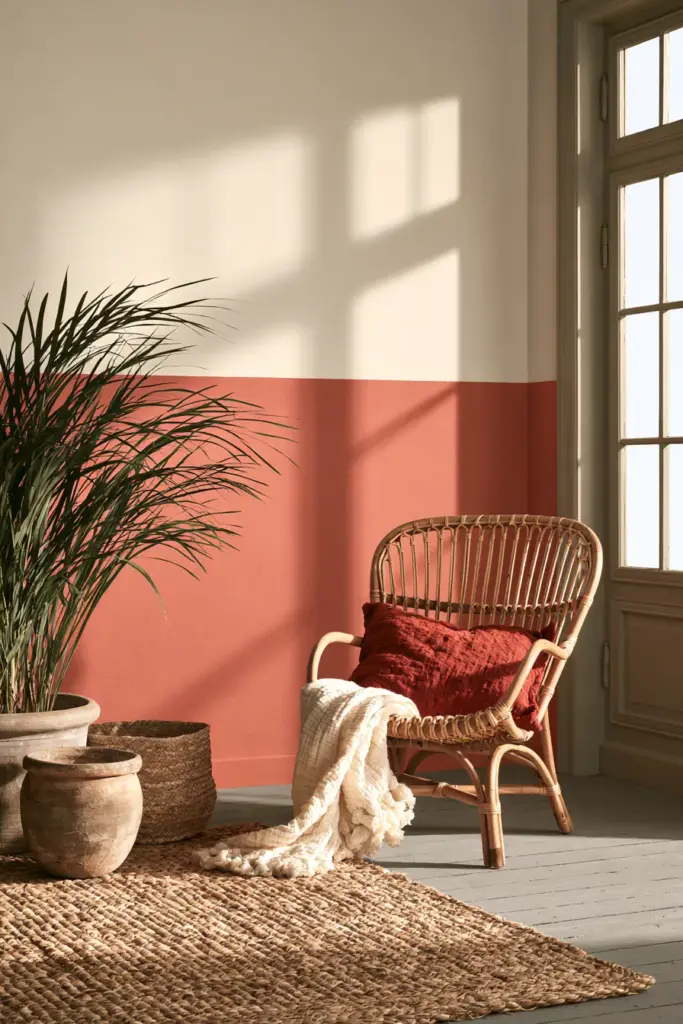
This technique paints only the lower portion of a wall — often a third to half height — leaving the rest neutral or bare.
Best for: rentals, eclectic living rooms, anyone testing colour without full commitment.
Steps:
- Measure and mark your line — a third up from skirting boards is a classic ratio.
- Tape carefully along the line.
- Paint the lower section in two coats.
- Remove tape while the final coat is still slightly tacky for a crisp edge.
Visual rule: paint the lower third in a deeper tone, leave the upper two-thirds light, to keep ceilings feeling tall.
Time: 4–6 hours total.
Cost: low — often just one litre of paint.
Pros: low commitment, renter-safe, easy to repaint.
Cons: needs a very straight line; a wobble is noticeable.
Colour Blocking: Modern and Architectural
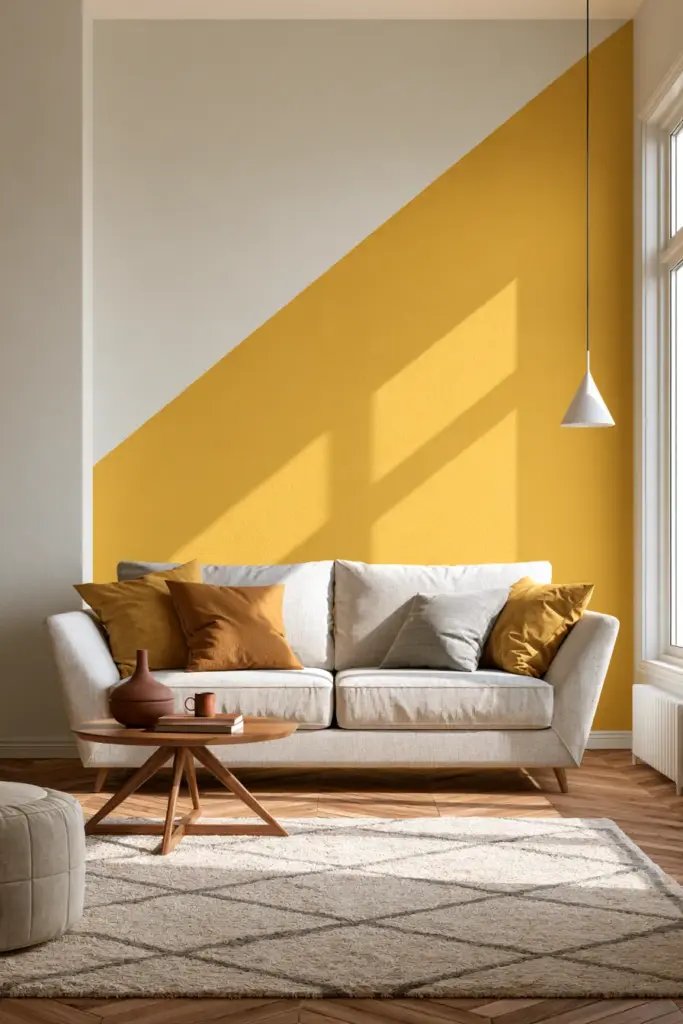
Colour blocking uses geometric shapes or panels of contrasting colour, almost like the wall is wearing tailored panels.
Best for: modern living rooms behind a media unit or sofa.
Steps:
- Sketch your block shape lightly in pencil.
- Tape the outline precisely.
- Paint the block in two thin coats rather than one thick one.
- Peel tape at a 45-degree angle once dry to the touch.
Time: 5–7 hours including tape prep.
Cost: low to moderate.
Pros: sharp, gallery-like effect; easy to update seasonally.
Cons: taping precision is everything — rushed edges look messy.
Sponge and Colour-Wash Finishes: Gentle Texture
A sponge or colour-wash technique layers a translucent glaze over a base coat, creating soft, cloud-like variation.
Best for: rooms wanting warmth without a bold statement — a serene backdrop for lighting ideas and layered textiles.
Steps:
- Paint and fully dry a base coat.
- Dilute a second, deeper shade into a glaze.
- Dab with a natural sea sponge in a loose, random pattern.
- Step back often to check for even distribution.
Time: 6–8 hours across two coats.
Cost: low — mostly base paint plus a small glaze quantity.
Pros: forgiving technique, hides minor wall imperfections beautifully.
Cons: can look dated if overdone with high contrast; keep tones close.
Stripes and Ombré: Playing with Height
Vertical stripes stretch a ceiling upward. Ombré stripes — where colour gradually deepens or lightens — add a watercolour softness.
Best for: narrow or low-ceilinged living rooms.
Steps:
- Measure and mark even stripe widths (20–30 cm is common).
- Tape each line with a spirit level for accuracy.
- For ombré, mix your base colour with white in small increasing ratios per stripe.
- Paint darkest to lightest, blending edges lightly with a dry brush while wet.
Time: 8–10 hours, longer for ombré blending.
Cost: moderate, since ombré needs multiple tint ratios.
Pros: genuinely lifts a low ceiling; visually striking without heavy colour.
Cons: time-intensive; taping errors are hard to hide.
Venetian Stucco: Old-World Elegance
This is a plaster-based technique, troweled rather than brushed, that creates a polished, marble-like sheen.
Best for: formal or eclectic lounges wanting a luxurious, tactile focal wall.
Time: advanced skill, often 2 days including cure time.
Cost: higher — plaster material and trowels cost more than paint.
Pros: genuinely luxurious, light-reflective finish.
Cons: steep learning curve; many homeowners hire a professional for this one.
Peek-a-Boo Paint: Playful and Eclectic
Small painted shapes — arches, dots, or curves — peek out from behind furniture or in unexpected corners.
Best for: eclectic rooms that want personality in small doses.
Time: 2–3 hours, since areas are small.
Cost: very low.
Pros: low-risk way to experiment with bold colour.
Cons: placement needs planning around furniture layout.
Living Room Painting Techniques in Humid, Tropical Climates
If you’re painting in Calabarzon or anywhere with high humidity, a few adjustments protect your finish.
Choose paints formulated for humid climates with mould-inhibiting additives — many local brands available across the Philippines now offer these lines specifically for living and dining areas.
Ventilate the room fully during application and for 48 hours after — open windows and a standing fan speed up curing and prevent tackiness.
On concrete or gypsum walls, always prime first; raw concrete is porous and will drink paint unevenly without it.
If a specialty tool like a natural sponge isn’t available nearby, a clean kitchen sponge or crumpled plastic bag creates a similar textured effect at a fraction of the cost.
Prep and Safety Checklist
- Fill cracks and holes, then sand smooth before any coat goes on
- Wipe walls free of dust so paint adheres evenly
- Ventilate the room and wear a proper paint mask, not just a cloth covering
- Cover furniture, flooring, and outlets with drop cloths and tape
- Test your colour on a small patch and view it in both daytime and evening light
- Allow full drying time between coats — rushing causes streaking and peeling
Style Matching: Japandi, Modern, Eclectic
- Japandi — limewash, muted colour drenching, or a gentle colour-wash in mushroom, khaki, or soft olive
- Modern — sharp colour blocking, vertical stripes, or a bold single-wall drench in ochre or terracotta
- Eclectic — peek-a-boo paint, half-painted walls, or harlequin-style checkerboard accents
Which Technique Makes a Small Room Look Bigger
Light, cool-toned colour drenching removes visual breaks between wall and ceiling, tricking the eye into reading the room as one continuous, taller space. Vertical stripes and a light half-painted wall achieve a similar lift with far less commitment.
Summary Checklist
- Choose technique before colour — the finish shapes the feeling
- Match technique to room size, light direction, and lease terms
- Budget both time and litres realistically; most techniques need two coats
- Prime concrete or gypsum walls before any decorative finish
- Ventilate well in humid climates and allow extra drying time
- Test on a small patch before committing a full wall
A Soft Word to Close On
A painted wall is never just paint. It’s the quiet backdrop to mornings with coffee, evenings with dimmed lamps, and all the ordinary hours that make a house feel lived-in.
Choose the technique that matches how you actually want to feel in the room — cocooned, lifted, playful, or calm — and let the walls do the rest.
FAQs
How do I paint my living room walls?
Clean and fill any cracks, prime if needed, then cut in edges with a brush before rolling the main surface in even, overlapping strokes. Two thin coats always outperform one thick one.
What is the best way to paint a living room without streaks?
Use a quality roller, maintain a wet edge as you work, and apply thin, even coats rather than rushing thick ones. Good lighting while you paint helps catch missed spots early.
What paint finish is best for a living room?
Eggshell or satin finishes balance durability and a soft, low-glare look, while matte finishes hide wall imperfections best but mark more easily.
How do I choose living room paint colours?
Consider your room’s natural light direction, existing furniture tones, and the mood you want — cosy neutrals for north-facing rooms, cooler tones for sun-drenched south-facing spaces.
What are decorative painting techniques for living rooms?
Beyond flat colour, techniques include colour drenching, limewash, colour blocking, sponge or colour-wash finishes, stripes, and Venetian stucco — each adding texture or dimension a single flat coat can’t.